
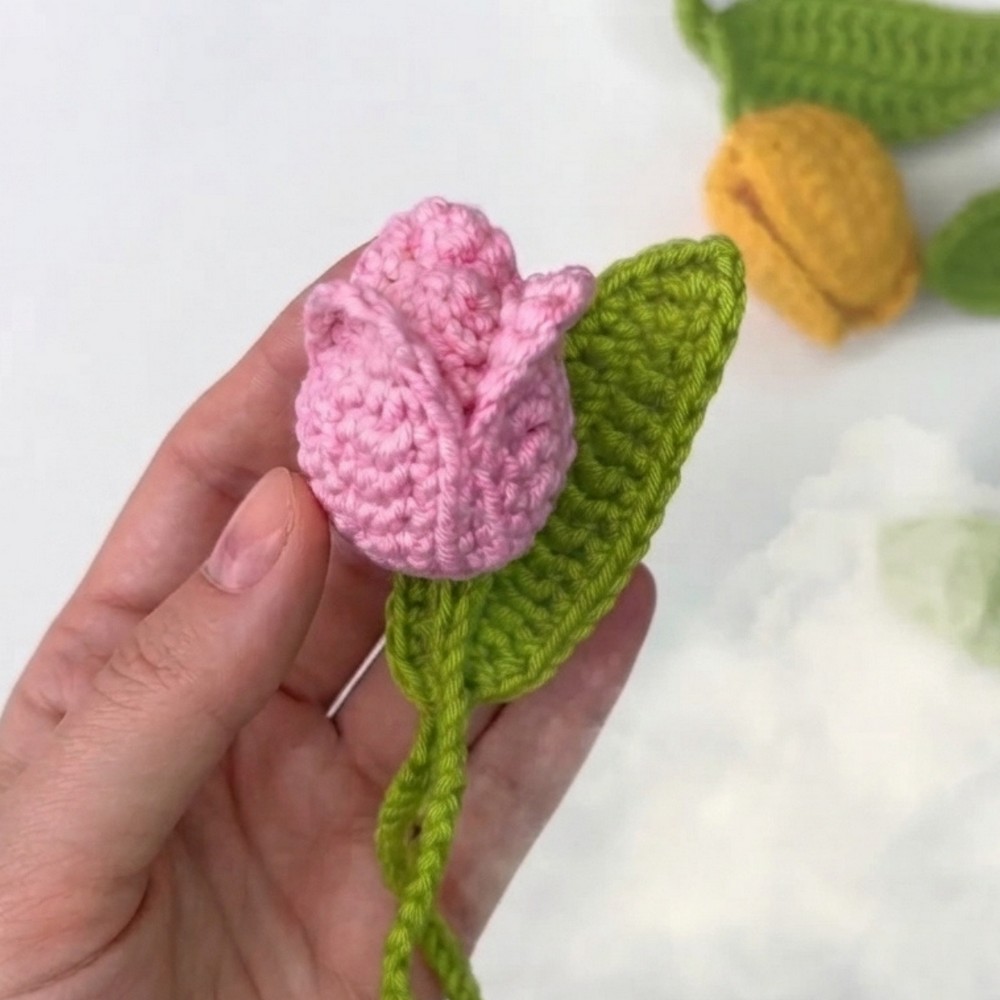
Crochet Tulip Keychain Free Pattern & Tutorial for Beginners

Brighten your day with this free crochet tulip keychain pattern that helps you add a cheerful and floral touch to your keys or bags.
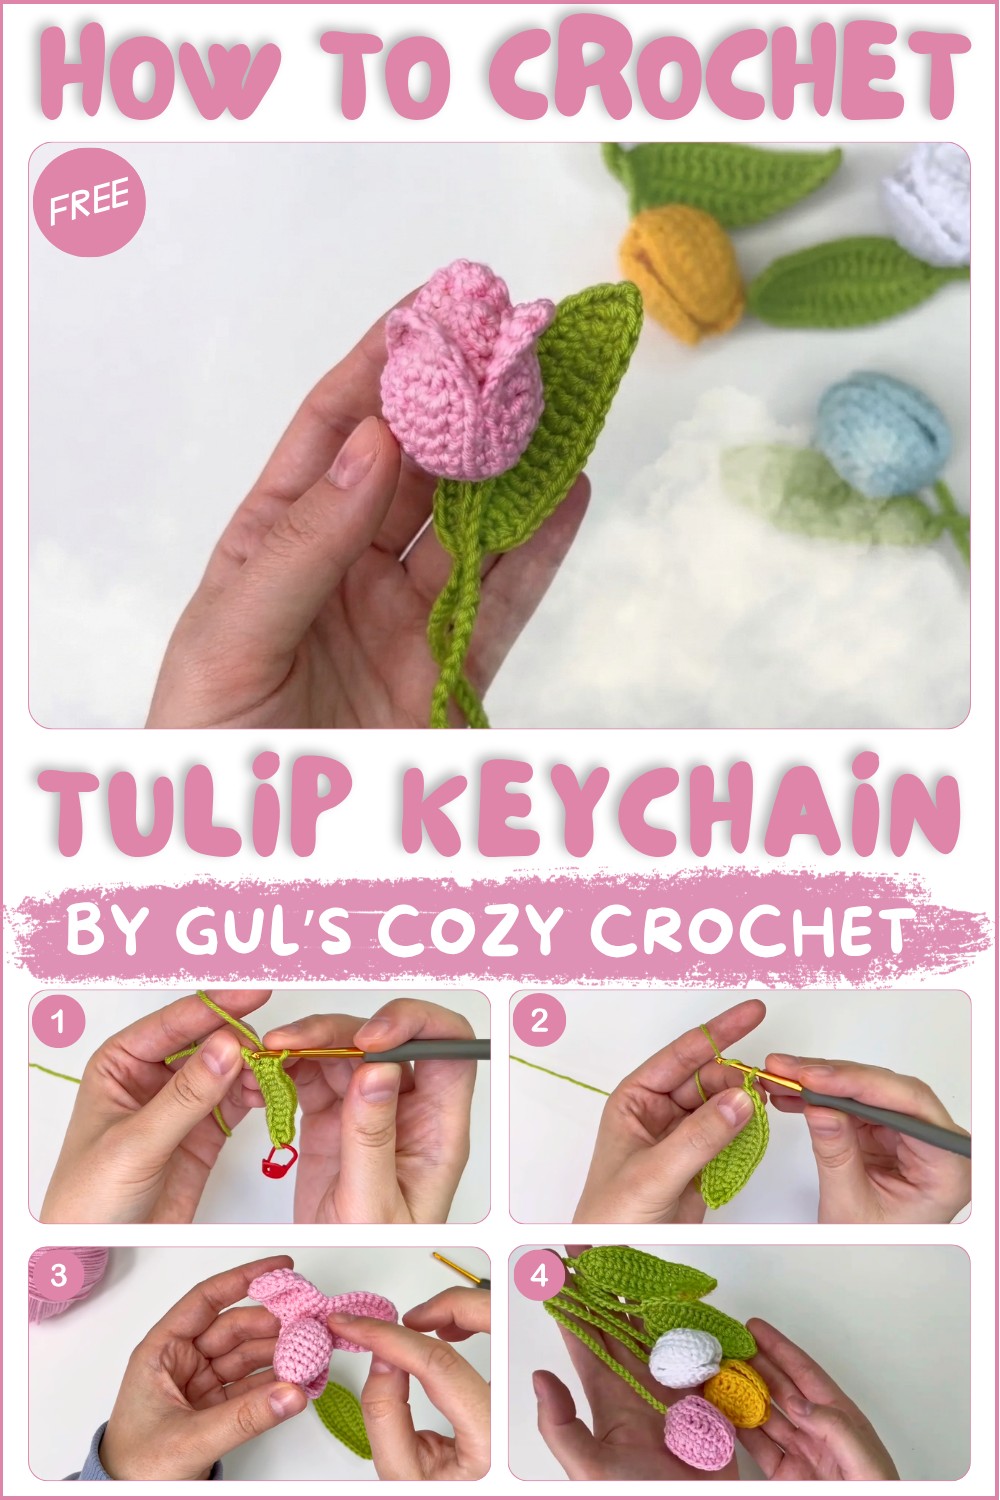
A fresh burst of spring can brighten any day, especially when you carry a touch of floral charm with you. Thanks to the helpful guidance from Gul’s Cozy Crochet, creating a lovely tulip keychain at home is simple and enjoyable. The free crochet Tulip Keychain Pattern offers a bright and cheerful accessory that can add personality to keys, bags, or gifts.
Free Crochet Tulip Keychain Pattern Video + Tutorial
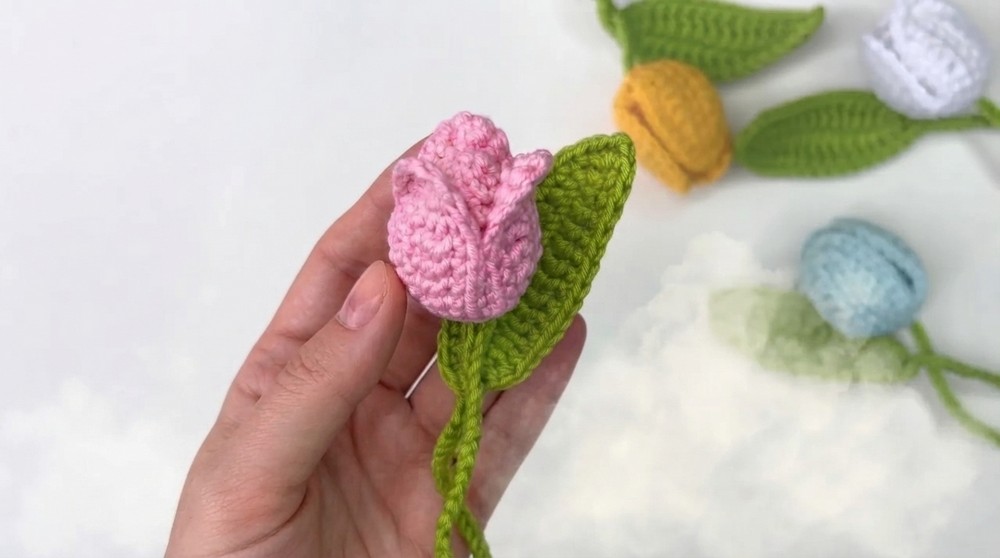
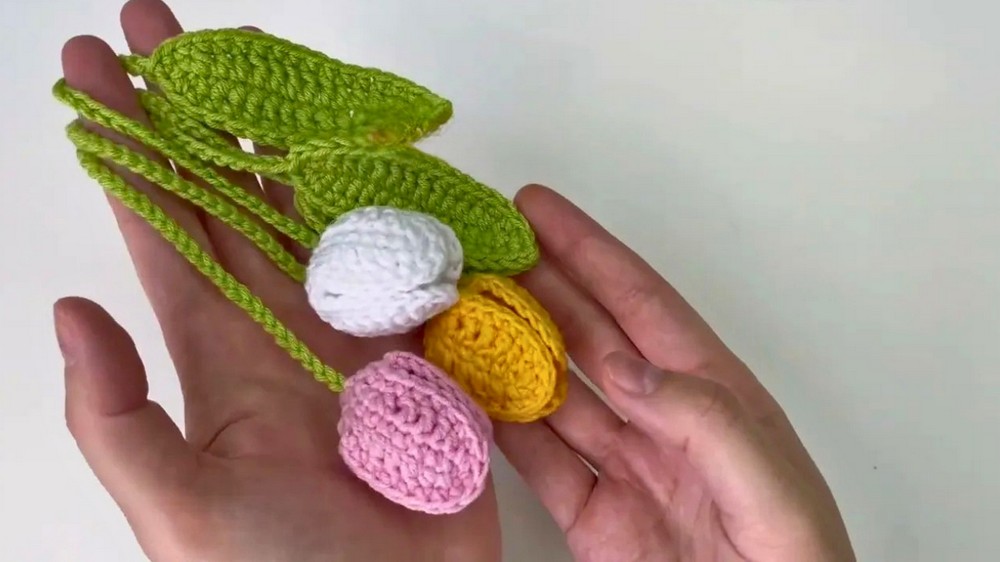
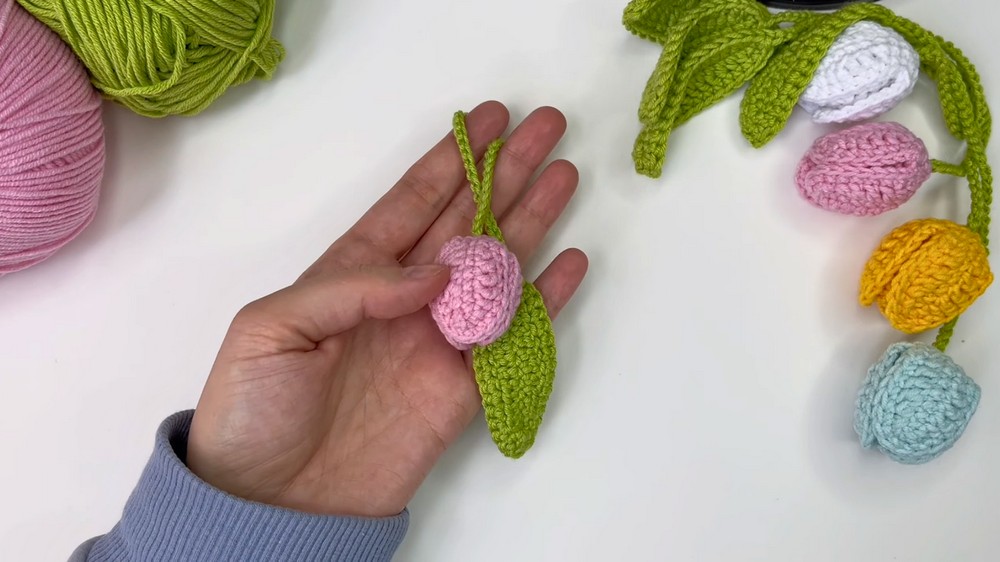
This small keychain features soft, smooth stitches that shape bright pink petals and a slender green stem. Made in three easy parts, the leaf and stem, petals, and bud, it forms a delicate, natural flower with a neat texture and gentle curves. Each detail helps bring the tulip to life in a charming and realistic way.
Ideal for decorating everyday items or surprising a friend with a handmade present, this keychain combines both style and function. Its light weight and compact size ensure it’s easy to carry and admire wherever you go. The project is welcoming to both beginners and those with more experience, letting anyone enjoy making a pretty and thoughtful item.
The tutorial walks through every step clearly, adding tips like a delicate picot edge on the leaf and a tight magic ring for the bud. These small touches give the tulip character, making it a small but special piece to brighten your day and belongings alike.
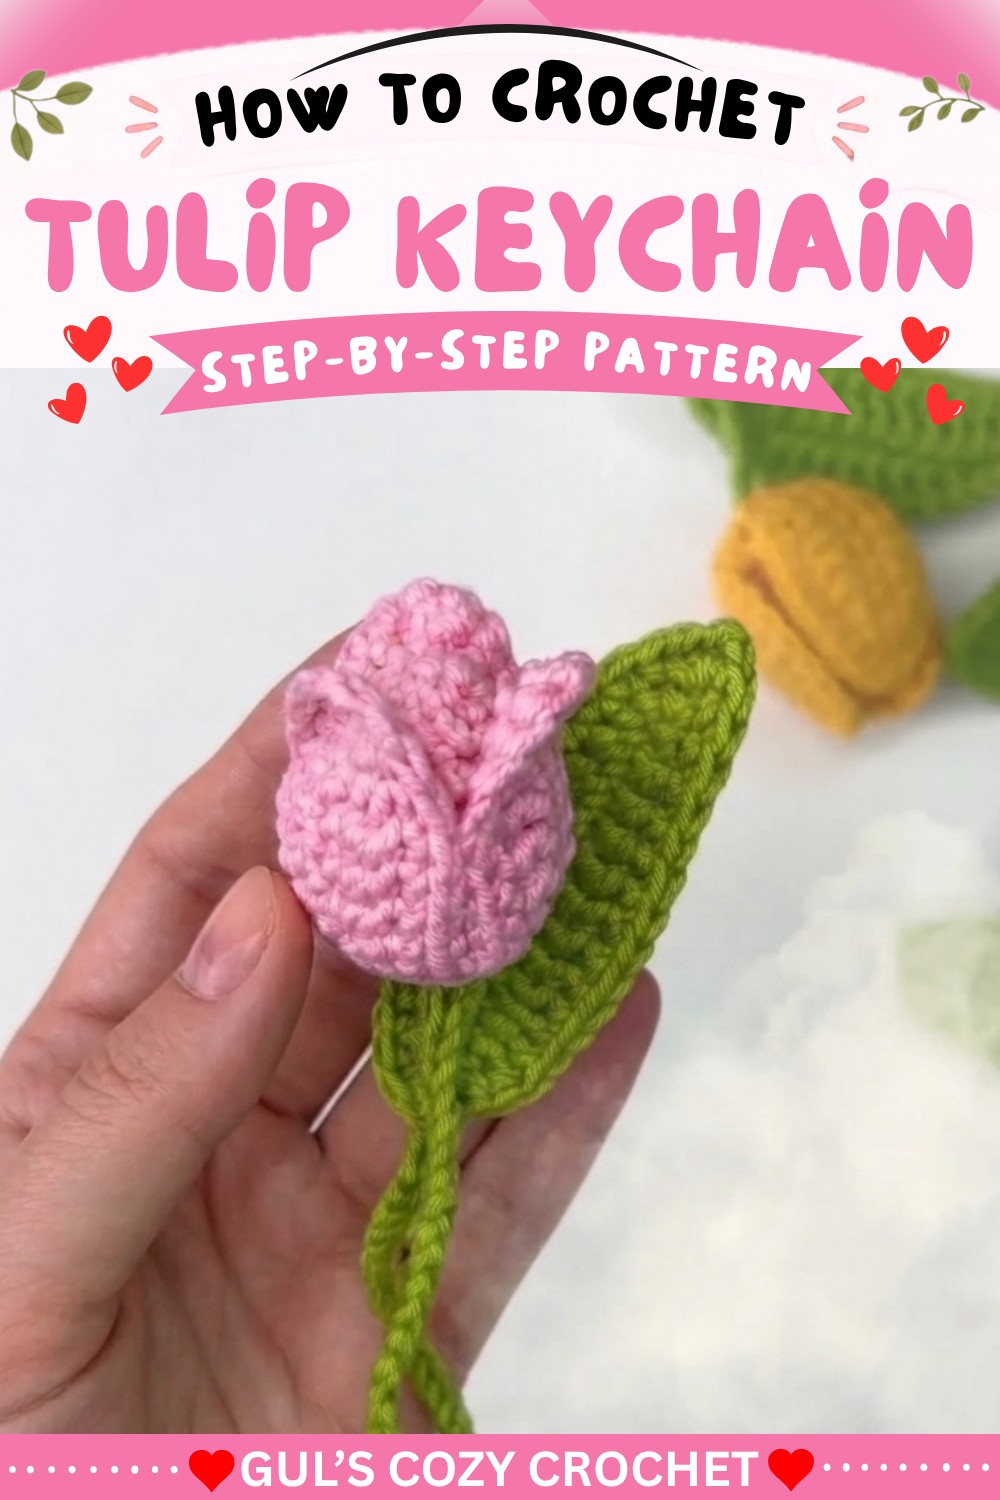
Crochet Tulip Keychain Pattern
Brighten up your keys, bags, or gifts with this delightful crochet tulip keychain! This beginner-friendly pattern walks you through creating a charming three-dimensional tulip composed of lush petals, a sturdy stem, and a sweet bud. Whether you use spring colors for a fresh look or bold hues for a whimsical touch, this versatile accessory is sure to bring a smile and a splash of handmade style wherever you go.
Pattern Basic Points
Project Highlights:
- Made in three parts: leaf & stem, petals, and bud.
- Uses basic stitches and simple shaping for realistic details.
- Minimal sewing and seamless construction for a neat finish.
- Adaptable—change yarn colors or add extra leaves for customization.
Techniques:
- Working in rows and rounds.
- Magic ring foundation for petals and bud.
- Picot stitch for leaf detail.
- Simple increases and decreases for shaping.
Special Notes
- Pattern uses US crochet terms.
- Work stitches tightly for a crisp, sturdy flower shape.
- DK or medium-light yarn yields a compact tulip; adjust hook/yarn for a larger or smaller keychain.
- Block finished petals gently for crisper form if desired.
Skill Level
Beginner to Confident Beginner
Basic knowledge of working in rows and rounds, and comfortable with magic ring and basic increases/decreases.
Materials
- Yarn: Green and pink (DK / medium-light weight)
- Hook: 2.5 mm crochet hook
- Stuffing: Small amount of fiberfill (for bud)
- Notions: Stitch markers, yarn needle, scissors
Measurements / Sizing
- Finished tulip (including stem):
- Length: 6–8 inches (15–20 cm)
- Tulip head: 1–1.5 inches (2.5–4 cm)
- Size may vary by yarn weight and hook.
Gauge
- Gauge is not critical for this small project. Just ensure a dense enough texture that stuffing does not show through the bud.
Stitch Abbreviations
| Abbreviation | Meaning |
|---|---|
| ch | chain |
| sc | single crochet |
| hdc | half-double crochet |
| dc | double crochet |
| sl st | slip stitch |
| inc | increase: 2 sc in 1 st |
| dec | decrease: sc2tog |
| MR | magic ring |
Special Stitches
Picot:
Chain 1, slip stitch into the same stitch, for a small leaf tip.
The picot stitch is a decorative crochet technique that creates small, pointed loops along edges, adding delicate texture and a lacy, ornamental finish to projects like flowers, borders, and accessories.
FREE Pattern
Step 1: Leaf & Stem (Work in Green Yarn)
- Foundation: Chain 14.
- Row 1:
- Starting in 2nd chain from hook:
- 3 hdc
- 5 dc
- 3 hdc
- 1 sc
- In the last stitch: 3 sc (to turn; creates rounded tip).
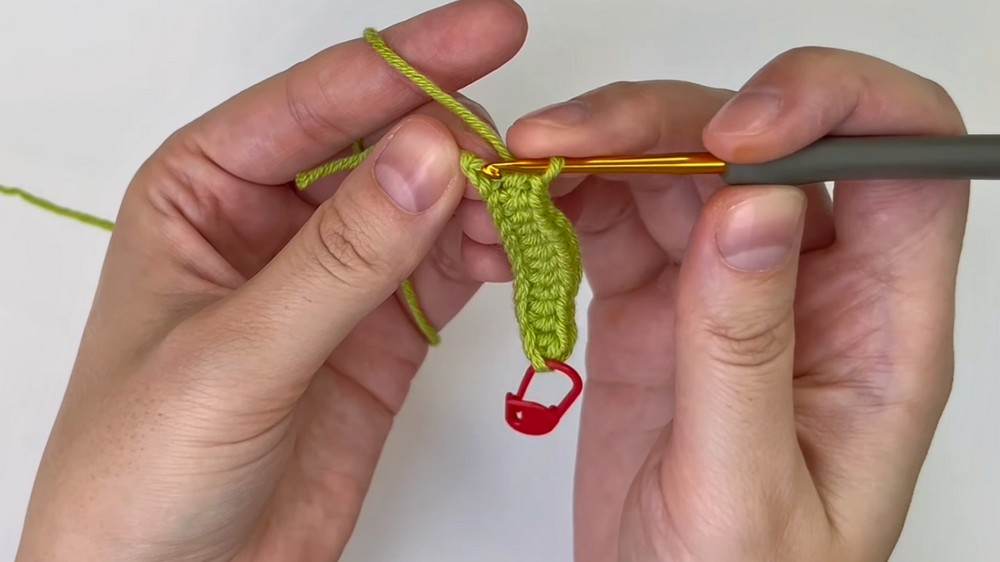
- Starting in 2nd chain from hook:
- Return Side:
- Working down the opposite side of the chain:
- 1 sc
- 3 hdc
- 5 dc
- 3 hdc
- In the original marked stitch, 3 sc (to complete the end).
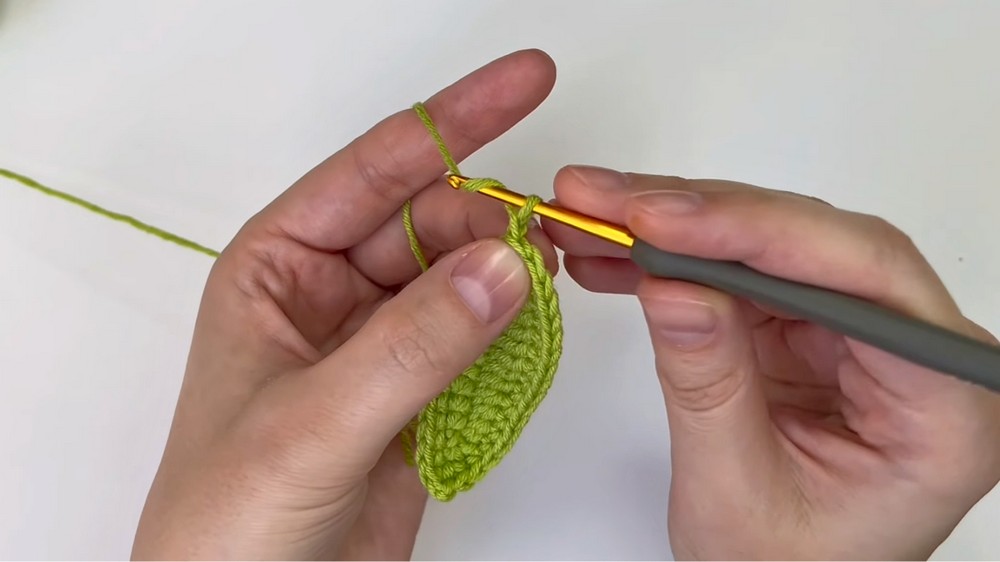
- Working down the opposite side of the chain:
- Round 2:
- 13 sc
- 1 hdc
- Chain 1 (picot), 1 hdc in same stitch (leaf tip).
- 15 sc
- 1 sl st to finish round.
- Stem:
- Chain 41 (or desired length for keychain attachment).
- Fasten off, leaving a long tail for assembly.
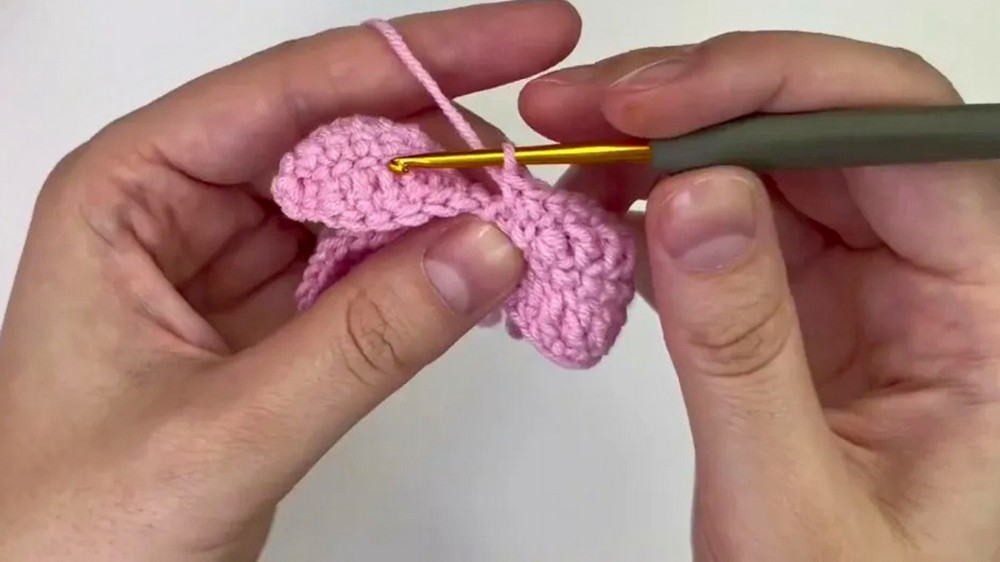
Step 2: Tulip Petals (Work in Pink Yarn)
- Round 1: Start with Magic Ring (MR).
- Repeat 3 times inside MR:
- 1 sc
- Chain 9, turn work.
- 8 sc back down the chain.
- After 3 petals, join (sl st) to first stitch of MR.
- Repeat 3 times inside MR:
- Round 2: (Work petal details for each petal)
- For each petal:
- 2 sc
- 1 hdc
- 3 dc
- 1 hdc
- 1 sc
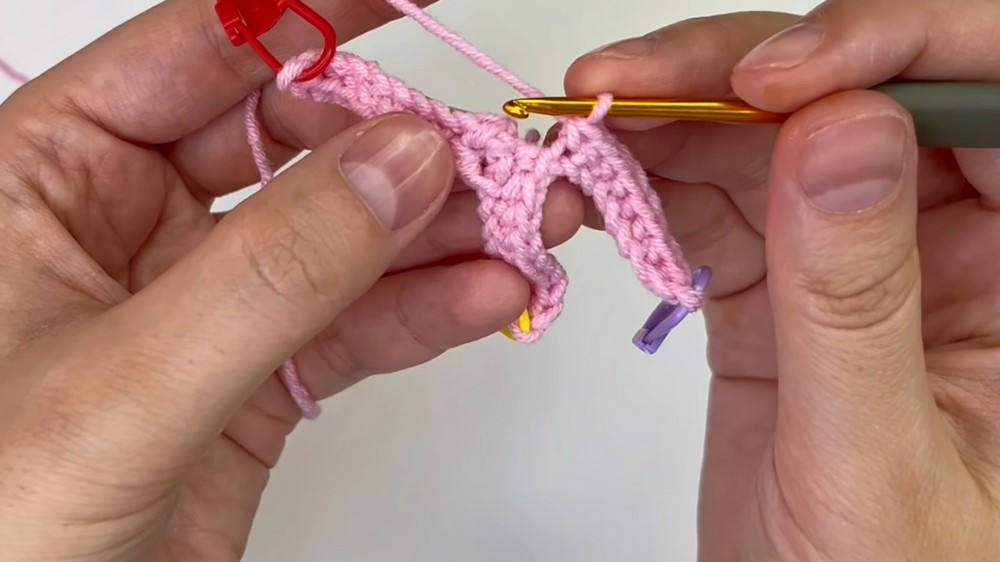
- 3 sc at tip of petal (creates rounded edge)
- 1 sc
- 1 hdc
- 3 dc
- 1 hdc
- 2 sc
- Repeat for all three petals.
- For each petal:
- Round 3: (Edge round)
- Work 19 sc along the outer edge of each petal, keeping stitches even and crisp.
- Finish with a sl st.
Step 3: Bud (Work in Pink Yarn)
- Round 1: Start with magic ring, work 5 sc into MR. Pull ring closed.
- Round 2: Inc in every stitch (2 sc in each) = 10 sc.
- Round 3: (1 sc, inc) repeat around = 15 sc.
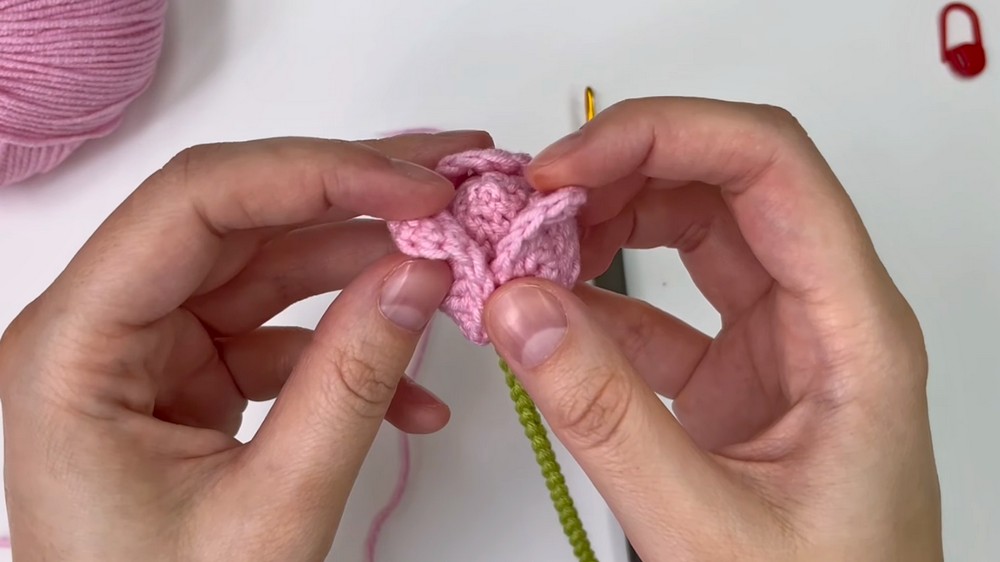
- Attachment: Using a yarn needle, thread the stem chain:
- First through the center of petals (from front to back),
- Then through the center of bud,
- Knot or secure the stem at the base of the bud for assembly.
- Rounds 4-6: 1 sc in each stitch around (15 sc/round).
- Round 7: (3 sc, 1 dec) repeat 3 times = 12 sc.
- Round 8: 1 sc in each stitch = 12 sc.
- Round 9: (2 sc, 1 dec) repeat around = 9 sc.
- Round 10: (1 sc, 1 dec) repeat 3 times = 6 sc.
- Finishing:
- Stuff bud with fiberfill.
- Use a yarn needle to close the opening securely, weave in end.
Assembly & Finished Size
- Join the Parts:
- Use the stem chain to thread through the petal set, then through the bud, and secure with a knot or sewing for stability.
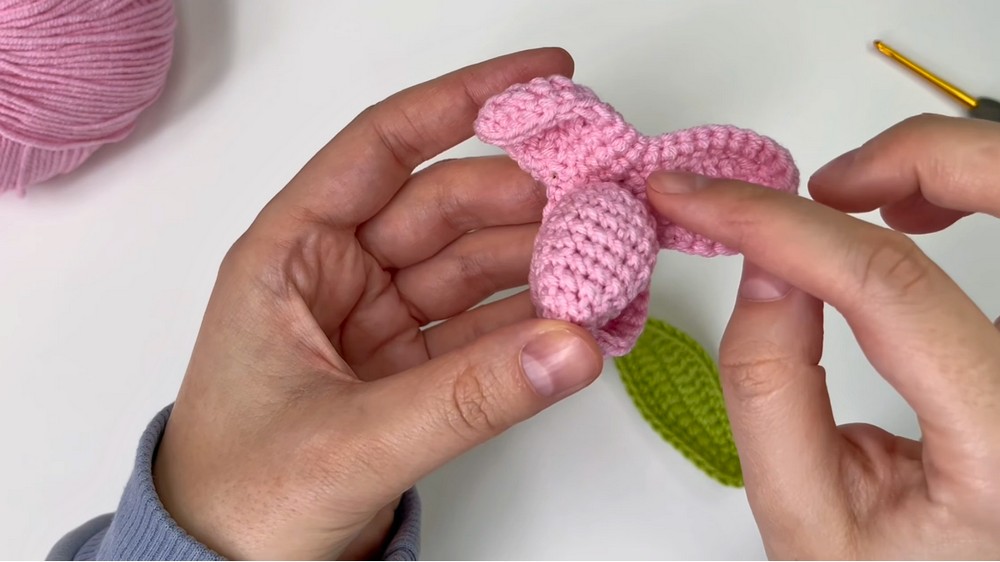
- Use the stem chain to thread through the petal set, then through the bud, and secure with a knot or sewing for stability.
- Keychain Attachment:
- Tie or sew the end of the stem to your keyring or bag clip.
- Final Touches:
- Shape the petals by gently pinching or blocking if needed.
- Weave in all ends with yarn needle.
Conclusion
Your beautiful crochet tulip keychain is now ready to brighten any accessory or gift! This pattern, with its three distinct parts and careful shaping, captures the cheerful essence of springtime tulips in a pocket-sized form. The in-the-round petal technique and easy leaf-stem transition make this both an accessible and visually rewarding project.


![How to Crochet Eleven (Stranger Things) Amigurumi Tutorial [EN, ES, DE Sub] 13](https://claireabellemakes.com/wp-content/uploads/2026/07/How-to-Crochet-Eleven-Stranger-Things-Amigurumi-Tutorial-EN-ES-DE-Sub-13-768x768.jpg)