Quick & Easy Bunny Keychain – Free Amigurumi Crochet Pattern

Create something adorable with a free crochet bunny keychain amigurumi pattern, a sweet addition to your accessories or a thoughtful handmade gift idea.
There’s something special about having a tiny handmade friend that you can carry with you every day. When I found the Free crochet Bunny Keychain Amigurumi pattern on the Viktoriia\&Amigurumi channel, I knew I had to try it. This delightful project combines charm and practicality, creating a soft, adorable bunny that easily attaches to your keys or bag.
Simple Bunny Amigurumi Keychain Free Crochet Pattern
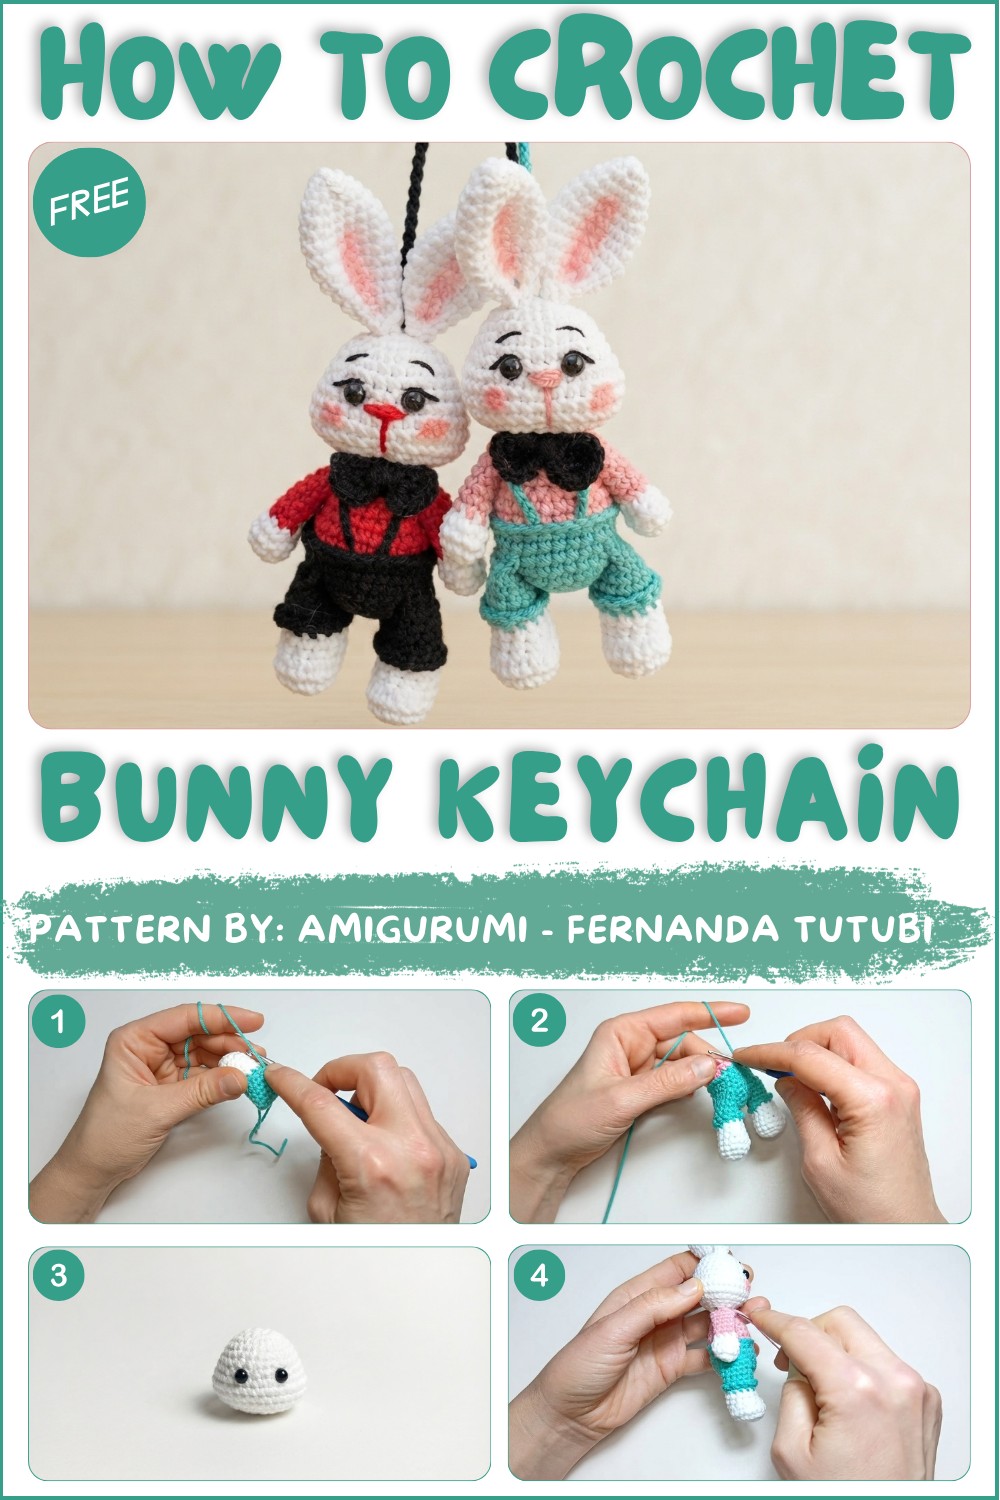
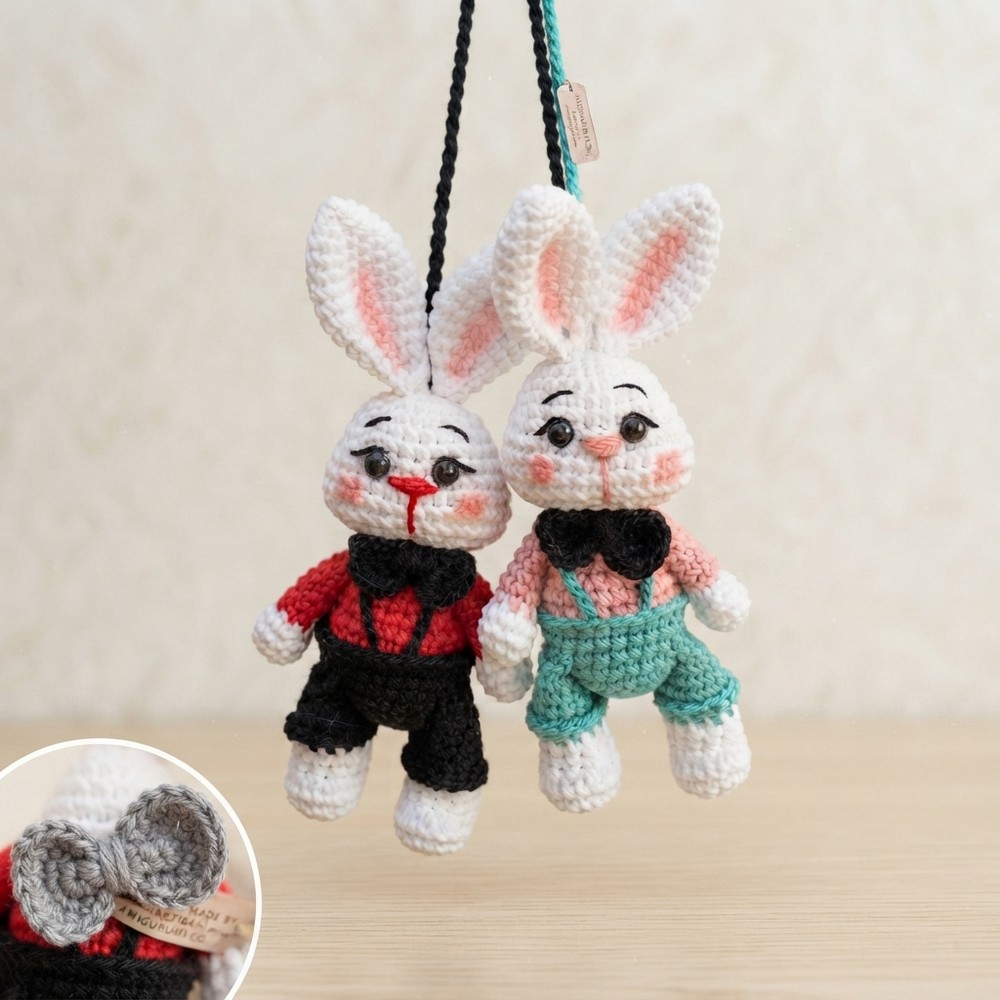
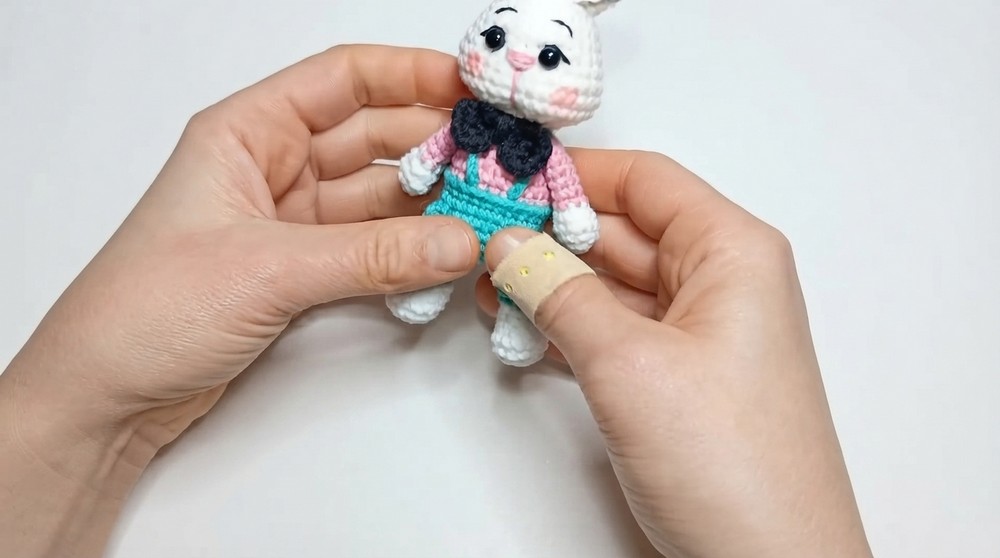
This little bunny is about 14 cm tall, with long floppy ears that add to its sweet and cuddly appearance. Its friendly face features tiny embroidered details and bright safety eyes, giving it a warm personality. Dressed in a miniature blouse and pants, the bunny has a playful style that makes it stand out as a cute decorative piece. Small and lightweight, it’s perfect for accessorizing backpacks, purses, or keyrings.
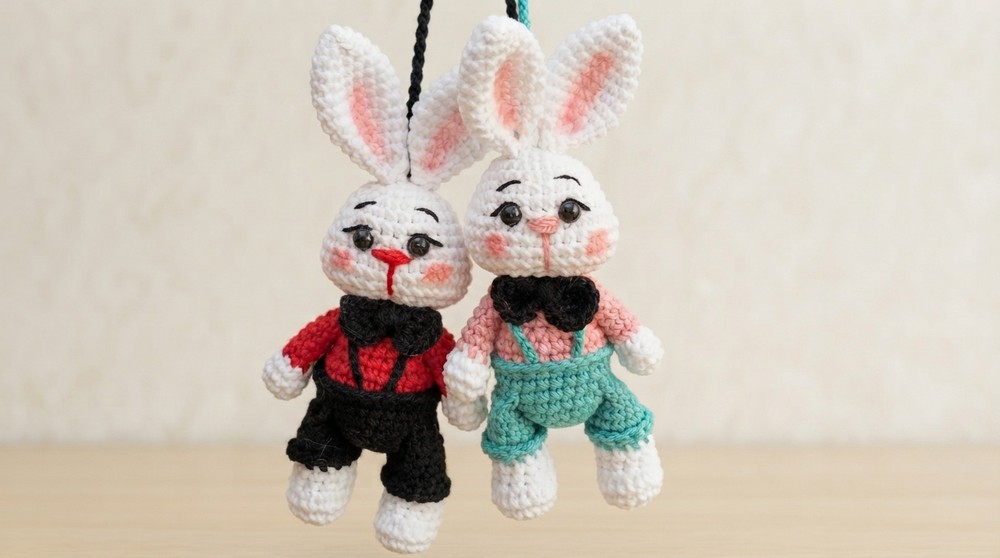
One of the reasons I love this free crochet pattern is its gifting potential. A handmade keychain like this bunny carries a personal touch that’s perfect for birthdays, holidays, or just as a thoughtful surprise. It’s a wonderful way to show creativity and care, while also practicing amigurumi skills. Plus, changing yarn colors or adding small details makes each bunny unique.
If you’re looking for a fun and easy crochet project that’s both charming and useful, be sure to explore the free crochet Bunny Keychain Amigurumi pattern. Give it a try and create your very own little bunny buddy today!
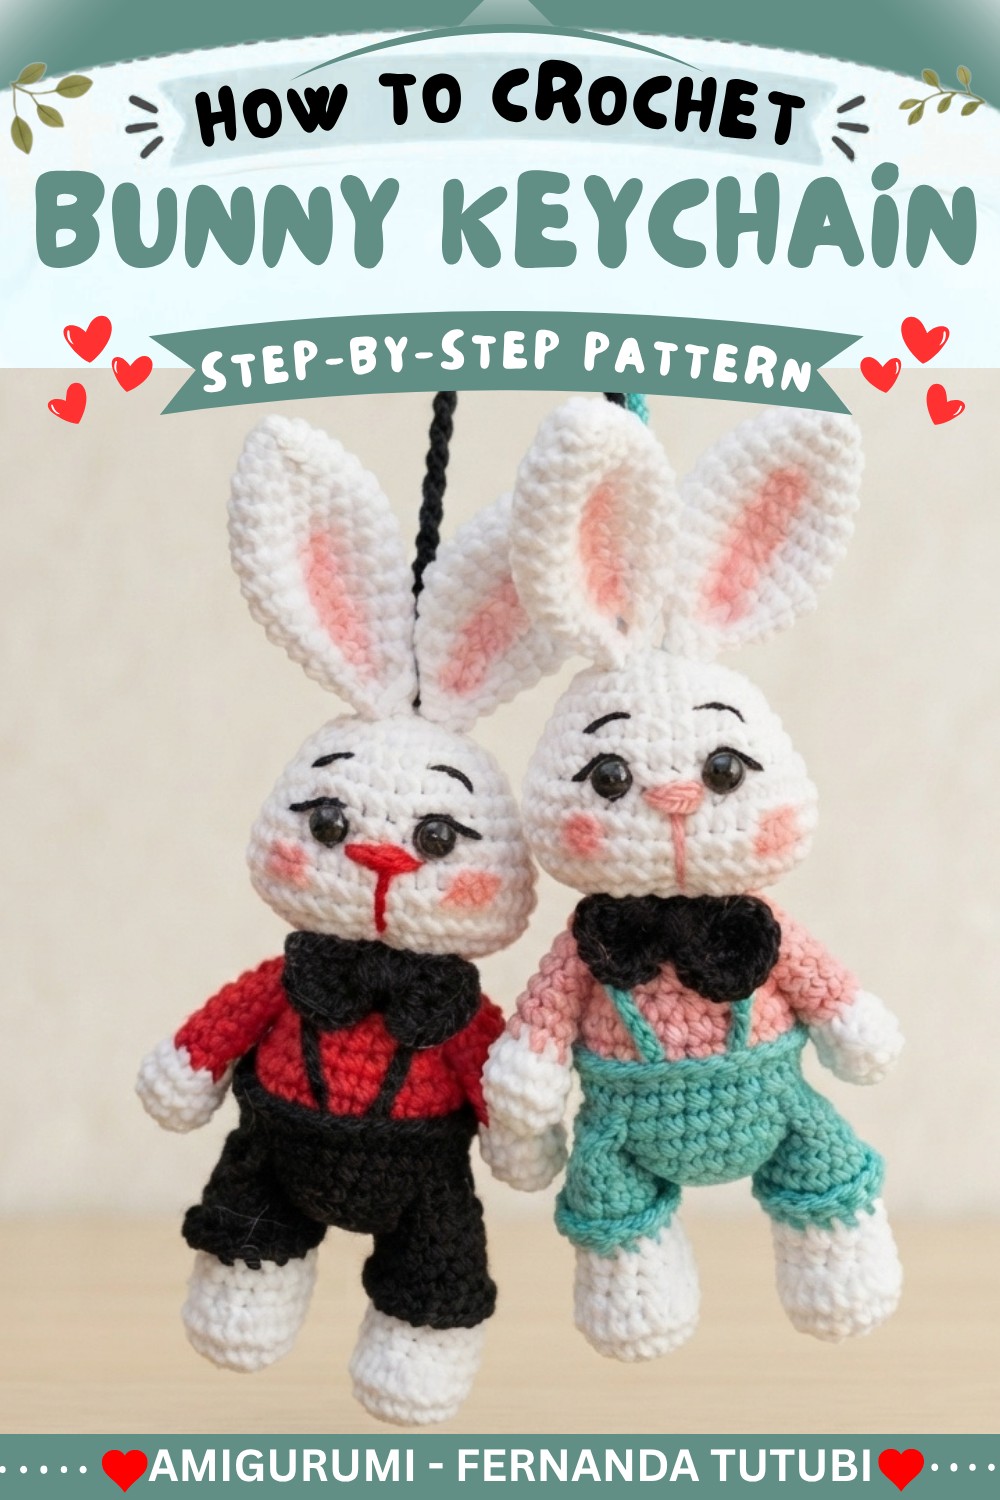
14 cm Amigurumi Bunny Keychain Pattern
Create a charming 14 cm bunny keychain with this comprehensive step-by-step amigurumi pattern. The project includes detailed construction of the bunny’s adorable body, legs, arms, ears, and head, along with instructions for finishing touches like suspenders, a bow, and the keychain loop.
Pattern Highlights
Project Features:
- Cute, Seamless Limbs: Legs and arms are made separately and attached securely to the body for durability and playfulness.
- Dress-Up Details: Change colors for pants and shirt; add surface crochet, suspenders, and a bow for an individualized look.
- Functional Design: Sized and structured for everyday keychain use.
- Finishing Flourishes: Includes embroidery details for the face, as well as practical instructions for adding a keychain ring.
Notes
- The entire bunny is worked in continuous spirals unless noted (do not join rounds; use a stitch marker to mark the beginning of each round).
- Color changes for clothing are done as indicated in the instructions.
- Stuff limbs and body as you go for ideal shaping.
- Crochet tightly enough so stuffing does not show between stitches.
- Sew all parts securely, particularly the head, limbs, ears, and keychain loop, to withstand daily handling.
- Optional: Use the unworked loops from color changes for decorative surface crochet.
Skill Level
Confident Beginner to Intermediate
Familiarity with basic amigurumi (crocheting in the round, increasing/decreasing, changing colors), simple embroidery, and assembly is assumed.
Materials
- Yarn: Alize Cotton Gold or similar amigurumi yarn
- Main color: White
- Pants and shirt: Any color(s) of choice
- Nose: Red or pink
- Eyebrows: Black
- Crochet hook: 1.75 mm
- Safety eyes: 6 mm
- Tapestry needle
- Scissors
- Polyester fiberfill stuffing
- Keychain ring
Measurements / Sizing
- Size: Finished bunny (excluding loop) is approx. 14 cm tall (5.5 inches).
- Proportions: Limbs, ears, body, and head are balanced for a classic, cute silhouette.
Gauge
- Gauge is not critical, but ensure stitches are tight to keep stuffing concealed (about 7–9 sc per 2 cm).
Stitch Abbreviations
| Abbreviation | Meaning |
|---|---|
| mr | magic ring |
| sc | single crochet |
| inc | increase (2 sc in one stitch) |
| dec | decrease (single crochet 2 together) |
| st / sts | stitch / stitches |
| sl st | slip stitch |
| BL | back loop only |
Special Stitches
- Surface Crochet: Insert hook into the unworked front loops on the outer surface, pull yarn through, and slip stitch across for a neat contrasting edge on the pants.
- Invisible Decrease (dec): Insert hook into the front loop only of next two stitches, yarn over, pull through both, yarn over and pull through again.
Step-by-Step Pattern
1. Legs (Make 2)
With main (white) color:
- Round 1: Make a magic ring, work 6 sc into the ring.
- Round 2: 6 inc (12 sc).
- Round 3: (1 sc, 1 inc) repeat 6 times (18 sc).
- Round 4: 18 sc.
- Round 5: 3 sc, 6 dec, 3 sc (12 sc).
- Rounds 6–7: 12 sc each round.
- Round 8: Change to pants color, 12 sc.
- Round 9: 12 sc in BL (back loops only).
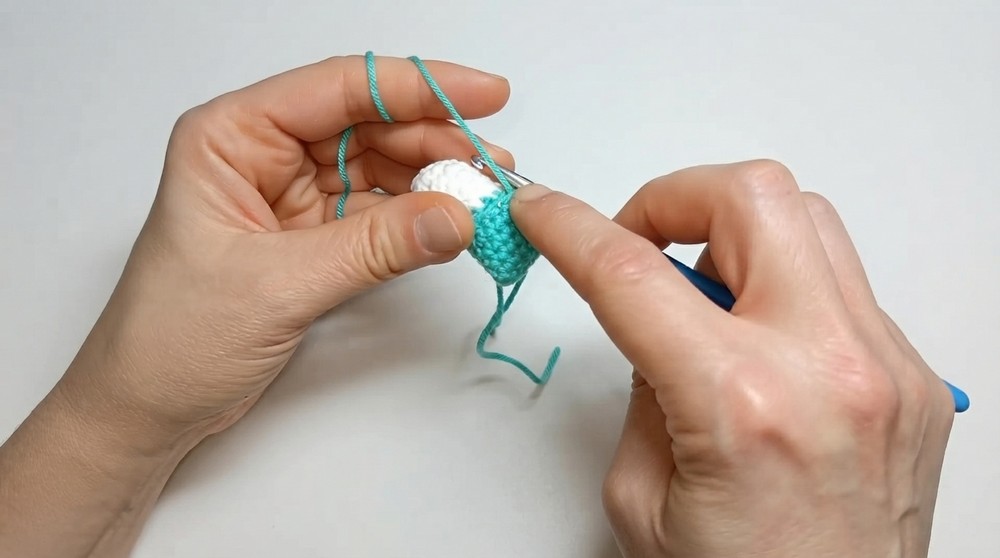
- Rounds 10–12: 12 sc each round.
- Stuff the leg firmly.
- Fold the leg flat and crochet 6 sc through both thicknesses to close. Fasten off, leave tail for sewing.
Optional:
Use the unused front loops from Round 8/9 to surface crochet a decorative edge in pant color.
2. Arms (Make 2)
With white:
- Round 1: 6 sc in mr.
- Round 2: 6 inc (12 sc).
- Round 3: 12 sc.
- Round 4: (1 sc, 1 dec) repeat 4 times (8 sc).
- Round 5: Change to shirt color, 8 sc.
- Rounds 6–11: 8 sc each round.
- Stuff lightly, fold in half, and crochet 4 sc through both sides to close. Fasten off, leave a tail for sewing.
3. Ears (Make 2)
With white:
- Round 1: 6 sc in mr.
- Round 2: (1 sc, 1 inc) repeat 3 times (9 sc).
- Round 3: (2 sc, 1 inc) repeat 3 times (12 sc).
- Round 4: 12 sc.
- Round 5: (2 sc, 1 inc) repeat 4 times (16 sc).
- Rounds 6–9: 16 sc per round.
- Round 10: (2 sc, 1 dec) repeat 4 times (12 sc).
- Round 11: 12 sc.
- Round 12: (1 sc, 1 dec) repeat 4 times (8 sc).
- Lightly stuff if desired.
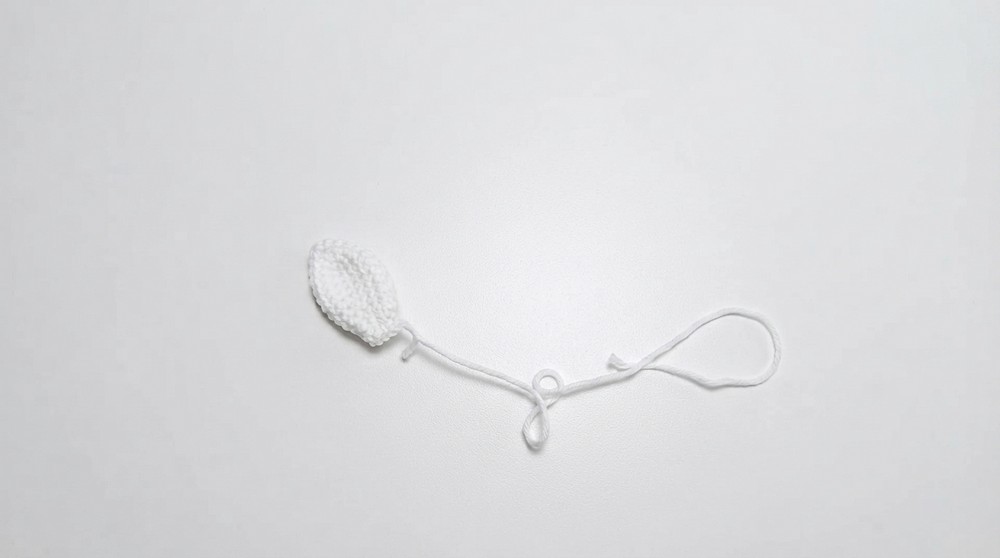
- Fold flat and crochet 4 sc through both sides to close. Fasten off, leave a long tail for attaching to head.
4. Body
With white:
- Round 1: 6 sc in mr.
- Round 2: 6 inc (12 sc).
- Round 3: (1 sc, 1 inc) repeat 6 times (18 sc).
- Round 4: (2 sc, 1 inc) repeat 6 times (24 sc).
- Round 5: 24 sc.
Round 6:
- Attach legs as you crochet:
- 6 sc along first closed leg edge,
- 6 sc across stomach,
- 6 sc along second leg,
- 6 sc for back (24 sc in total).
- Rounds 7–8: 24 sc per round.
- Round 9: Change to shirt color, work 24 sc in BL.
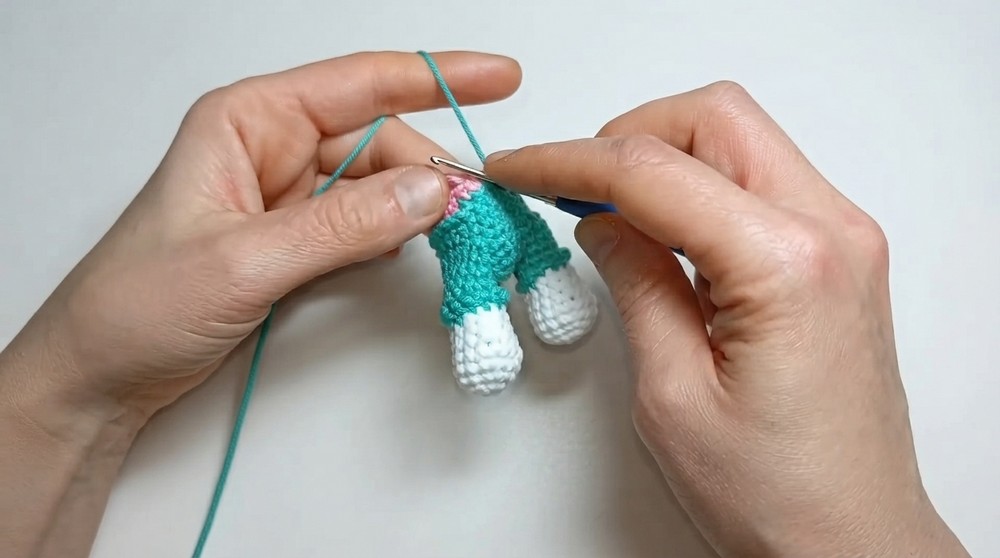
- Round 10: 24 sc (in both loops again).
- Round 11: (2 sc, 1 dec) repeat 6 times (18 sc).
- Round 12: 18 sc.
- Round 13: (1 sc, 1 dec) repeat 6 times (12 sc).
Round 14: Arm Joining
- 1 sc,
- 4 sc through both the next arm and side of body,
- 2 sc,
- 4 sc through second arm and body,
- 1 sc (12 sc in total).
- Round 15: 12 sc.
- Stuff the body firmly and leave a long tail for sewing to head.
5. Head
With white:
- Round 1: 6 sc in mr.
- Round 2: 6 inc (12 sc).
- Round 3: (1 sc, 1 inc) repeat 6 times (18 sc).
- Round 4: (2 sc, 1 inc) repeat 6 times (24 sc).
- Rounds 5–7: 24 sc per round.
Round 8:
- 3 sc, 6 inc (cheek area), 3 sc, 3 sc (other side), 6 inc (second cheek), 3 sc (36 sc).
- Rounds 9–11: 36 sc per round.
- Insert safety eyes between Rounds 8 and 9, spacing them evenly (about 7–8 stitches apart).
Round 12:
- 3 sc, 6 dec, 6 sc, 6 dec, 3 sc (24 sc in total).
- Round 13: (2 sc, 1 dec) repeat 6 times (18 sc).
- Round 14: (1 sc, 1 dec) repeat 6 times (12 sc).
- Stuff the head very firmly while closing.
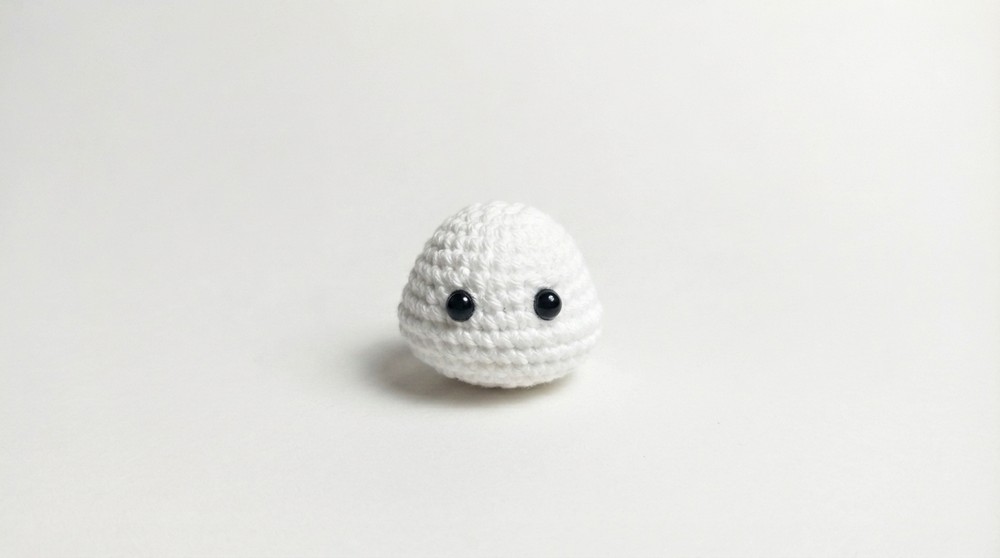
- Fasten off, leave a long tail for sewing to the body.
6. Finishing & Assembly
Face Embroidery:
- Embroider a small nose in red or pink yarn at the center, just above the mouth area.
- Stitch two small black eyebrows above each eye for expression.
- Add a gentle smile or other facial expression with black or dark brown yarn.
Assemble:
- Sew head securely to body with several firm stitches.
- Position, pin, and sew ears to the top of the head.
- Weave in all ends neatly.
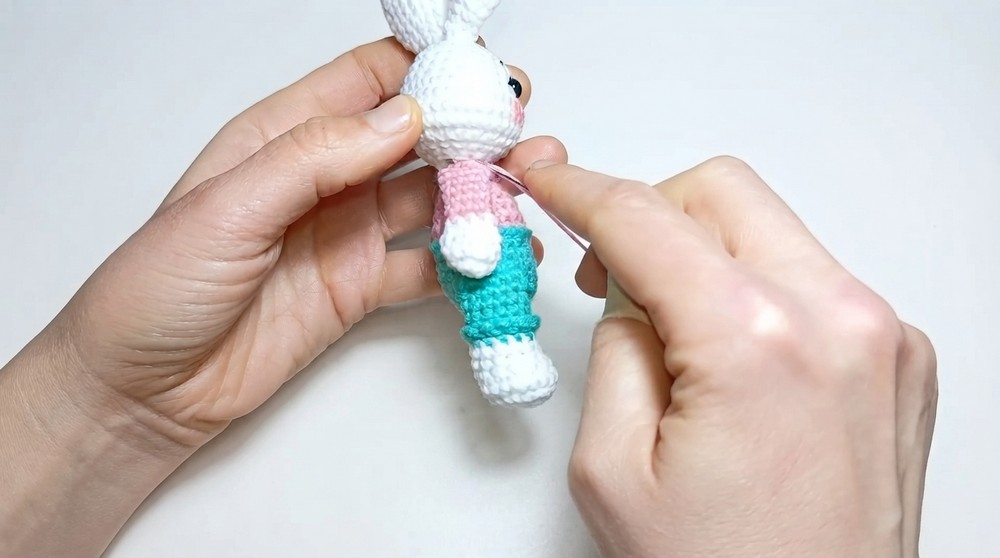
Suspenders:
- With your shirt or pant color, chain stitch (or surface crochet) from front pant edge, over the shoulder, to back pant edge on each side; secure ends with a stitch. Repeat for both suspenders.
Bow:
- Chain to desired width for bow, work 2–3 rows of single crochet.
- Fasten off, wrap yarn tightly around the center, and sew beneath chin or to head.
Keychain Loop:
- Using sturdy yarn, attach the keychain ring to the top of the bunny’s head with multiple tight stitches through the ring and head for strength.
Assembly & Finished Size
- Double-check that all parts are sewn securely, especially because a keychain will be handled often.
- Final bunny size: Approximately 14 cm (5.5 inches) tall, measured without the keychain ring.
- Aftercare: If gifting, remind recipient this is a handwash-only item.
Conclusion
You have now completed a lovable amigurumi bunny keychain, perfect for brightening up your daily routine or gifting to loved ones. With careful color placement and charming accessories, your bunny is sure to stand out as a unique and functional accessory.