Quick & Easy Crochet Easter Egg Free Festive Pattern

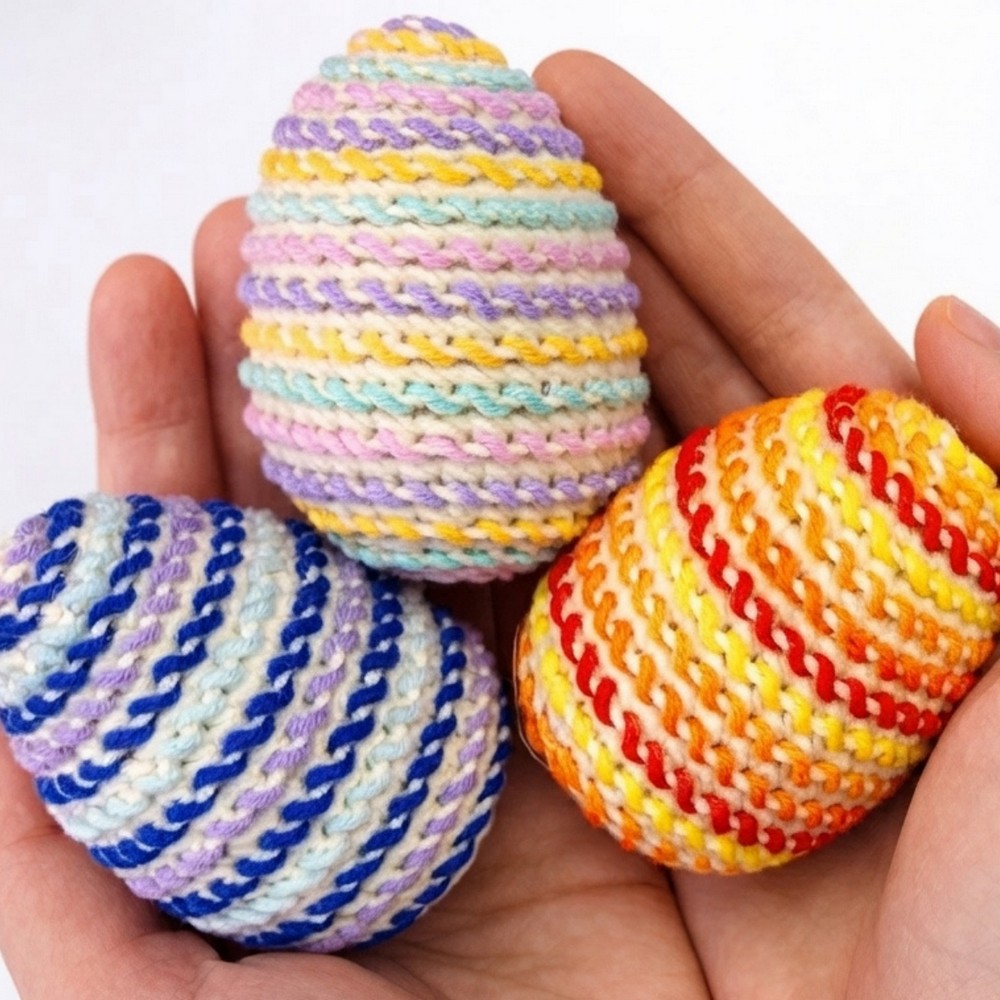
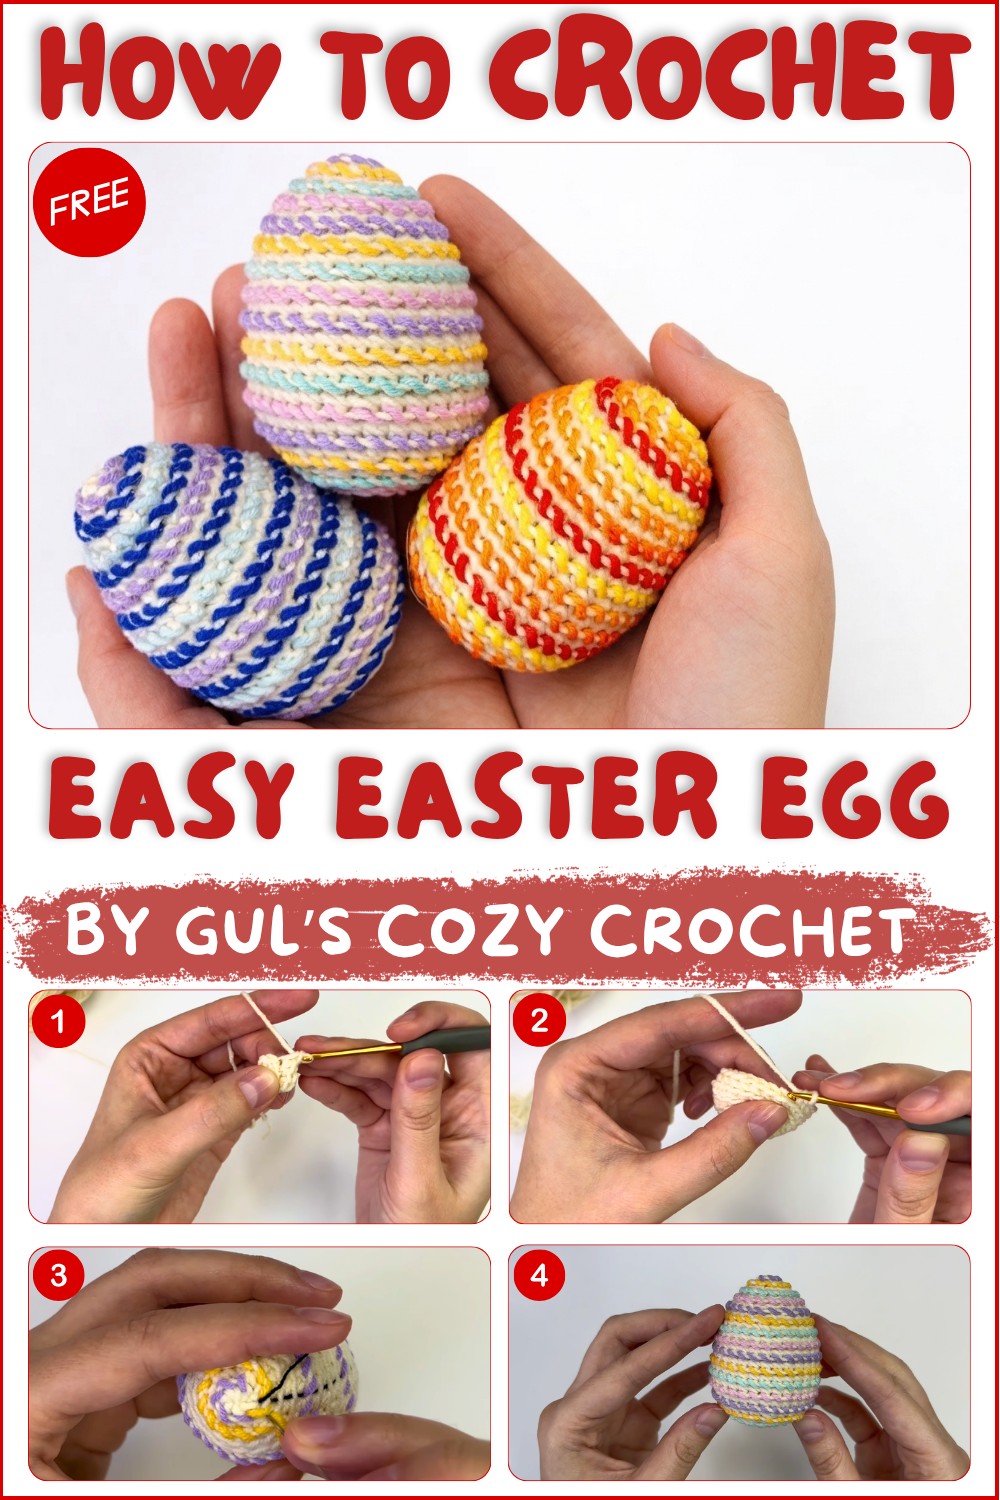
Brighten up your Easter celebrations with a free crochet Easter eggs pattern that’s simple, fun, and perfect for personalizing your holiday decor.
Adding a handmade touch to your spring celebrations can make the season feel even more heartwarming. The Free crochet Eggs Holder Easter Basket pattern from Gul’s Cozy Crochet offers a delightful way to bring charm and functionality together in one cozy creation. This basket is both practical and sweet, perfect for holding eggs, treats, or small gifts throughout the holiday.
Free Easter Crochet Egg Pattern – Bright Holiday Idea
Featuring a sturdy base and upright sides, this basket ensures your goodies stay safely nestled inside. The highlight is definitely the playful bunny ears that peek out from the rim, giving it a cheerful and festive personality. A tiny fluffy tail adds to its endearing look, making it a charming decorative piece for any Easter display.
Besides being a lovely decoration, this item works wonderfully as a thoughtful gift. Whether you fill it with chocolates or use it as a keepsake holder, it communicates warmth and care. The design is beginner-friendly and quick to complete, making it a rewarding project that fits well into a busy schedule.
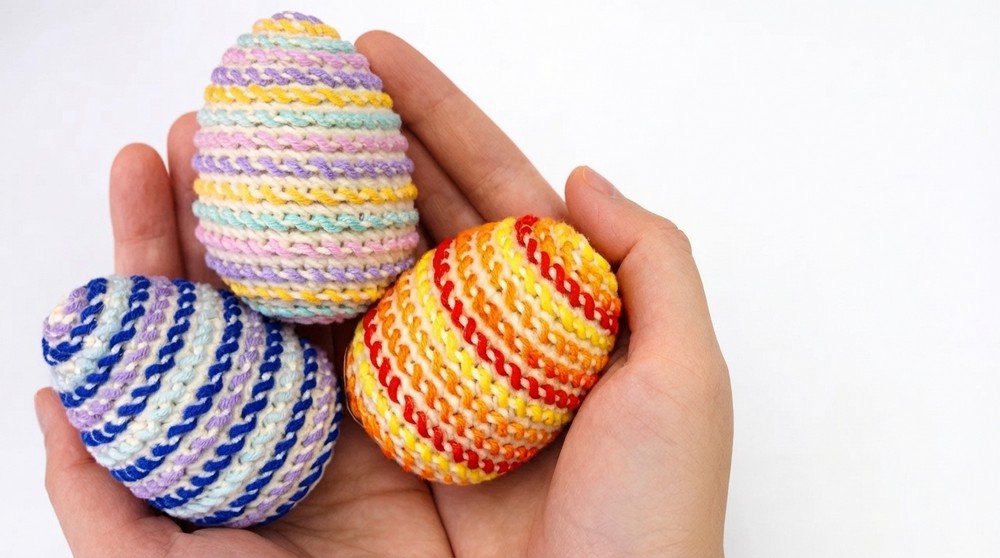
For a cozy and charming addition to your spring festivities, don’t miss out on the Free crochet Eggs Holder Easter Basket pattern available on Gul’s Cozy Crochet. It’s a wonderful way to add a personal touch to your celebrations.
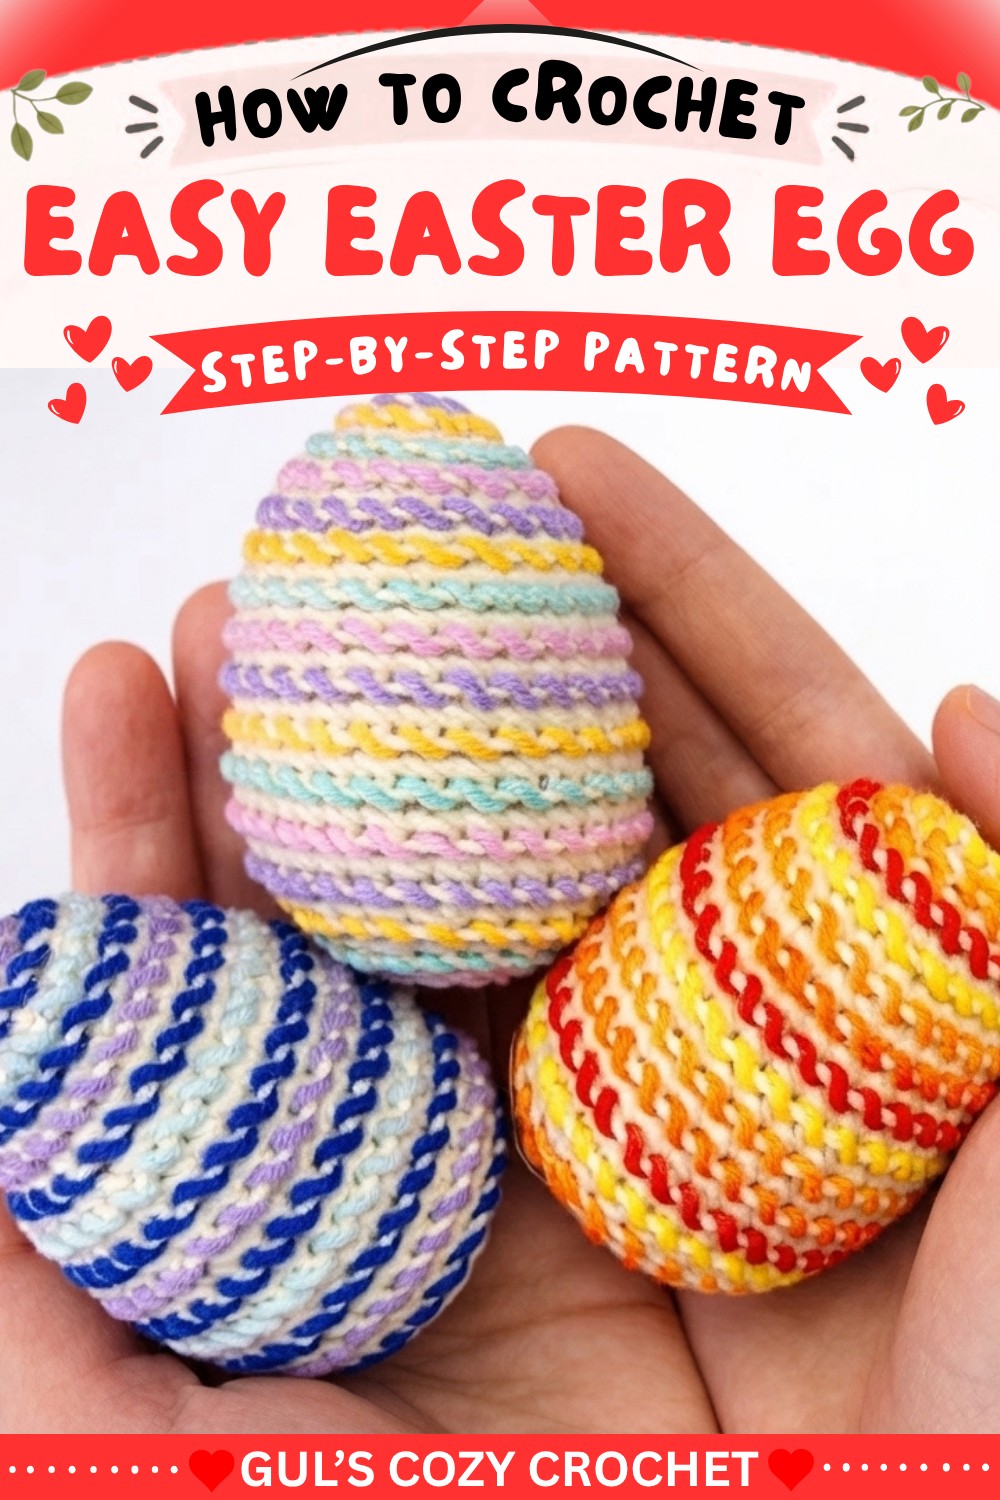
Crochet Easter Egg – Beginner Step-by-Step Pattern
Create a cute, textured Easter egg all in one piece! This pattern uses back loop only (BLO) stitches for extra detail and is perfect for beginners.
Pattern Highlights
- No sewing pieces together—one continuous oval
- Stripes effect: All stitches in the back loop only (BLO)
- Beginner shaping with easy increases and decreases
- Can add embroidery for extra decoration
Notes
- Work in a spiral: Don’t join; mark your first stitch of each round.
- BLO: Insert your hook only under the back loop of the stitch.
- Stuff before the top closes: Add stuffing as you go.
- Decorate as you please!
Skill Level
- Beginner—if you know how to single crochet, increase, and decrease, you’re set!
Materials
- DK/Light (3) or 4-ply yarn
- 2.5 mm crochet hook
- Stuffing (polyester fiberfill)
- Stitch marker
- Yarn needle
- Scissors
- (Extras: contrasting yarn for decoration)
Finished Size
- About 5–6.5cm (2–2.5 in) tall, approx. 3.5–4cm wide (final size depends on yarn/hook/tension)
Stitch Abbreviations
- MR: Magic ring
- sc: single crochet
- inc: increase (2 sc in 1 stitch)
- dec: decrease (sc 2 together)
- BLO: back loop only
- sl st: slip stitch
Special Techniques
- BLO: Insert hook only through the back loop of each stitch (the side farthest from you).
- Invisible decrease: Insert hook into the BLO of the next 2 stitches, yarn over, pull up a loop, yarn over, pull through both loops.
The Egg Pattern
All stitches are in back loop only (BLO) unless noted
Step 1: Crocheting the Egg
Round 1
- Make a magic ring (MR).
- Work 6 sc into the ring.
- [6 stitches]
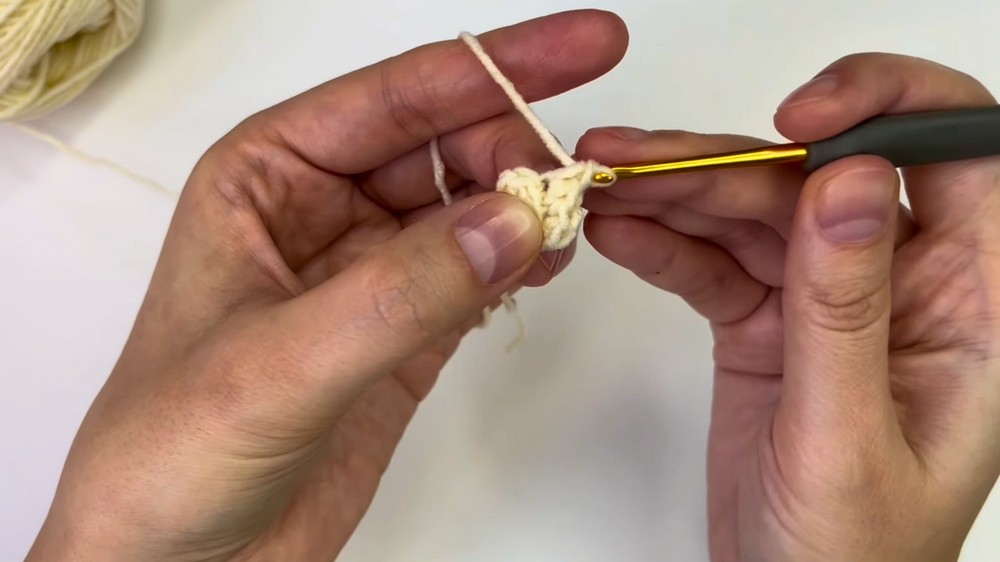
Round 2
- 2 sc (inc) in each stitch around (increase in every stitch).
- [12 stitches]
Round 3
- Work 1 sc in next stitch
- Then 2 sc (inc) in the next stitch
- Repeat from * to * around.
- [18 stitches]
Round 4
- 1 sc in each stitch around.
- [18 stitches]
Round 5
- Work 1 sc in next stitch
- Then 2 sc (inc) in the next stitch
- Then 1 sc in the following stitch
- Repeat this sequence all the way around.
- [24 stitches]
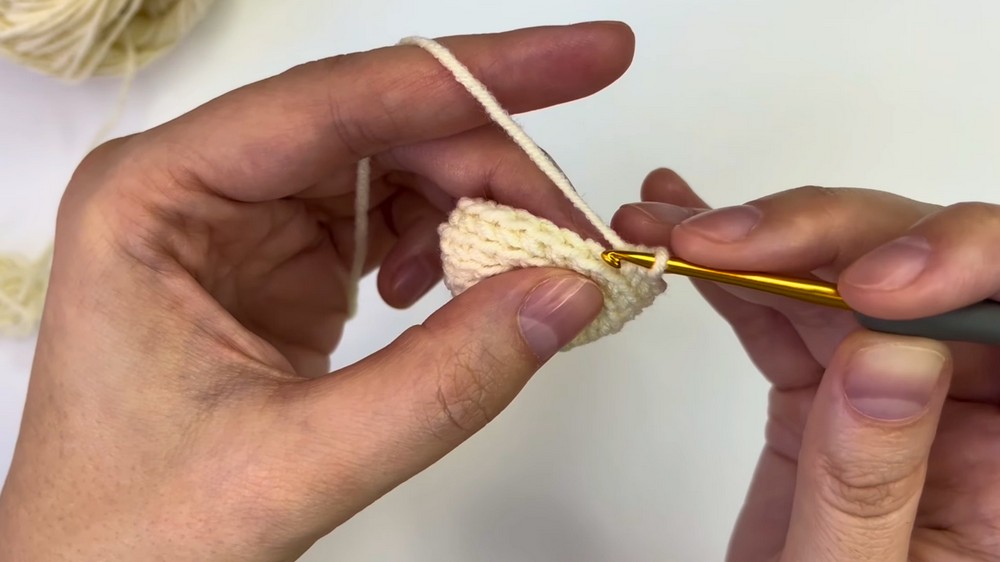
Round 6
- 1 sc in each stitch around.
- [24 stitches]
Round 7
- Work 1 sc in each of the next 3 stitches
- Then 2 sc (inc) in the next stitch
- Repeat this sequence around.
- [30 stitches]
Rounds 8–13
- 1 sc in each stitch around.
- Do this for 6 rounds.
- [30 stitches per round]
Round 14
- Work 1 sc in each of the next 3 stitches
- Then dec (sc 2 together) over next 2 stitches
- Repeat this pattern around.
- [24 stitches]
Round 15
- Work 1 sc in next stitch
- Then dec (sc 2 together) over next 2 stitches
- Then 1 sc in next stitch
- Repeat this pattern around.
- [18 stitches]
Round 16
- Work 1 sc in next stitch
- Then dec (sc 2 together) over next 2 stitches
- Repeat this pattern around.
- [12 stitches]
- Pause here to stuff the egg firmly before the hole gets too small. Add extra stuffing if needed after the next round.
Round 17
- Work dec (sc 2 together) over the next 2 stitches
- Repeat this 6 times around.
- [6 stitches]
Finishing
- sl st to the next stitch for a smooth finish.
- Cut your yarn, leaving a tail.
- With your yarn needle, weave the yarn through the front loop of each of the last 6 stitches.
- Pull to close the hole securely.
- Weave in the yarn end to hide it.
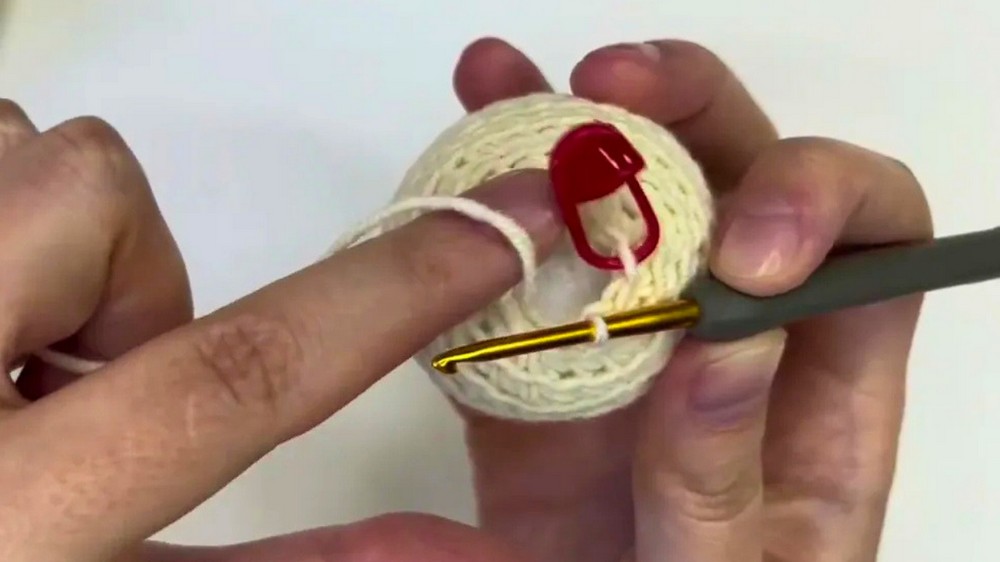
Step 2: Decorating the Egg (Watch the Video)
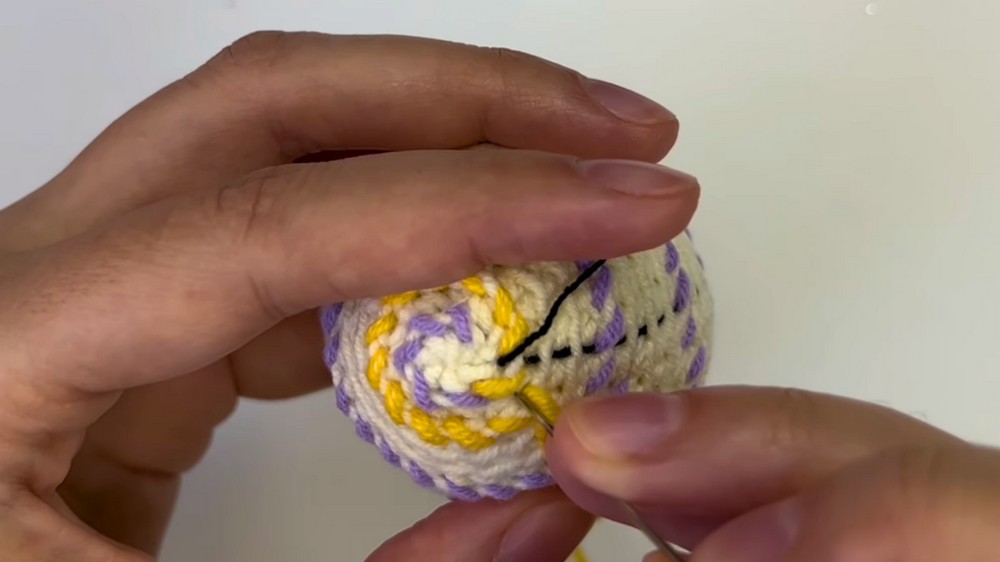
- Use a yarn needle and colored yarn to embroider stripes around the “ridges” created by the BLO rounds.
- Add dots, zigzags, tiny shapes, or even initials—be creative!
Assembly & Finished Size
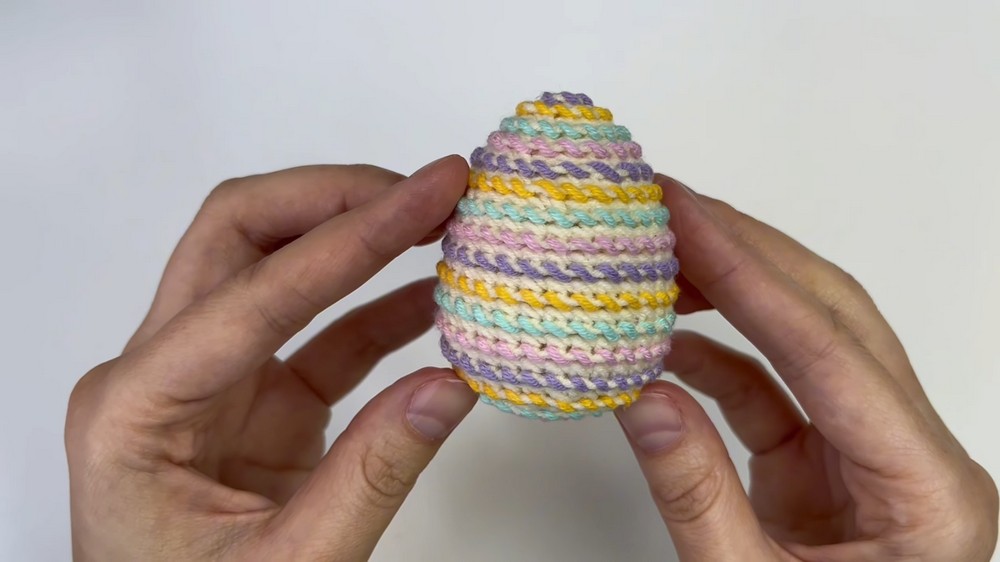
- Make sure the egg is finished and ends are woven in.
- Your egg should be about 5–6.5cm tall and 3.5–4cm wide.
- Make a bunch in different colors for a festive look!
Conclusion
Well done—you’ve finished your crochet Easter egg! This pattern is an excellent way to get comfortable with single crochet, increasing, decreasing, and working in the back loop only. Have fun making more eggs in various colors and styles, and show off your handmade creations for Easter.