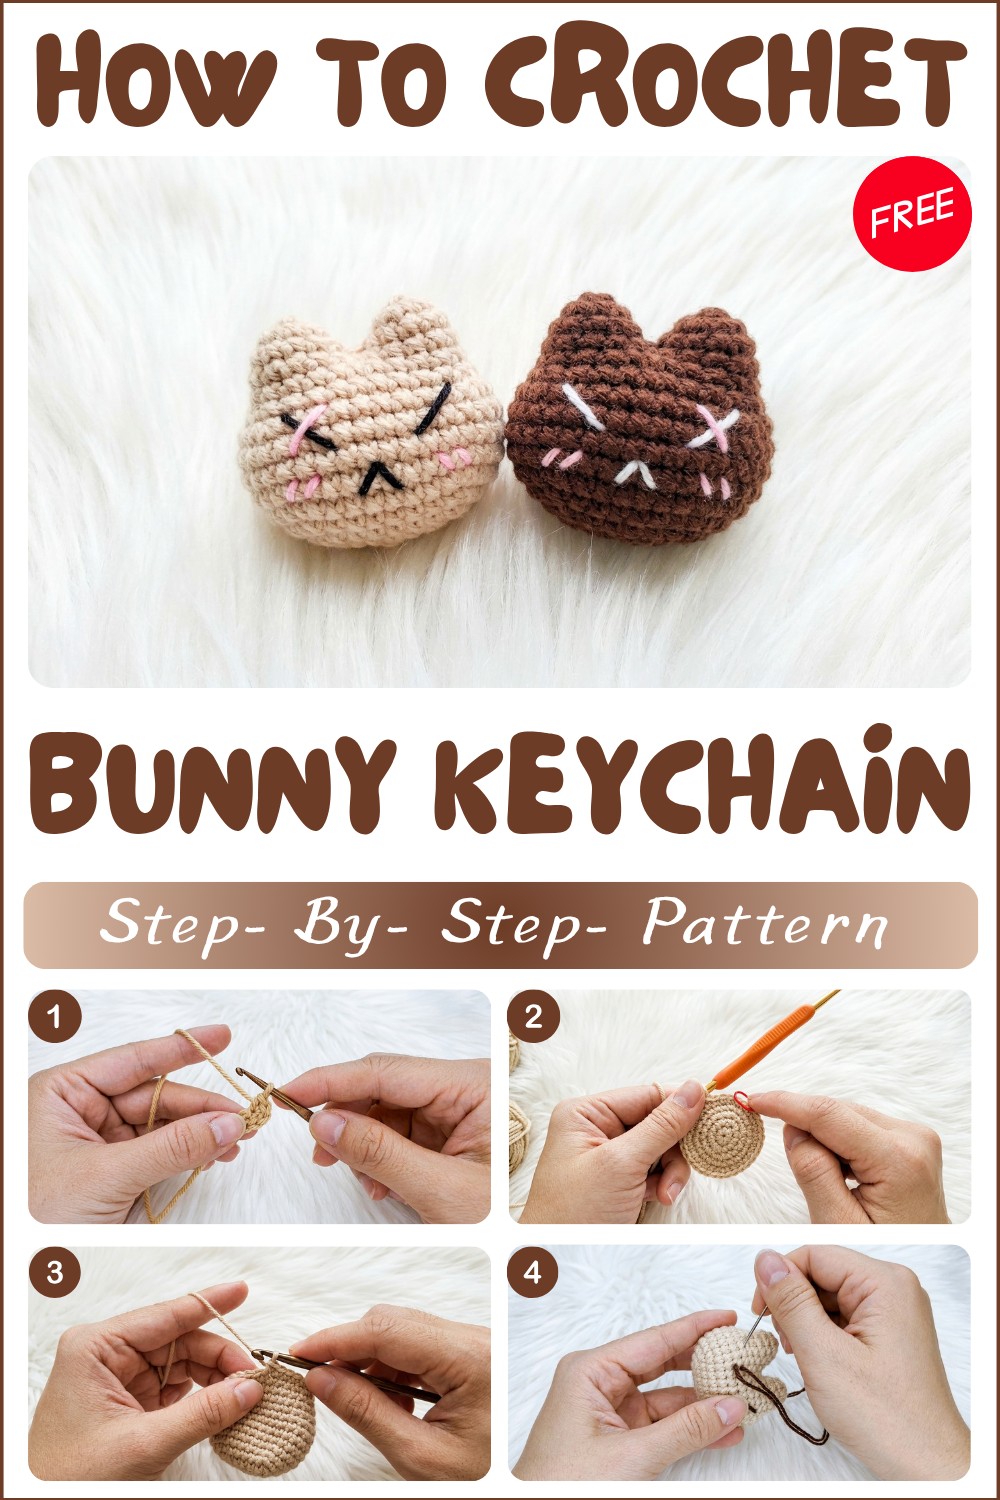
Learn How to Crochet Bunny Keychain Pattern for Trendy Looks

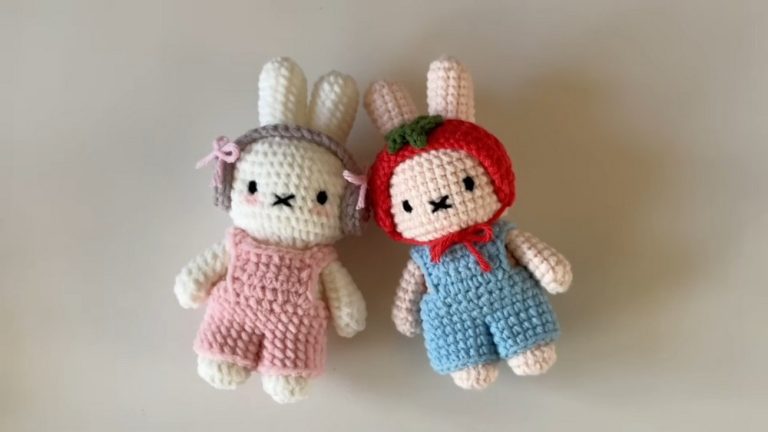
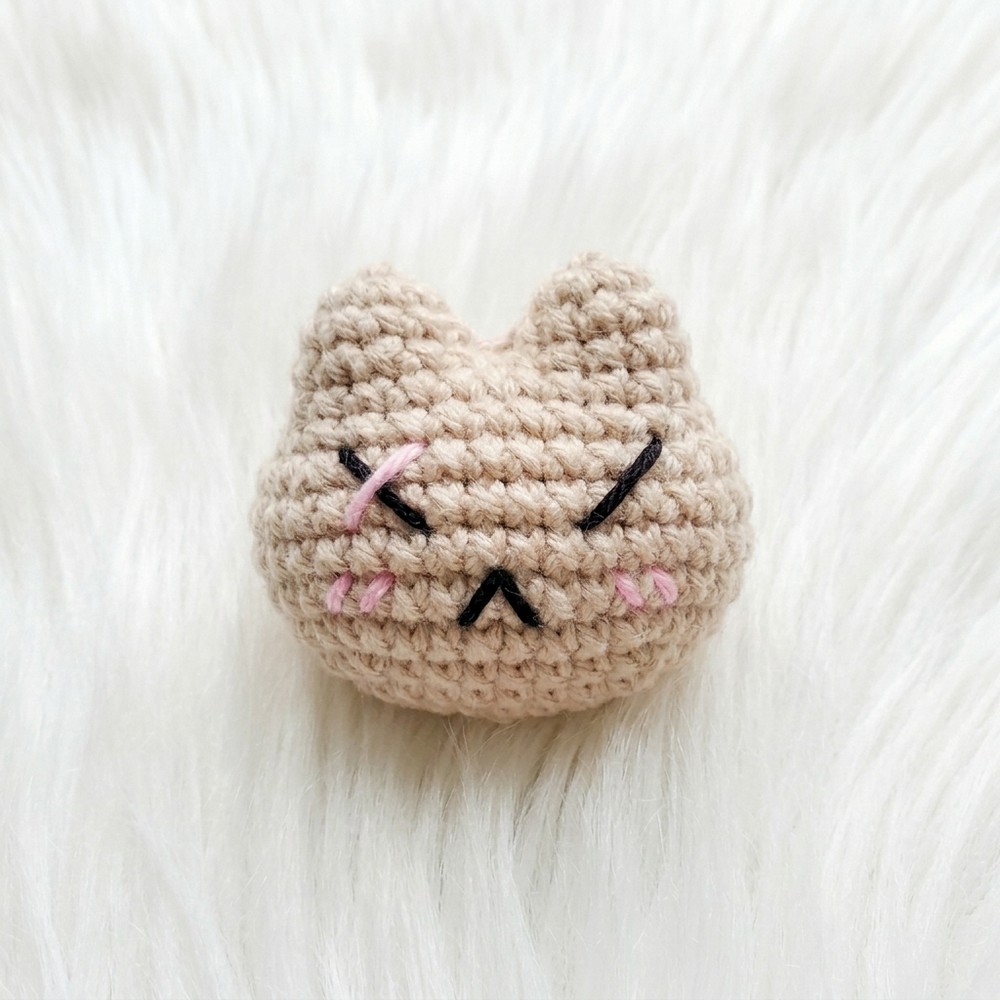
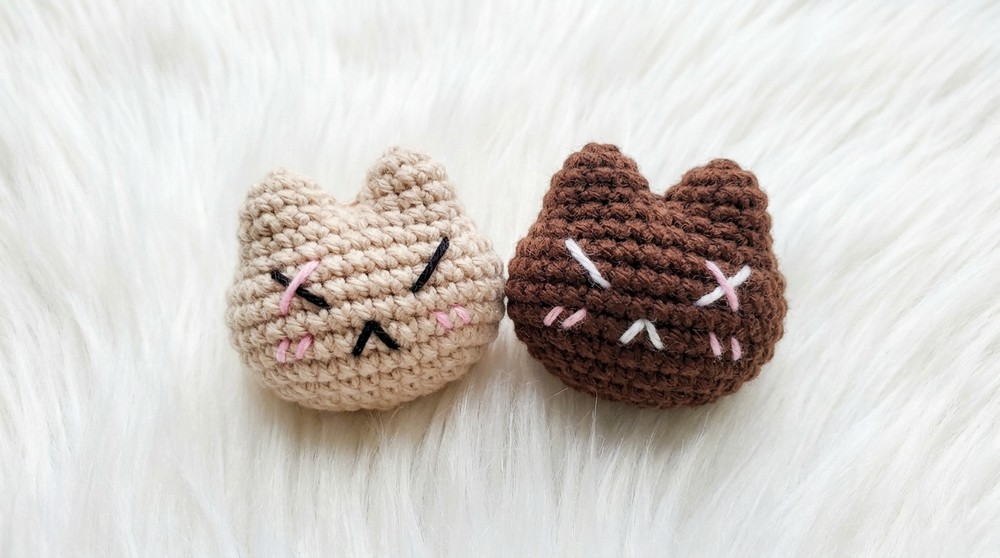
The bunny keychain looks absolutely delightful. It has a soft round body with big floppy ears that make it look extra sweet and friendly. The texture feels smooth and plush because of the tight, neat stitches that keep its shape while feeling nice to touch. Small embroidered eyes and nose give the bunny a warm, handmade charm. Its size is just right to hang on keys, backpacks, or zipper pulls, adding a cute and playful touch wherever you use it.
This project is great for beginners. The main stitch you will use is the single crochet stitch, which is simple and easy to learn. The pattern also shows you how to shape and join the pieces step by step, so even if you are new to crochet, you will find this project manageable and enjoyable. It is a quick and rewarding way to practice your skills.
Whether you want to gift someone a sweet handmade token, decorate your bags, or collect adorable keychains, this bunny pattern is a wonderful choice. It is cute, useful, and full of charm. If you want a simple crochet project that brings joy with every stitch, this free crochet Bunny Keychain Pattern is perfect for you. Give it a try and enjoy making something special.
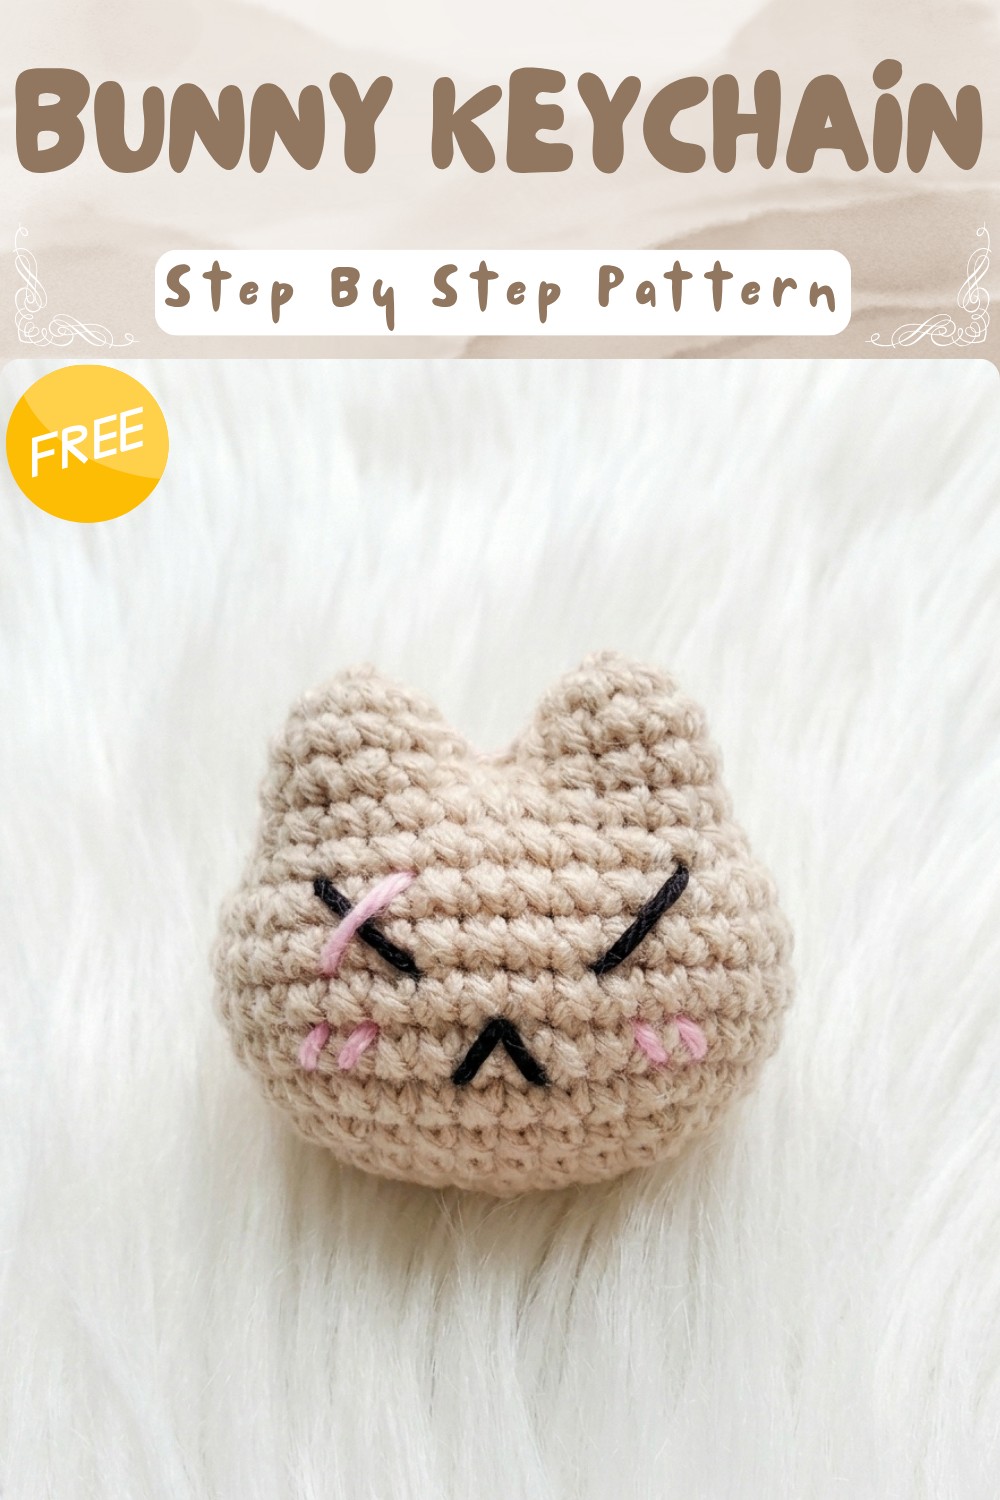
Bunny Head Keychain Amigurumi — Step-by-Step Pattern
Summary
Create a charming Bunny Head Keychain amigurumi with this detailed, beginner-friendly pattern. The bunny unique shape is formed through single crochet stitches and strategic increases and decreases. Personalize your rabbit with colored yarn for cheeks, or embroider the face to add character. This pattern follows the exact process from Bo Hamet’s tutorial and produces a soft, squeezable toy perfect for gifts or keepsakes.
Pattern Notes
- Worked in rows and rounds, with precise stitch counts for shaping.
- The head and body are crocheted as one piece.
- All “V-stitches” refer to working two single crochet in the same stitch.
- Decreases are worked as single crochet 2 together (sc2tog).
- Embroidery is required for the facial features.
- Change colors, stuff, and sew as directed for a neat finish.
Skill Level
Beginner to Advanced Beginner
(Basic amigurumi, single crochet in rows and rounds, sewing & embroidery)
Materials
- Worsted weight yarn: beige (or any color of choice), Black (face), Pink (cheeks)
- Crochet hook (matching yarn thickness)
- Fiberfill stuffing
- Stitch marker
- Yarn needle
- Scissors
Measurements / Sizing
- Finished rabbit head: Approx. 7–9 cm tall / 3–3.5” (Varies per yarn/hook/stuffing)
- Arms: About 3 cm / 1.25” long each
Gauge
- Not critical for amigurumi.
- Ensure stitches are tight to avoid stuffing showing.
Stitch Abbreviations
| Abbreviation | Definition |
|---|---|
| ch | Chain |
| sc | Single crochet |
| sc2tog | Single crochet two stitches together (decrease) |
| st(s) | Stitch(es) |
| sl st | Slip stitch |
| FO | Fasten off |
| RS | Right side |
| WS | Wrong side |
Special Stitches
- V-stitch: 2 sc in the same stitch (used for increases).
- sc2tog: Single crochet two stitches together for decreases.
The Crochet Pattern
Rabbit Head & Body
1. Foundation Row
- With beige yarn (or any color), ch 8.
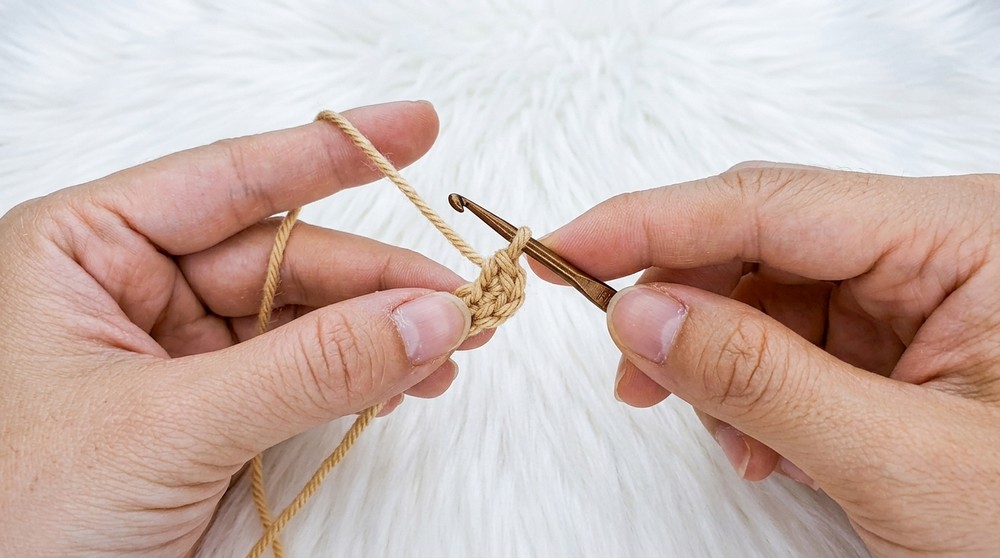
- Turn, skip first ch, sc in 2nd ch from hook. Mark this stitch.
- Sc in each of the next 5 ch (total 6 sc).
- In last ch, 3 sc in same stitch (corner turn).
- Continue working on opposite side of foundation chain:
- Sc in first ch, sc in each of the next 4 ch (clip excess yarn as you go).
- In last ch, 2 sc in same stitch.
(Total: 16 sc. Slip st to first sc to join.)
2. Round 2
- Ch 1. Mark first st.
- [2 sc in first st], sc in each of next 5 st, [2 sc in next st] x 4, sc in next 5 st, [2 sc in next st] x 2.
(Total: 22 sc. Sl st to first.)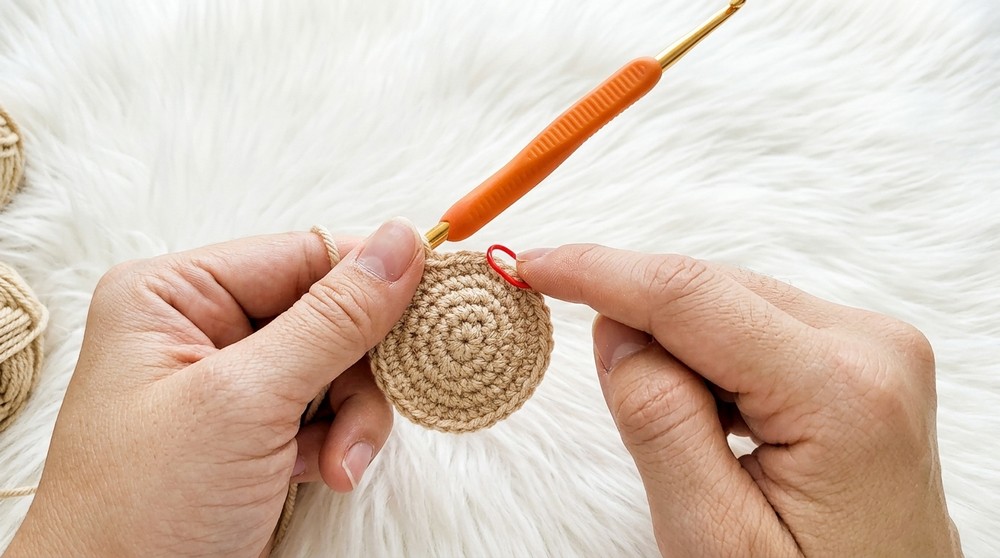
3. Round 3
- Ch 1, sc in first st, mark.
- V-stitch (2 sc in next st).
- Sc in next 5 st.
- Sc in next st, V-stitch (2 sc).
- Repeat V-stitch in next 6 st.
- Sc in next 5 st.
- Sc in next st, V-stitch (2 sc), sc in next st, V-stitch (2 sc) in last st.
(Total: 28 sc. Sl st to first.)
4. Round 4
- Ch 1, sc in first st, mark.
- V-stitch (2 sc).
- Sc in next st, sc in next 5 st, sc in next st.
- V-stitch, sc in next st, V-stitch, sc in next st, V-stitch, sc in next st, V-stitch, sc in next st, V-stitch, sc in next st, V-stitch.
- Repeat (sc, V-stitch) x 8, sc in next st, sc in next 5 st.
- sc, V-stitch, sc, V-stitch as repeat.
- Finish with V-stitch, sc, V-stitch.
(Total: 34 sc. Sl st to first.)
5. Rounds 5–7
- Ch 1, mark first st.
- Sc in each st around (34 sc each round). Sl st to first.
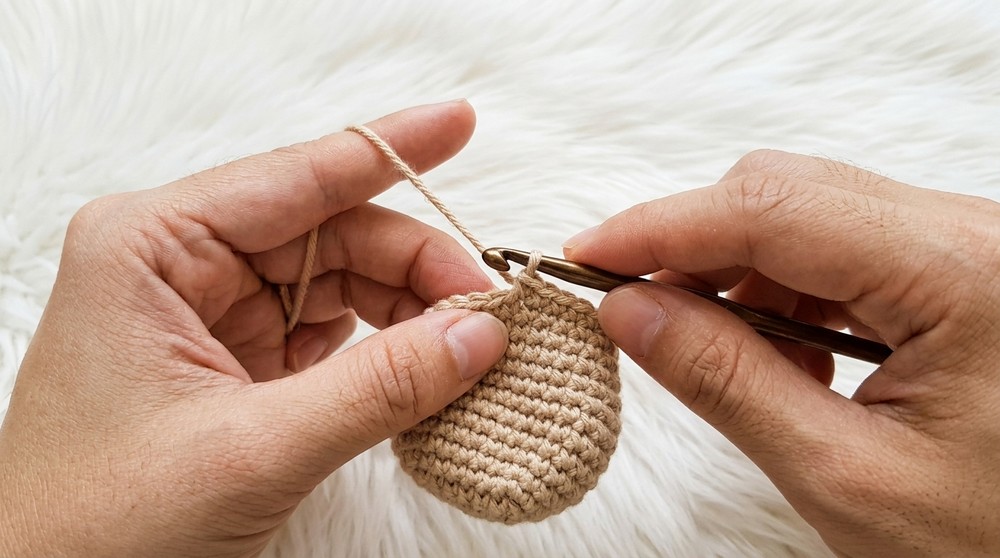
6. Rounds 8–10 (Begin Decreases)
- Ch 1, mark first st.
- [sc2tog], sc in next 9 st, [sc2tog], sc in next 4 st, [sc2tog], sc in next 9 st, [sc2tog], sc in last 3 st.
(Total: 30 sc). Sl st to first. - Next round: [sc2tog], sc in next 9 st, [sc2tog] x 3, sc in next 9 st, [sc2tog] x 2, finish round. Sl st to first.
(Total: 24 sc).
7. Rounds 11–12
- Ch 1, mark first st.
- Sc in each st around (24 sc each round). Sl st to first.
Rabbit Arms (Make 2)
1. First Arm
- Count back 6 st from your last stitch on R12 and mark.
- Join yarn, sc in marked st and next 5 (6 sc).
- Join to first sc to make a closed round.
- Ch 1, mark first st.
- Sc in each st around (6 sc).
- Repeat for 2 rows (total 3 rows).
- Next round: [sc2tog], sc in next st, [sc2tog], sc in next st, [sc2tog] (total 8 sc).
- FO, leaving a tail. Sew round ends closed, gather slightly for shaping.
2. Second Arm
- Join yarn in opposite position on R12, sc in 6 st.
- Work 3 rows of sc.
- Next round: [sc2tog], sc in next st, [sc2tog], sc in next st, [sc2tog], sc in next st (total 8 sc).
- FO, leave a long tail. Sew as above.
Assembly & Face
- Stuff head firmly with fiberfill.
- Use left-over tails to sew/gather the bottom for a gentle squat shape.
- Close the arm ends, stuff lightly, sew to body.
Embroider Face
- Eyes: Use black yarn.
- Place eyes between Rows 7 & 8. Count stitches to mark position (2-3 stitches apart).
- Use needle from back to front, embroider diagonal lines across two stitches each for eyes.
- Mouth: Use black yarn.
- Position between eyes, one row below, embroider gentle curve across two stitches in center.
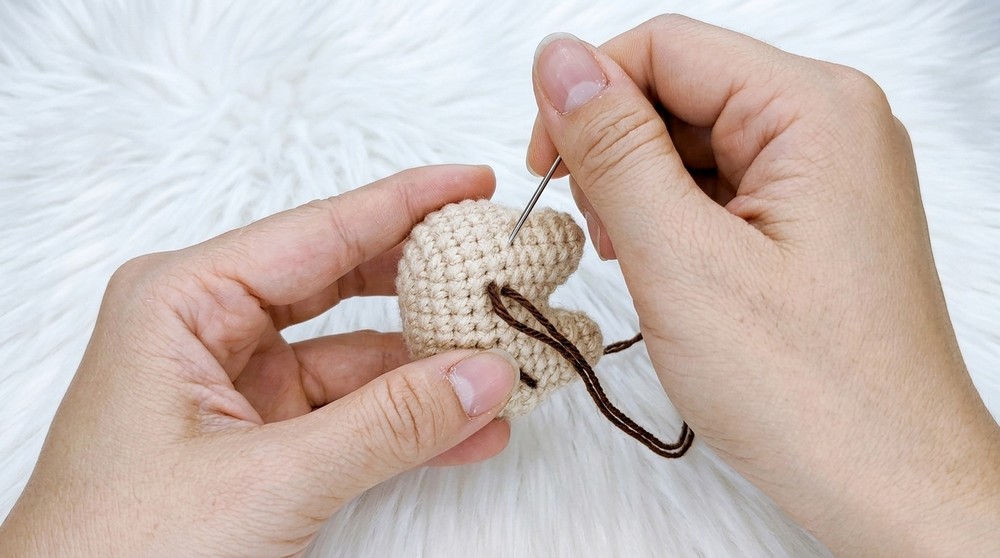
- Position between eyes, one row below, embroider gentle curve across two stitches in center.
- Cheeks: Use pink yarn.
- Below eyes, one row lower, embroider an x-shape for rosy cheeks under each eye.
Final Details
- Hide all yarn tails inside rabbit, securing knots for durability.
- Shape rabbit gently; add extra stuffing if needed.
Finished Size & Checklist
- Head: 7–9 cm tall (varies by yarn/hook)
- Arms: Approx. 3 cm long
- All facial features embroidered
- All seams tightly sewn; no gaps
- Personalize by using any color for the rabbit or cheeks
Congratulations.
Your scarred bunny amigurumi is complete—soft and expressive, with delightful embroidered features and secure limbs. Display proudly or gift with love.