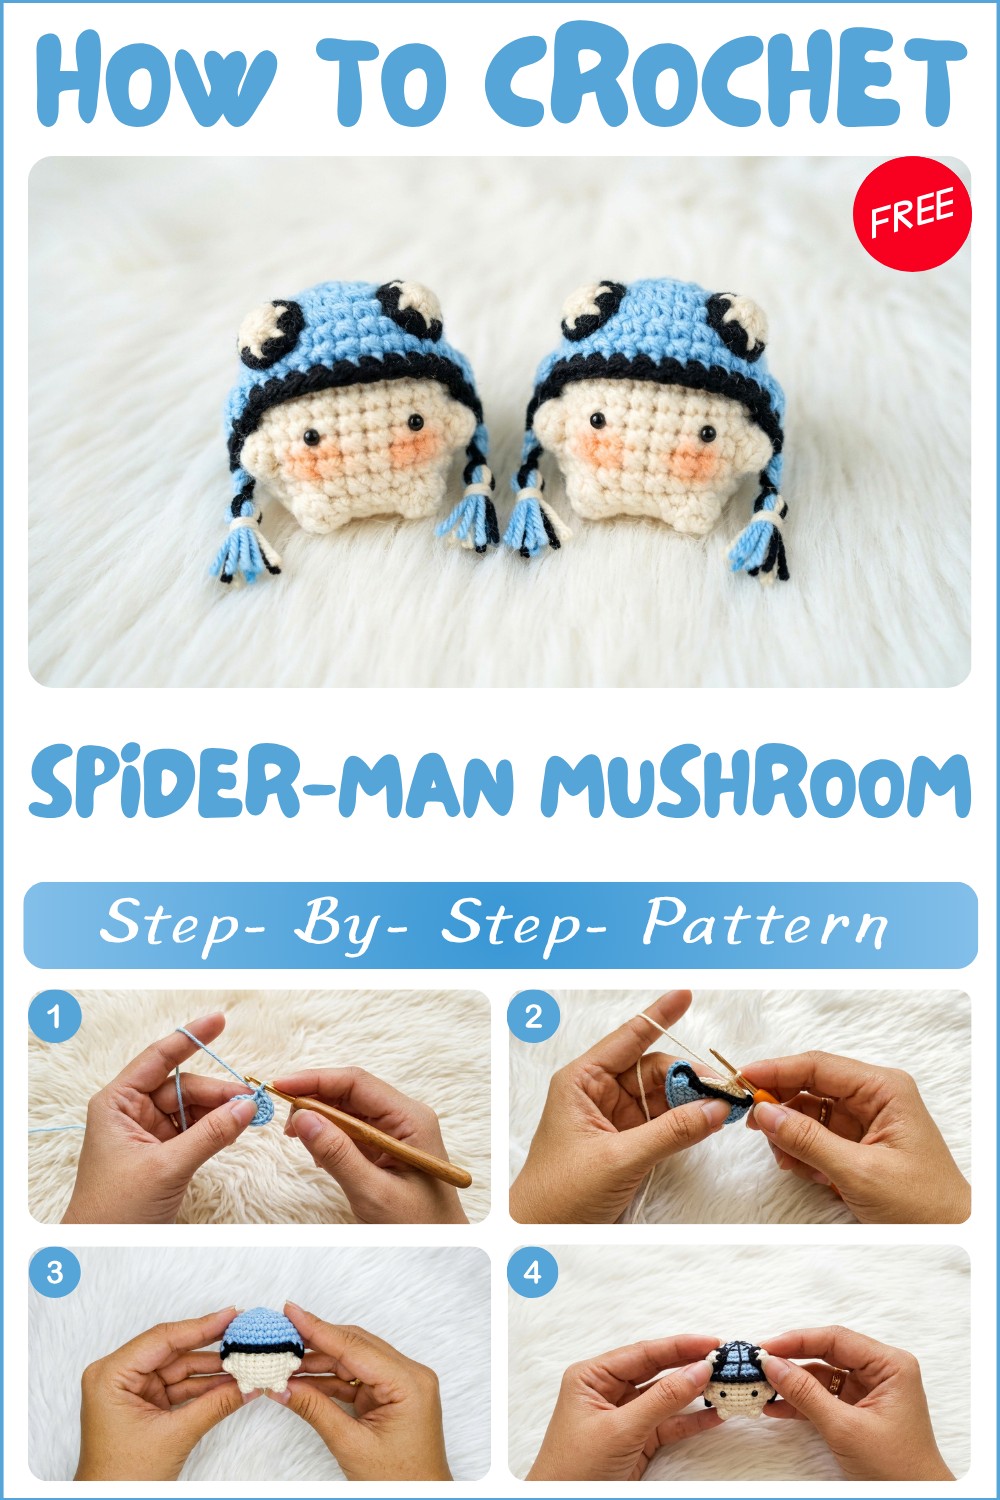
How to Crochet Spider-Man Mushroom Pattern With Hat

Free Crochet Spider-Man Mushroom Pattern for Eye-Catching Decor
Yarn
For this Spider-Man Mushroom hat, I recommend a smooth, medium-weight yarn like worsted acrylic or a cotton blend. This type of yarn offers just the right balance of softness and structure, helping the hat hold its rounded shape while showing off stitch details like the V stitches and corn kernels clearly. I’ve used similar yarns in hats and amigurumi projects, and they provide great stitch definition without being too stiff. It’s also durable and easy to wash, which is perfect for kids’ accessories. Always try a small swatch first to check your tension and see how the yarn behaves before diving in.
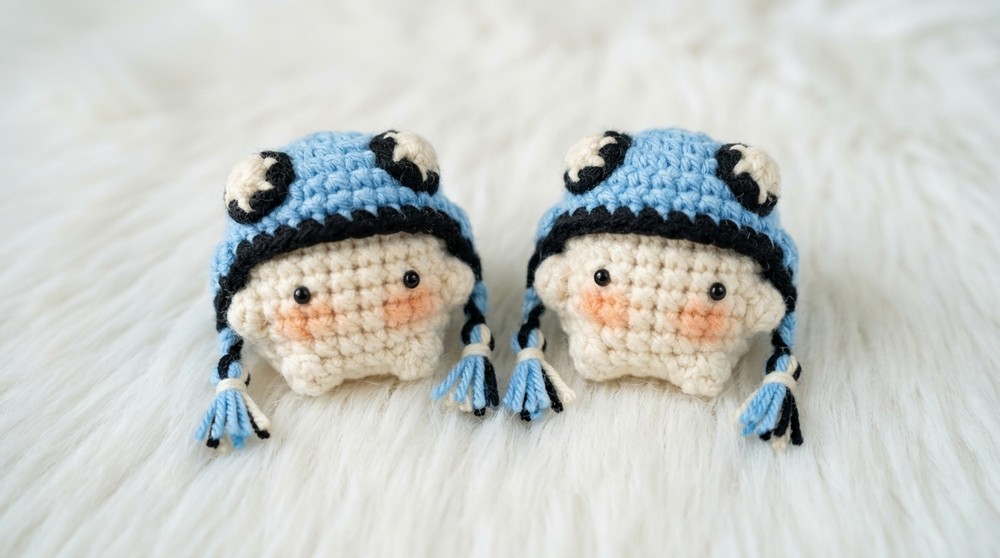
Inspired by the iconic Spider-Man, this design captures the superhero’s essence without being overly literal, making it versatile and fun. Choosing a smooth worsted-weight yarn with a little resilience really complements the stitch texture, helping your spider web details pop while keeping the fabric soft and wearable. It’s a perfect yarn choice for achieving both comfort and the bold look this design demands.
Summary
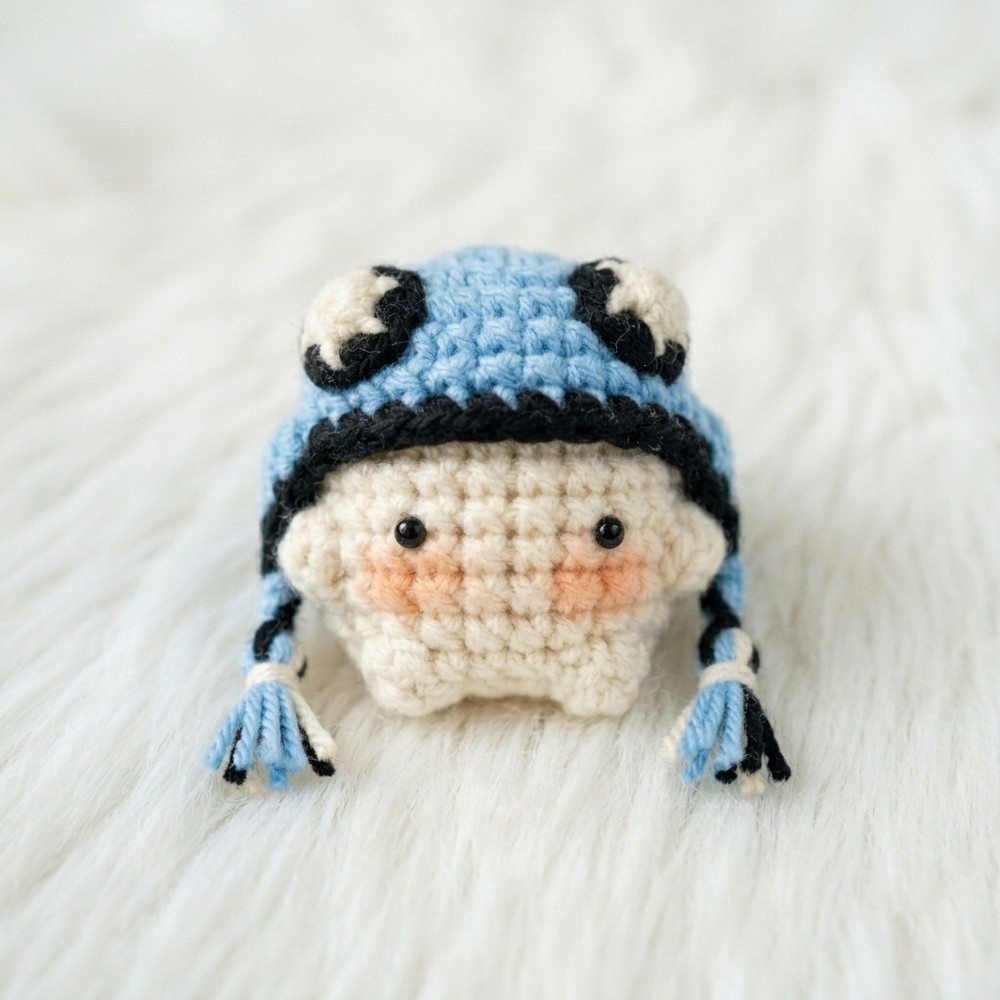
Crochet an adorable Spider Superhero Hat suitable for babies! This lively hat features a red rounded crown, stylized arm flaps, bold black edge, dramatic spider web embroidery, and superhero eyes. Each step is designed for beginners and is well suited for cosplay, Halloween, photography props, or everyday superhero adventures. The instructions are written in clear rounds and rows to ensure you can follow along even if you’re new to crochet.
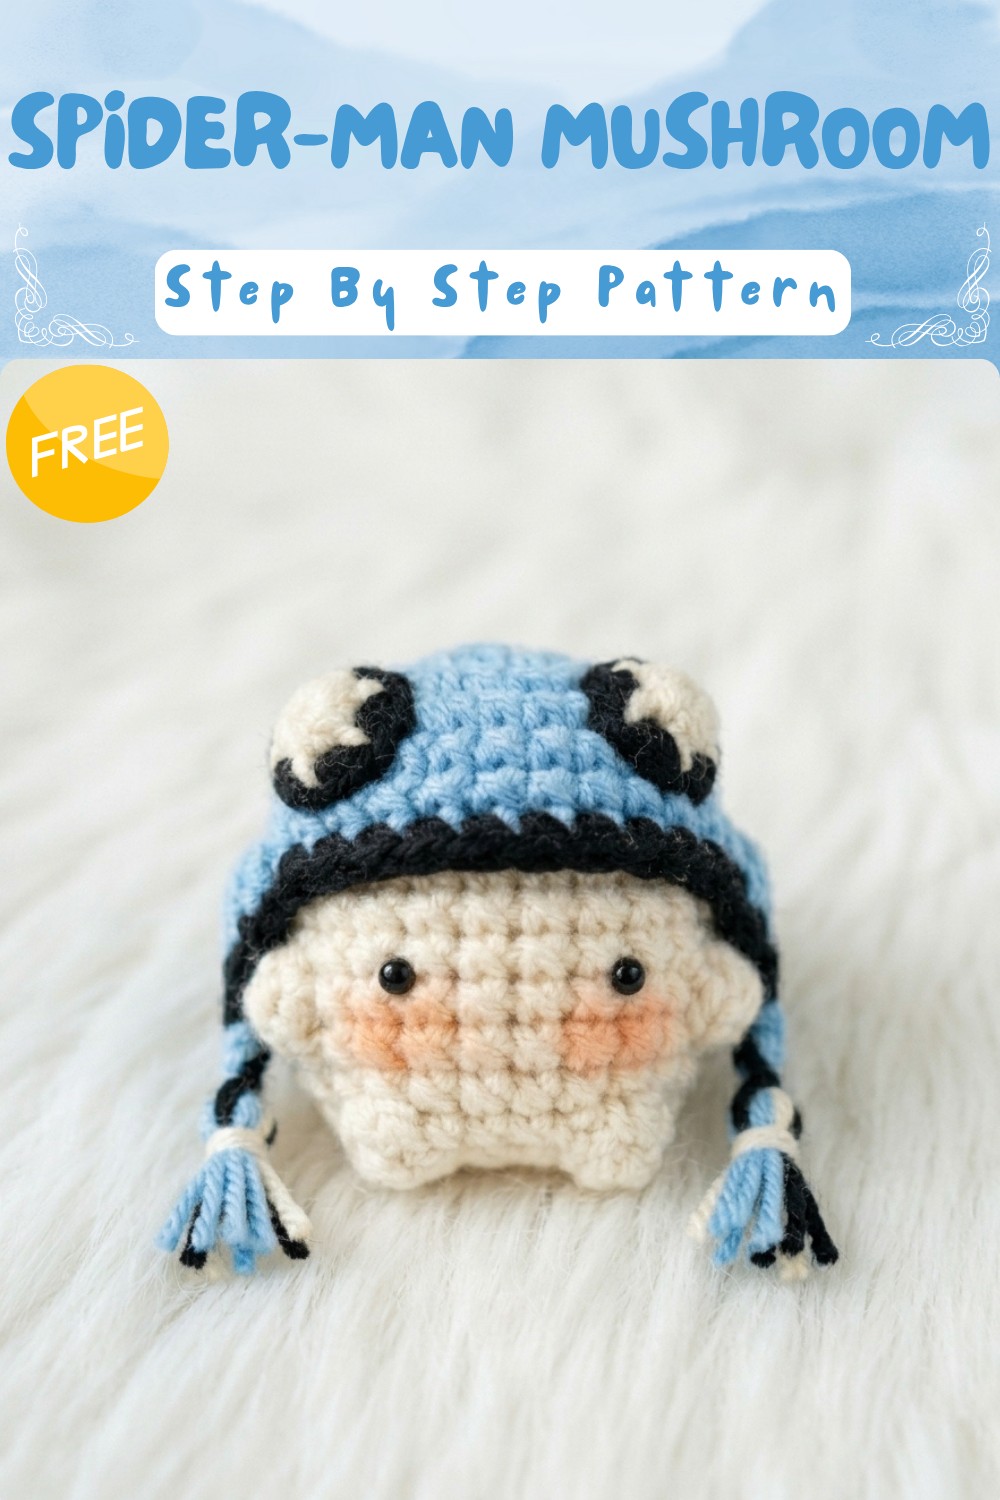
Spider Superhero Crochet Baby Hat Pattern
Pattern Notes
- All rounds are worked in joined rounds, ending with a slip stitch unless specified otherwise.
- Use a stitch marker to keep track of rounds.
- “V” refers to increase (2 single crochet in the same stitch).
- “Corn kernel stitch” refers to a bobble (see Special Stitches).
- Some steps use basic embroidery for the spider web effects, and yarn strands for added drama.
- The arms are crocheted directly onto the main body, no sewing needed.
Skill Level
Beginner: Uses magic ring, single crochet, increases, decreases, slip stitches, basic embroidery, and simple sewing.
Materials
- DK or light worsted weight yarn: light blue (hat), Black (web/edge), White (body)
- 2.5 mm or 3 mm crochet hook
- Stitch marker
- Yarn needle
- Scissors
- Fiber stuffing (optional for arm tips)
- Craft glue (optional for eyes)
Measurements / Sizing
- Circumference: ~36–38 cm (fits newborn–3 months)
- Height: ~13 cm including arms
Gauge
- 6 rounds of single crochet in the flat circle = 6.5 cm (2.5 inches)
- Aim for tight, neat stitches for sturdy fabric.
Stitch Abbreviations
| Abbreviation | Meaning |
|---|---|
| MR | Magic ring |
| ch | Chain |
| sc | Single crochet |
| inc (V) | Increase (2 sc in 1 st) |
| dec | Decrease (sc2tog) |
| sl st | Slip stitch |
| st(s) | Stitch(es) |
Special Stitches
- Magic Ring (MR): Wrap yarn in a loop, insert hook, pull up loop, ch 1, work sc into the ring, pull tail tight to close.
- Corn Kernel Stitch (Bobble): (Yarn over, insert hook, pull up a loop) x 4 times in the same st. Yarn over, pull through all loops on hook.
- Invisible Decrease: Insert hook into front loops of next two sts, yarn over, pull through both, yarn over again, pull through.
The Crochet Pattern! (Step by Step)
Hat Crown
- Round 1: MR, 6 sc into ring. Pull tight. Sl st to first stitch. (6)
- Round 2: Ch 1, 2 sc in each st (inc/V) around. Sl st to first st. (12)
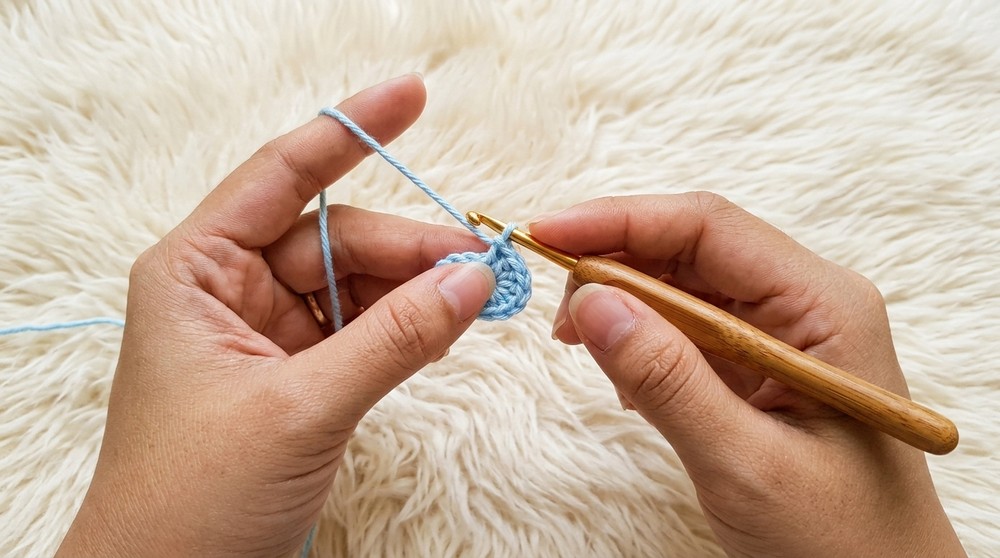
- Round 3: Ch 1, (1 sc, 1 V) repeat around. Sl st to first st. (18)
- Round 4: Ch 1, (1 sc, 1 V, 1 sc) repeat around. Sl st to first st. (24)
- Rounds 5–6: Ch 1, sc in each st around. Sl st to first st. (24 each round)
- Fasten off, use a needle to hide tail.
After finishing the crown, you have a neat dome that forms the top of the hat. Count your stitches carefully to ensure your increases are correct.
Crocheting the Arms
First Arm:
- Skip the first 4 stitches from where you ended. Join yarn into the 5th st.
- Ch 1, sc into same st & next three sts (4 sc total). Turn.
- Repeat above step for 3 rows (4 sc each row).
- Ch 1, turn, dec, dec (now 2 sc).
- Ch 1, turn, dec (now 1 sc).
- Leave a 10–15 cm tail, cut yarn.
Second Arm:
- Skip next 8 sts from first arm, join yarn in the 9th st.
- Repeat as for first arm.
These stubby arms are directly crocheted onto the hat—cute and playful! This makes the hat easy to assemble, especially for beginners.
Black Edge
- Join black yarn to any st around the edge. Ch 1.
- sc in each st around the rim, including the ends of arms (add 3 sc at tip of each arm for curve).
- Sl st to join, fasten off.
This defined edge adds drama and completes the superhero look. You can add a second round for more boldness.
White Inner Ring / Hat Body
- Join white yarn to the inside edge of crown.
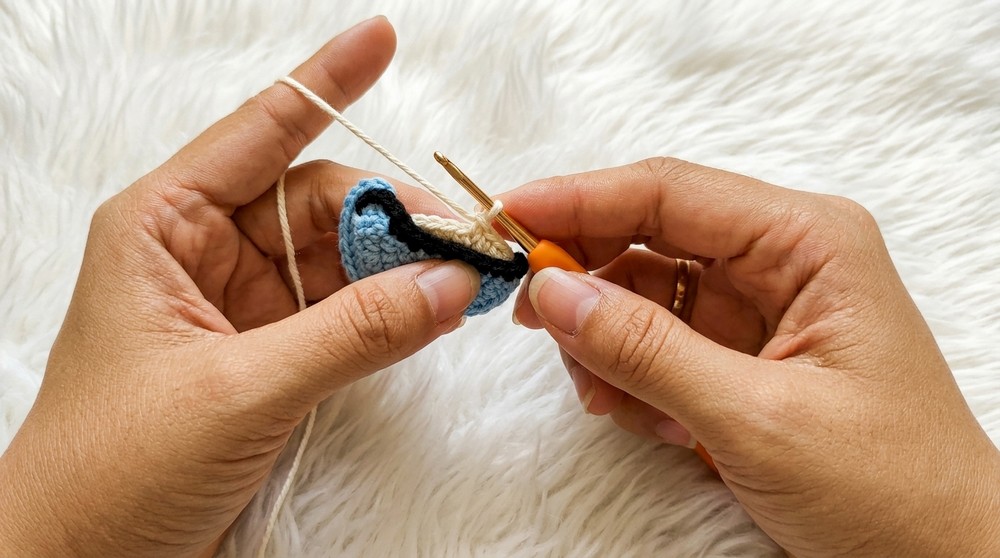
- Round 8: Ch 1, sc in each st around. Sl st to first st. (24)
- Rounds 9–10: Ch 1, sc in each st around. Sl st to first st. (24 each round)
- Fasten off.
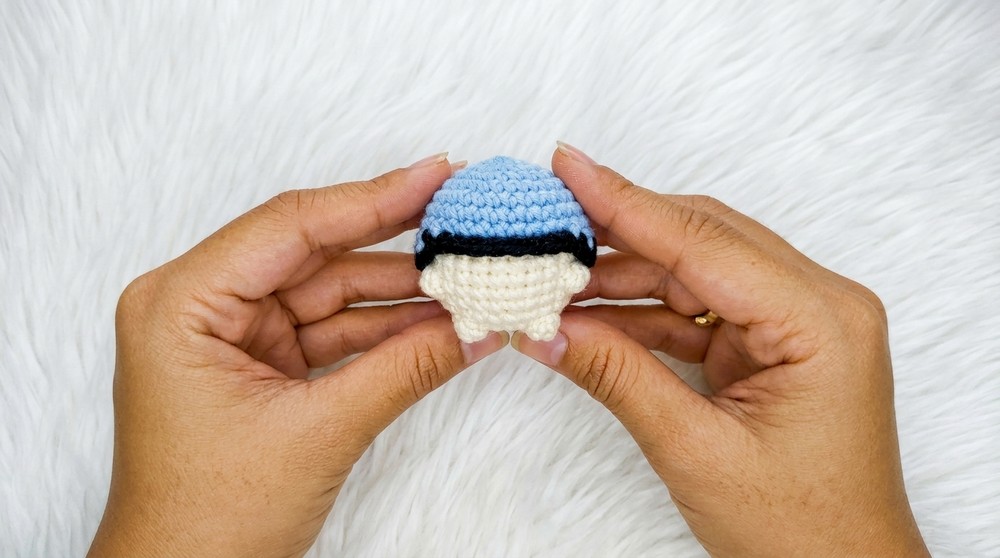
This white section gives contrast, perfect for superhero impact! Adjust the number of rounds if you want a thicker or thinner band.
Bobbles & Shaping (Optional for Eyes/Accent)
- Round 11: Ch 1, sc in first 7 sts.
- In next st, work a corn kernel stitch (bobble): (yarn over, insert hook, pull up loop) 4 times, then yarn over, pull through all loops.
- sc in next 8 sts.
- Next, repeat bobble.
- sc to the end of the round and sl st to join.
- Round 12–13: Ch 1, sc in all sts.
- Round 14: Ch 1, sc in first 9 sts, bobble, sc in next 4 sts, bobble, sc to end. Sl st to join.
These bobble stitches add a fun pop; use them for accent or skip if you prefer a flat look.
Decreasing for Hat Closure
- Round 15: Ch 1, dec around (12 sc). Sl st to join.
- Stuff with cotton/fiberfill if desired for roundness.
- Round 16: Ch 1, dec around (6 sc). Sl st to join.
- Cut yarn, leave a long tail for sewing. Use yarn needle to sew closed.
Your hat is now properly shaped! If you prefer to keep it flat, skip the stuffing.
Eyes (Make 2)
- Round 1: MR, 6 sc in white. Sl st to join.
- Change to black yarn, ch 1.
- Round 2: (1 sc, 1 V) around (9 sc). Sl st to join.
- Cut yarn, leave tail for sewing.
These bold eyes bring the superhero to life! Adjust size by increasing or decreasing rounds.
Web Embroidery
- Divide hat into quarters, then eighths using black yarn and a yarn needle.
- Bring yarn from center to edge in straight lines for spider web.
- Sew two (or more) horizontal rings between rounds 2–3 and 4–5 for the web pattern.
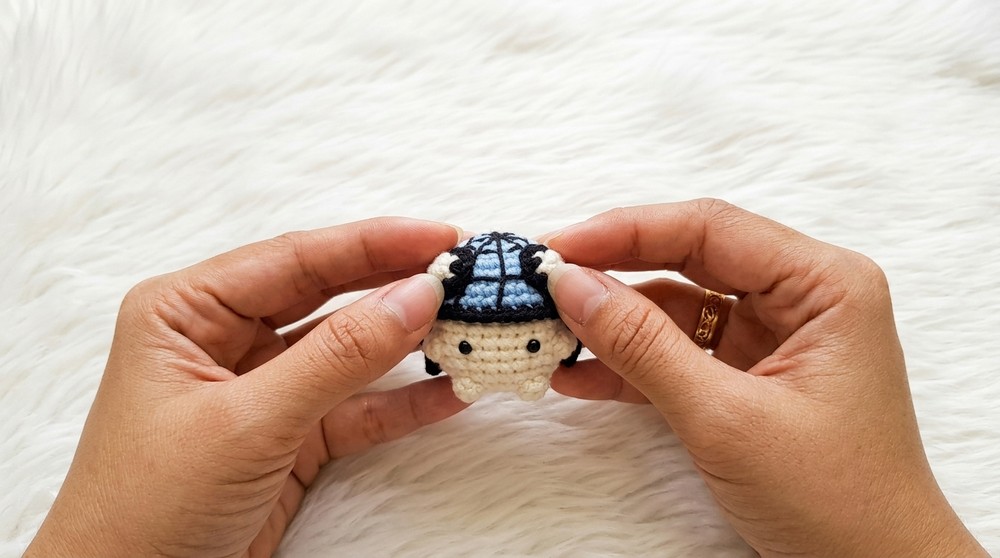
If you are new to embroidery, mark segments before stitching for even spacing. This makes the web look neat and tidy.
Extra Yarn Strands at Arms
- Cut several black yarn strands.
- Tie and secure at arm bases or wherever you want added drama.
- Split into three parts for extra dynamic effect; knot at ends.
This is great for playful finishing touches and can be customized for your desired look.
After completing each part, you will have a hat crown, “arms” on the sides, a strong black border, and details ready for assembly. All these parts work together to create an adorable and distinctive Spider Superhero Hat.
Assembly & Finished Size
- Sew eyes between rounds 10–11, spaced about 4 stitches apart (centered on hat front).
- Embroider spider web with black yarn lines, dividing hat crown and adding horizontal circles.
- Tie and split extra yarn strands at arm base or adjust as desired for movement.
- Hide all loose yarn ends and glue eyes if preferred for extra security.
- Finished hat fits newborn–3 months, approx 36–38 cm circumference, 13 cm tall.
With these step-by-step instructions, you have a detailed and easy-to-follow pattern for crocheting a Spider Superhero Baby Hat. The design uses basic stitches and simple construction, perfect for beginners. Personalize the details to create your own unique superhero accessory!