Adorable Crochet Penguin Amigurumi Free Pattern For Happiness

Making little toys by hand is a lot of fun, especially when you get to create something as cute as a penguin! This soft, cuddly toy is perfect for kids to play with. You can also change the pattern a bit to make other fun animals or characters. The free crochet Penguin amigurumi pattern is a great way to make a sweet new friend for any child.
Free Crochet Penguin Amigurumi Pattern – Free
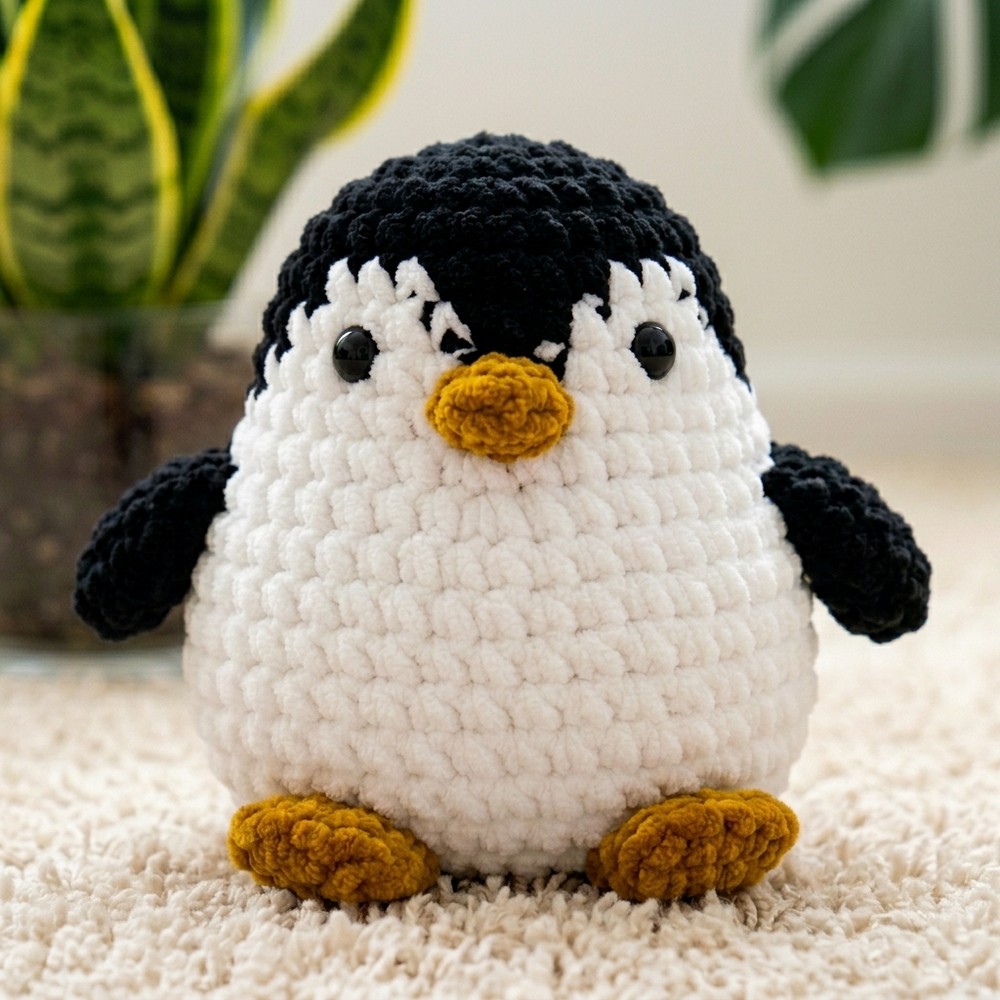
This little penguin is super cute, with a round body and tiny wings. Its soft yarn feels nice to touch and cuddle. It has bright black and white colors, just like a real penguin, plus a small orange beak and feet that make it extra special. The penguin is just the right size for small hands to hold and love. Its big eyes and friendly smile make it seem happy and ready for fun. This toy looks great on a shelf but is even better when it’s part of a game or story with kids.
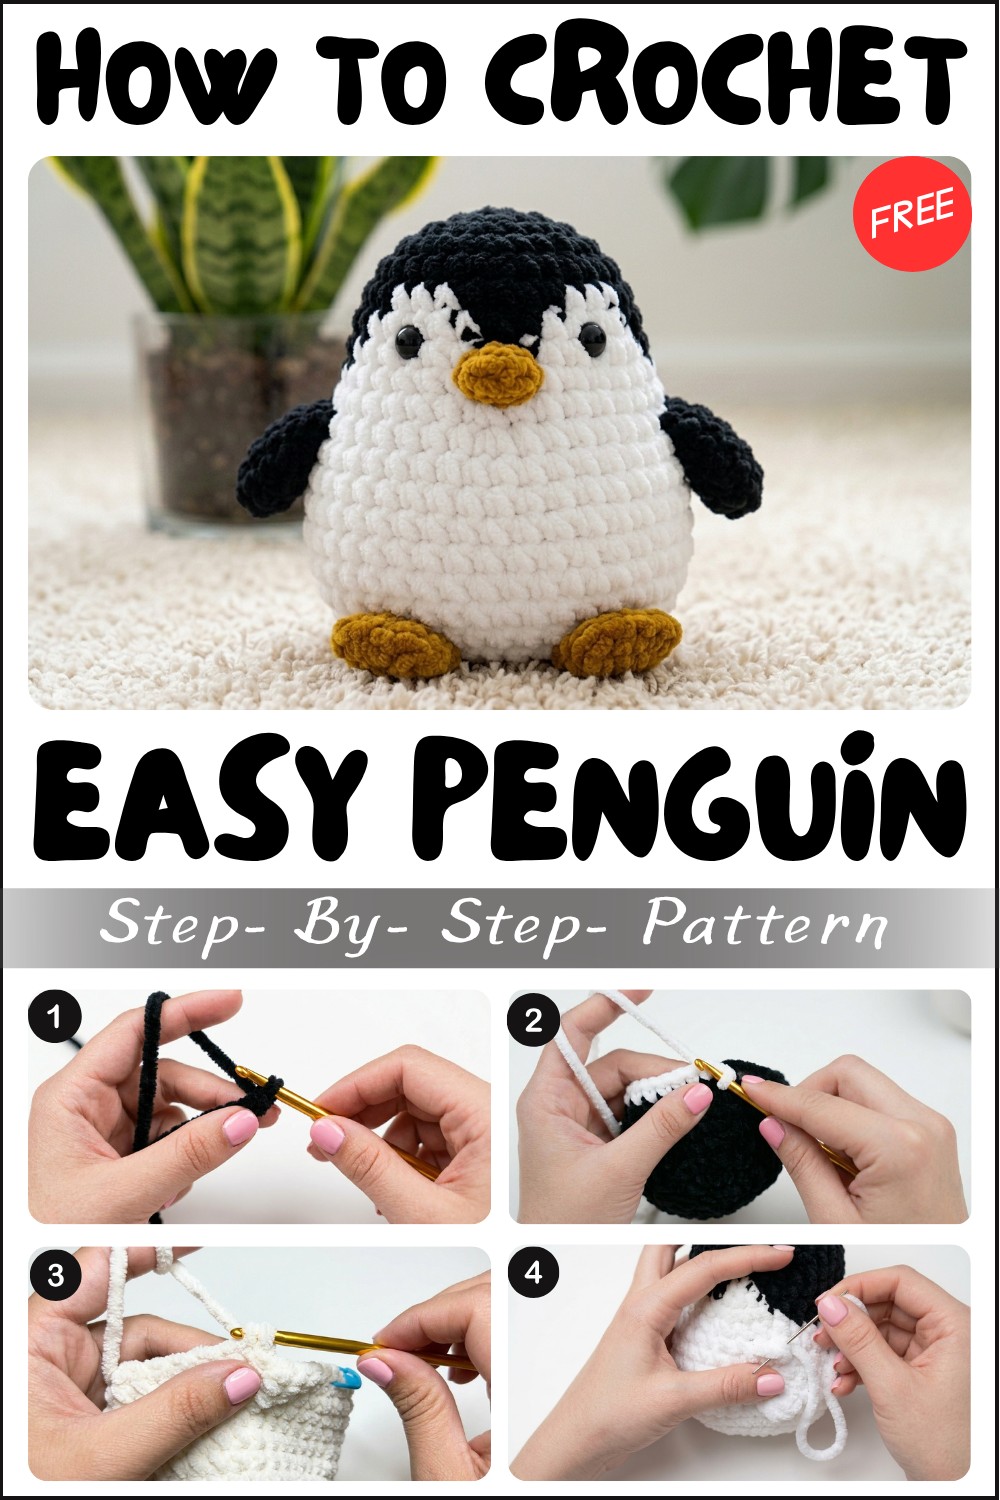
This pattern is easy to follow, even if you’re pretty new to crochet. You mostly use single crochet stitches that make the toy tight and soft, perfect for little ones to play with safely. You’ll also learn how to make the pieces and put them all together to form the penguin. It’s a fun project that helps you practice simple stitches and shapes.
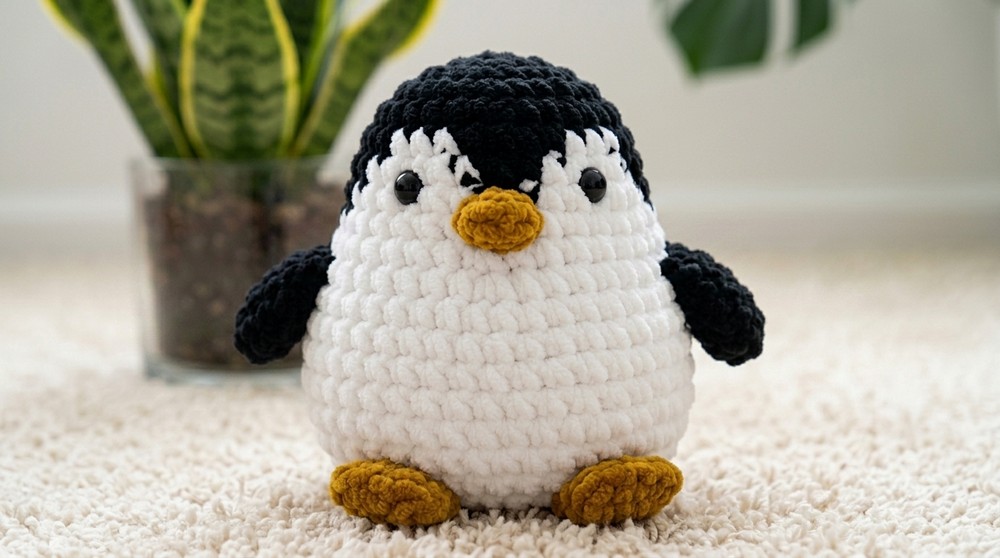
This crochet penguin makes a wonderful gift for any child. It’s soft, cute, and ready for lots of hugs and playtime. If you like making toys that kids will love and enjoy, this free crochet Penguin amigurumi pattern is a happy, easy choice to try.
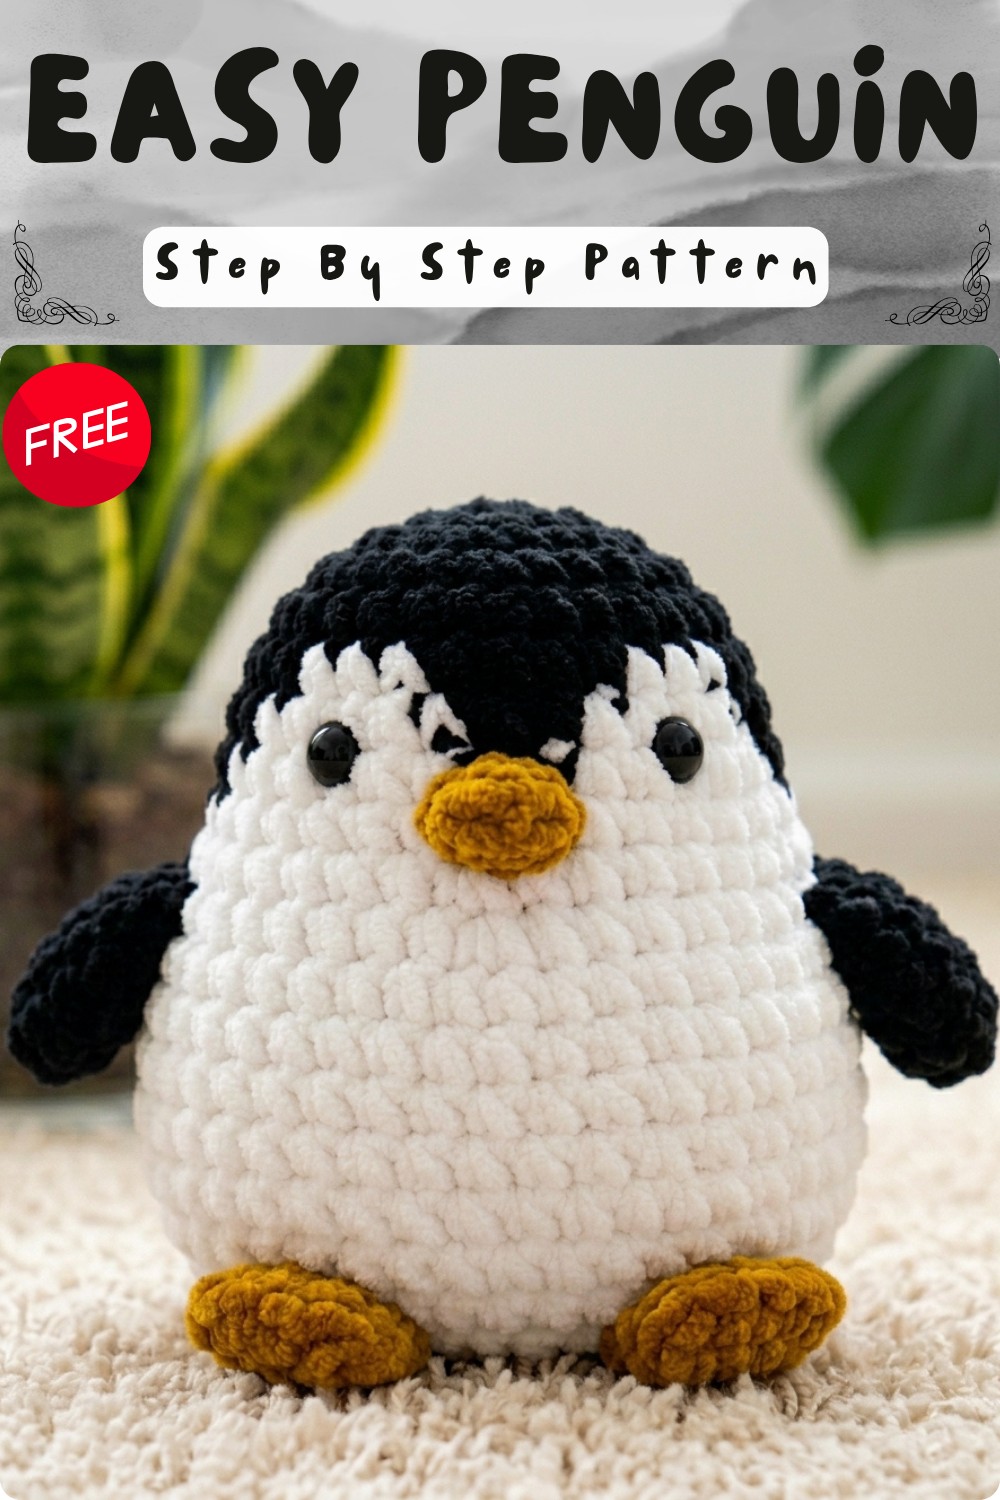
Plush Crochet Penguin Pattern
Create your own super-cuddly plush penguin with this step-by-step crochet pattern! This amigurumi penguin is the perfect size to gift to a loved one, use as decor, or hug as a plush companion. Using plush yarn and simple color changes, you’ll sculpt a round penguin with sweet wings, a bright beak, and tiny feet. If you’re new to plush or colorwork amigurumi, detailed explanations and photos help guide you every step for a neat, professional finish.
Skill Level & Terminology
- Level: Beginner/Advanced Beginner
- Terminology: US Crochet Terms
Materials & Tools
- Yarn: Plush yarn in Black, White, Grey, and Gold/Yellow
- Hook: 5.5 mm ergonomic crochet hook (or size to obtain gauge)
- Other: Fiberfill, 12 mm safety eyes (x2), tapestry (darning) needle, scissors, stitch marker
Gauge
Gauge is not critical, but for size consistency you should aim for a firm fabric:
- 6 sc & 7 rounds = 2” (5 cm) in the round with plush yarn & 5.5 mm hook.
The tighter your stitches, the neater and rounder your penguin will be—do not crochet loosely for amigurumi.
Abbreviations List
| Abbrev | Stitch |
|---|---|
| ch | chain |
| sc | single crochet |
| inc | increase (2 sc in one st) |
| dec | decrease (sc2tog) |
| sl st | slip stitch |
| st | stitch |
| R | round |
Special Stitch Instructions
- Increase (inc): Work 2 sc in same st.
- Decrease (dec): Insert hook into first st, yarn over, pull up loop, insert hook into next st, yarn over, pull up loop, yarn over, pull through all 3 loops.
- Color Change: On final step of sc, drop old color, yarn over with new color, draw through to finish stitch. Carry unused color gently inside sts or secure tails.
- Sewing Parts: Use whipstitch or backstitch, passing needle through outer loops only for neatness.
The Pattern
BODY
NOTE: Work in a spiral. Use a stitch marker to identify the first stitch of each round.
Start with Black yarn.
R1: Ch 2, 6 sc in 2nd ch from hook (6)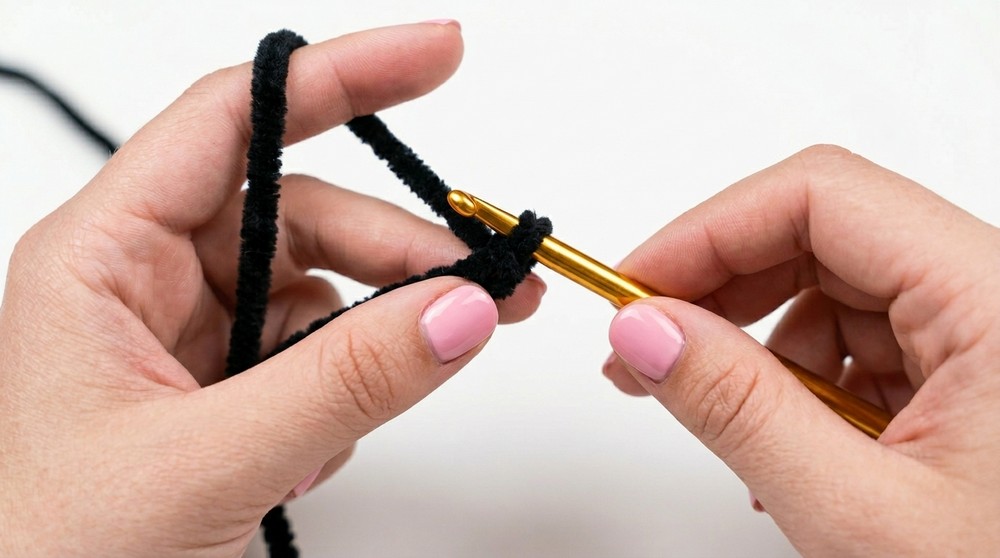
This is your starting circle for the base of the penguin! If you prefer, use a magic ring.
R2: Inc in each st around (12)
Make 2 sc in each stitch, increasing your round to a small disc of 12 stitches.
R3: Inc in each st around (24)
Repeat, placing 2 sc in each stitch, resulting in a round of 24 stitches.
R4: (3 sc, inc) x6 (30)
Work 3 sc, then increase in next stitch. Repeat this pattern all the way around.
R5: Sc in each st around (30)
Continue working one single crochet in every stitch — 30 sc total.
R6: Begin colorwork face (Black & White)
- Working in Black: 9 sc
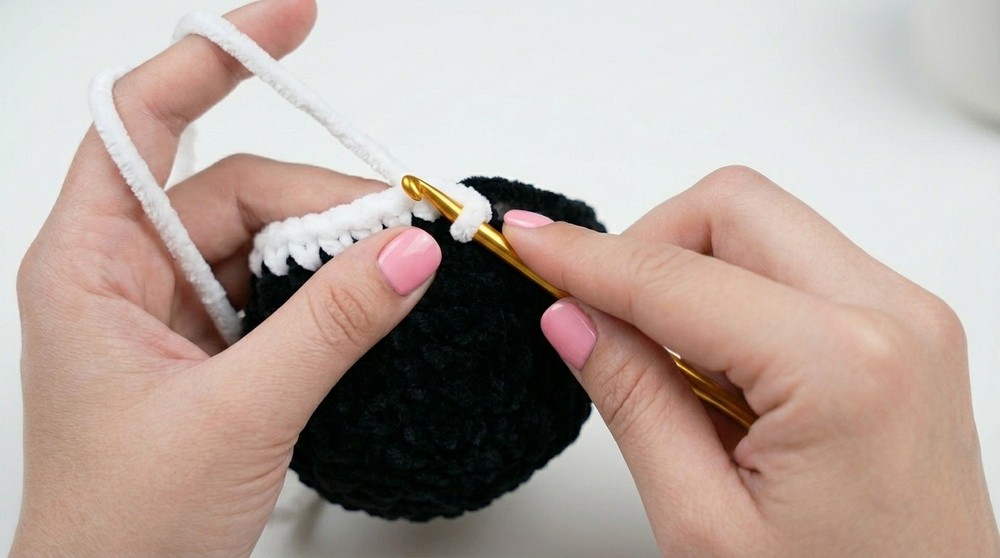
- With color change as described: work 1 sc in Black, but finish stitch with White.
- With White: 3 sc, (on last, finish with Black)
- With Black: 4 sc, (on last, finish with White)
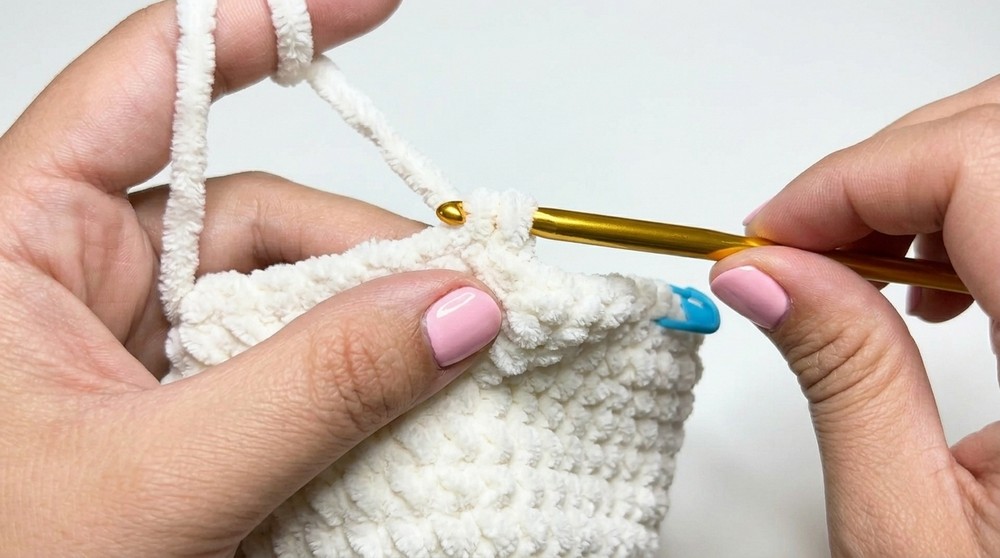
- With White: 3 sc, (on last, finish with Black)
- With Black: 10 sc (30)
Always change color on the final step of the single crochet prior to the new color. Tie off tails for neatness.
R7: (Similar colorwork as above)
- 9 sc Black (finish last with White)
- 5 sc White (finish last with Black)
- 2 sc Black (finish last with White)
- 5 sc White (finish last with Black)
- 9 sc Black (30)
This round helps shape the face—count carefully and swap colors as instructed for symmetry.
R8:
- 8 sc Black (finish last with White)
- 6 sc White (finish last with Black)
- 2 sc Black (finish last with White)
- 6 sc White (finish last with Black)
- 8 sc Black (30)
Tip: Carry unused yarn gently inside. Tug head gently to prevent pulling face in.
R9:
- 7 sc Black (finish last with White)
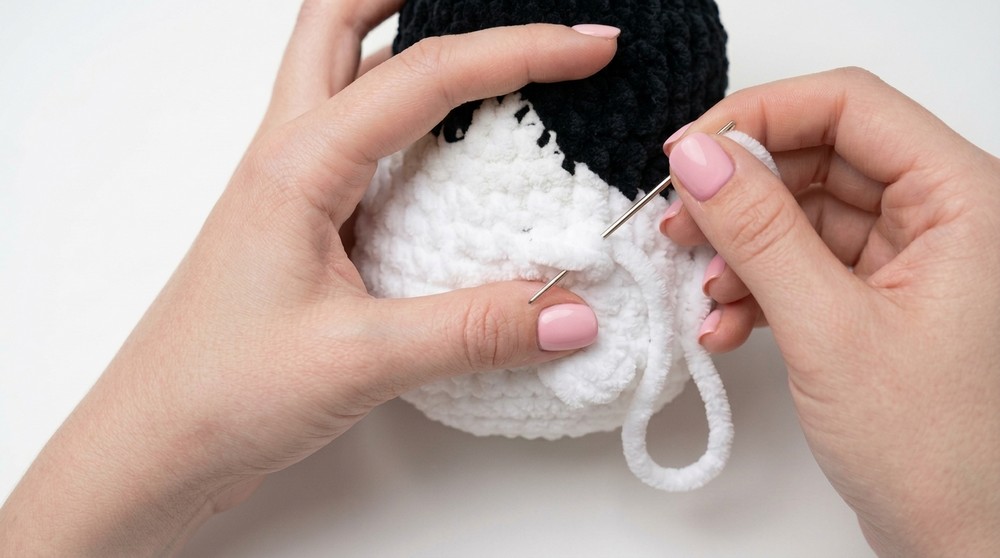
- 16 sc White (finish last with Black)
- 7 sc Black (30)
At the end of this round, cut the White yarn and continue with only Black.
R10: Sc in each st around with Black (30)
Switch to White yarn:
R11: (4 sc, inc) x6 (36)
- 4 sc, then 2 sc in next st, repeat all around.
R12: (5 sc, inc) x6 (42)
Insert safety eyes between rounds 7 and 8, evenly spaced.
R13-R16: Sc in each st around (42); 4 rounds
Four straight rounds in grey will make your penguin’s body taller — keep it firm.
R17: (3 sc, inc, 3 sc) x6 (48)
This round increases the midsection for that classic penguin egg shape!
R18: Sc in each st around (48)
R19: (6 sc, dec) x6 (42)
Work 6 sc, then dec (decrease); repeat around.
R20: (5 sc, dec) x6 (36)
R21: (4 sc, dec) x6 (30)
R22: (3 sc, dec) x6 (24)
R23: Dec in every st around (12 dec) (12 sts remain)
Stuff the penguin firmly with fiberfill before closure.
R24: Dec in every st around (6 dec) (6 sts remain)
Fasten off. With needle, weave yarn end through front loops of last 6 sts and close up tightly. Hide tail inside.
Not a pattern reader?
Each body section is worked in continuous rounds using only single crochet and basic color changes. When decreasing, use invisible (sc2tog) decreases for smoothness, and remember to add eyes and fill with fiber before final rounds.
WINGS (Make 2 – Black)
R1: Ch 2, 4 sc in 2nd ch from hook (4)
R2: (1 sc, inc) x2 (6)
R3: (2 sc, inc) x2 (8)
R4: Sc in each st around (8)
Flatten piece, sc across both sides (4 sc), close flat. Fasten off, leaving long tail for sewing.
FEET (Make 2 – Yellow/Gold)
Work as for WINGS in yellow:
- Begin with ch 2, 4 sc in 2nd ch.
- (1 sc, inc) x2 (6)
- (2 sc, inc) x2 (8)
- 1 round sc around (8)
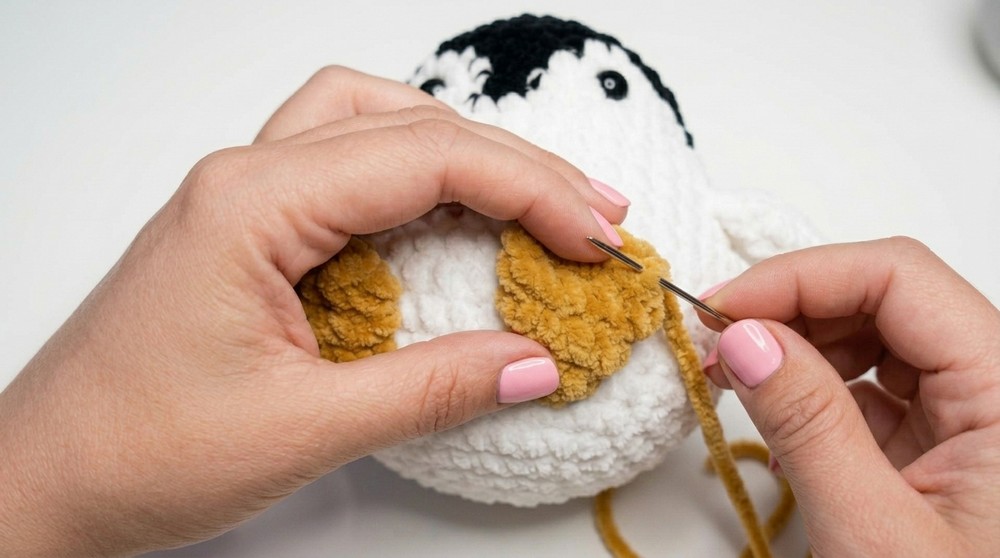
- Flatten, sc 4 across edges to close. Leave tail for sewing.
BEAK (Yellow/Gold)
R1: Ch 2, 4 sc in 2nd ch from hook (4)
R2: (1 sc, inc) x2 (6)
Fasten off, leaving a long tail for sewing. No need to close/flatten.
Finished Size
- Height: Approx. 5.5–6″ (14–15 cm)
- Width: Approx. 4.5″ (11 cm)
Assembly & Finishing
- Sew Wings:
- With V-shape facing down, sew one wing on either side just below the first round of grey.
- Catch one body st and one wing st for each pass, secure tightly. Hide tails inside.
- Sew Feet:
- Place feet at bottom, toes overlapping body slightly.
- Sew with tails, forming a “V,” spacing ~3 sts apart, visible from the front.
- Sew Beak:
- Center between eyes across the color join, covering the white part.
- Sew neatly, fasten off and hide thread.
- Finish:
- Squeeze gently to shape, and fluff. Add a little knot behind wings/feet for durability.
Conclusion
Congratulations on completing your plush penguin! This easy, detailed pattern helped you learn spiral rounds, neat color changes, and basic toy assembly. Once you master a few, customize your penguins with scarves, hats, or accessories. Share with friends or keep this penguin for yourself as a cuddly, handmade treasure.