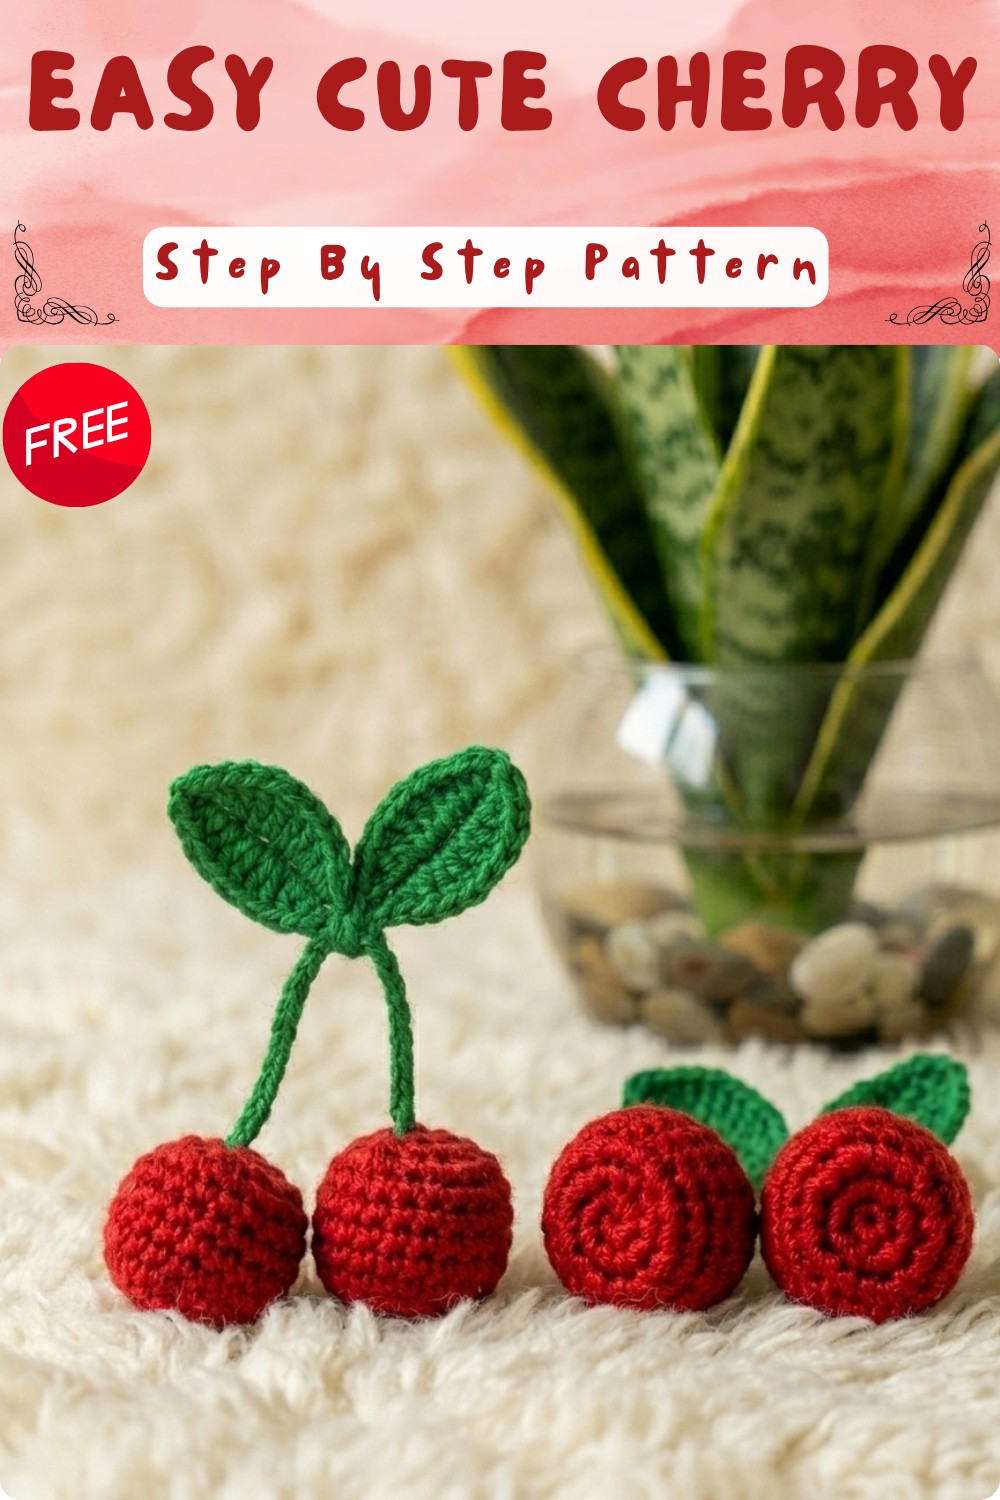
Cute Cuddly Sweet Crochet Cherry Amigurumi Pattern
I’ve always enjoyed making small, colorful toys with yarn. Recently, I tried making a tiny cherry, and it turned out so cute and fun! This little soft toy is made using the free crochet cherry amigurumi pattern, which is perfect if you want to make something small and sweet. With just a few small changes, you can also make other fruit shapes like strawberries or apples, making this pattern really useful for all kinds of fun projects.
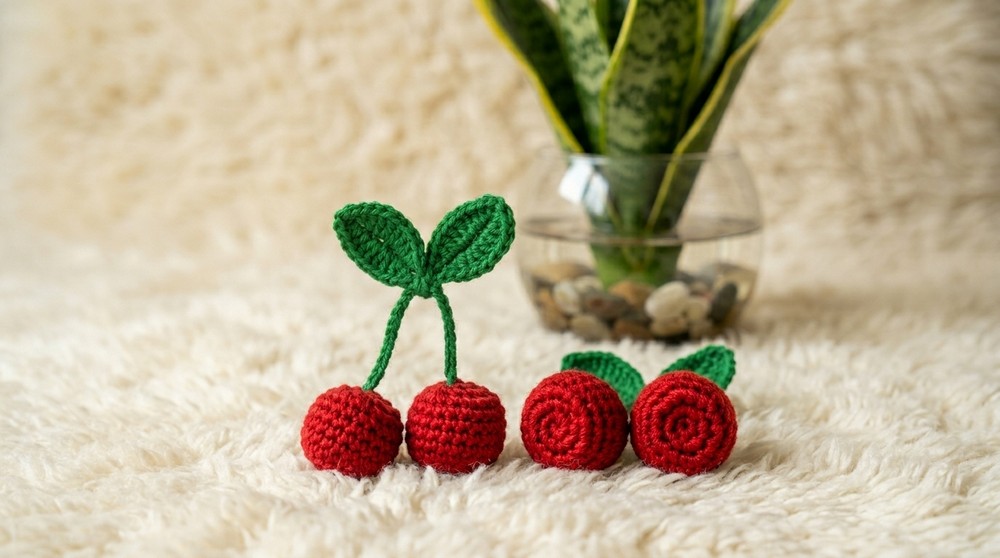
This cherry amigurumi is bright and cheerful, just like the real fruit. It has a round, smooth shape with a soft and cuddly feel thanks to the yarn used. The bright red color makes it pop, and the little green stem on top adds a charming touch. Its small size makes it great for holding in your hand or using as decoration. Whether you want to hang it on a keychain or use it as a cute desk buddy, this cherry looks happy and inviting. The neat crochet stitches keep its shape tight and perfect for kids or grown-ups to enjoy.
Crochet Cherry Amigurumi

This project is great for beginners because it mainly uses the single crochet stitch, which is one of the easiest crochet stitches to learn. You’ll get to practice making round shapes and joining pieces together. The steps are simple and clear, so even if you’re new to crochet, you can follow along and finish your cherry quickly.
Making this cherry amigurumi is not only fun but also makes a wonderful gift for friends, a cute decoration for your room, or a collectible item for people who love tiny toys. If you’re looking for an easy, colorful crochet project that brings smiles, this free crochet cherry amigurumi pattern is a great choice. Give it a try and enjoy creating your little piece of joy.
Crochet Cherry with Leaf – Step-By-Step Pattern
Welcome! Today’s pattern guides you through making a cute, realistic amigurumi cherry with a leafy stem. This tiny crochet cherry is ideal as a charm, accessory, gift topper, or simply to celebrate the beauty of handmade fruit. Using fundamental amigurumi stitches and easy shaping, you’ll create a 3D cherry plus a detailed leaf—all with clear, simple steps.
How you start and what stitches are used:
You’ll begin your cherry with a magic ring and work single crochets in the round, using increases and decreases for shaping. The leaf is worked in rows using simple stitches, including slip stitch, single crochet, half double, and double crochet. The stem is a long chain.
Skill Level & Terminology
- Skill Level: Beginner (some amigurumi experience helpful)
- Terminology: US crochet terms
Materials & Tools
- Sport or light worsted weight yarn in light red (cherry), green (leaf and stem)
- 3.0 mm crochet hook
- Yarn needle
- Scissors
- Fiberfill or scrap yarn stuffing
- Stitch marker (optional)
Gauge
Gauge is not critical for this small project, but for reference:
- 6 rounds of single crochet in a spiral ≈ 1.25” (3.2 cm) in diameter with 3 mm hook and sport weight yarn.
Aim for a dense, tight fabric so stuffing does not show through.
Abbreviations List
| Abbreviation | Meaning |
|---|---|
| ch | chain |
| sc | single crochet |
| inc | increase (2 sc in same stitch) |
| dec | decrease (single crochet two together) |
| sl st | slip stitch |
| hdc | half double crochet |
| dc | double crochet |
| st | stitch |
| rep | repeat |
Special Stitch Instructions
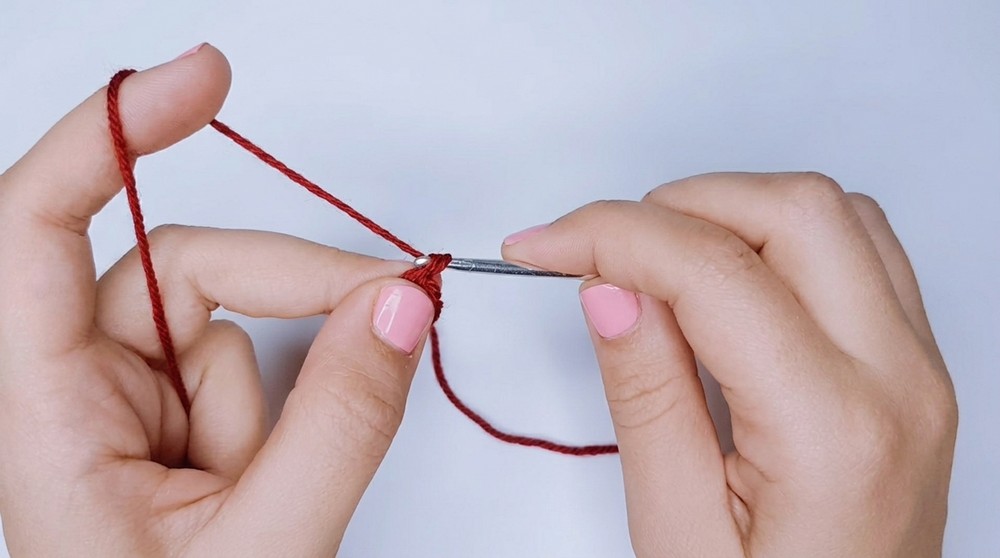
- Magic Ring: Make a loop, work stitches into the loop, then pull tight to close.
- Increase (inc): Work 2 single crochet in the same stitch.
- Decrease (dec): Single crochet two stitches together. Insert hook in next st, yarn over, pull up loop; insert in following st, yarn over, pull up loop; yarn over, pull through all three loops.
- Work Into Opposite Side (for leaf): After reaching tip of initial chain, rotate and work stitches up opposite side of the starting chain.
Finished Size
- Cherry: ~2.5 cm (1”)
- Leaf: ~3.5 cm (1.5”)
- Stem: ~6 cm (2.5”) (adjustable)
The Pattern
CHERRY
Round 1:
- With red yarn and 3.0 mm hook, make a magic ring.
- 6 sc in magic ring.
- Sl st to first sc to close round. (6)
If you’re new to amigurumi, simply make 6 single crochet stitches inside the magic ring and pull it tight.
Round 2:
- Inc in each st around (2 sc in each st)—12 sc total.
- Sl st to first sc. (12)
Each stitch around gets 2 single crochets. Your cherry is growing in width.
Round 3:
- [1 sc in next st, inc in next st]—repeat around. (18)
- Sl st to first sc. (18)
This round alternates 1 single crochet, then 2 in one stitch, increasing the round evenly.
Round 4:
- 1 sc in each of next 5 sts, inc in next st—repeat sequence around.
- Sl st to first sc. (21)
You will work one increase (2 sc in same stitch) after every five single crochets for a smooth expansion.
Rounds 5 to 7:
- Sc in each st around (21)
- Work three rounds even, no increases or decreases.
Your cherry is now forming its round, plump body.
Round 8:
- 1 sc in next 5 sts, dec over next 2 sts—repeat around.
- (18)
Now you start shaping the cherry by gently decreasing. Decrease by crocheting two stitches together after every five single crochets.
Round 9:
- [1 sc in next st, dec over next 2 sts]—repeat around. (12)
Decrease again to close the top hole further. Repeat the sequence across the round.
Round 10:
- Dec over every 2 sts until only 6 sts remain.
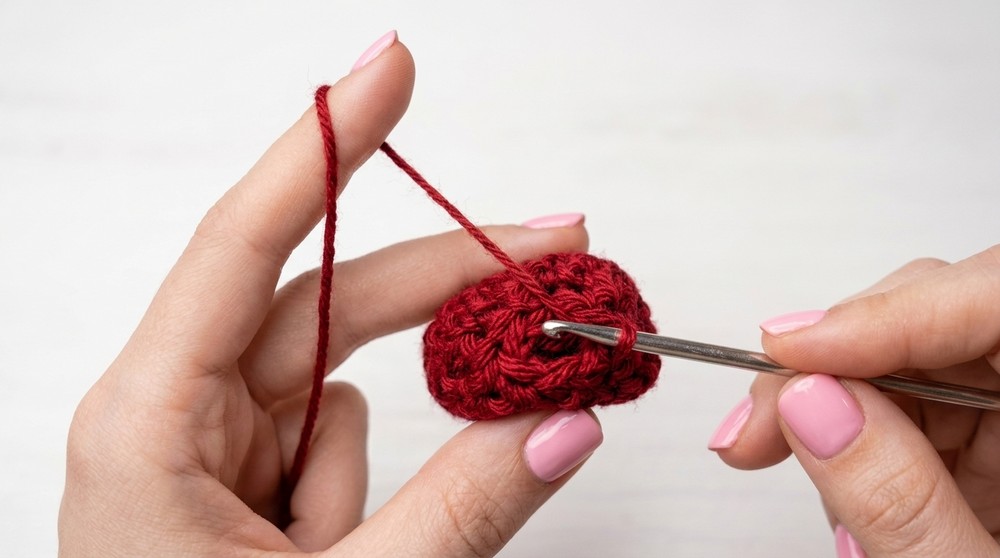
Quickly close the cherry. Stuff lightly but firmly at this stage.
- Sl st to close, weave tail through last 6 sts and pull tight to close.
- Fasten off, weave in end.
You now have the main cherry body. If you don’t follow patterns, you just work increases to make a round, even base, then reduce using decreases at the top, stuffing before you close.
LEAF AND STEM
Leaf:
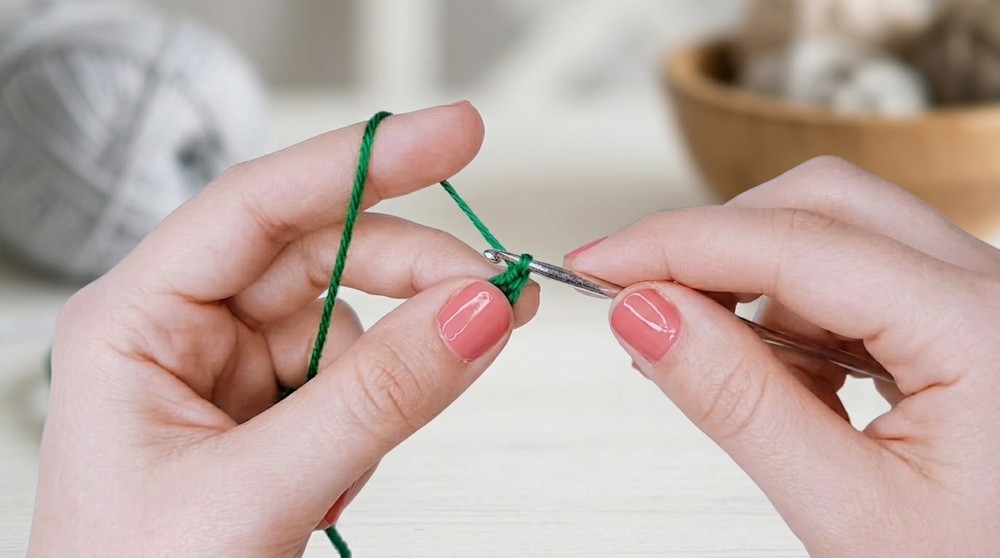
- With green yarn, make a slip knot.
- Ch 10.
First side of leaf:
- Sl st into 2nd ch from hook.
- Sc in next ch.
- Hdc in next ch.
- Dc in next ch.
- Dc in next 2 ch (1 dc into each of next 2 ch).
- Dc in next ch.
- Hdc in next ch.
- 3 sc in next ch (leaf point).
Second side of leaf (working back up opposite side of initial chain):
- Hdc in next ch.
- Dc in next ch.
- Dc in next 2 ch.
- Dc in next ch.
- Hdc in next ch.
- Sc in next ch.

- Sl st in last ch.
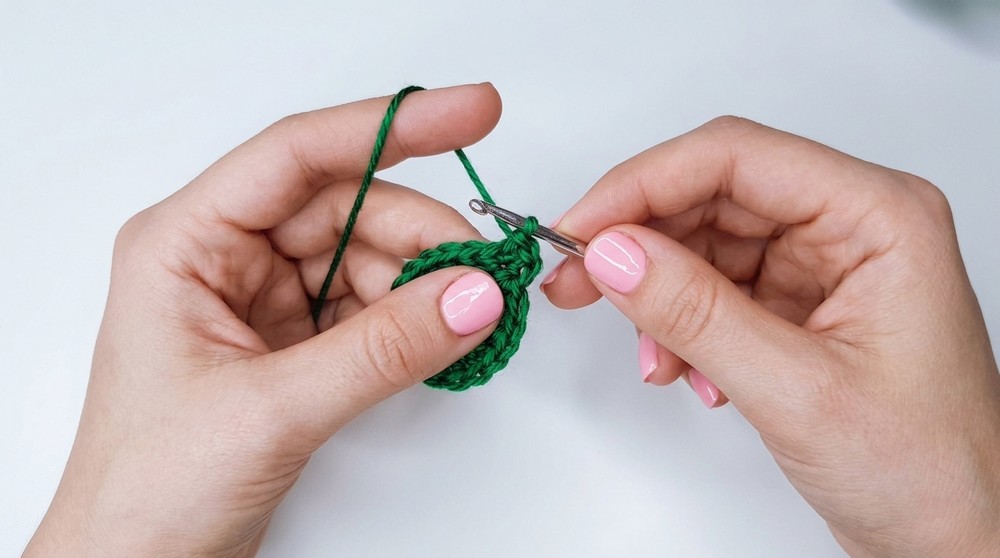
You now have the main leaf shape! If you don’t follow patterns, just work up and then down the opposite of your chain, mirroring the stitch sequence for a symmetrical leaf.
Stem:
- Ch 12, or adjust length as you like.
- Fasten off, leaving a long tail for attaching.
Assembly & Finishing
- Attach leaf and stem: Use a yarn needle to sew the end of the stem to the top of the cherry.
- Bring the stem up through the center of the top of the cherry, pull it through gently.
- Attach leaf to the stem, sewing securely. If desired, use the tails to tack the base of the leaf to the stem or cherry, hiding any ends inside.
- Secure all ends, weave in, and shape your cherry and leaf gently.

Conclusion
Your adorable crochet cherry is now complete! This pattern introduces you to all the basics of amigurumi construction and leaf shaping, with only beginner stitches required. Experiment with different colors for fun fruit variations, or add a small face to create a kawaii keychain or bag charm. Enjoy crafting and the sweet results.