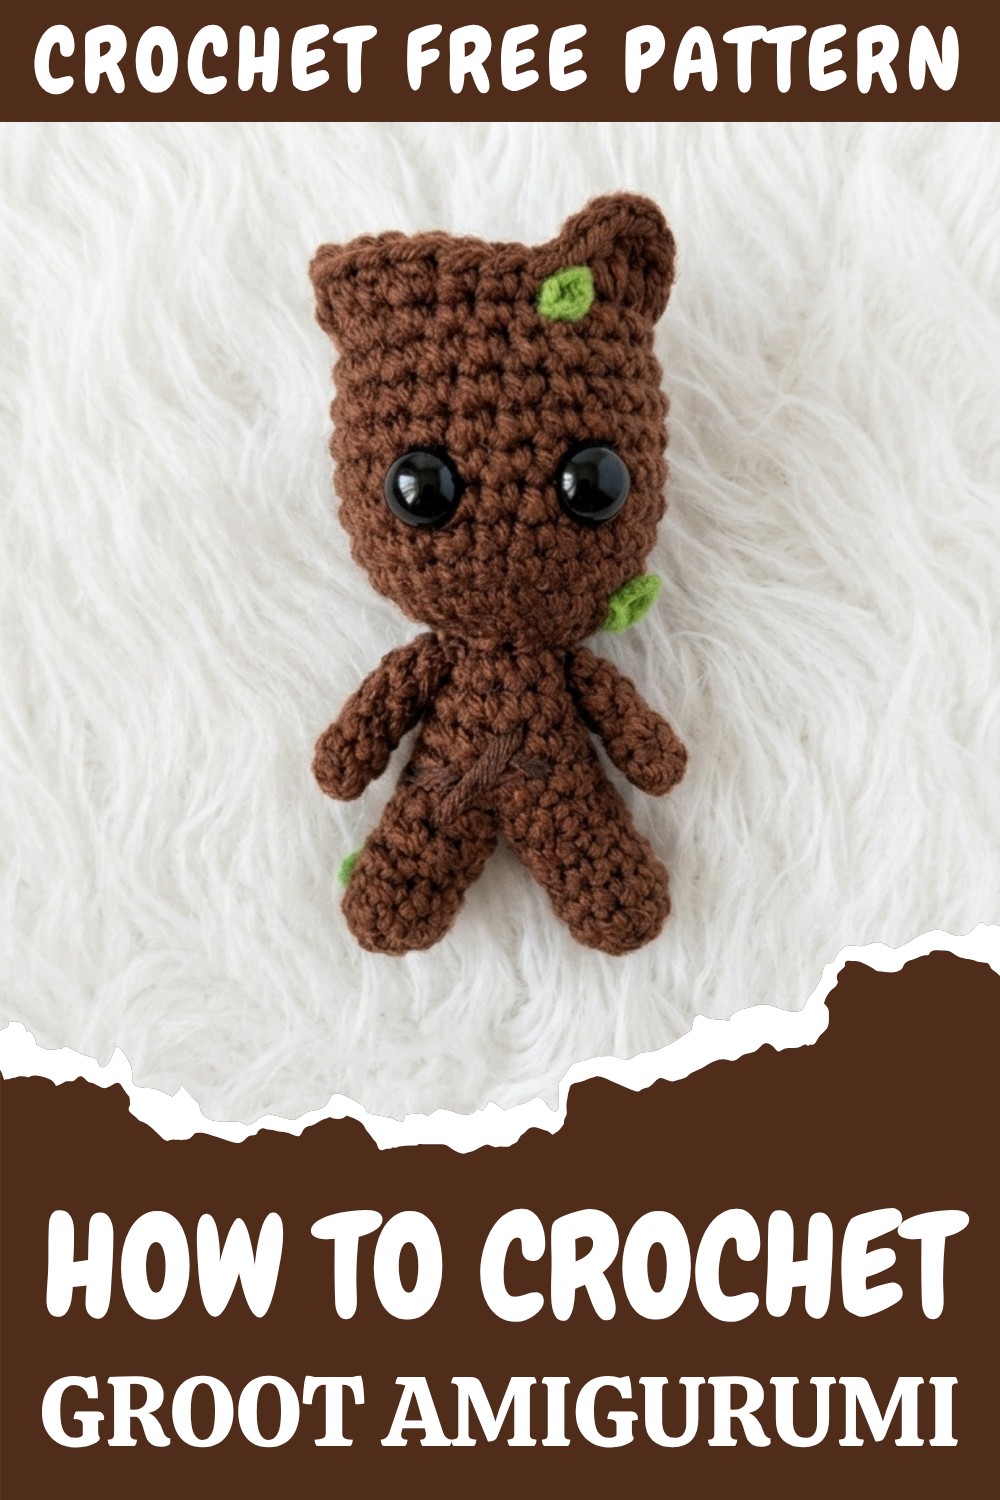
Unique Free Crochet Groot Amigurumi Pattern for Marvel Fans
Complete your superhero lineup effortlessly using the Free Crochet Groot Amigurumi Pattern and delight friends with a unique, handmade gift.
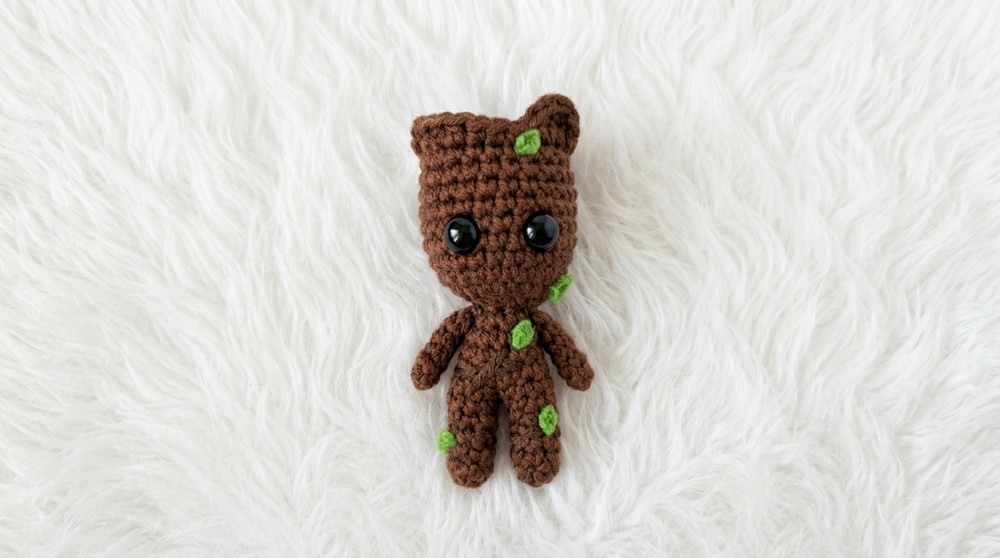
Crochet has a way of turning imagination into reality, especially when it comes to making playful characters. This Groot-inspired amigurumi pattern is a perfect blend of creativity and simplicity, allowing you to crochet your very own cuddly tree-like companion. With its adorable sprouting branches, delicate leaves, and a whimsical smile, this pattern is charming in every way. The earthy tones of brown and green are ideal for capturing nature’s essence, but don’t hesitate to experiment with vibrant shades to make it uniquely yours. Whether it sits on your desk, adorns a shelf, or becomes a thoughtful gift for a Marvel fan, this little figure is guaranteed to bring warmth and joy.
Adorable Crochet Groot Amigurumi Pattern for Fantasy Character Collection
The magic of this pattern lies in its combination of simple stitches to achieve a sophisticated look. Single crochet stitches form the foundation for the body and head, while increases and decreases help shape the character’s unique structure. The pattern truly shines with the inclusion of chains, slip stitches, and taller stitches like half double and treble crochets for the top branches and leaves. You’ll also learn how to assemble this lovable character, attaching its arms, positioning the eyes, and crocheting decorative branches that look like they’re growing straight out of its head.
Why This Pattern Is a Must-Try
- Beginner-friendly yet versatile, catering to all skill levels.
- Highly customizable for personal touches and creative twists.
- A fun blend of form and function, perfect for gifts or décor.
- Ideal for practicing amigurumi techniques in a playful, engaging way.
What You’ll Learn From This Pattern
This pattern is beginner-friendly but offers plenty of opportunities to grow your crochet skills. Here’s what you’ll master:
- The magic ring technique, ensuring a smooth and seamless start.
- Creating shapes using basic increases and decreases.
- Adding texture and dimension with chains and taller stitches for branches.
- Ingenious assembly techniques for attaching small parts and final details.
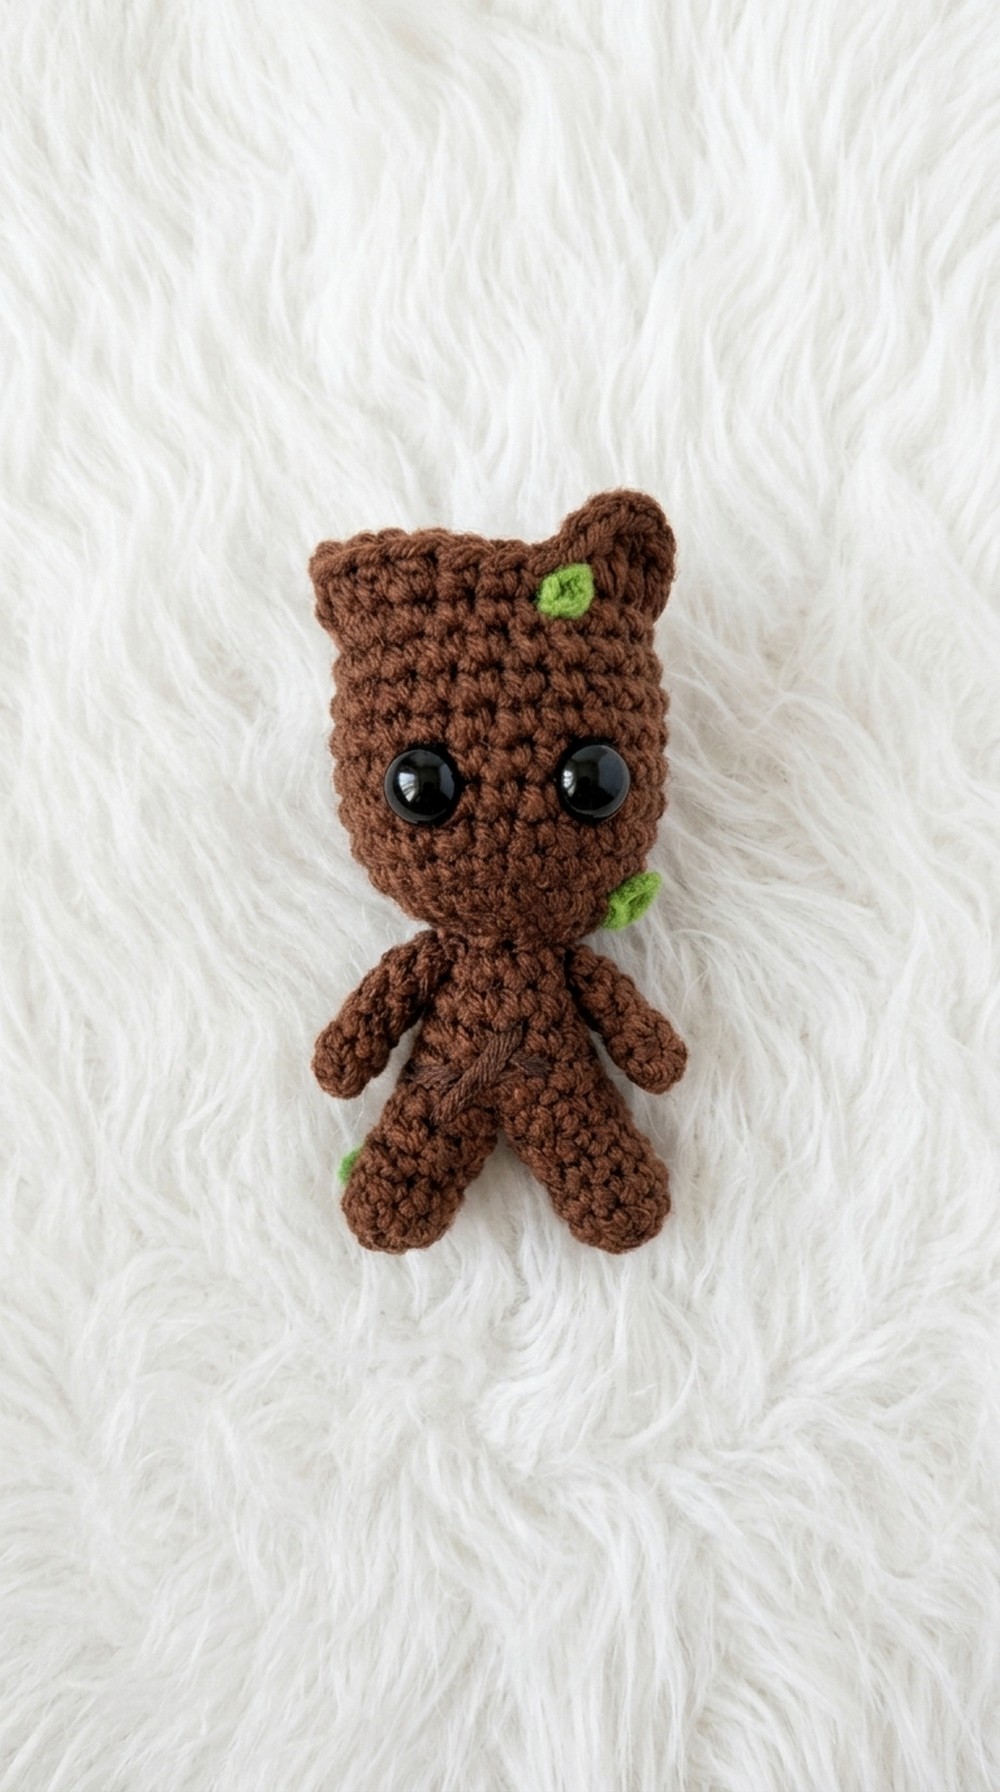
Guardians-Inspired Little Tree (Groot-Style) – Amigurumi Pattern
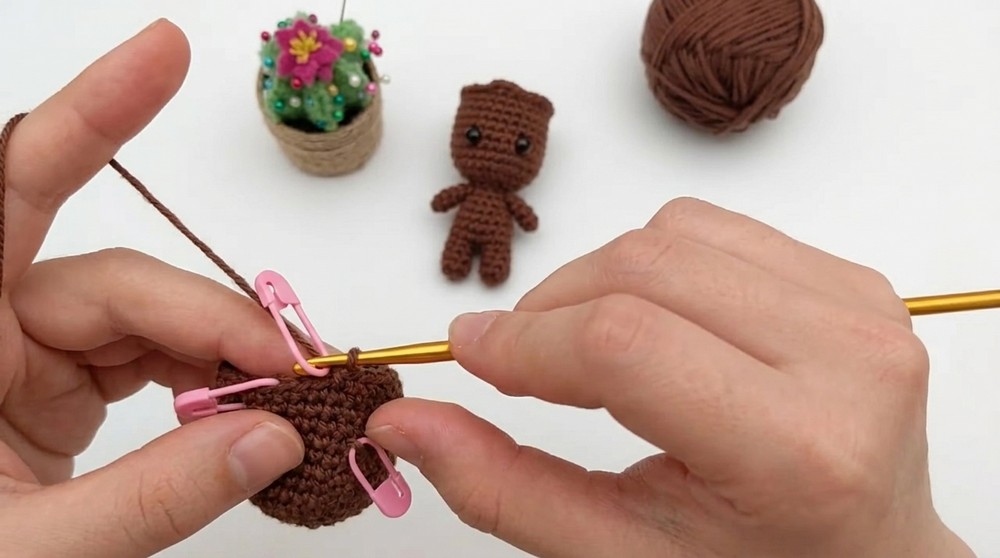
This pattern will guide you through making a tiny Groot-inspired tree character that works perfectly as a toy, desk buddy, or keychain. The pattern uses classic amigurumi techniques: starting from the legs and body as one piece, then adding a separate head, arms, and simple branch and leaf details on top.
Skill Level & Terminology
- Skill Level: Confident Beginner / Lower Intermediate
- Terminology: US crochet terms
Materials & Tools
- Yarn:
- Main color: Light or medium brown (for body, head, arms, branches)
- Accent color: Green (for leaves)
- Hook: 2.5 mm crochet hook
- Safety Eyes: 2 pcs, approx. 8–10 mm (or small glue-on eyes)
- Stuffing: Polyester fiberfill
- Tapestry needle: For sewing and weaving in ends
- Scissors
- Optional: Stitch markers (highly recommended for amigurumi)
- Optional: Keyring, if you want to turn it into a keychain
Gauge
Exact gauge is not critical, but your stitches should be tight enough so the stuffing does not show.
Suggested gauge (with 2.5 mm hook and amigurumi yarn):
- Approx. 7–8 sc per 1 inch (2.5 cm) in the round
If your piece looks too loose, try a smaller hook.
Abbreviations
All in US terms:
- MR – Magic Ring
- sc – single crochet
- inc – increase (2 sc in same stitch)
- dec – decrease (single crochet 2 stitches together)
- sl st – slip stitch
- ch – chain
- st(s) – stitch(es)
- BLO – back loop only
Special Stitch Instructions
- Magic Ring (MR):
Wrap yarn around two fingers to form a loop, insert hook under loop, yarn over, pull up a loop, ch 1 (or just start working sc into the loop). Pull tail to close the center. - Decrease (dec):
Insert hook into front loop of first st, then into front loop of next st, yarn over and pull through both loops, yarn over and pull through remaining loops on hook. This creates a neat, invisible decrease. - Back Loop Only (BLO):
Instead of inserting hook under both loops of the stitch, insert under only the back loop (farther from you). This creates a ridge and is used on the head.
Finished Size
Using the specified hook and typical amigurumi yarn, the finished figure is approximately:
- Height: 10–12 cm (4–5 inches), including branches
- Width: 3–4 cm at the head
How the Pattern Starts & Stitches Used
You will begin with:
- Legs → Join legs → Torso (all in one piece)
- Arms (two small tubes)
- Head (worked separately and then sewn to body)
- Branches & Leaves (chains and tall stitches from the top of the head)
Stitches used throughout:
- Single crochet (sc)
- Increase (inc)
- Decrease (dec)
- Back loop only (BLO)
- Slip stitch (sl st)
- Chains (ch)
- Some half double / double / treble-like taller stitches for the branch/leaf effect on top
The Pattern Itself
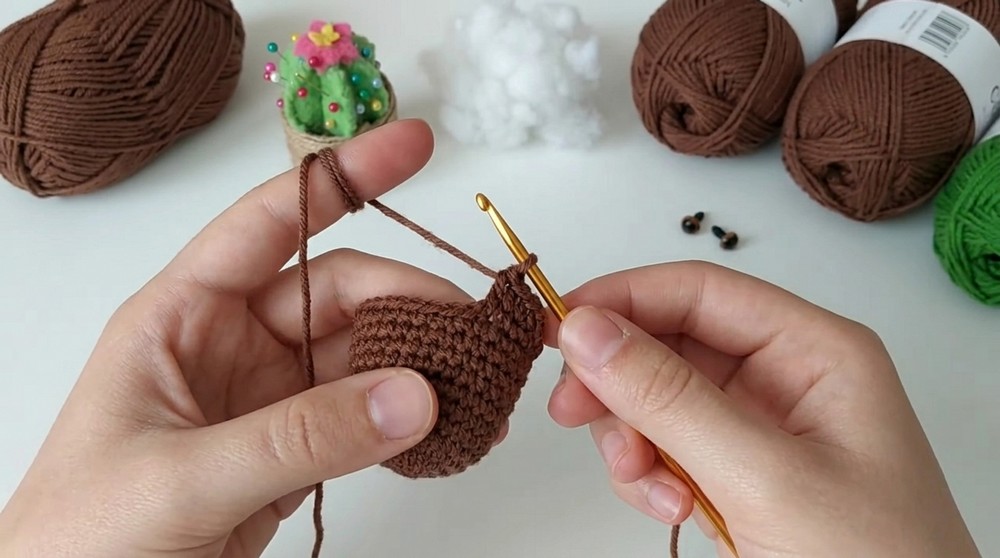
1. Legs and Body
First Leg
- Round 1:
- In MR, work 6 sc. [6]
- Rounds 2–4:
- 1 sc in each st around. [6 per round]
Fasten off the first leg, leaving a short tail you can tuck inside.
Second Leg
- Repeat the first leg instructions, but do not fasten off. This leg stays on the hook so you can connect both legs.
Join Legs & Form Body
- With second leg on hook:
- Insert hook into a stitch of the first leg, sc across all 6 sts of that leg.
- Continue back onto the second leg and sc all around it.
You will now have approximately 12 sc around both legs combined.
From here, the pattern indicates adding some extra stitches to avoid holes, so you may end up with about 14–18 sc depending on how you join. Keep the round count consistent and close any visible gaps by working into slightly offset stitches or by sewing later.
- Work 3 rounds total around both legs (torso base) in sc only, keeping the stitch count close to 14–18 sc.
- Next, begin shaping the torso with decreases:
- Round example:
- Round X: sc 3, dec, sc 4, dec, … until you reach around 12 sc.
- Continue a couple of rounds of sc and dec until you reach 10 sc at the top of the torso.
- Round example:
Lightly stuff the legs and torso as you go.
For non-pattern readers:
You make two small tubes for legs, then crochet around both together to form a little cylinder. Then you slowly reduce stitches by decreasing to narrow toward the top. Add some stuffing as you go so the figure can stand and keep shape.
2. Arms (Make 2)
- Start:
- Make a small chain (about 4 ch) and then work sc around to form a tiny tube, or:
- Use a MR with 4–6 sc and work several rounds of sc.
- Each arm is just a narrow tube of sc, about 14–16 sc rounds tall (length according to taste).
- Do not overstuff; a tiny bit of stuffing or none at all is fine.
- Leave a long tail for sewing to the body later.
Each arm is a small narrow cylinder. You crochet in the round with single crochets until it looks like a thin branch. Make both arms about the same length and keep them fairly soft.
3. Head
- Round 1:
- In MR, work 8 sc. [8]
- Round 2:
- Inc in each st (2 sc in each st). [16]
- Rounds 3–11:
- 1 sc in each st around. [16 each round]
- 1 sc in each st around. [16 each round]
You now have a small round head.
Round 12 – Decorative BLO Round
- Round 12:
- Work 1 sc in each st, but in BLO only. [16]
This creates a subtle ridge which will help define the top where branches attach.
Round 13 – Begin Decrease
- Round 13:
- Repeat around: 1 sc, 1 dec. [8]
- Repeat around: 1 sc, 1 dec. [8]
Stuff the head firmly before the opening gets too small.
- Optionally, work another round of dec if needed to nearly close the top and leave a small center for threading the top branches.
Close remaining gap using a tapestry needle by weaving through front loops of remaining stitches and pulling tight.
For non-pattern readers:
You create the head as a ball: first you increase to 16 stitches, keep it straight for several rounds, then make a round in back loop only to form a line, and finally decrease to close the ball. Stuff it well before fully closing.
4. Eyes Placement
- Place safety eyes between Round 6 and Round 7 of the head, with about 3–4 stitches between them.
- If using glue-on eyes, secure them after the head is finished and dry.
Put the eyes on the front of the head about halfway up, not too close together. If they are safety eyes, lock them from the inside before stuffing; if glued, attach them firmly and let them dry.
5. Top Branches & Leaves
Using the same brown yarn, work from the top center of the head:
- Join yarn at any point on the top (use the ridge as a guide).

- Branch 1 (short):
- ch 3, then sl st back down into the same or nearby st.
- Branch 2 (medium):
- ch 4–5, then work back along the chain:
- 1 sl st, 1 sc, 1 hdc; then sl st into the head.
- ch 4–5, then work back along the chain:
- Branch 3 (long):
- ch 6–8, then work back using taller stitches (e.g., hdc, dc, or even tr), then sl st into the head again.
Repeat this kind of variation around the top to make several uneven “branches”.
Switch to green yarn to create small leaves:
- Attach green yarn to the end or side of a branch.
- Work small chains (ch 2–3) and sl st back, or add a tiny sc or hdc for a leaf-like bump.
At the top of the head, you simply crochet chains of different lengths and come back down with small stitches to look like twigs. Then with green yarn, add tiny chains or bumps to look like leaves. Make them uneven so it looks natural.
Assembly & Finishing
Attach Head to Body
- Position the head centered above the torso opening.
- Sew the head to the body using the yarn tail from the head or fresh yarn.
- Stitch through both loops of the head and body stitches, going around carefully to make a sturdy, smooth join.
Attach Arms
- Place arms slightly below the head level, one on each side of the torso.
- Sew them on with the tails, either firmly fixed or slightly loose if you want them to be somewhat movable.
Weaving in Ends
- Weave in all remaining yarn ends using the tapestry needle.
- Tug gently to make sure no tails are loose, then trim.
Optional: Turn into Keychain
- Attach a metal keyring or chain through a loop at the top branches or sew a small loop at the back of the head.
Sew the head on top of the body neatly, then attach the arms on both sides. Hide all yarn ends inside with a needle. If you want a keychain, add a metal ring at the top. Adjust branches and leaves so they sit nicely, and your little Groot-style figure is ready.