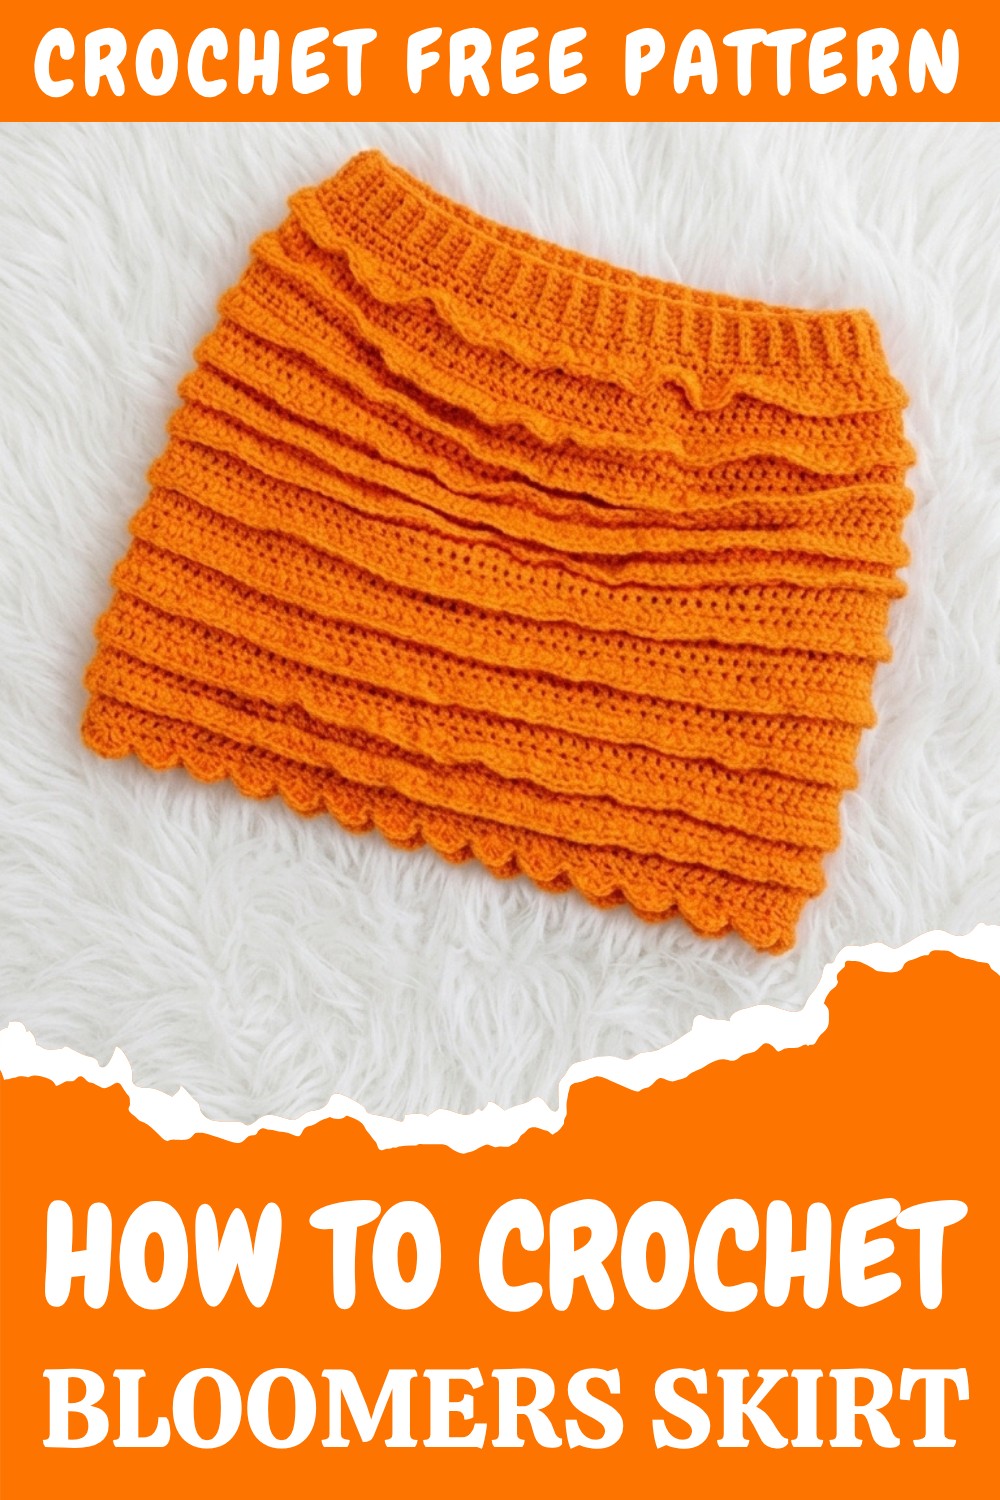
How to Charming Crochet Bloomers Skirt Pattern for Girls
Get a beautiful Crochet Bloomers Skirt Pattern for girls, featuring a stylish and comfortable design for any occasion for handmade projects.
Crocheting can be more than just stitching, it can be a way to create something truly unique, practical, and beautiful. Picture yourself crafting a lovely Bloomers Skirt that’s both stylish and playful. This pattern showcases a blend of beauty and functionality with its ribbed waistband, flowing body, and optional ruffled details. With lightweight acrylic yarn, doubled to add the perfect texture, this skirt is designed to accentuate every curve while remaining stretchy and comfortable. What makes it even more exciting is how customizable it is; you can adjust the colors, size, and ruffle placement according to your personal style or the occasion. Using vibrant shades to create a playful summer look or neutral tones for a simple yet elegant piece!
Vintage free crochet bloomers skirt pattern for classic style
This pattern features beginner-friendly stitches, including double crochet (dc) and single crochet (sc), but also introduces front post double crochet (fpdc) and back post double crochet (bpdc). These special stitches create a textured ribbed waistband that gives the skirt its snug fit. Once you master them, you’ll be able to crochet fun textured projects like headbands, sleeves, or home décor pieces. The versatility truly shines with the added ruffles, which allow you to give the skirt an extra touch of volume and flow.
By following this pattern step-by-step, you’ll learn valuable techniques such as creating ribbing for structure, shaping garments with increases, and adding decorative elements like ruffles. Beyond the skirt itself, the knowledge gained can help you design other items, such as crochet dresses, flared tops, or fitted shorts!
What You Can Make With These Skills:
- Textured Accessories: Headbands, wristbands, scarves with ribbed details.
- Baby Clothes: Add adorable ruffles to baby skirts or bloomers.
- Custom Garments: Fitted tops, dresses, or shorts for all sizes.
- Decor Pieces: Textured cushions, throws, or placemats.
This Bloomers Skirt project is perfect for exploring creativity while honing your crochet skills, and it’ll leave you with a piece that’s both stylish and rewarding!

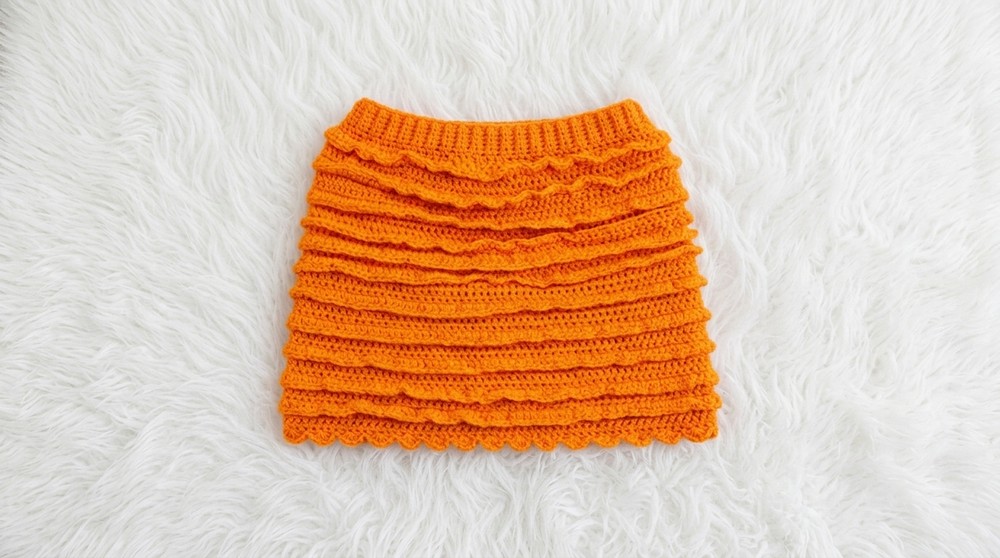
Bloomer Skirt Crochet Pattern
This crochet bloomer skirt is perfect for those who adore crocheting stylish and customizable handmade fashion pieces. It creates a fitted skirt with a ribbed waistband, a smooth body, and optional ruffles for added flair. This project uses basic stitches, including the foundation chain, double crochet (dc), single crochet (sc), and front and back post double crochet to achieve texture and structure. The outcome is a stretchy, comfortable skirt that can be tailored to any size with measurements for the waist, hips, and length.
Whether you’re looking to enhance your wardrobe or crochet a beginner-friendly project with beautiful finishing touches, this skirt is a perfect choice.
Skill Level & Terminology
Skill Level: Advanced Beginner
Crochet Terminology: US terms
Materials & Tools
- Yarn: Lightweight acrylic yarn, doubled for thickness in bright orange
- Hook Sizes: 4 mm and 5 mm crochet hooks
- Additional Tools: Measuring tape, scissors, stitch markers
Gauge
Gauge isn’t crucial for this project, as measurements guide size adjustments. For reference, ensure that double crochet stitches are neat and even across rows so the skirt maintains its shape.
Abbreviations List
- ch: Chain
- sc: Single Crochet
- dc: Double Crochet
- fpdc: Front Post Double Crochet
- bpdc: Back Post Double Crochet
- sl st: Slip Stitch
Special Stitch Instructions
Front Post Double Crochet (fpdc):
- Yarn over, insert the hook from front to back around the post of the stitch below, yarn over again and pull through.
- Yarn over, pull through two loops, and yarn over to pull through the last two loops on the hook.
Back Post Double Crochet (bpdc):
- Yarn over, insert the hook from back to front around the post of the stitch below, yarn over again and pull through.
- Yarn over, pull through two loops, and yarn over to pull through the last two loops on the hook.
Finished Size
Fully customizable based on waist, hip, and length measurements. (Example: Waist size = 35 inches when stretched.)
Step-by-Step Pattern
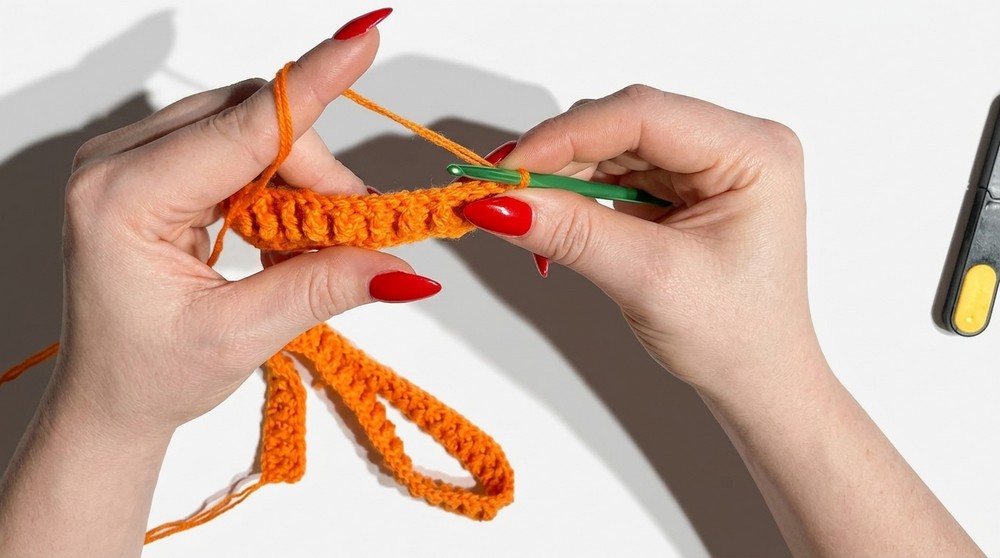
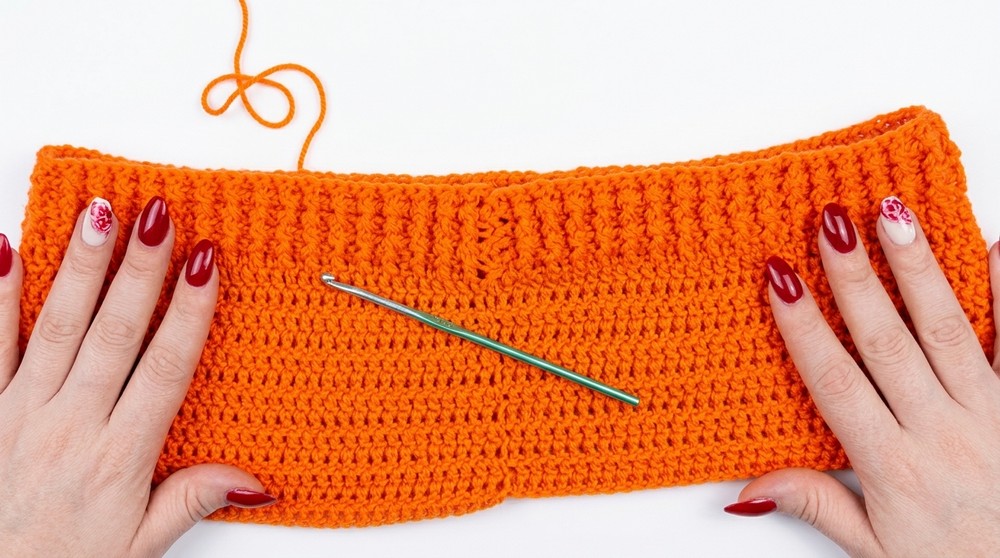
Part 1: The Ribbed Waistband
- Foundation Chain:
- Create a slip knot and use the 4 mm hook.
- Ch a foundation chain long enough to stretch to your waist measurement (e.g., 35 inches when stretched).
- Row 1:
- Skip the first stitch. Start from the second stitch and work dc in every stitch to the end.
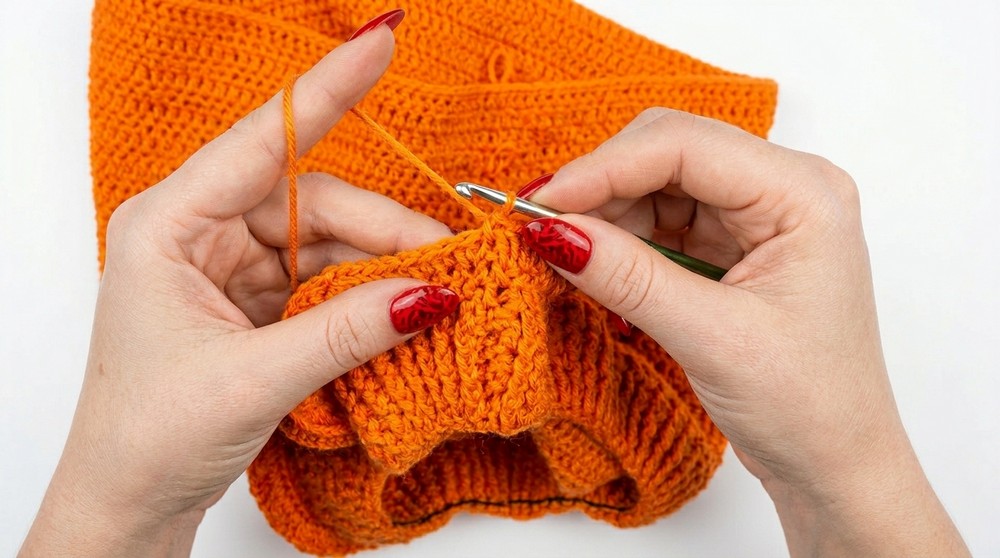
- Row 2:
- Ch 2, turn your work.
- Alternate fpdc and bpdc across the row to create the ribbed texture.
- Ch 2, turn your work.
- Repeat rows:
- Repeat Row 2 until the waistband reaches your desired ribbing thickness (e.g., 3–4 inches).
- Join the ends:
- Fold the ribbing in half. Use single crochet (sc) or sl st to seam the ends together.
Beginner Tip: The ribbing uses alternating front post and back post stitches to create texture. If this is difficult initially, practice on a swatch first!
Part 2: The Body of the Skirt
- Foundation Round:
- Switch to the 5 mm hook for the body.
- Ch 2, begin working dc evenly across the waistband edge to create your first skirt row.
- Rows:
- After each row, sl st, ch 2, and turn your work. Continue working dc into each stitch.
- Repeat this pattern until the skirt body reaches your desired length (e.g., 14–16 inches).
- After each row, sl st, ch 2, and turn your work. Continue working dc into each stitch.
Beginner Tip: Turning after every row ensures the skirt maintains its smooth form. If your hip size is over 40 inches, consider adding increases (below).
Part 3: Adding Increases (Optional)
- To increase for hips:
- At the start of the row, use stitch markers to mark the increase points.
- Work 2 dc into one stitch at each marker.
- Alternate rows:
- Follow the increased rows with regular dc rows.
- Repeat this cycle to shape the skirt for wider hips.
Beginner Tip: Acrylic yarn is naturally stretchy, so increases may not be necessary for most sizes. Measure as you go!
Part 4: The Ruffles
- Mark positions:
- Use stitch markers to evenly mark the placement for your ruffles.
- Start the ruffle:
- Switch back to the 4 mm hook.
- Slip stitch, ch 2, and start double crocheting twice into each stitch between markers, creating gathers.
- Repeat rows:
- Add more rows of ruffles if desired, following the same pattern.
Beginner Tip: Fold your work while adding ruffles for easier stitching. Stretch and gather until satisfied with the fluffiness!
Assembly & Finishing
- Weave in ends:
- Use a yarn needle to tuck in ends neatly at seams.
- Optional Elastic:
- Add elastic to the waistband for a snug fit.
- Use sewing techniques to secure it tightly without compromising stretch.
What You’ll Learn From This Pattern
This pattern teaches important crochet skills, such as creating textured ribbing with front and back post double crochet, seaming using single crochet, and shaping garments using increases. You’ll also learn to customize length and size for tailored fits, making it perfect for personal projects or gifts!
Using these techniques, you can experiment with:
- Garments: Shorts, fitted dresses, or more skirts
- Accessories: Textured headbands or wristbands
- Embellishments: Add flouncy ruffles to baby clothes or custom home décor
This bloomer skirt is a fun and creative beginner project that builds your crochet skills while creating something stylish! Let your creativity take the lead and make this project uniquely yours!
Difficulties & Solutions
While this bloomers skirt pattern is beginner-friendly, some challenges may arise. Achieving consistent tension can feel tricky, especially during the ribbing or ruffle sections. To solve this, take a little time to practice on scrap yarn until your stitches feel even and steady. Mastering the front and back post double crochet (fpdc and bpdc), which create the textured waistband, might seem confusing at first. If you find this challenging, follow a detailed video on these stitches or take the process step by step to build your confidence. Additionally, the stretchiness of the yarn means you’ll need to measure carefully to ensure the waistband fits properly. Measuring as you work can help you avoid mistakes. With a little patience and attention to detail, these difficulties are easily managed and make the project even more rewarding!