Free Crochet Broccoli Pattern To Liven Up Your Space

Working on small, playful crochet projects is always a joy, and one of my recent favorites is a little vegetable that brings a touch of nature indoors. This soft toy brings smiles and sparks creativity, and with simple adjustments, it can easily transform into other veggies or quirky food items. The Free crochet Broccoli Pattern offers a fresh and approachable way to create a charming, handmade piece that’s both fun and functional.
Cute Crochet Broccoli free Amigurumi Pattern
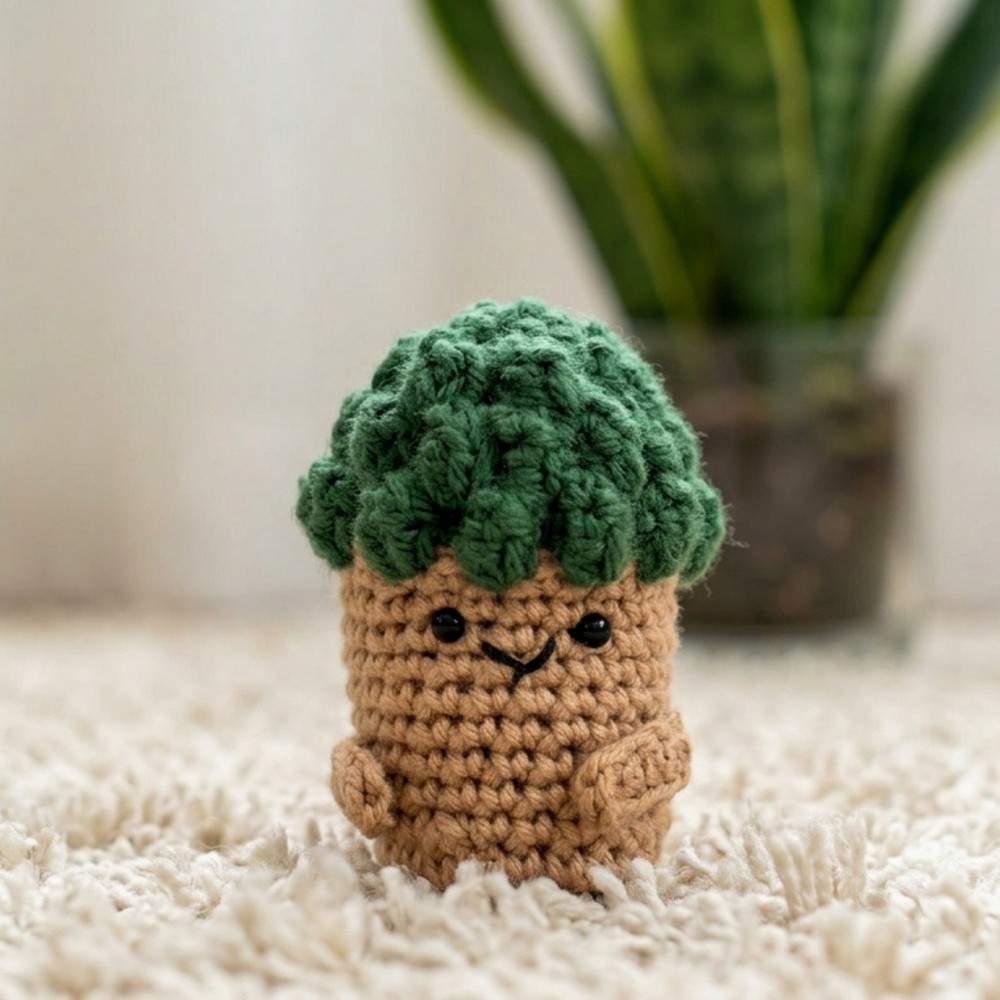
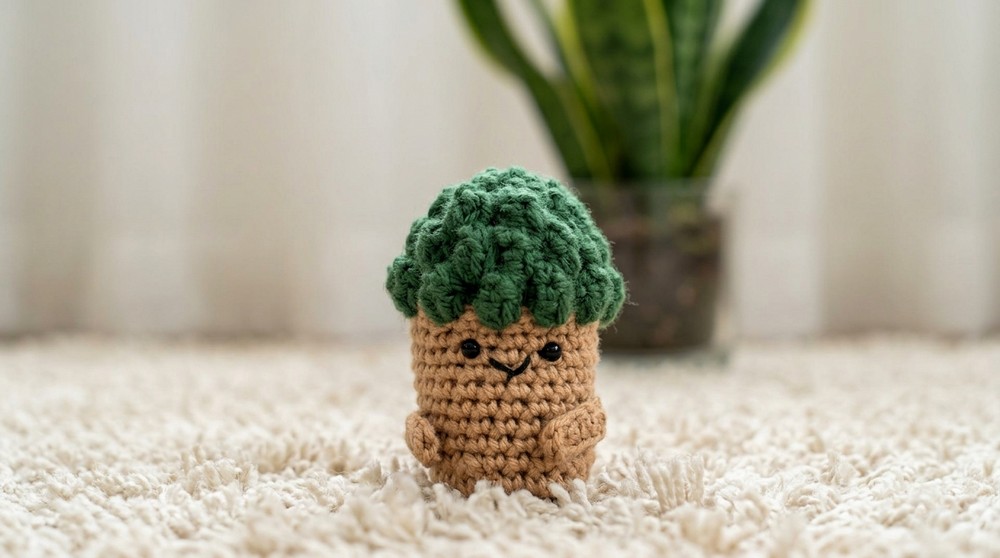
The crocheted broccoli stands out with its textured, fluffy green crown that mimics the natural look of broccoli florets. The top has a bumpy, raised surface that’s soft to the touch, contrasting nicely with the smooth, firm stalk underneath. Its compact, rounded shape makes it perfect for holding, displaying, or playing. The bright green hues and organic form give it a lively and realistic appearance, making it a delightful decoration for the kitchen, a nursery, or even a photo prop. It’s a small project that carries a big personality.
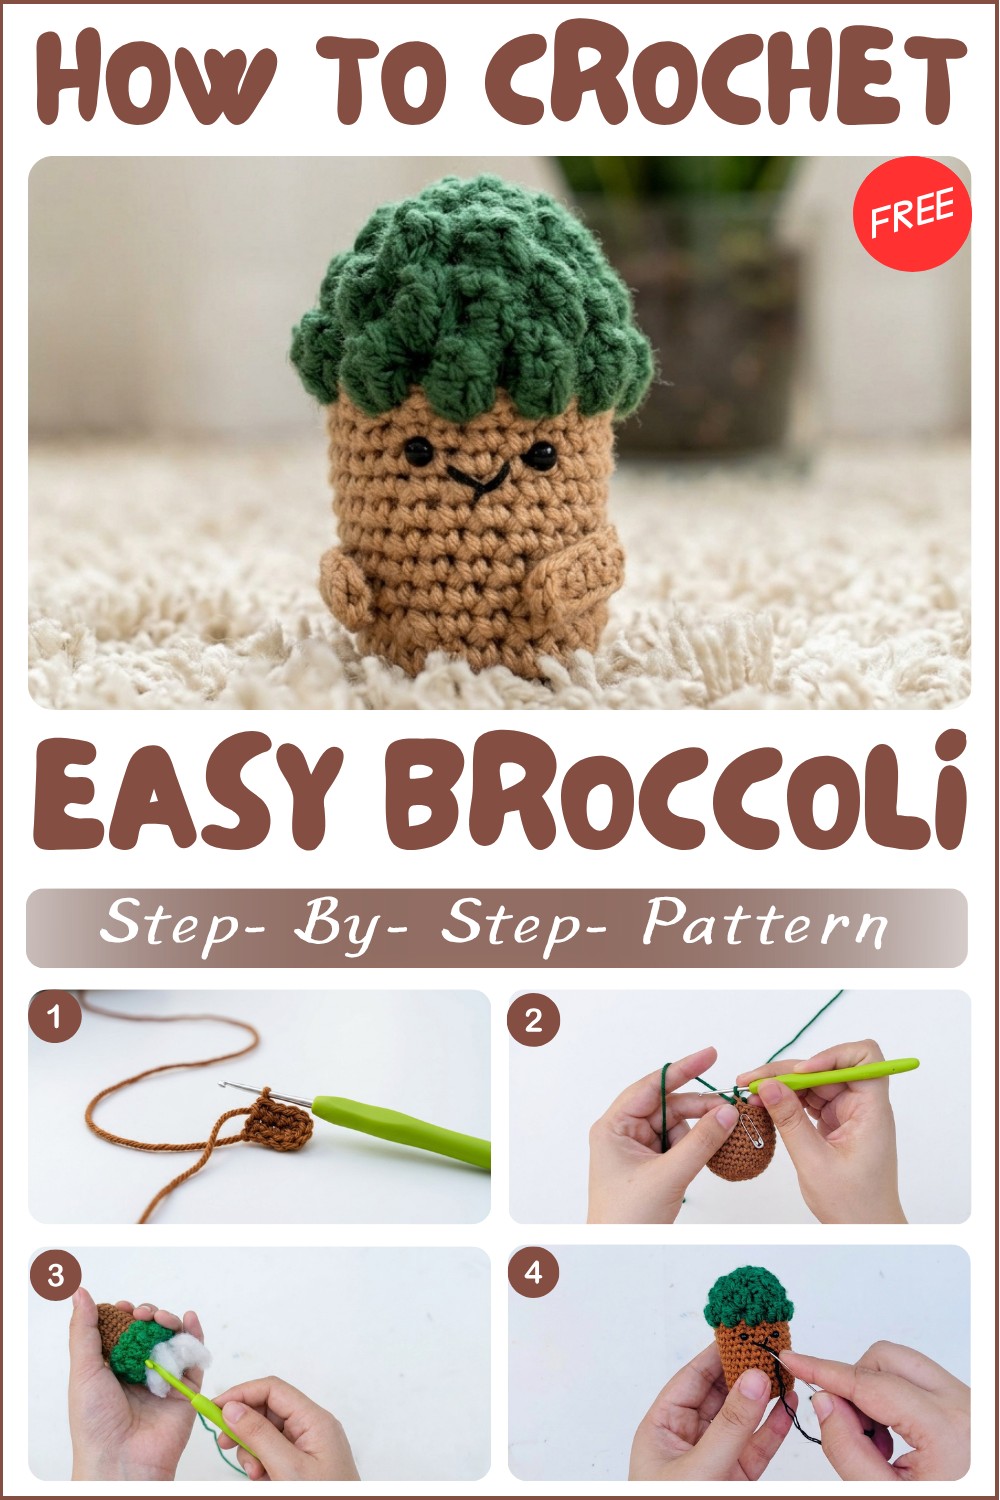
This pattern is ideal for beginners and those building confidence. Mainly constructed using single crochet stitches, it teaches essential skills like increases and decreases to shape the broccoli’s rounded top and stalk. The simplicity of the stitches keeps the project manageable, while the shaping exercises add a touch of challenge that helps improve your technique.
When finished, this crocheted broccoli makes a thoughtful gift for friends or family who appreciate handmade items or enjoy healthy living themes. It can also be a charming piece for collectors of amigurumi or food-themed toys. If you want a rewarding, easy-to-follow project that delivers a cute and practical result, this pattern suits both newcomers and seasoned crocheters. Pick up your yarn and hook, and enjoy making your own little bunch of broccoli!
Crochet Broccoli Plushie Pattern
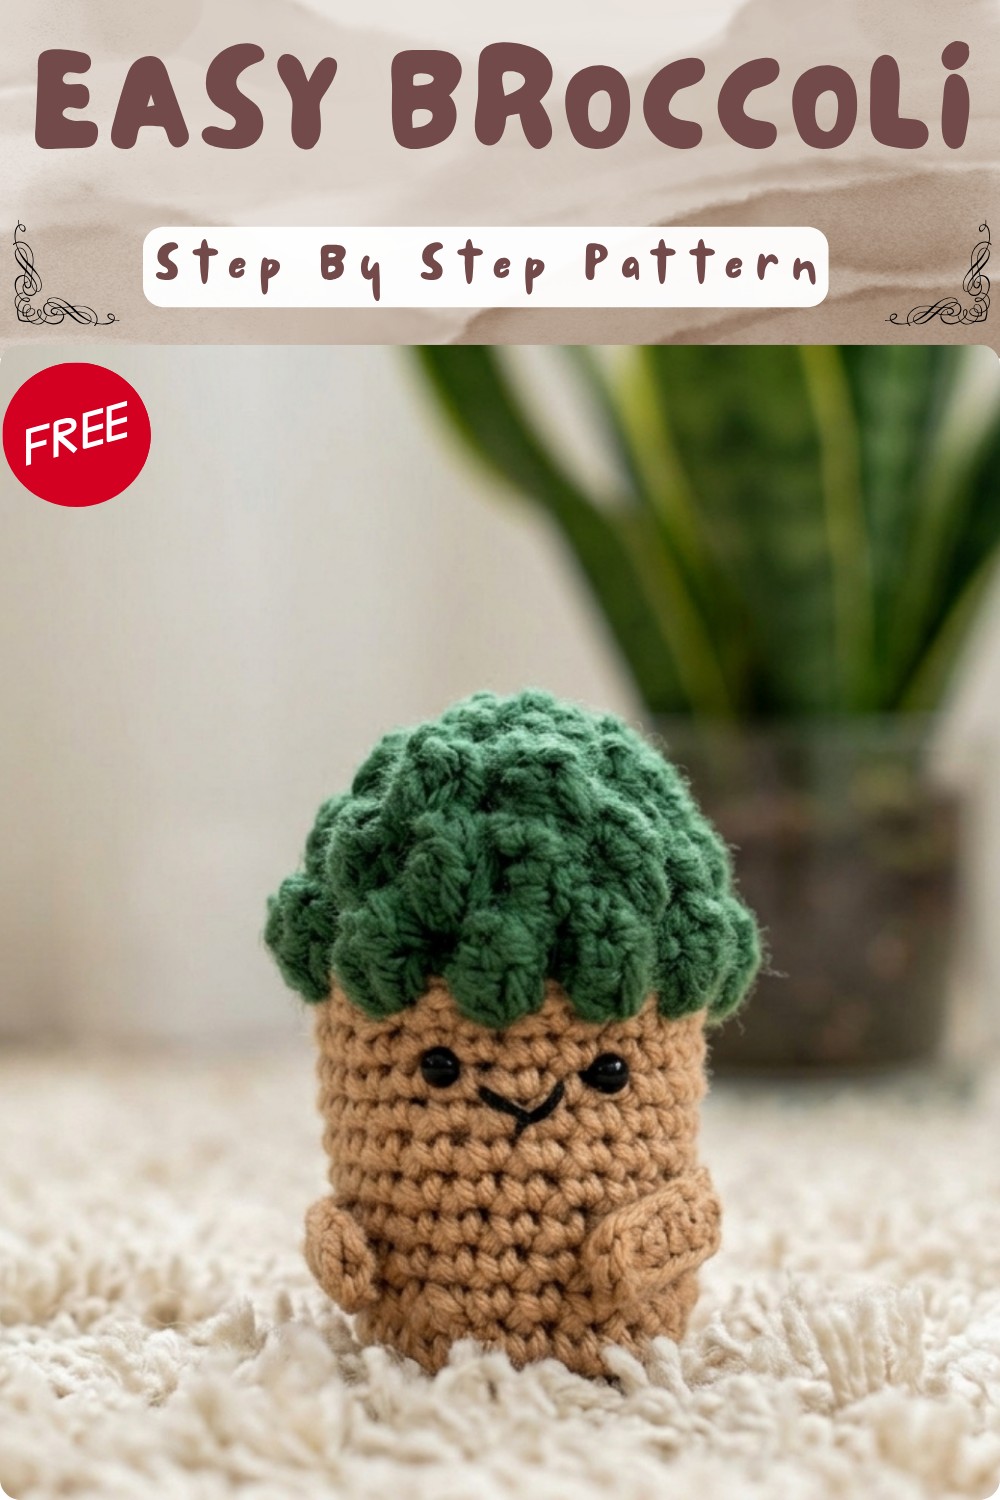
Let’s create a charming crochet broccoli plushie—a fun and whimsical vegetable amigurumi perfect for gifts, decor, or just as a cute companion! This pattern uses common amigurumi techniques, a two-tone color scheme, and the signature “popcorn stitch” for a textured broccoli head. All shaping is simple and the finished piece can be personalized with facial features, little arms, and a tag.
Skill Level & Terminology
- Skill Level: Beginner to Advanced Beginner
- Terminology: US Crochet Terms
Even if you’re new to amigurumi or popcorn stitches, each step is broken down to be gentle and approachable.
Materials & Tools
- 2 mm crochet hook
- Yarn:
- Green for top (broccoli crown)
- Lighter green or another shade for stalk/body
- Scrap black yarn/thread for facial features (optional)
- Polyester stuffing (fiberfill)
- Stitch marker
- Scissors
- Darning (yarn) needle
- Optional: bottle cap, for firm base/support inside
- Hot glue gun for attaching tags
Gauge
Gauge is not crucial for amigurumi but your stitches should be tight enough to keep stuffing inside.
Sample:
12 sc × 12 rows = 5 × 5 cm (2” × 2”) in stalk yarn.
Abbreviations List
| Abbreviation | Meaning |
|---|---|
| MR | Magic ring |
| sc | Single crochet |
| dc | Double crochet |
| ch | Chain |
| sl st | Slip stitch |
| pc | Popcorn stitch |
Special Stitch Instructions
- Magic Ring (MR): Wrap yarn into a ring, insert hook, pull up loop and start as instructed.
- Popcorn Stitch (pc): Work 4 double crochets (dc) into the same stitch. Remove hook, insert into first dc, pull loop through to close and form a “popcorn.”
- Increasing: Two stitches in the same space.
- Decreasing: No explicit decreases in the body, but random popcorn skips to decrease crown.
- Slip Stitch (sl st): Insert hook, yarn over, pull through both loops.
The Pattern
Stalk/Body
Round 1:
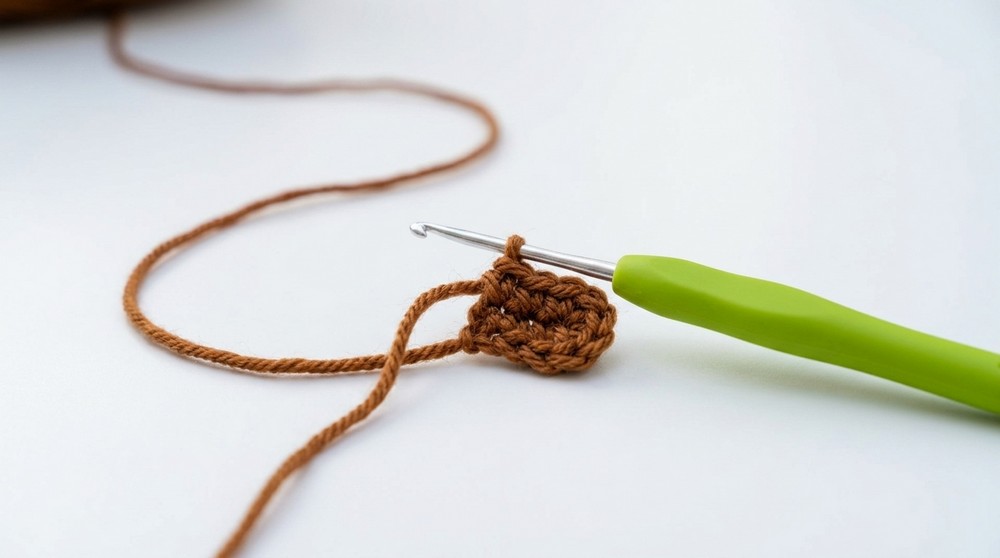
- MR, 10 sc in ring.
Pull ring tight.
Round 2:
- Place stitch marker.
- (2 sc in next st, 1 sc in next st) repeat around. (15 sts)
Round 3:
- (2 sc in next st, sc in next st) repeat around.
Continue sequence for shaping (22–23 sts).
Round 4:
- Sc in each st around.
No increases on this round.
Rounds 5–12:
- Sc in every st around.
Move your stitch marker as you go.
(If desired, insert a bottle cap after round 6 for a firmer base).
After completing twelve rounds, you’ve built a sturdy stalk with a gentle cylinder shape. If you don’t read patterns: make a small flat circle then build up sides evenly for several rounds. You can stuff as you go.
Broccoli Crown (Top Portion)
Change to Green Yarn.
Round 13:
- In each st, work 4 dc (popcorn stitch) in same st.
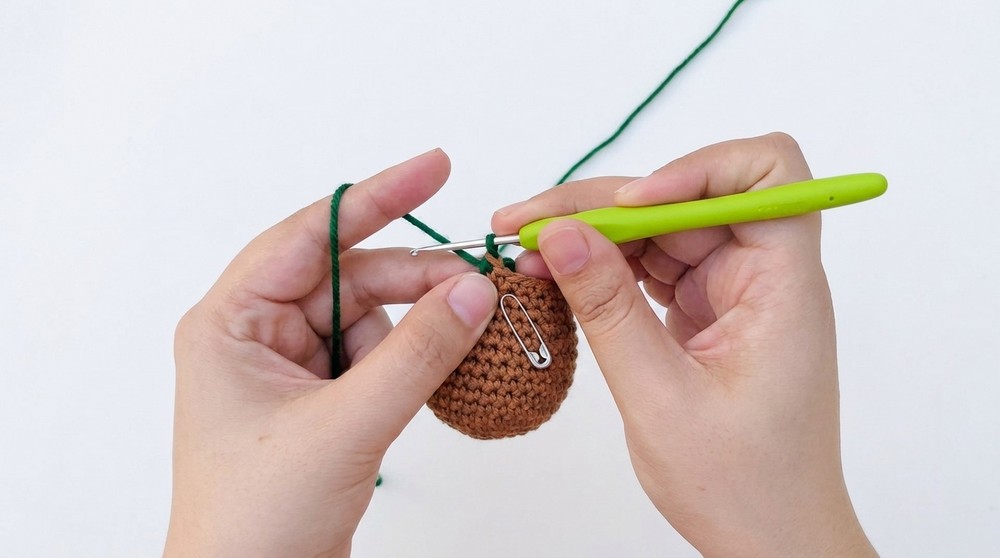
- Remove hook, insert in first dc, pull yarn loop through to close popcorn.
- Continue: 1 pc in every st around.
- Join last st to first with sl st.
Round 14:
- Ch 1.
- Work 1 pc in each chain-one space from previous round.
- Continue: pc in every ch-1 space around.
- Close with sl st.
Round 15:
- Repeat round 14: ch 2, pc in every ch-1 space, sl st to close.
Round 16:
- Skip one popcorn, work pc in next.
Continue decrease method through the round.
Following Rounds:
- Continue decreasing popcorns, skipping one in each repeat.
- Stuff as you finish rounds for fullness and shape.
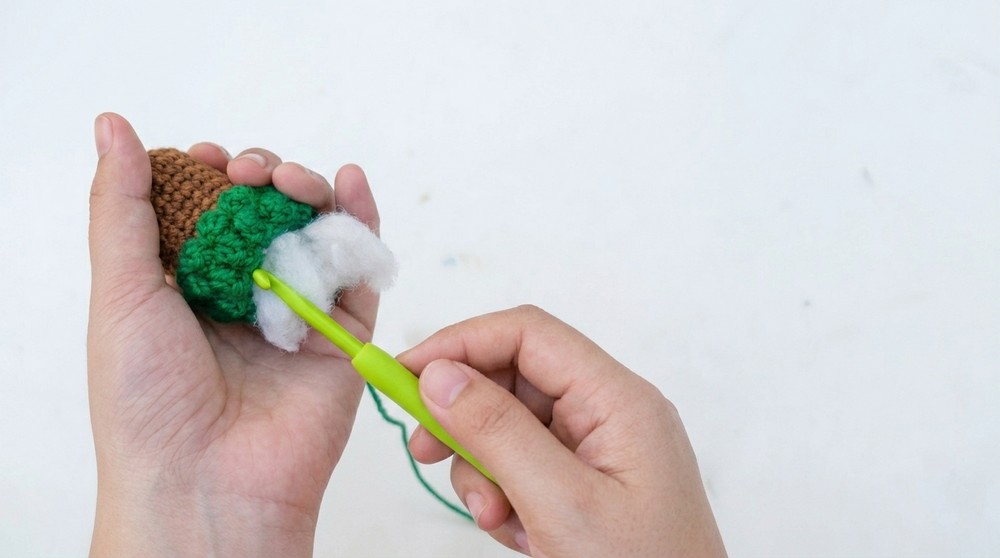
These popcorn rounds create the textured, “bumpy” broccoli crown on top of the stalk. If you don’t read patterns: switch yarn to green, make bumpy stitches all over the top, start skipping bumps to close the crown.
Facial Features (Eyes & Mouth)
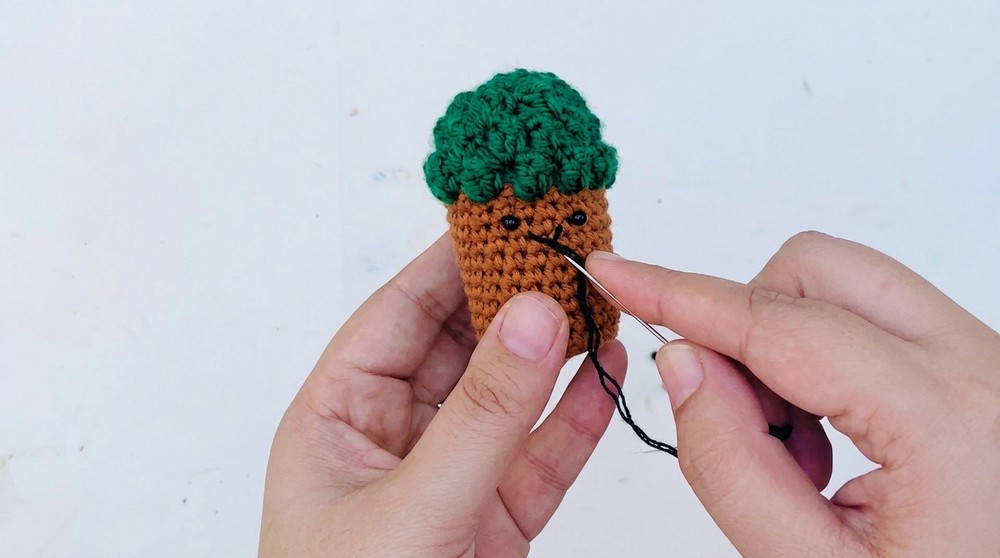
- Embroider two small eyes with black yarn/thread below the crown.
- Add a little smile or mouth if desired.
Tiny Hands
Make two arms:
- Ch 5.
- Skip 1 ch, dc in each remaining ch (4 dc).
- Fasten off.
- Stitch each hand to the side of the stalk/body with yarn needle.
Arms are simple strips, sewn on for extra cuteness. If you don’t read patterns: make two short pieces and sew to sides!
Finished Size
- Height: Approx. 5–8 cm (2–3”)
- Diameter: Approx. 3–5 cm (1–2”)
- Size varies with yarn/hook and stuffing.
Assembly & Finishing
- Stuff crown and body for a slight firmness.
- Sew arms securely to sides.
- Embroider or attach facial details low on stalk.
- Attach a tag or greeting card with hot glue if gifting.
- Shape the crown with fingers to create broccoli’s signature look.
- Secure and weave all yarn tails inside the body.
Conclusion
This crochet broccoli plushie pattern is a delightful, beginner-friendly project using basic stitches, fun textures, and easy shaping. You’ll start with a classic magic ring, single crochet rounds for the stalk, then popcorn stitches to make the bumpy green crown—all stitched in the round with a simple color change. Add personality with a sweet face and tiny hands, and finish with a greeting or tag.
What You Can Make With These Stitches:
- Amigurumi vegetables
- Bumpy texture projects (flowers, trees, toy balls)
- Cute, small handsewn plushies
- Unique party favors, decor, or gifts