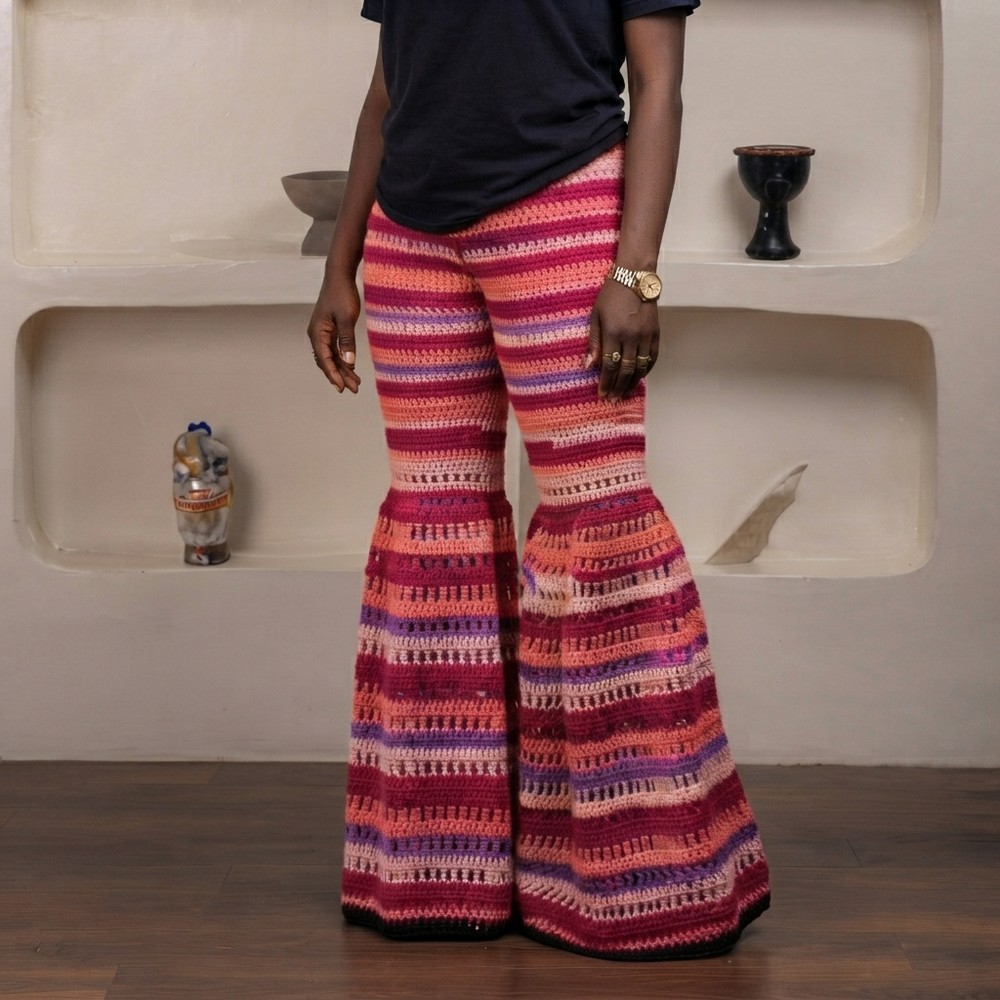
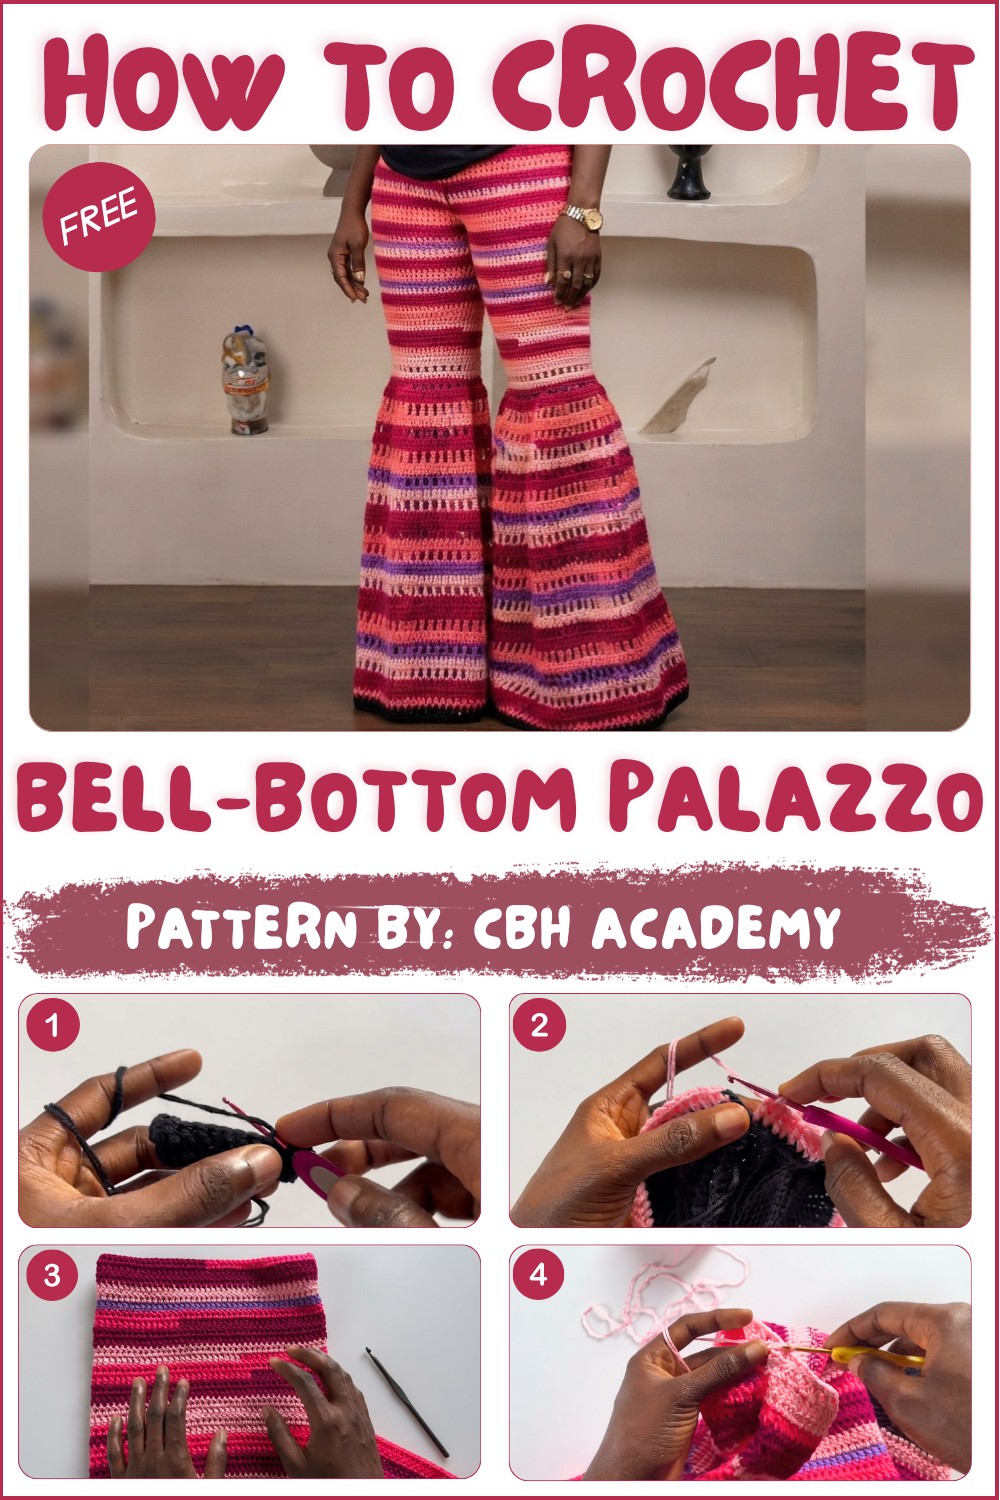
Trendy Crochet Bell-Bottom Palazzo Pattern – Free and Easy

Channel vintage vibes with this free crochet bell-bottom palazzo pattern and crochet flowy piece that blend comfort and bold style.
Sometimes finding a stylish and comfortable crochet project feels like a real challenge. That’s why when I saw the amazing tutorial on CBH Academy, I felt excited to try something new. This project is a fantastic way to make wide-legged pants that combine style and ease perfectly.
Free Pattern: Crochet Bell-Bottom Palazzo Pants Tutorial
The free crochet Bell-Bottom Palazzo pattern is all about fashion and comfort blended into one lovely piece. These pants have a flared design that fits snugly around the hips and thighs, then widens below the knees, creating a graceful and flowing shape. They remind me of classic bell-bottoms with a modern twist, making them a unique addition to any wardrobe.
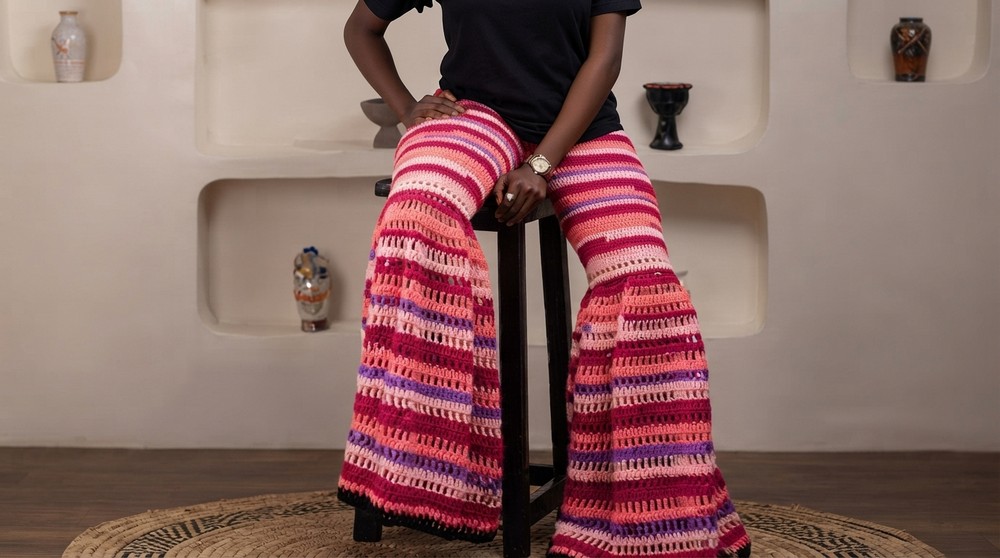
What makes these palazzo special is their charming and relaxed style. The loose fit allows for easy movement, while the crochet texture gives them a hand-crocheted, eye-catching look. They work well for casual wear or even dressed up with the right accessories. Plus, they make a thoughtful gift for anyone who loves unique, handmade fashion pieces. 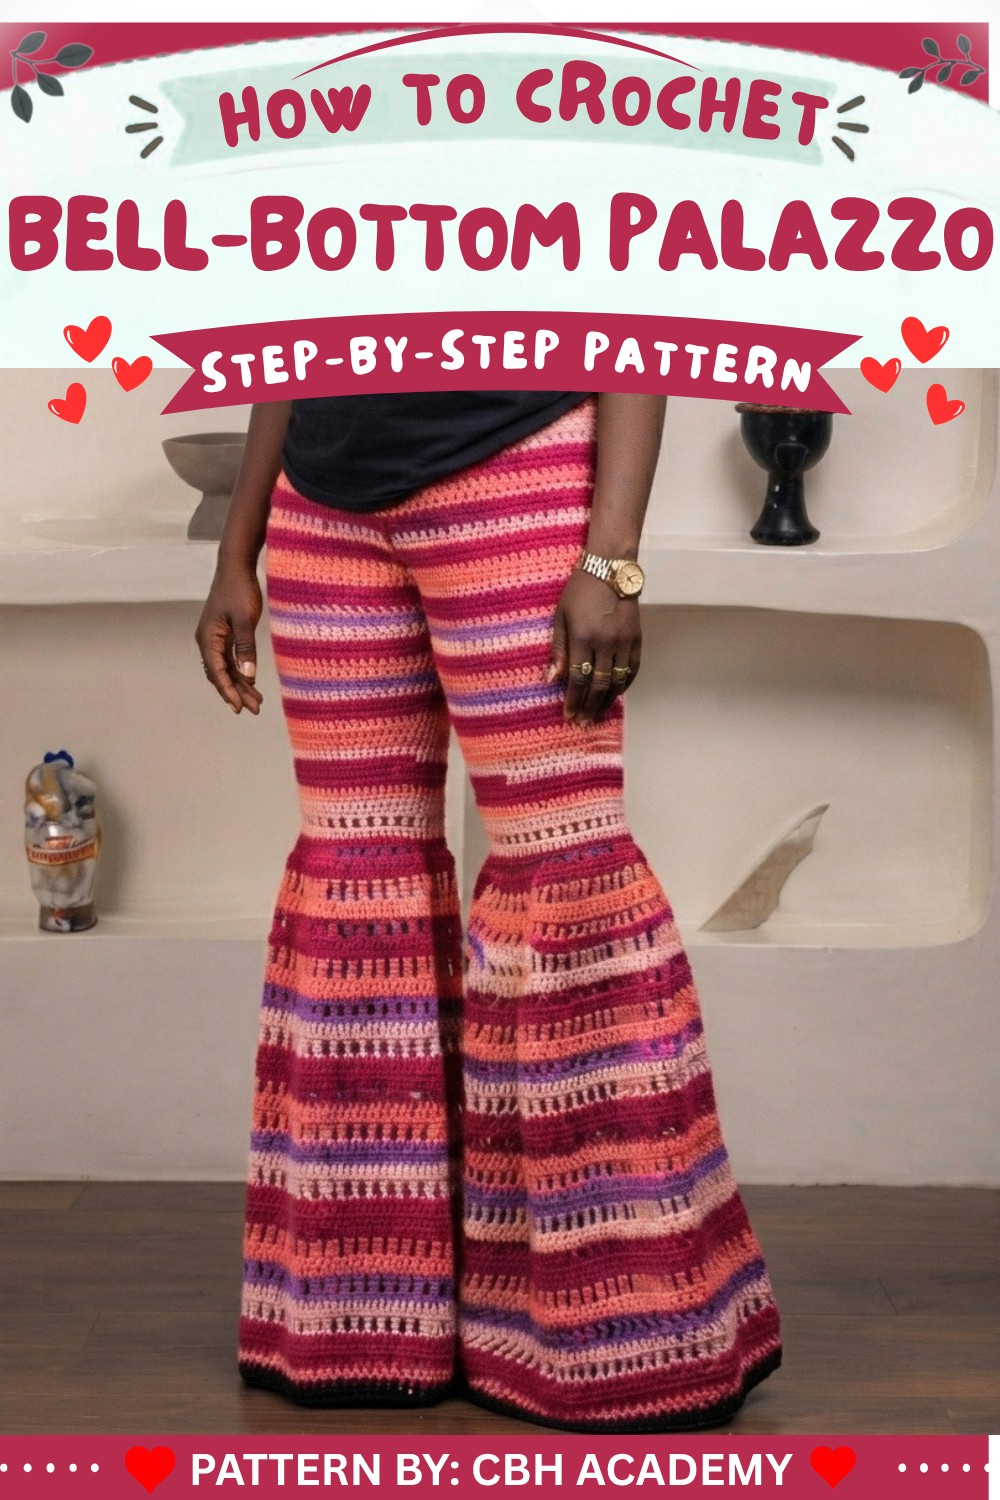
Flare Bell Bottom Palazzo Pants Pattern
These statement palazzo pants feature a fitted high waist, a gradually flared bell bottom, cool mesh inserts, and bold color blocking. With a ribbed waistband and tiered increases, this design offers a custom fit through the hips and thighs and a dramatic silhouette at the hem.
Pattern Important Tips
Waistband Fit
- Ribbed band should fit your waist snugly but stretch over your hips for easy dressing.
- Work the correct number of rows for a neat, even waistband.
Body Shaping
- Calculate your own hip and round-fly measurements for a custom fit.
- Don’t flare out immediately; follow a gentle increase from waist to hips, then decrease at thighs, and finally increase at bell.
Seaming
- Place all joining seams at the back for a professional appearance.
Bell Bottom Construction
- Bell is created by alternating mesh and solid rows, using both stitch increases and larger hooks to maximize flare.
Stitch Marker Use
- Always mark the start of rounds for orientation.
- Mark sides of legs for symmetrical decreases.
Skill Level
Intermediate
Pattern involves single crochet, double crochet, ribbing, increases, decreases, mesh construction, and color changes. Some shaping and customization are included.
Materials
- Worsted weight yarn: 2 strands held together (used throughout for extra density)
- 4 shades of pink for main body and bell
- Black for waistband and bell bottom trim
- Crochet Hooks: 3.0 mm, 3.5 mm, 4.0 mm, 4.5 mm, 5.0 mm
- Scissors
- Measuring tape
- Stitch markers
Gauge and Stitch Pattern
- Waistband ribbing: 15 sc (rows) × rows as needed for your waist
- Body: DC; Mesh and treble mesh as noted in “Special Stitches”
- No set row gauge: Instead, measure length and width as you go
Stitch Abbreviations
- ch: chain
- sc: single crochet
- dc: double crochet
- hdc: half double crochet
- tr: treble crochet
- dtr: double treble crochet
- sl st: slip stitch
- st(s): stitch(es)
- tog: together
Special Stitches
- Back Loop Single Crochet (blsc): Work sc in back loop only for ribbing effect
- Front Post/Back Post DC: For ribbing; not used directly here but useful elsewhere
- Double Crochet 2 Together (dc2tog): Decrease two dc into one: (yo, insert hook, yo, draw up loop, yo, pull through 2) twice, yo, pull through all 3 loops.
- Treble (tr): Yarn over twice, insert hook, draw up loop, (yo, pull through 2) three times
- Double Treble (dtr): Yarn over three times, insert hook, draw up loop, (yo, pull through 2) four times
Notes for Starting the Pattern
- Use 2 strands of yarn for thickness.
- Seam with right sides together for waistband, then always work with RS facing out.
- Use stitch markers to keep track of center front/back and side seams, as well as decreases and increases.
Detailed Pattern
Waistband (Black)
Use 3.0 mm hook.
- Ch 15 + 1.
- Row 1: Starting in 2nd ch from hook, sc in each ch (15 sc).
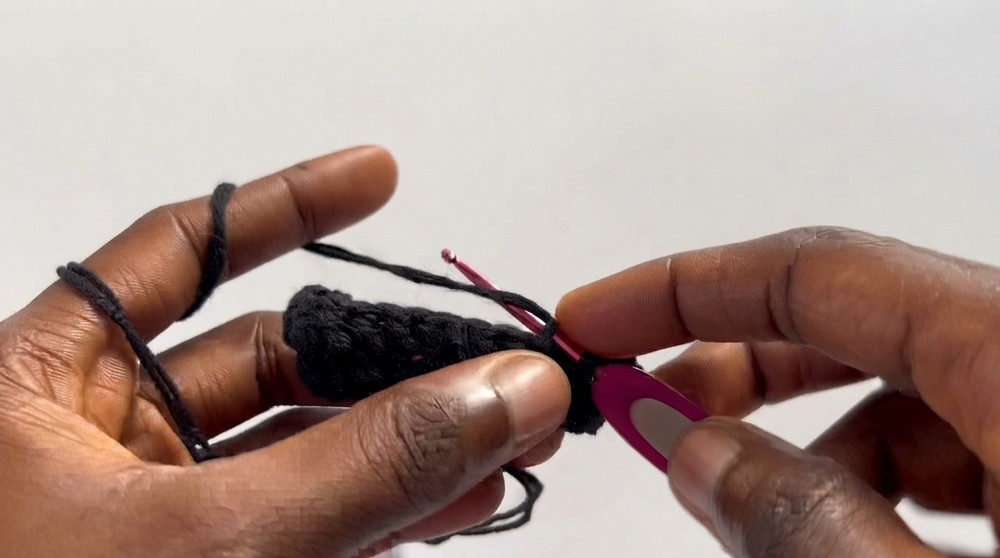
- Rows 2–118:
- Ch 1, turn.
- blsc across (15 sts).
- Measure after row 100 and check regularly: when gently stretched, length should equal waist measurement (~29” unstretched, stretching to hip size if applicable).
- Fold band into a ring (short ends together), sl st or sc seam to join. This is your waistband.
Body Foundation
- Turn your ring RS out; join yarn if needed at seam.
- Round 1 (Cleanup):
- With 3.0 mm hook, sc around waistband edge for neat base:
- Work 3 sc in every 2 rows of ribbing, alternating with 2 sc in every 2 rows.
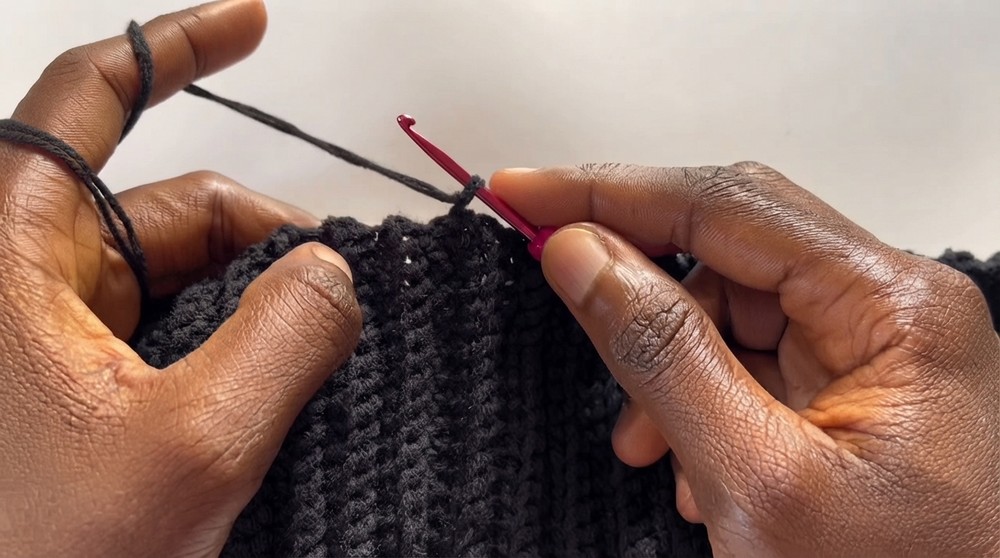
- Repeat: 3, 2, 3, 2, … around to keep it from being too wide.
- Place stitch marker in the first sc.
- Work 3 sc in every 2 rows of ribbing, alternating with 2 sc in every 2 rows.
- Count total sts; aim for your hip circumference. (Ex: 147 for sample.)
- With 3.0 mm hook, sc around waistband edge for neat base:
Main Body
- Round 2 (Switch to Main Color):
- Attach first main color at marker.
- Ch 2 (does not count as st), turn.
- Dc in each sc around (skip slip st “illusion st” at start of round).
- Work the last dc in the base of ch-2 at the slip stitch seam.
- Sl st to first dc to join.
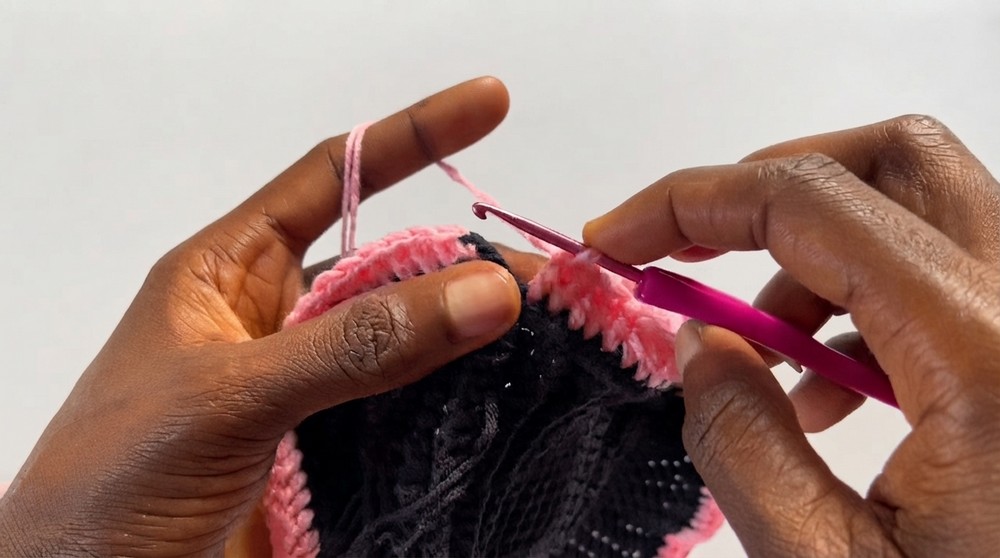
- Rounds 3–16:
- Repeat as above: ch 2, turn, skip slip st, dc in each st around.
- Change colors as desired (outline: two rows per color for subtle striping).
- Continue until work measures round-fly minus 3” (sample, 23” total length).
- Check: work should fit at hips but not flare until above knees.
Splitting for Legs
- Mark center front/back with stitch marker—should be the midpoint of stitches.
- Calculate: Half your total stitch count; mark opposite point.
- Ch 12 (for 3” at crotch; adjust for custom fit), sl st to center mark at front.
- Cut yarn to work join at back (keeps front seam smooth).
- Attach yarn at back crotch seam (so join line stays at back of pants).
Leg Section (First Leg)
- Round 17 (or Leg Round 1):
- Standing dc at back seam.
- Dc in each of the 12 ch for crotch extension (do not twist chain).
- Dc in each dc around leg opening; ensure count matches the other side (ex: 86 sts per round for sample).
- Mark start of round for orientation.
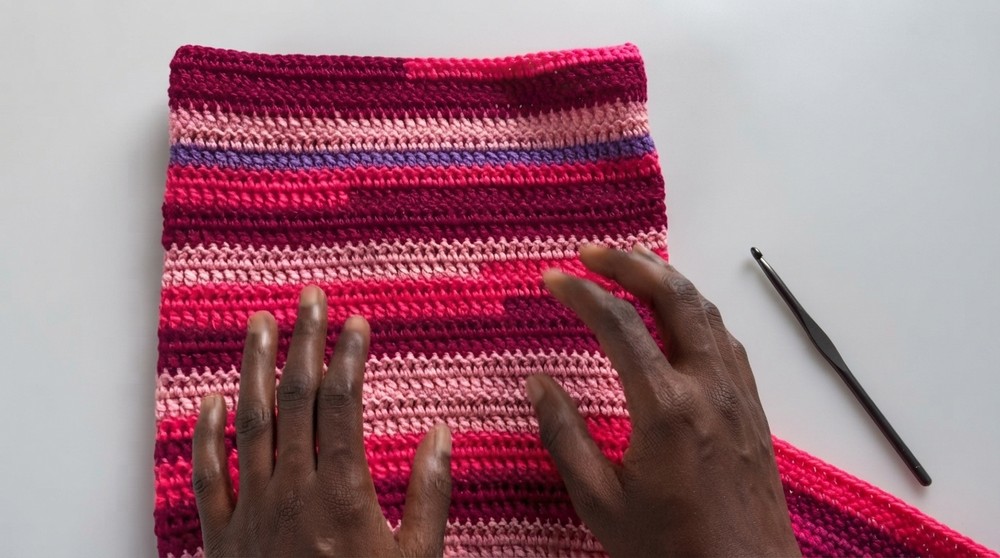
- Rounds 18+:
- Continue dc in each st around, turning work at the end of each round to keep fabric even.
- Repeat until thigh length achieved (about 13-14” or as fitted for your size; ex: 12 rounds).
Thigh/Tapered Section
- Place markers at approximate side seams.
- Decrease Rounds (e.g., Rounds 13/14, 17/18, etc.):
- When you reach a stitch marker, dc2tog over the marked st and next st. Mark decrease stitch for future reference.
- Decrease at each side every other round:
- Dec in two rounds, dc straight for next two rounds, repeat pattern until fit achieves desired taper to knee.
- Continue repeat until reaching about 3” above your knee (e.g., up to round 20 for sample).
Bell Bottom Construction
- Begin alternating between mesh and solid rows to start flare.
- Switch to 3.5 mm hook to increase flare gradually for the first mesh rounds.
Example Bell Section Rows:
- Round 28 (Mesh/Dc):
- Ch 4 (counts as dc + ch-1), turn.
- Skip 1 st, dc in next st, ch 1, around.
- Sl st to 3rd ch of starting ch-4 to join.
- Round 29 (Increase/Solid):
- Switch hook to 4.0 mm.
- Ch 3, turn.
- [In mesh ch-1 space: 2 dc; in next dc: 1 dc] repeat around.
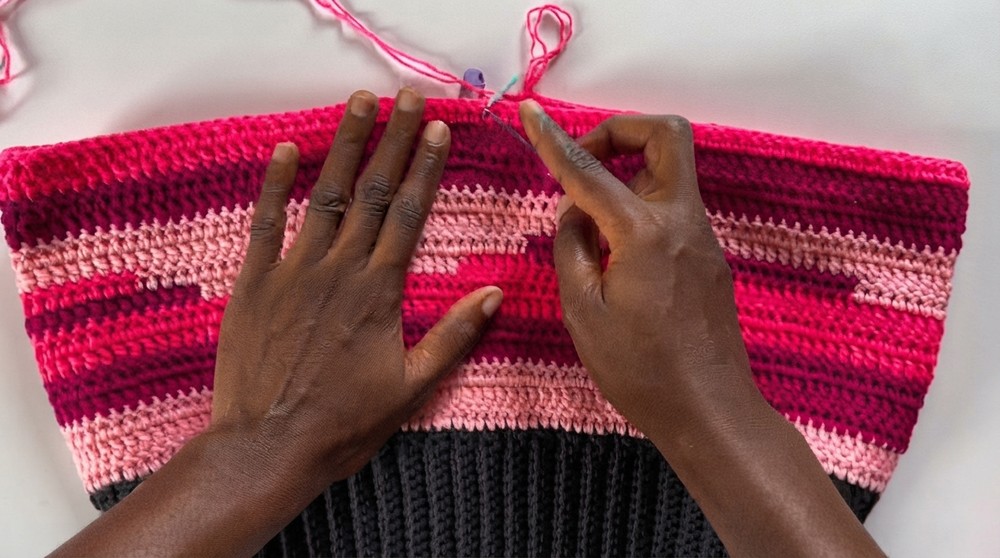
- Round 30 (Treble Mesh):
- Ch 5 (counts as tr + ch-1), turn.
- Skip 1 st, tr in next st, ch 1, around.
- Sl st in 4th ch of start ch-5 to join.
- Round 31 (Big Increase):
- Ch 3, turn.
- [In each ch-1 space: 2 dc; in next tr: 1 dc] repeat around.
- Rounds 32–61:
- Continue alternating between mesh/tc mesh and solid rows; increase in every 3rd or 4th space on solid rows as needed.
- Switch to 4.5 mm, then 5.0 mm hooks gradually to improve flare.
- As you progress, occasionally use tr or even dtr instead of dc for dramatic length increase.
- Always maintain symmetry in both legs.
- Mesh rows: Always sk 1, tr or dc in next, ch 1 between.
- Solid rows: dc in every st and ch-sp, alternating increases as needed for maximum flare.
- End bell with a row of mesh using black for unity with waistband, then a final hdc round to stabilize hem.
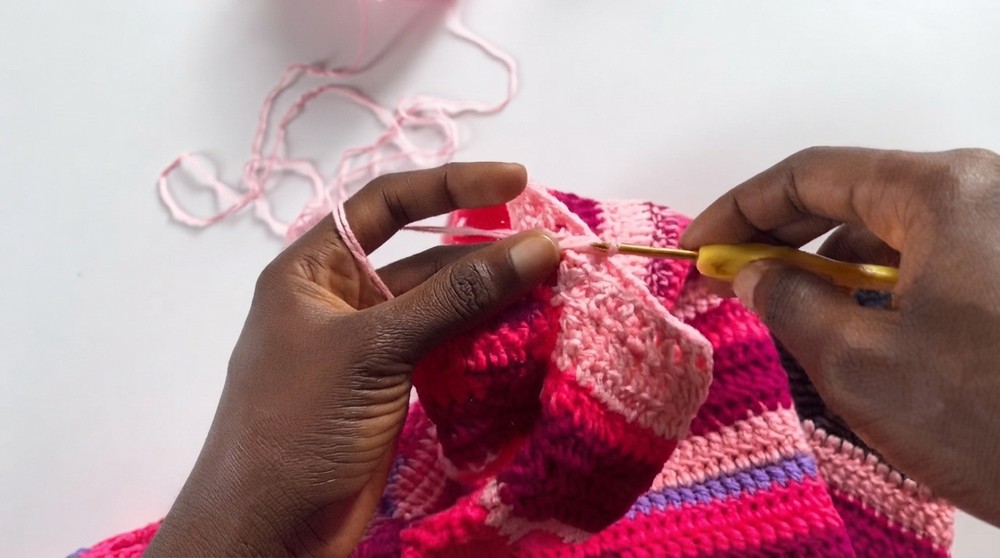
Second Leg
- Attach yarn at crotch and repeat all steps as for first leg, copying all color changes, stitch counts, and increases.
Assembly and Sizing
- Try pants on as you go for best fit, adjusting round counts at waist, thigh, knee, and bell for your size.
- Finished length from waist to hem: measure to suit (sample: bell section 24”, total length ~43”).
- Ensure both legs match in length, width, color sequence, and bell flare.
Conclusion
With careful measurement and strategic shaping, these bell bottom palazzo pants offer dramatic style and a tailored fit. The design allows for full personalization with color changes, stitch selection, and flare intensity. For best results, maintain consistent round and color counts across both legs and block finished pants to smooth and shape the bell bottoms. Adjust for your own measurements and enjoy bold retro style with modern, custom flair.