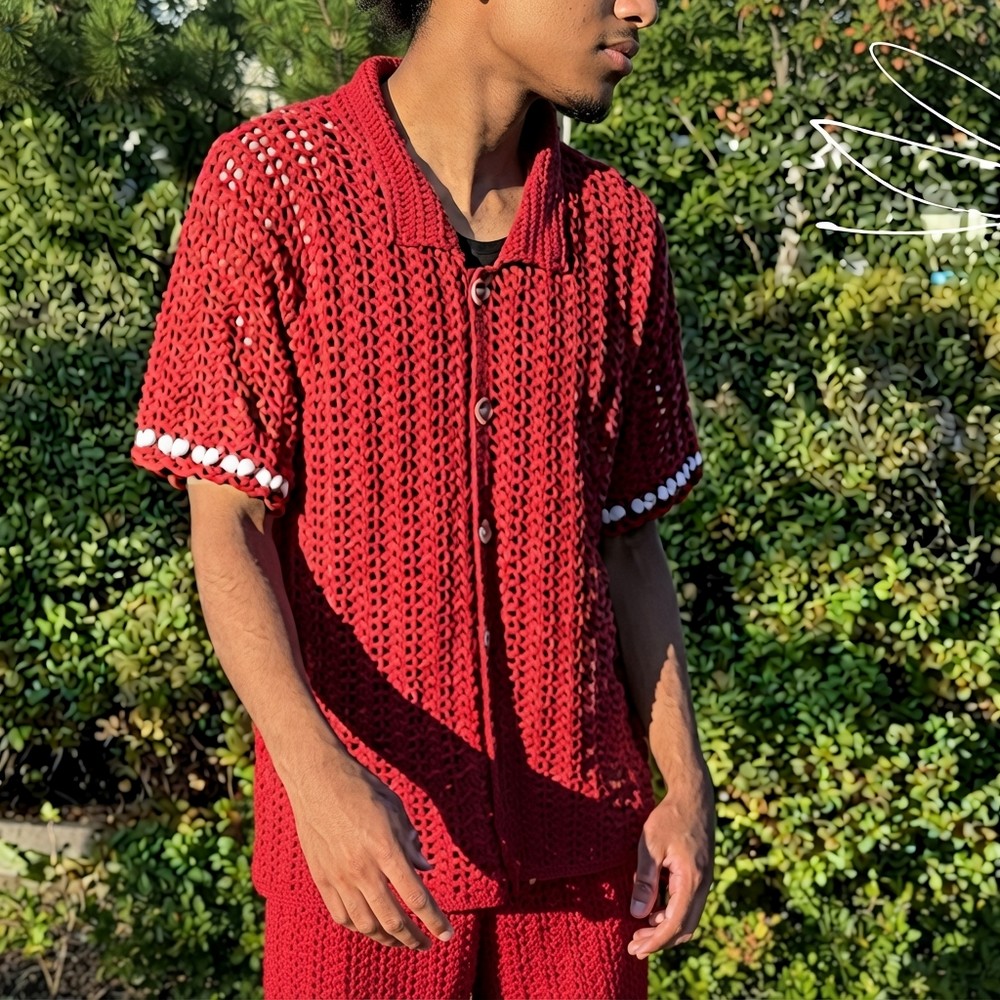
Crochet Men’s Shirt Free Pattern – Unique Handmade Style

Step up your crochet game with this free men’s shirt pattern and create a comfortable handmade shirt that’s for personal wear.
I recently wanted to create something wearable and personalized for the men in my life. While browsing for fresh ideas, I came across a wonderful tutorial on the CBH Academy channel that truly stood out. This project offers a stylish and comfortable shirt that’s perfect for casual wear or layering.
Free Crochet Men’s Shirt Pattern – Step-by-Step Tutorial
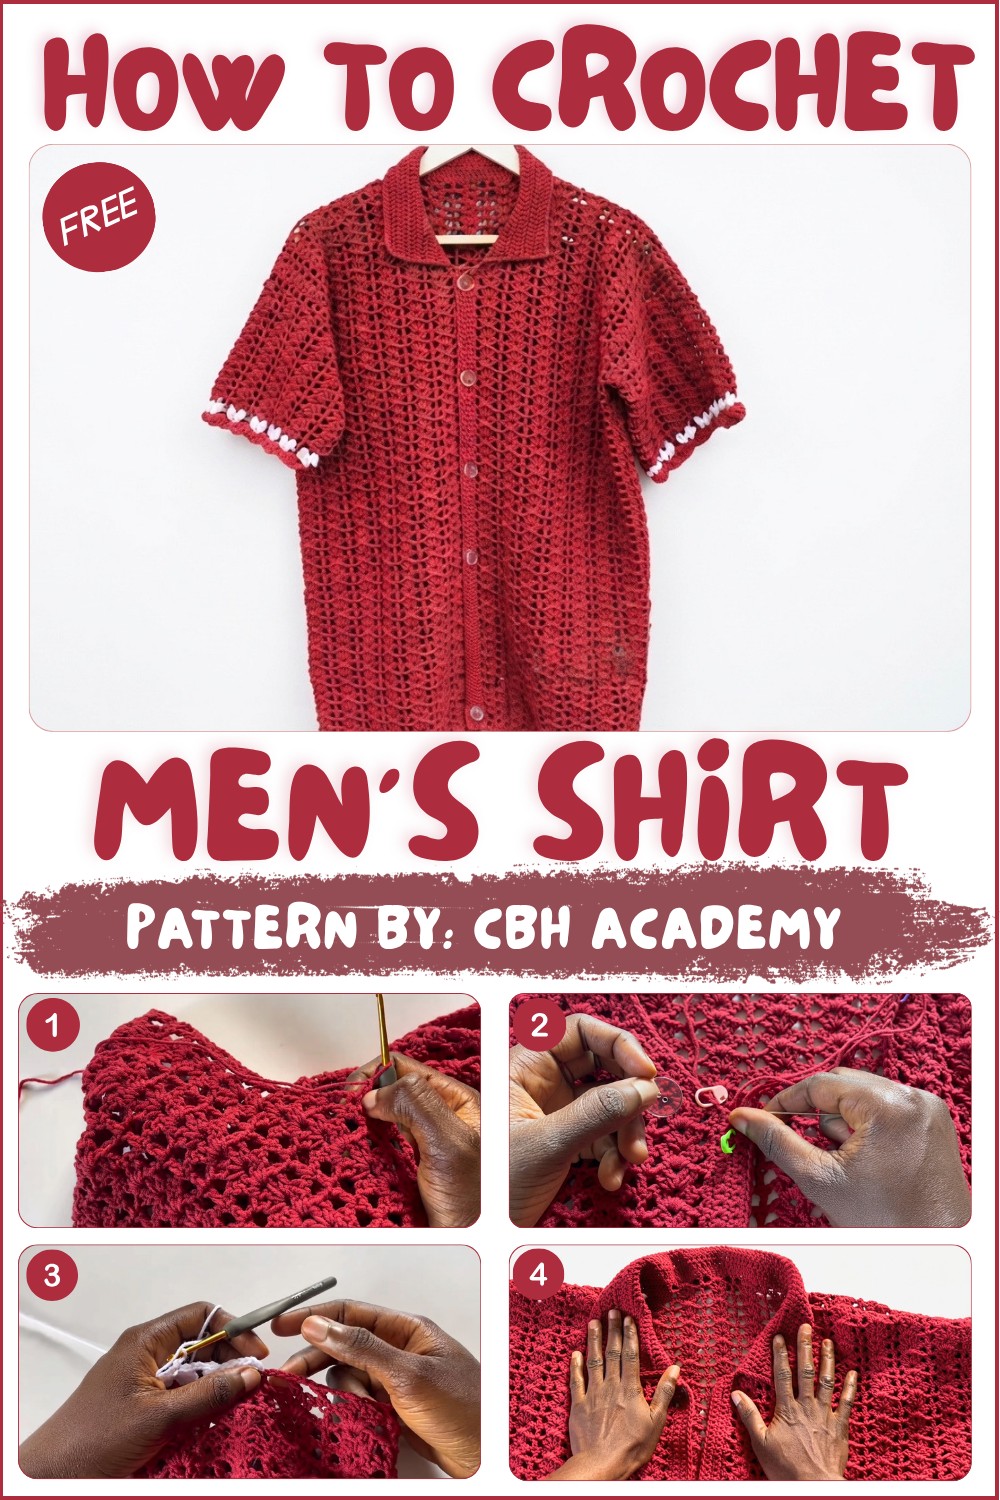
The free crochet Men’s Shirt pattern is a fantastic way to craft a versatile garment that combines comfort with a clean, modern look. The shirt’s simple design makes it easy to match with lots of outfits, while its handmade quality adds a unique charm you just can’t get from store-bought clothes. Its breathable texture is perfect for various seasons, making it practical as well as attractive.
This isn’t just a great wardrobe addition, it also makes a thoughtful and special gift. Handmade clothing carries so much personal effort and care, which anyone would appreciate receiving. Whether for a birthday, holiday, or just because, giving this crochet shirt shows how much you value someone’s style and comfort.
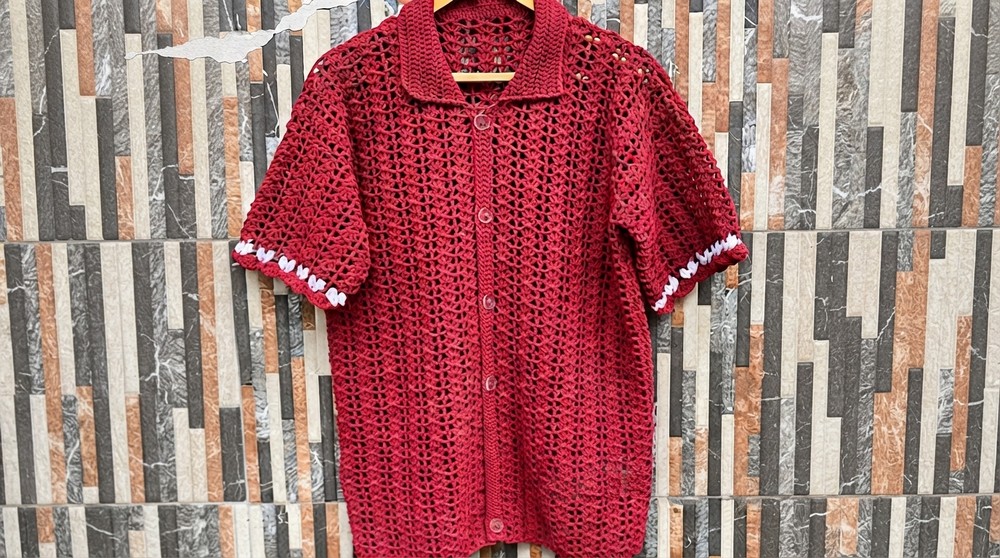
With a neat collar and classic fit, the shirt pairs well with jeans or casual pants, bringing a touch of handmade charm to everyday looks. The clean lines and subtle texture give it an understated yet stylish appeal, suitable for all ages. It’s a piece that balances simplicity and elegance effortlessly.
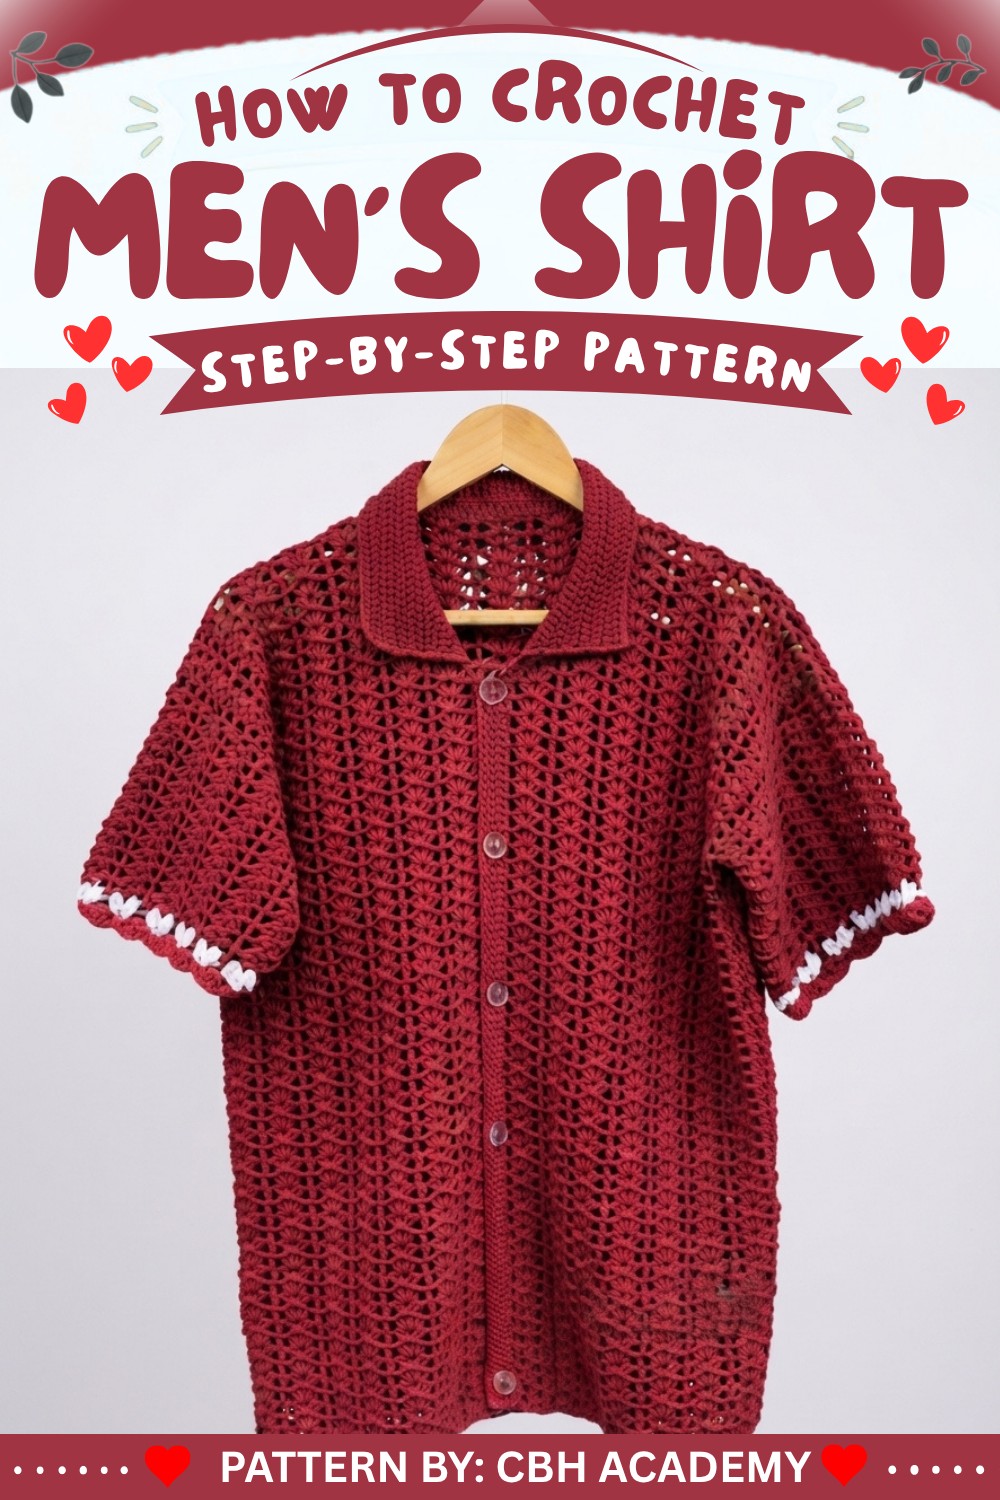
Crochet Shell Stitch Button-Up Shirt
Pattern Overview
A classic crocheted button-up shirt using an easy shell stitch variation. The shirt is worked in panels, joined at the shoulders and sides, finished with sleeves, button bands, and collar.
Important Tips
Sizing
- The back panel is half your chest measurement.
- The front panels are half the shell count of the back panel each.
Construction
- Make the panels, seam the shoulders, seam the sides, add sleeves, then finish front edges and collar.
- Use stitch markers to keep your joins even.
Button Bands
- Plan and mark button and buttonhole placements before sewing.
Skill Level
Beginner – Easy Intermediate
Materials
- 5 balls of DK/light worsted yarn (sample: Alise Cotton Gold, 100g/ball)
- 3.0 mm crochet hook
- 6–7 buttons
- Darning needle, stitch markers, measuring tape, scissors
Gauge and Stitch Pattern
- Each back panel should be about 21″ wide with 93 chains (without stretch)
- Shell stitch pattern: Multiple of 3 + 9
Stitch Abbreviations
- ch: chain
- sc: single crochet
- dc: double crochet
- sl st: slip stitch
- st(s): stitch(es)
Special Stitches
- Shell Stitch: (2 dc, ch 1, 2 dc) in the same st/sp
- Decrease V Stitch: (dc, ch 1, dc) in the same space
- Double Crochet Decrease: Work 2 dc together
Starting Notes
- Panel sizes are based on chest width, adjust as needed.
- Work length and sleeves as preferred.
Pattern Instructions
Back Panel
Foundation
- Ch 93 (for 21″, adjust for your size, multiple of 3 + 9).
- Ch 1 extra, turn.
- Row 0:
- Work 1 sc in each ch across, (93 sc total), turn.
Row 1: First Shell Row
- Ch 3 (counts as dc), dc in next sc.
- Repeat below until 4 sts remain:
- Ch 1, skip 2 sts.
- In next st: 2 dc, ch 1, 2 dc (shell).
- Ch 1, skip 2 sts, dc in next st.
- When 4 sts remain:
- Ch 1, skip 2 sts.
- dc in last 2 sts.
- Turn.
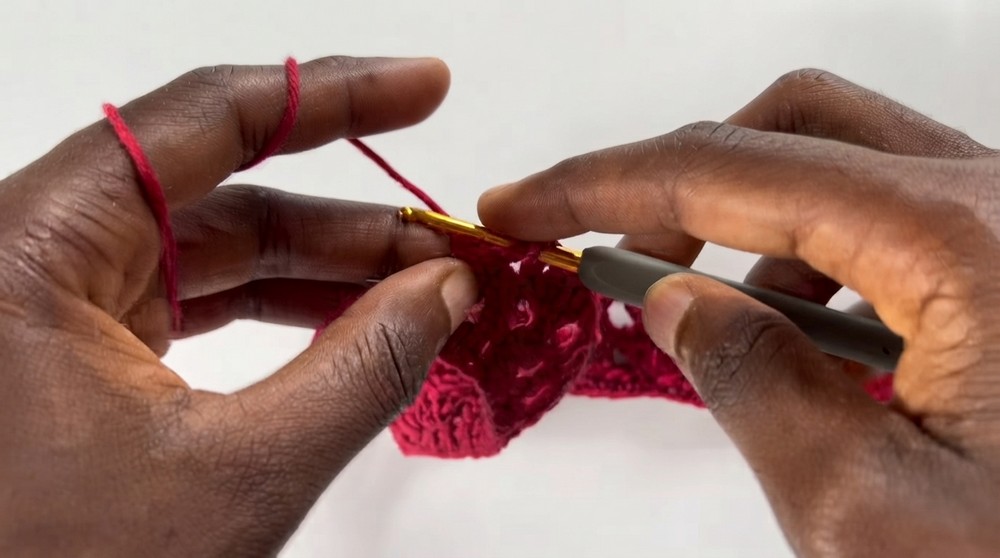
Row 2: Repeat Row
- Ch 3 (counts as dc), dc in next dc.
- Repeat pattern:
- Ch 1.
- In shell (ch 1 space): 2 dc, ch 1, 2 dc.
- Ch 1, dc in next dc.
- Finish with 2 dc at edge.
- Turn.
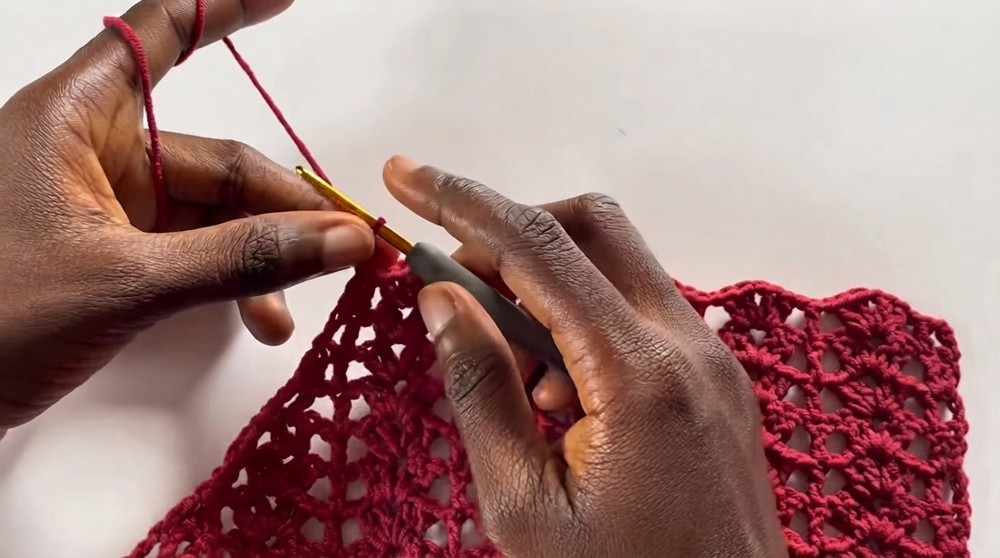
- Repeat Row 2 until panel is desired length (sample: 60 rows / 27.5″).
Front Panels
Sizing & Foundation
- Count total back panel shells. Divide by 2 for each front.
- For odd shell counts, one shell row omitted for the V-neck.
- For sample (15 shells): 7 shells on each front panel; chain enough for 7 shells plus edge dc (44 ch).
- Ch 44 + 1 to turn.
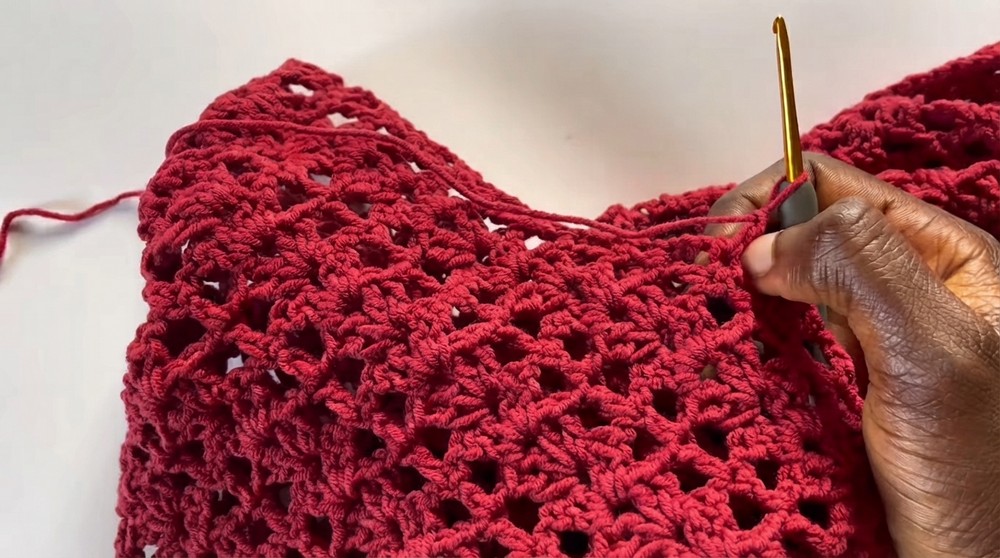
- Row 0: Work 1 sc in each ch across (44 sc). Turn.
Row 1: First Shell Row
- Ch 3, dc in next sc.
- Repeat below for 7 shells:
- Ch 1, skip 2 sts.
- In next st: 2 dc, ch 1, 2 dc (shell).
- Ch 1, skip 2 sts, dc in next st.
- On last edge, you should have only 1 dc.
- Turn.
Row 2: Repeat Row
- Ch 4 (counts as dc, ch 1 for pattern), shell in shell, …
- Continue as in back panel, always ending with a single dc at V-neck edge.
- Work until row 51.
Neckline Shaping (V-neck Decreases)
- Row 52 (V-neck side):
- Ch 3.
- In first shell space: 1 dc, ch 1, 1 dc (Decrease V Stitch).
- Continue pattern.
- Next rows: At V edge, do a double crochet decrease (2 dc together at last dc and top of ch-3).
- Repeat for a total of 9 decrease rows (rows 52–60), shaping V-neck.
- Finish at row 60. Fasten off, leave a long tail for joining.
- Make 2 front panels.
Panel Assembly
Shoulder Seams
- Place panels RS together.
- Match 5 shells and edge dc of each front panel to the back panel.
- Join using sc through both layers at each shell/edge dc.
- Fasten off.
Side Seams and Armhole
- From shoulder, measure 8″ (approx 17 shells) down and mark on both front and back panels.
- With panels WS together, seam from hem up to armhole marker using sc seam.
- Do not join above the marker (leaves armhole).
- Fasten off.
Sleeves
Round 1
- Attach yarn at armhole side seam.
- Ch 3 (counts as dc).
- Across the armhole, work:
- In first space: 2 dc, ch 1, 2 dc (shell).
- Ch 1, skip space, at top of space: 1 dc (construction dc).
- Ch 1, skip space, next space: (2 dc, ch 1, 2 dc).
- Repeat for each space. Place 6 shells around the armhole.
- At shoulder seam, place the dc at seam line and continue around.
- Sl st to join.
Round 2
- Ch 4 (counts as dc, ch 1).
- Continue pattern: shell in shell, dc in dc, repeat.
- End with 2 dc at edge, sl st to third ch of starting ch-4.
- Repeat sleeve rounds (alternate start of ch-3/ch-4) until sleeve reaches desired length (sample: 12 rounds = 6″).
- Optional: Add mesh round (dc, ch 2 across).
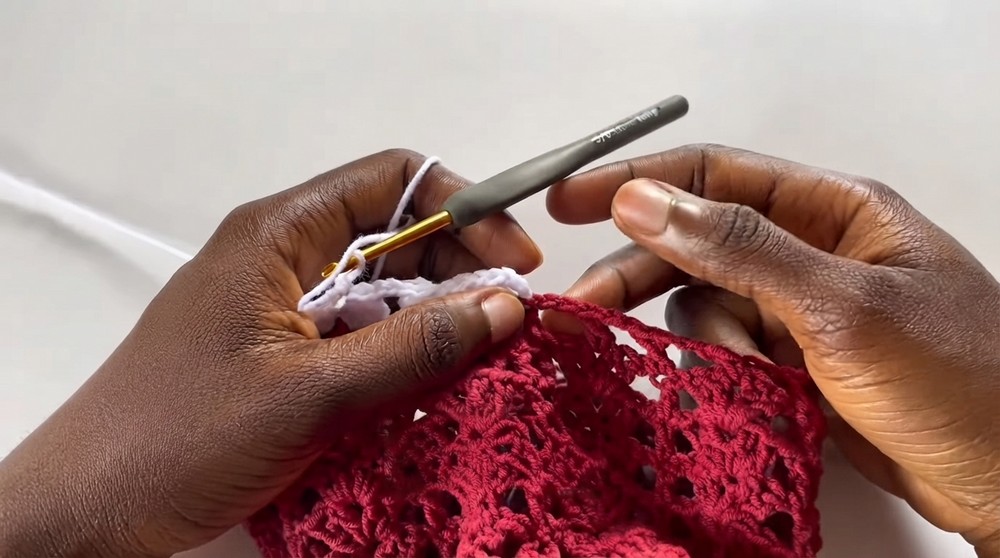
Fancy Sleeve Edging (Optional)
- Attach contrast yarn (white).
- Ch 3, work 1 dc in next st.
- In each mesh space: ch 1, 4 dc cluster together, ch 1, repeat.
- After two clusters, ch 3, repeat across round.
- Fasten off.
Final Round
- Attach main color.
- Work 1 sc in every dc, sc in cluster st, sl st in slip stitch, repeat across round, sl st to beginning.
- Fasten off.
Front Edging and Button Bands
Basic Edge
- Attach yarn at base of right front panel, RS facing.
- Work up edge:
- 2 sc in each row edge (dc row and ch-3 edge).
- At neckline, continue with 1 sc in each st.
Button Band (Right Front)
- Attach yarn at marked spot for button band (end of neckline decrease).
- Work 5 rows of sc along the edge, turning after each row.
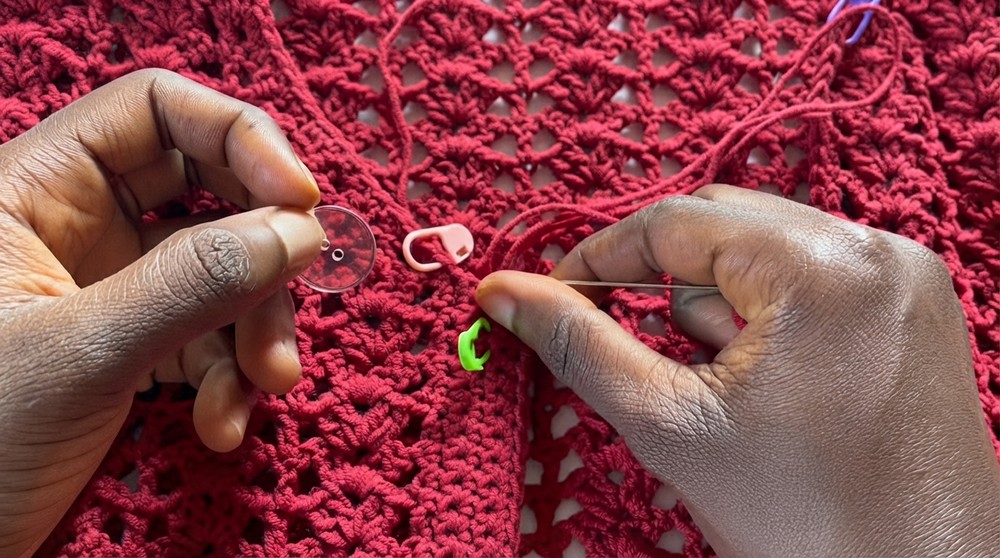
- Space buttons evenly, mark with stitch markers.
- Sew buttons securely.
Buttonhole Band (Left Front)
- Attach yarn at neckline.
- For the third row: at each button marker,
- Work two sc,
- Ch 3, skip three sc (buttonhole),
- Work 16 sc between buttonholes (as needed).
- In fourth and fifth rows: work sc in each sc, and three sc in each ch-3 space (buttonhole).
- Fasten off.
Collar
Round 1
- Attach yarn at marked neckline decrease point.
- Ch 3.
- Work 1 dc in each sc around collar edge.
- At shoulder seams, work a three dc decrease:
- (dc up to last step in st before seam, in seam, and after seam; yo, pull through all loops).
- Continue to opposite panel and finish at neckline.
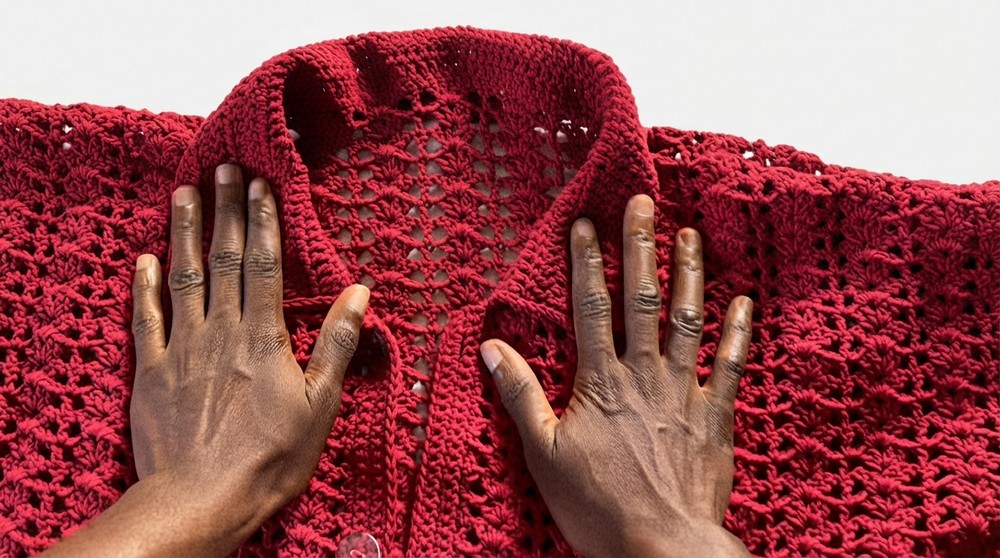
Rounds 2–8
- At each turn, ch 3, skip first st, work 1 dc in each st across.
- Work 8 rounds (about 3″ wide collar).
- Final round: slip stitch along edge for neat finish.
- Fasten off, weave in ends.
Assembly and Final Sizing
- Block panels for best results.
- Finished shirt (sample) is ~21″ wide, ~27.5″ long, sleeves ~7.5″ (including edging), collar ~3″.
- Sew on buttons, try on, check fit, and adjust as needed.
Final Notes
This shell stitch button-up shirt combines simplicity and classic style with customizable length, sleeve, and collar. With easy stitches and neat seaming, the project is accessible to both new and experienced crocheters. Share your finished shirt and inspire others to try this timeless crochet garment.