Free Crochet Summer Shirt Pattern You’ll Love For Fresh Looks

A free crochet summer shirt pattern is an excellent way to create a lightweight, breezy, and stylish addition to your summer wardrobe. These patterns are especially approachable for beginners or young crocheters, offering a project that is rewarding without being overwhelming. Starting this pattern doesn’t require advanced skills; it relies on basic stitches and step-by-step instructions that help you gradually bring the garment to life. The experience of making your own shirt allows you to choose colors and yarns that you love, resulting in a piece that’s both unique and comfortable for sunny days.
Effortless Boho Vibes—Crochet Summer Shirt Free Pattern
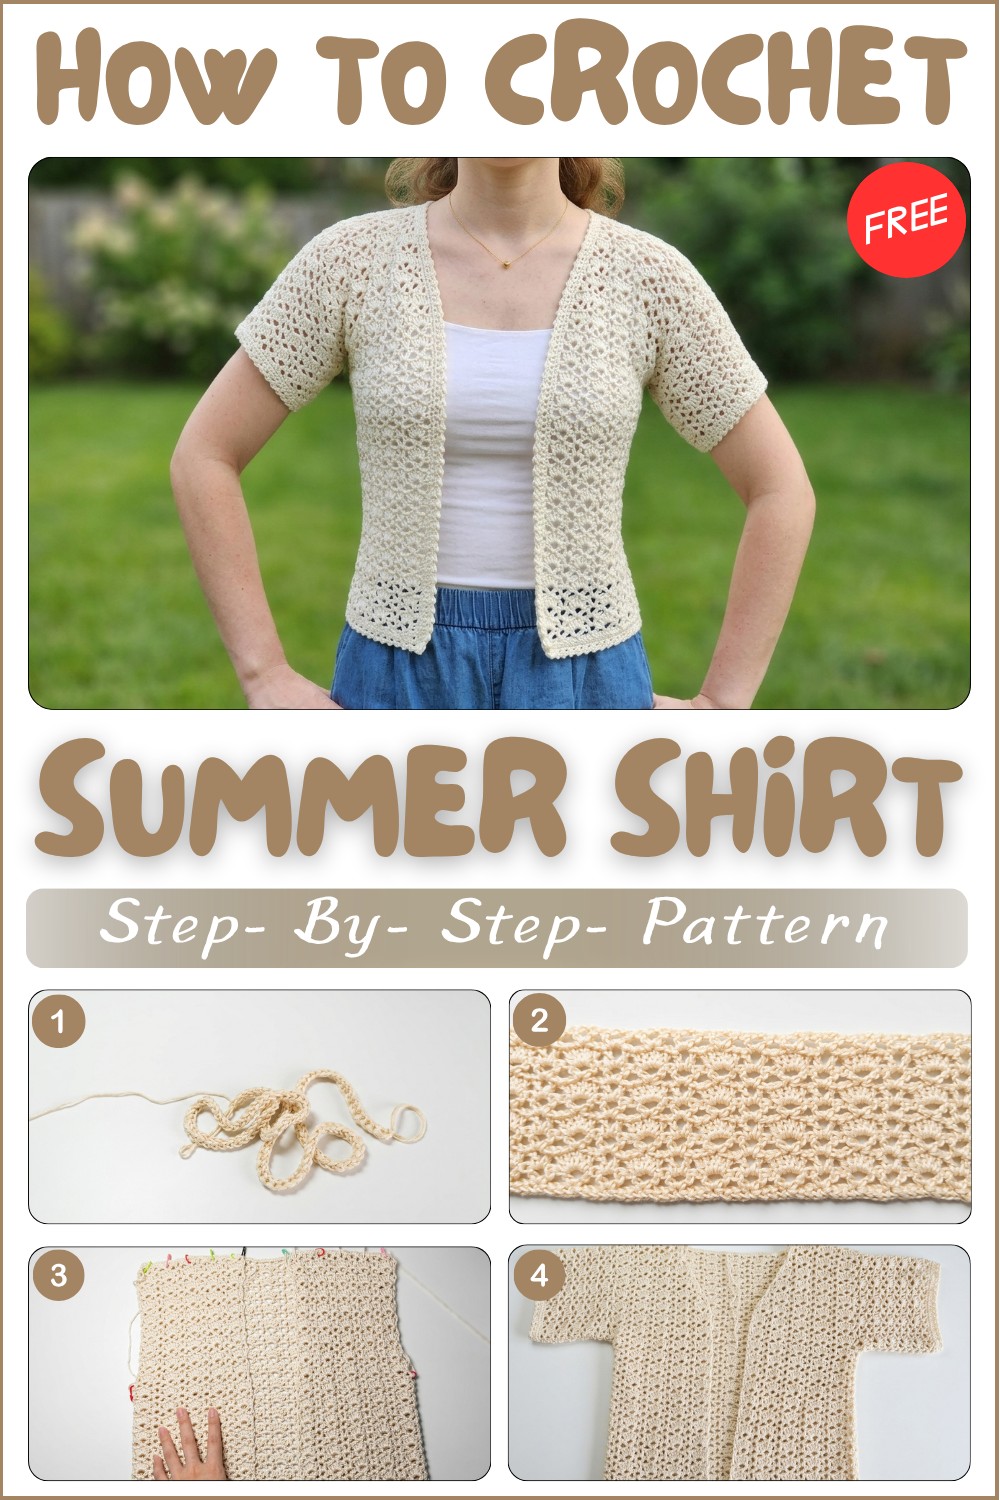
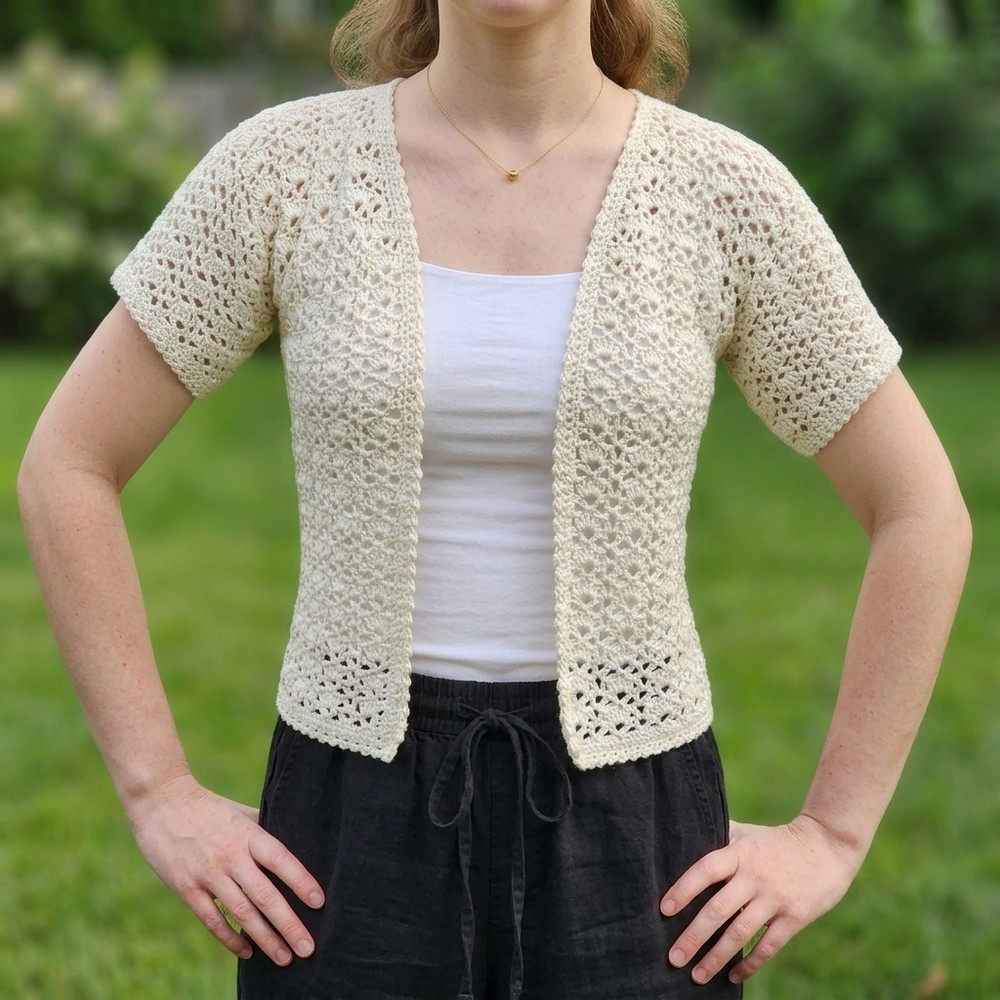
This summer shirt stands out because of its beautiful, airy lace design. Worked mainly with double crochet clusters and V stitches (a double crochet, two chains, then another double crochet all in one space), the structure forms a delicate, open pattern that keeps the shirt light and breathable. An icy blue or any other bright, summery shade gives the project a pop of color, while cotton or bamboo yarn adds softness and drape.
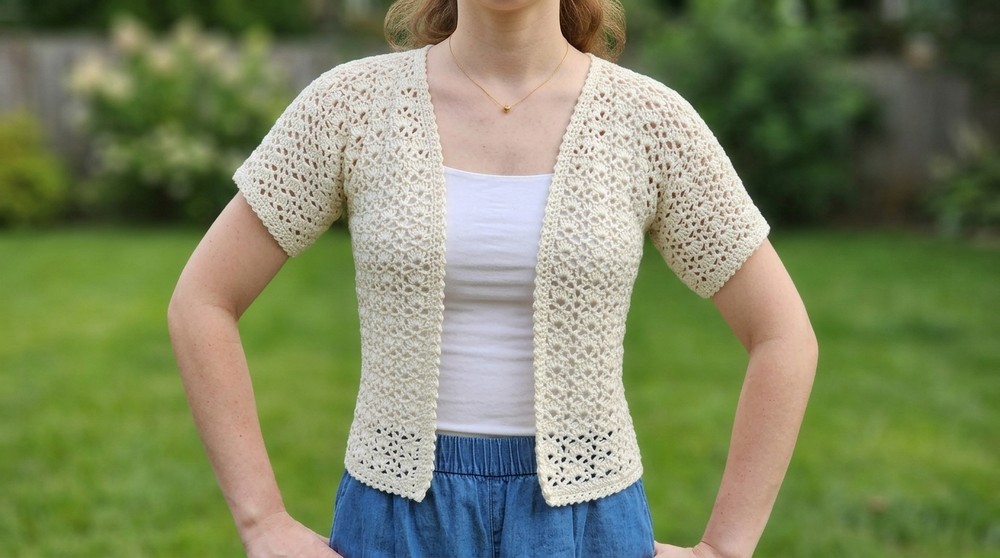
The construction is seamless, meaning that fewer parts need to be sewn together, which creates a tidy finished look. You can easily modify this pattern into a crop top, casual vest, open cardigan, or even a chic beach cover-up by adjusting the number of rows or changing the length. This adds versatility and makes the project even more fun and useful.
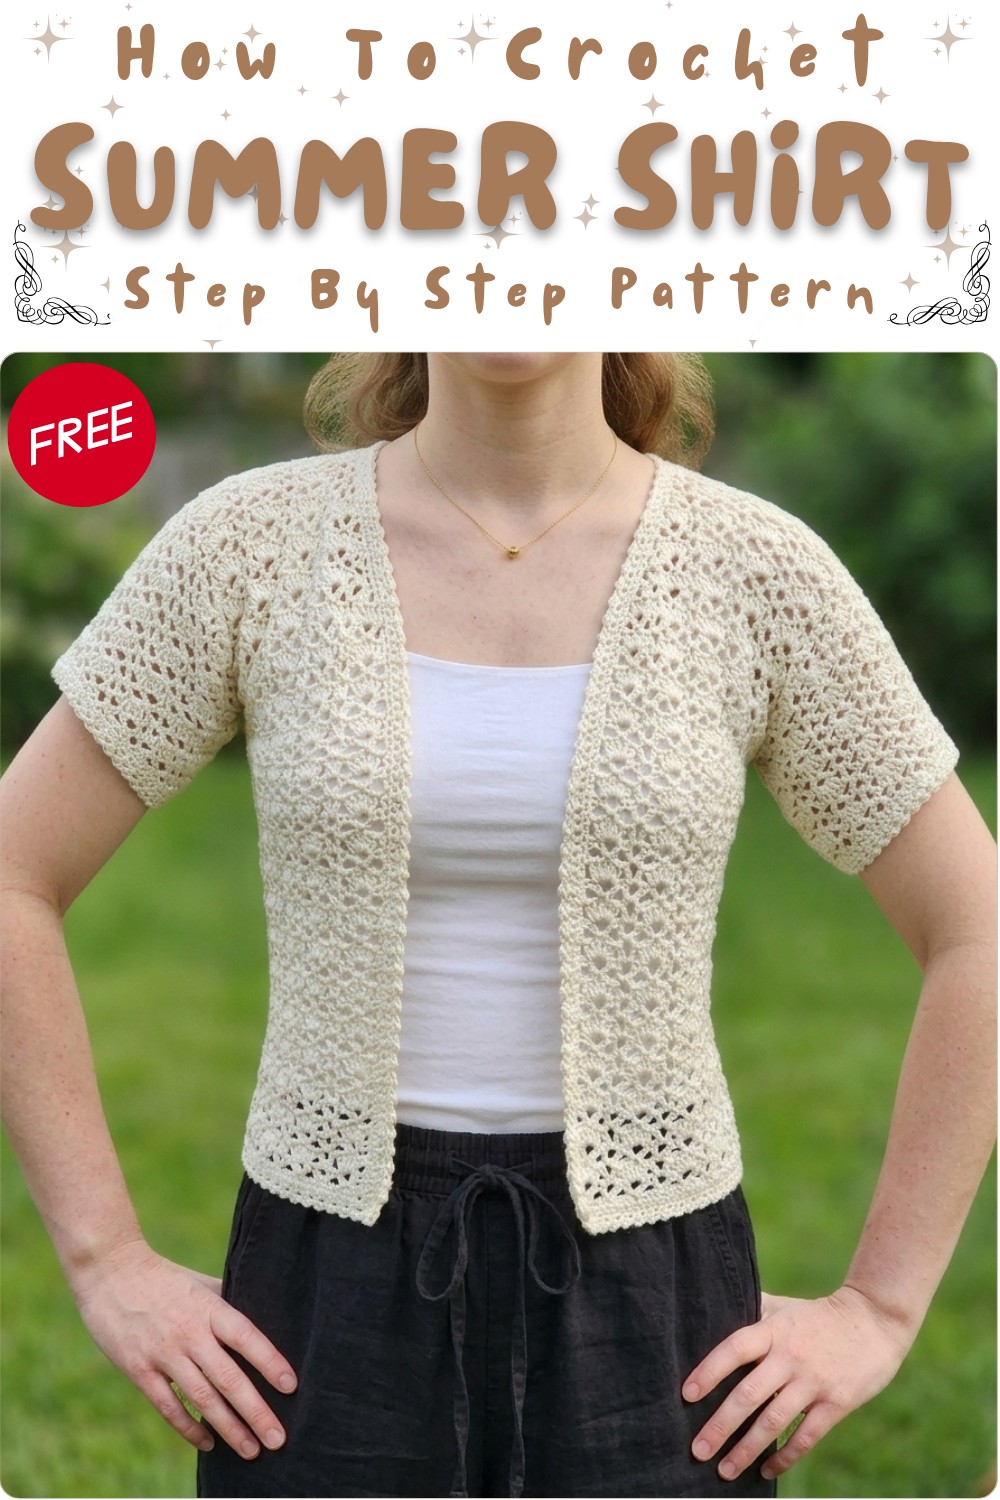
Crochet Summer Lace Shirt Pattern
Materials
- Yarn: DK/Sport or light worsted weight bamboo or bamboo blend yarn (or any lightweight, drapey yarn for a summery finish)
- Example used: Loops and Threads Silky Soft (bamboo) in a summery pastel
- Hook: 4.5 mm
- Stitch Markers
- Measuring Tape
- Tapestry needle (for sewing seams and weaving in ends)
- Scissors
Key Abbreviations
- ch = chain
- st = stitch
- sc = single crochet
- dc = double crochet
- sl st = slip stitch
- yo = yarn over
- sk = skip
- V-stitch = (dc, ch 2, dc) in one st or space
- cluster = 5 dc worked in the same space
Special Notes
- This flowy, lacy summer shirt is crocheted bottom-up in a single rectangular panel, then split for front/back and seamed at shoulders.
- Pattern repeat: Multiple of 8 + 5
- Each “row 2” features clusters of 5 dc alternated with V-stitches.
- Each “row 3” features V-stitches placed in the center st of the clusters and in V-st from previous row.
- The sleeve is worked seamlessly onto armhole edges.
- Decorative “pebble stitch” finish is used for sleeves and neckline.
Pattern
Step 1: Foundation Panel
a. Make Foundation Single Crochet (FSC):
- With chosen yarn and 4.5 mm hook, make a slip knot.
- Ch 2.
- Insert hook into the back ridge of the first chain and pull up a loop. Yo, pull through one loop (foundation ch made). Yo, pull through two loops (sc made).
- Continue: Insert the hook into the base of the previous sc, pull up a loop, yo, pull through one loop, yo, pull through both loops.
- Repeat until your fsc measures just enough to wrap loosely around your bust—with shirt open at the front (it should not overlap).
- You should have a multiple of 8 + 5 stitches.
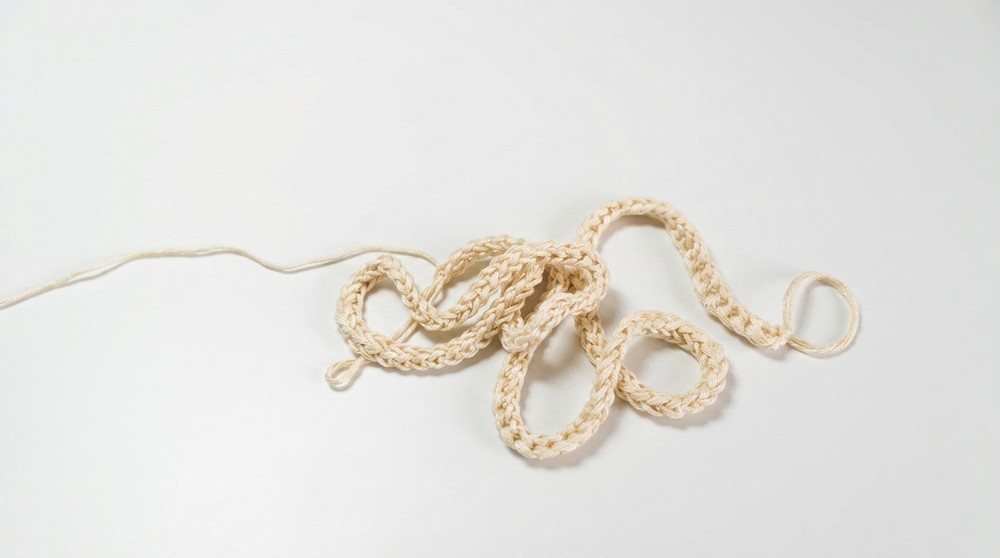
- Example: 165 sts (160 + 5) for standard size.
- You should have a multiple of 8 + 5 stitches.
Foundation single crochet makes your bottom edge stretchier and more comfortable. Adjust length to fit your bust and body style as desired.
Step 2: Body Lace Pattern (Work Flat)
Row 1: V-stitch Foundation
- Turn.
- Into 1st st: Work a “stacked single crochet” (sc in first st, insert hook into completed sc and make another sc into the same st — counts as first dc).
- Skip next stitch.
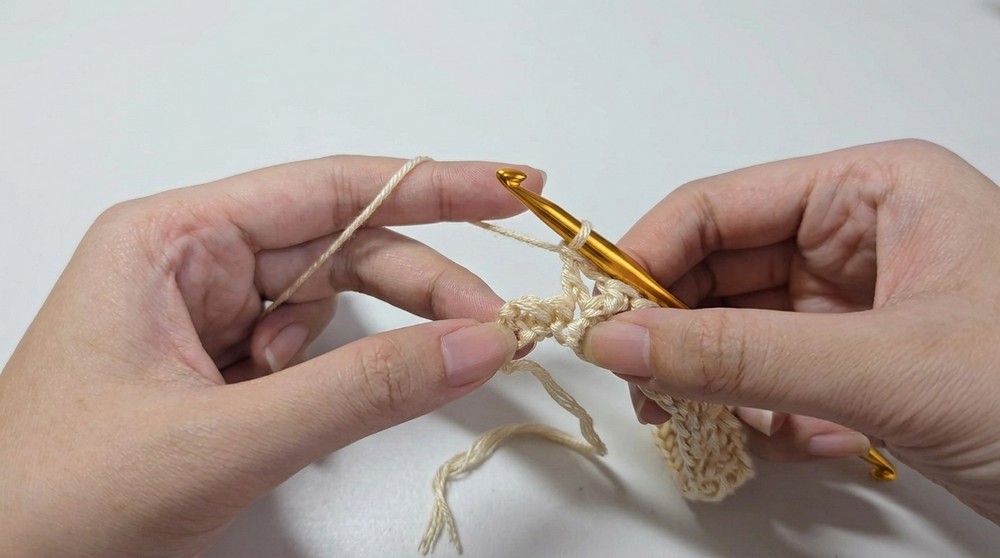
- In the next stitch: Work a V-stitch (dc, ch 2, dc in same st).
- Skip 3 stitches, in the fourth stitch: V-stitch.
- Repeat: [Skip 3 sts, V-stitch in next st] across.
- At the end, you should have 2 sts left. Skip 1, dc in last st.
This creates the base lace row, leaving gaps for airflow and summery comfort.
Row 2: (Alternating clusters and V-stitches)
- Turn, work a stacked single crochet into first st (counts as dc).
- In the first V-st ch-2 space: Work 5 dc (cluster).
- In the next V-st ch-2 space: work a V-stitch.
- Next V-st ch-2 space: 5 dc (cluster).
- Alternate clusters and V-sts across the row, ending with a cluster in the last V-st.
- Finish with a dc in the turning chain.
Rows will appear airy and begin to form a soft geometric lace, with clusters giving stability and V-sts adding openness.
Row 3: (V-stitches only)
- Turn, stacked sc in first st (counts as dc).
- For the clusters: Find the middle (3rd) dc of the cluster; in this st, work a V-stitch.
- In each V-st ch-2 space, work a V-stitch.
- Continue: [V-stitch in center dc of cluster, V-stitch in ch-2 of next V] across.
- End with dc in turning chain.
Placing the V-stitch in the perfect center of each cluster keeps your lace grid regular and beautiful.
Rows 4 onward: Repeat Row 2 and Row 3 alternately
Continue until your panel is as long as desired (example in video: 26 rows).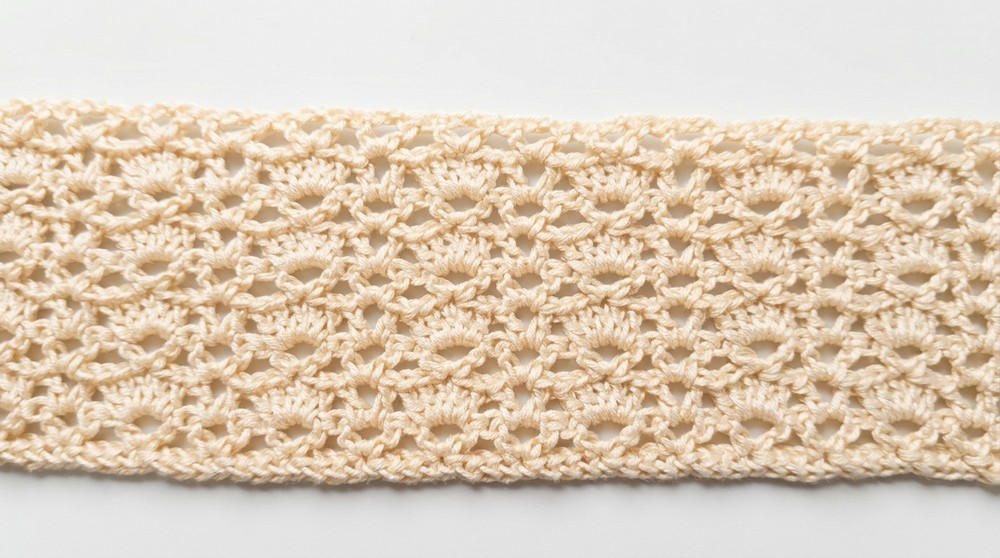
TIP: Try your work on after around 20 rows. When folded, it should reach from your lower edge (just past your hips or where you want your hem), to the underarm.
Step 3: Mark Panel for Arm/Body Division
a. Mark panel:
- Lay flat and measure your chest (armpit to armpit, straight across).
- Subtract that from the total width of fabric made.
- Place stitch markers on either side to designate the “back panel.”
- Make sure you have the same number of dc clusters on each front panel.
These markers will be the dividing lines for your two front panels and back panel, as well as the arm openings.
Step 4: Shaping the Front Panels
First Front:
- Resume pattern where you left off (continue lace rows).
- Work back and forth, stopping at your first stitch marker.
- At the marker, place a final dc in the last V-st.
- Turn and proceed: Work until you have 17 rows for the front panel (or as many as needed for your arm opening).
- Add 1 row of sc: Place 1 sc in each dc, 2 sc in ch-2 of each V.
This added sc row levels off your edge, making sleeve and neck seams neater.
*Repeat for the other front panel, joining yarn at second marker and working across the remaining front.
Step 5: Shaping the Back Panel
- Attach yarn at the first back marker (the V-stitch after the first front panel).
- Work pattern to next marker (end of back panel).
- Continue back and forth for same number of rows as the front panels.
- Add 1 row of sc to clean the edge. Fasten off.
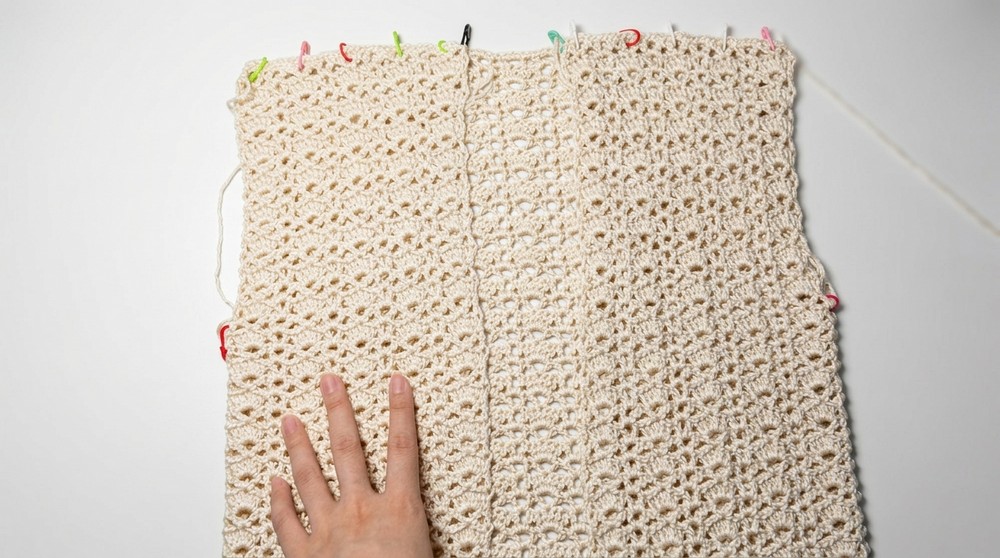
All sections should now be the same length, giving a rectangle with 3 sections.
Step 6: Neckline Decreases (If Needed)
If your neckline gap feels too small, you can decrease at the V edge:
- When ready to decrease at neck, combine a cluster and a V-stitch into a double crochet two together (dc2tog), or work 2 V-sts together as described in the transcript.
- Decrease every third row until neckline is as wide as desired.
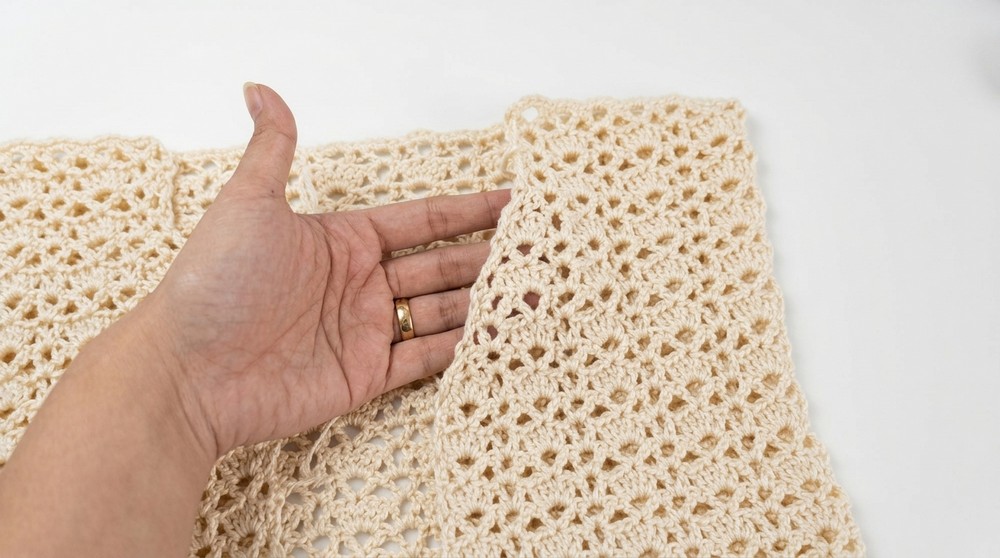
This softens the neckline and makes it more comfortable and easy to pull on.
Step 7: Join the Shoulder Seams
- Align front panels to back. Seam shoulders with mattress stitch or whip stitch, matching up rows.
- Use the single crochet edge for seamless, sturdy connection.
Shoulders together, you now have a vest shape ready for sleeves.
Step 8: Sleeves
Round 1:
- Attach yarn in the arm opening (top of back or front).
- In first dc: Work a V-stitch.
- For each row edge around the opening (work in V-st rows only): V-stitch in every dc from the V-st rows around the armhole.
- To increase width: Occasionally work a V-stitch into the edge of a row with a dc cluster.
- Join with sl st to your starting V-stitch.
Your first round will be all V-stitches, spaced evenly. Be sure to have an even number so the pattern aligns in later rows.
Round 2:
- Sl st over to first ch-2 space.
- Ch 3 (counts as dc), 4 dc in same space (5-dc cluster).
- In next V-st ch-2 space: make V-stitch.
- Alternate clusters and V-stitches around.
- Join with sl st at top of ch-3.
Continue alternating these two sleeve rounds: a round of all V-stitches, then a round alternating cluster and V-stitch, to form the airy lace pattern down the sleeve.
Rounds 3 and onward:
- Repeat above rounds until sleeve is desired length (example: 11 rounds for a 3/4–short sleeve).
Step 9: Sleeve & Edge Borders
A. Sleeve Border (Pebble Stitch):
- Complete sleeve with a round of V-stitches (odd number of rounds).
- 1 round of sc: Ch 1, then alternate placing 1 sc in some V-st ch-2 spaces, 2 sc in others, and sc in each dc, to avoid flaring.
- 2nd round of sc: sc all around.
- 3rd round (pebble stitch):
- sc2tog over next 2 stitches, ch 1. Insert hook in the gap between last two pebbles, pull up a loop, sc2tog with next 2 sts, ch 1.
- Continue around, sl st to join.
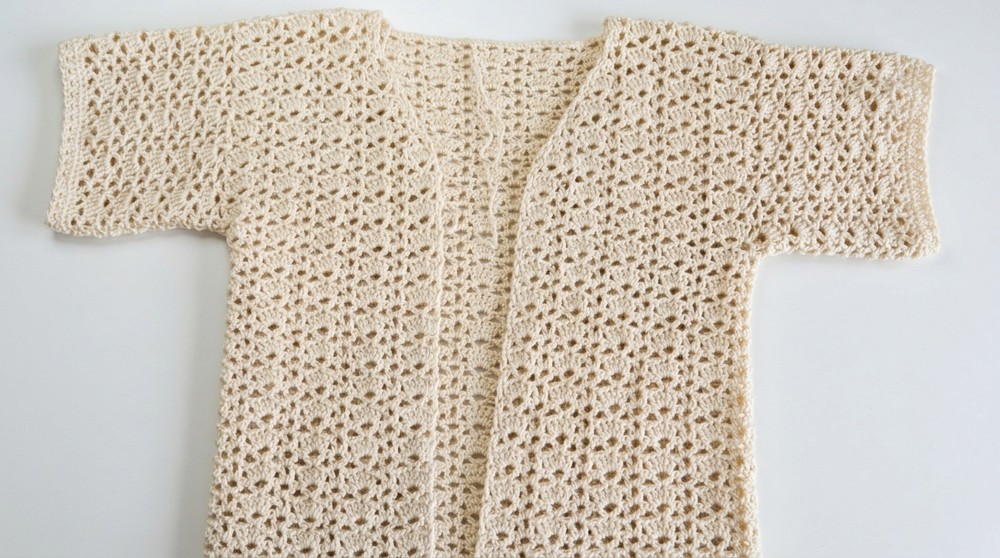
The pebble stitch border is a textured finishing round that adds interest to the edge and keeps it from rolling.
B. Neckline & Bottom Borders:
- Attach yarn at hem or edge, work sc all around.
- Work an additional round of sc if needed around neckline/opening.
- Work a round of pebble stitch as per sleeves, making extra pebbles in the neckline corners to help them lie flat.
This borders the shirt, keeps edges clean, and gives a professional finish.
Step 10: Finishing
- Weave in all ends carefully.
- Lightly block garment for best drape and shape.
Blocking relaxes stitches and enhances the garment’s fit and drape.
Conclusion
You have now created a breezy, stylish summer lace shirt with a unique geometric lace and a fun, textured edging! This design is perfect for hot weather, layering, and beach days. Featuring easy-to-customize length, width, and sleeve fit with designer finishing touches, it’s both a showpiece and practical.
Pattern Corrections & Tips
- Correction: Ensure you always use a multiple of 8 + 5 for foundation. Verify sleeve V-st count is even for the pattern to stay in sync.
- Tip:
- Bamboo/blended yarn can split; consider slightly sharpening hook with nail file or using a hook with rounded head.
- Count V-stitches at every sleeve round to keep on track.
- Add length at any time by simply repeating the body pattern before dividing for front/back panels.
- Try your shirt on at each key stage (after body, after sleeve rounds) for adjustments before seaming.