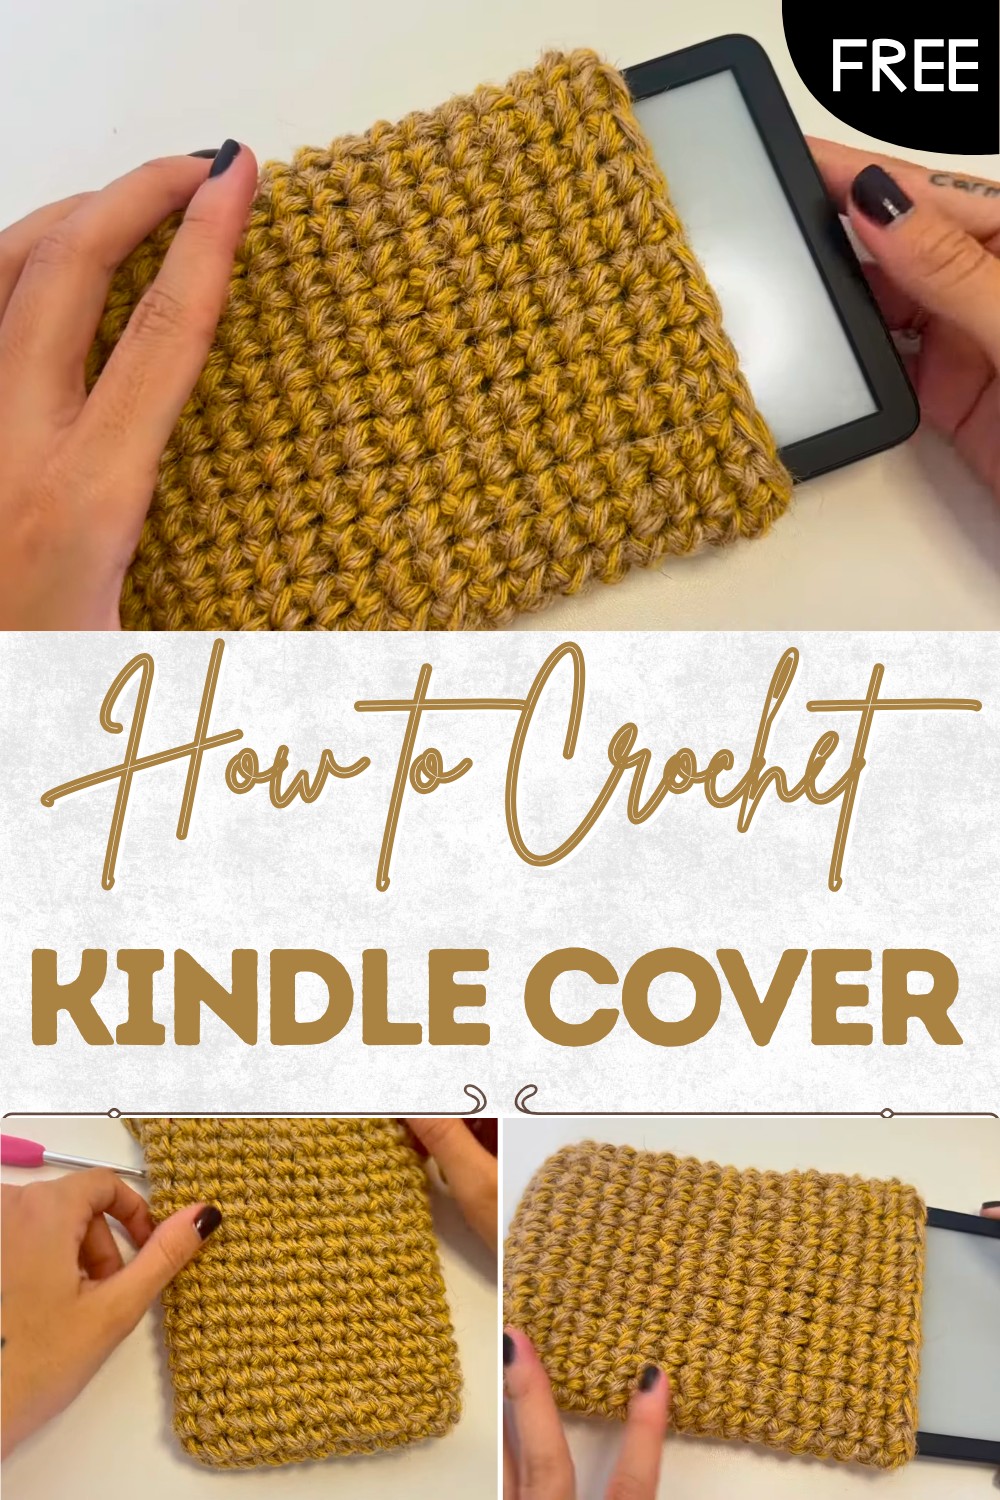
Free Crochet Kindle Cover Pattern for Smart Gift Idea
Shield your device with this free crochet kindle cover pattern that offers protection prevents scratches and a stylish touch to daily reading.
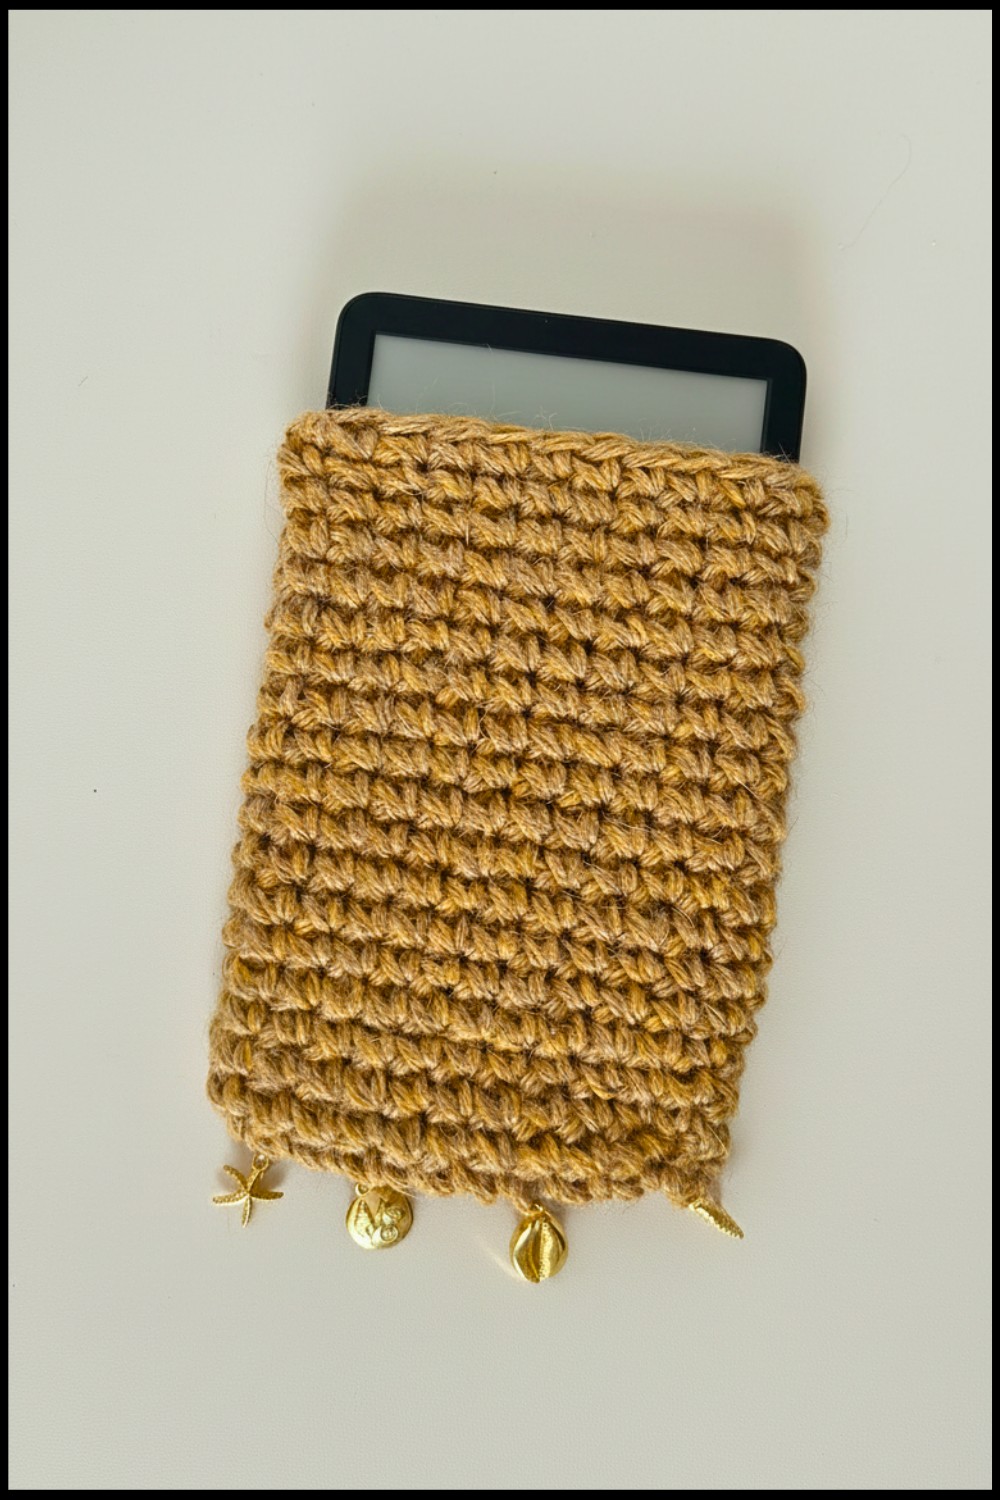
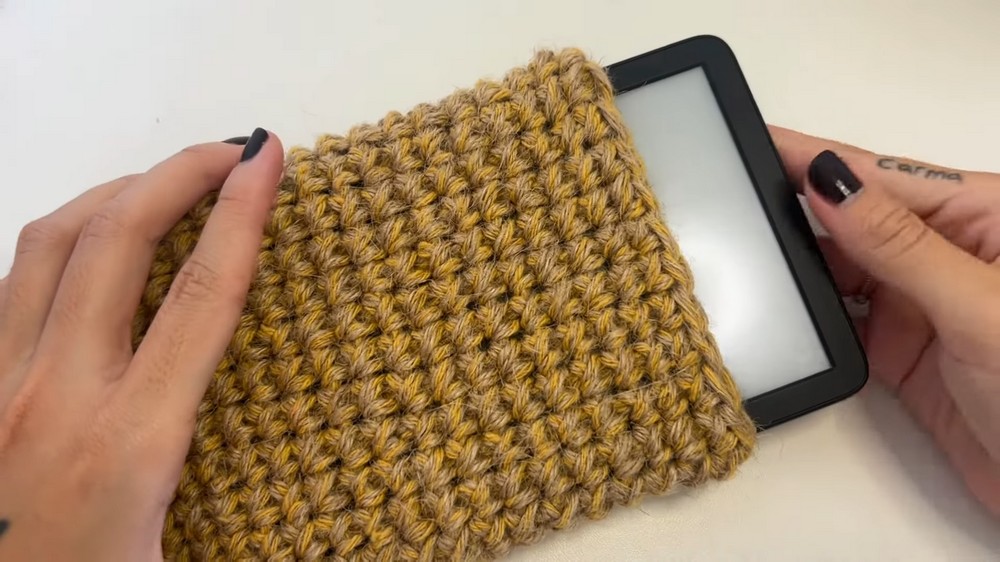
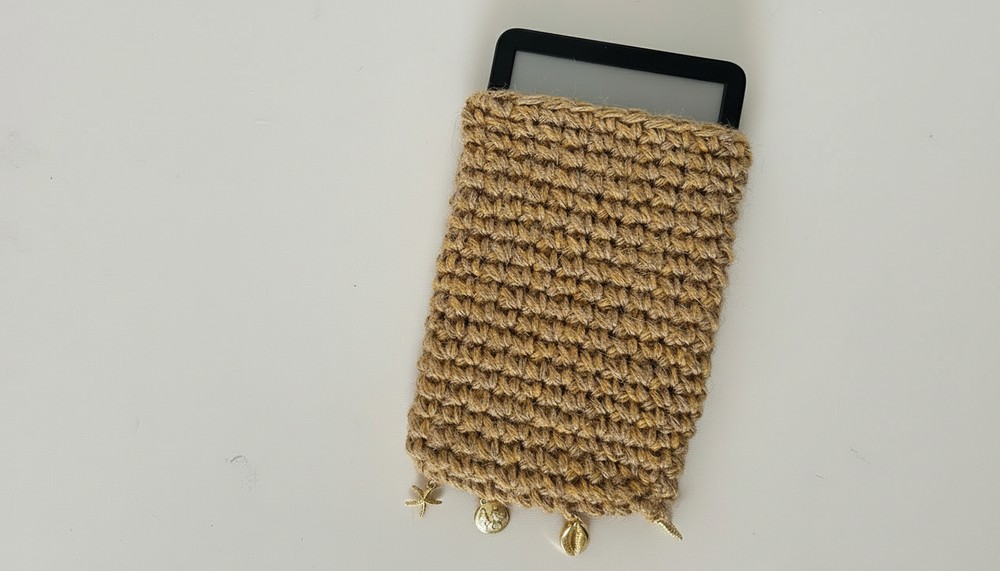
A small idea grows into a useful and lovely cover that keeps your reading time more special. With the Crochet Kindle Cover pattern you can create a soft case that gently wraps your device in comfort and care. Its smooth feel and neat shape protect from dust and light marks while also looking beautiful in your hands. This cover is perfect for daily use at home or while traveling, and it also makes a thoughtful handmade gift for book lovers.
Handmade Kindle Cover Free Crochet Pattern for Beginners
You can choose your favorite colors to give it a personal touch that feels truly yours. The pattern is simple to understand, so anyone can enjoy making it without stress. Each stitch builds strength and style, turning yarn into something practical and pretty. This creative piece adds beauty, protection, and a warm handmade feel to your everyday reading moments.
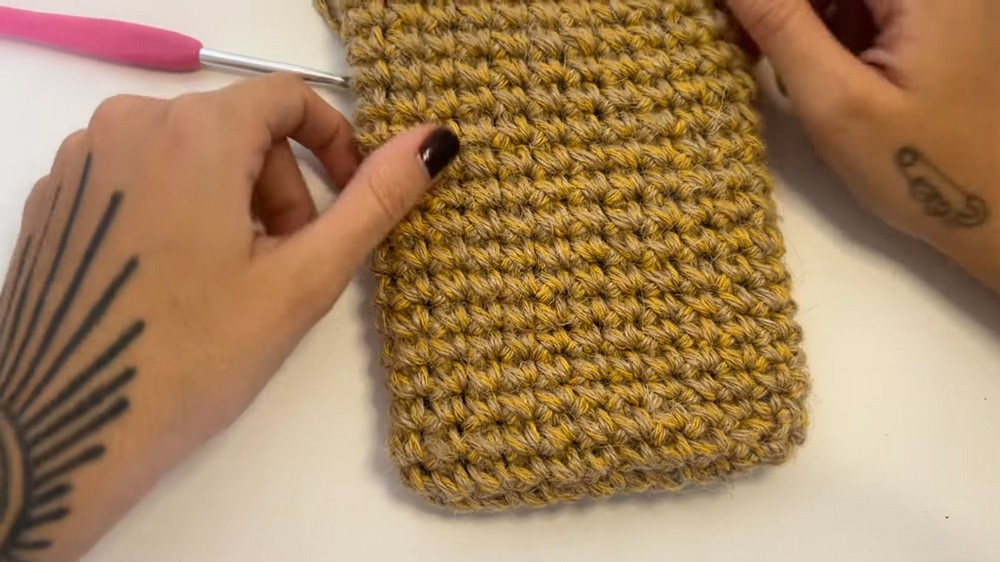
Free Crochet Kindle Cover — Step by Step Pattern
Materials
- Yarn:
- Jute twine (used in sample, for a rustic look)
- Alternative: T-shirt yarn (“yarn mesh”), cotton cord, or any sturdy yarn/fiber
- Note:
You may use other yarns, but the proportions may vary.
- Hook:
- 5 mm crochet hook (even if yarn recommends a smaller size, using two strands and/or a thicker yarn means a larger hook is appropriate)
- Scissors
- Tapestry needle
- Measuring tape (for custom fit)
- Optional: Decorative beads, button, or closure
Abbreviations (US Terms)
- ch = chain
- sc = single crochet
- sl st = slip stitch
- st(s) = stitch(es)
- rnd(s) = round(s)
Special Notes
- The pattern works in the round, creating a seamless pouch with no visible joining except at the base.
- For extra sturdiness, work with double strands of your chosen yarn or cord.
- The opening is naturally snug and does not require a button or closure, but you may add one if desired.
- For a perfect fit, always measure against your device as you work.
- Pattern can be sized up or down for other electronics (phones, tablets, notebooks, etc.).
Instructions
1. Prepare Yarn
- If using jute twine, pull both the inside end and outside end from the same skein to create a double strand to work with (if possible).
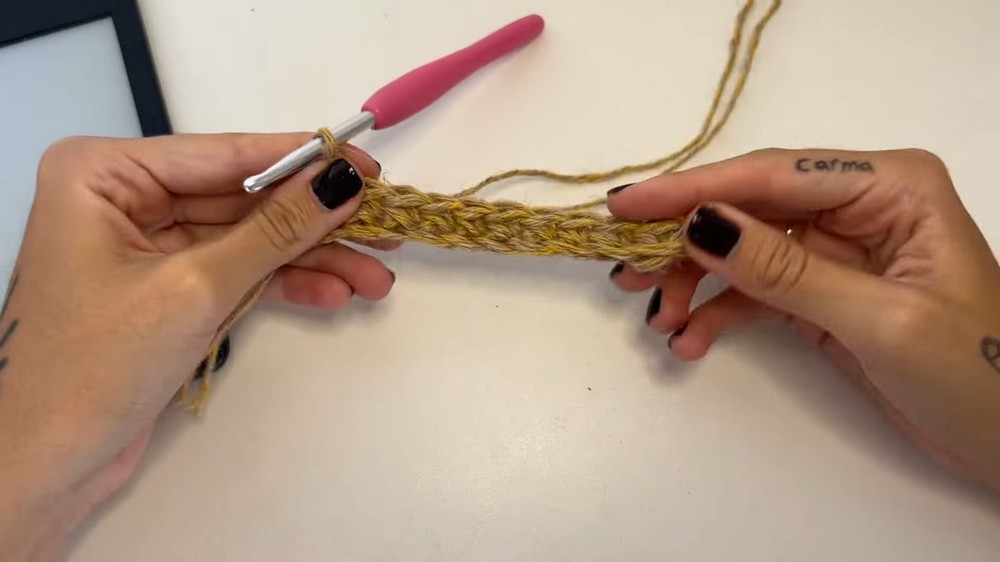
2. Foundation Chain
- Start with a slip knot.
- Chain as many stitches as needed to match the exact width of your device’s base (lay your device against the chain without stretching!).
- Sample for Kindle: 11 ch
- Test the fit: Place your device against the chain, tug gently to ensure it is not loose (twine will stretch) but not too tight.
- Undo or add chains to adjust for your device size.
3. Round 1: Single Crochet Base
- Row Across:
- Starting in the second ch from hook, sc in each ch across to the end. (10 sc)
- At the Last Chain:
- Work 2 extra sc into the last ch (3 sc total at the end); this forms the curve at the base/side.
- Work on Opposite Side of Foundation Chain:
- Rotate your work so you are working along the unused bottom loops of your starting chain.
- Sc in each ch back to the start. (10 sc)
- At the Start:
- Work 3 sc into the first chain to form the second curve (other corner).
- Join:
- Sl st to the first sc to form a continuous oval.
- Sl st to the first sc to form a continuous oval.
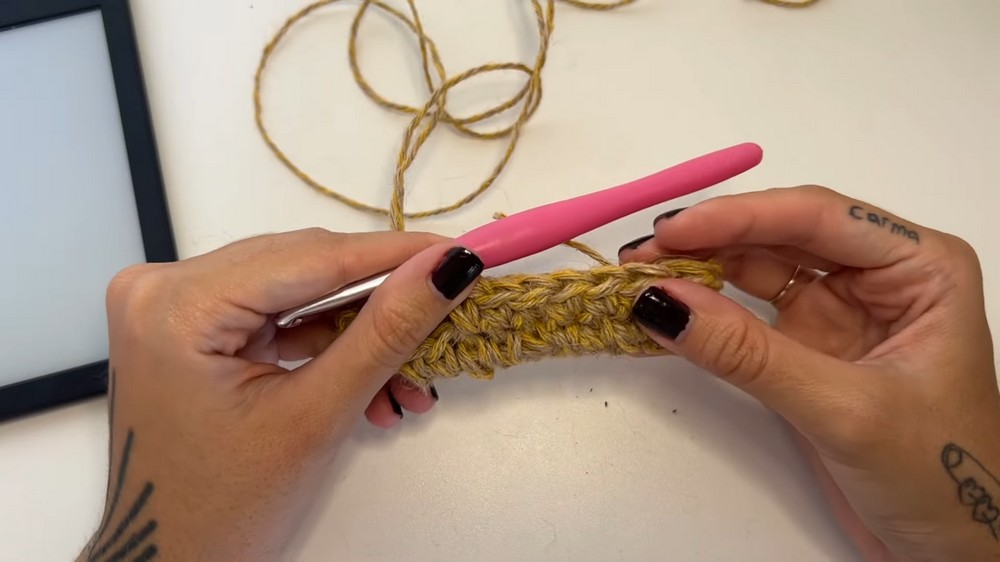
4. Work Body in the Round
- Ch 1 to begin next round.
- Sc in each sc around the oval.
- On corners (where you previously worked 3 sc into one spot), just work one sc in each st this round—do NOT increase, as the shaping is already set.
- Continue working in spirals (do not join at the end of each round).
- Place a stitch marker in the first st if helpful.
- Work sc in each st around and around, building the “walls” of the pouch.
- The case will begin to take shape as you continue stitching.
- Do not add increases—just sc in each st.
5. Check the Fit
- After several rounds, slide your device in to check fit.
- Continue working until the cover is tall enough to reach the top edge of your device.
- Sample: about 20–22 rounds but varies by device height.
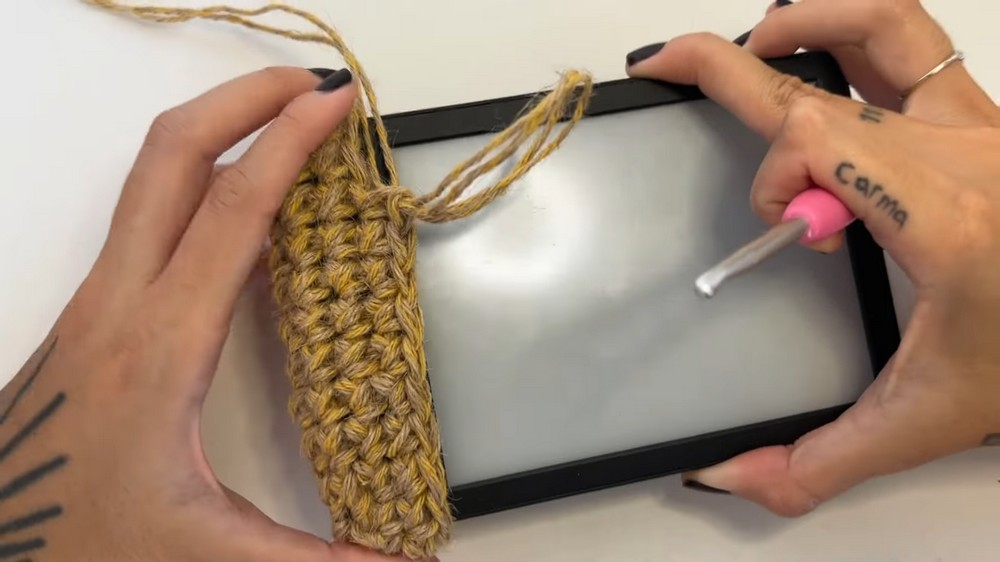
- Sample: about 20–22 rounds but varies by device height.
6. Finishing
- When you reach the top, align the work so you finish at a side (optional for symmetry).
- Sl st in next st to even off the round.
- Cut yarn, leaving a 6 inch tail.
- Fasten off:
- Thread the tail onto a tapestry needle.
- Pull it inside to the wrong side of the pouch.
7. Weave In Ends
- On the inside, weave the tail through several nearby stitches, splitting the plies and making a knot if using double yarn.
- Pull yarn through a few stitches, vary direction to secure, and trim closely.
- Repeat for any other loose ends.
8. Customize (Optional)
- No closure is needed for a good fit, but you may sew on a button, beads, or personalize however you wish.
- To add a button closure, sew a button on one side and create a loop with ch stitches on the other.

Pattern Correction & Tips
- Found too tight? Unravel and add 1–2 foundation chains; too loose? Remove a chain.
- Use single crochet (sc) throughout for density—do NOT substitute with taller stitches.
- Do not add any increases after the base round (where the corners are formed); only one sc in each st after that.
- Work with snug tension for protection but don’t crochet so tightly it warps or is difficult to insert your device.
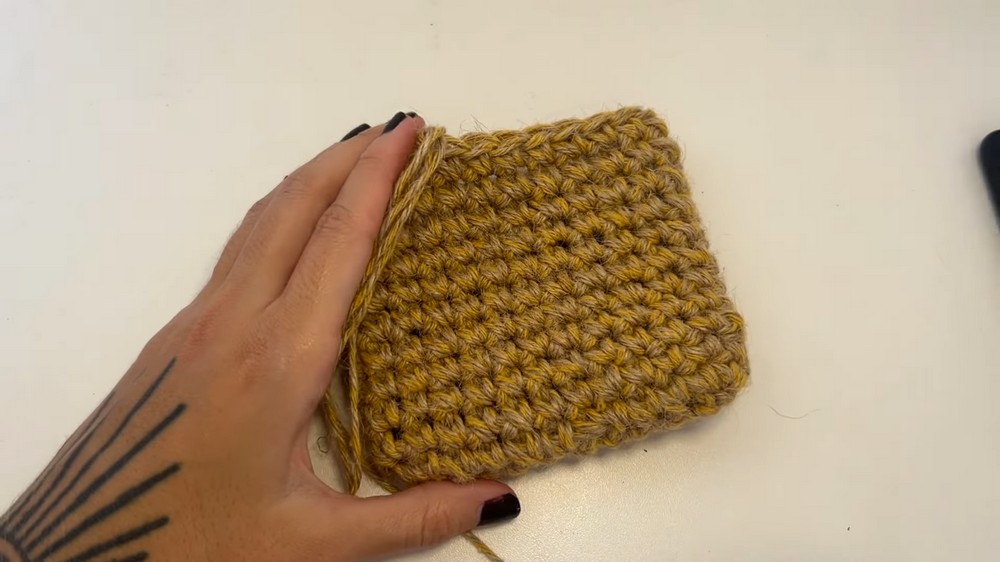
Conclusion
You now have a custom, durable, and stylish crochet device pouch! The single-crochet construction provides robust protection, while the snug fit eliminates the need for closures. This pattern is easily adapted for other devices by adjusting the starting chain and number of rows.