Trendy Crochet Hexagon Cardigan – Step-by-Step Free Pattern

The hexagon cardigan is one of the trendiest projects taking over the crochet world right now, and for good reason. Unlike traditional sweaters, it uses two simple hexagon shapes as the building blocks, which are then folded and seamed together to create a stylish, comfy garment. This free crochet hexagon cardigan pattern is accessible for beginners and offers room for plenty of creative flair, making it an excellent starting point if you want to make your own custom wardrobe piece.
Free Pattern: Crochet Hexagon Cardigan
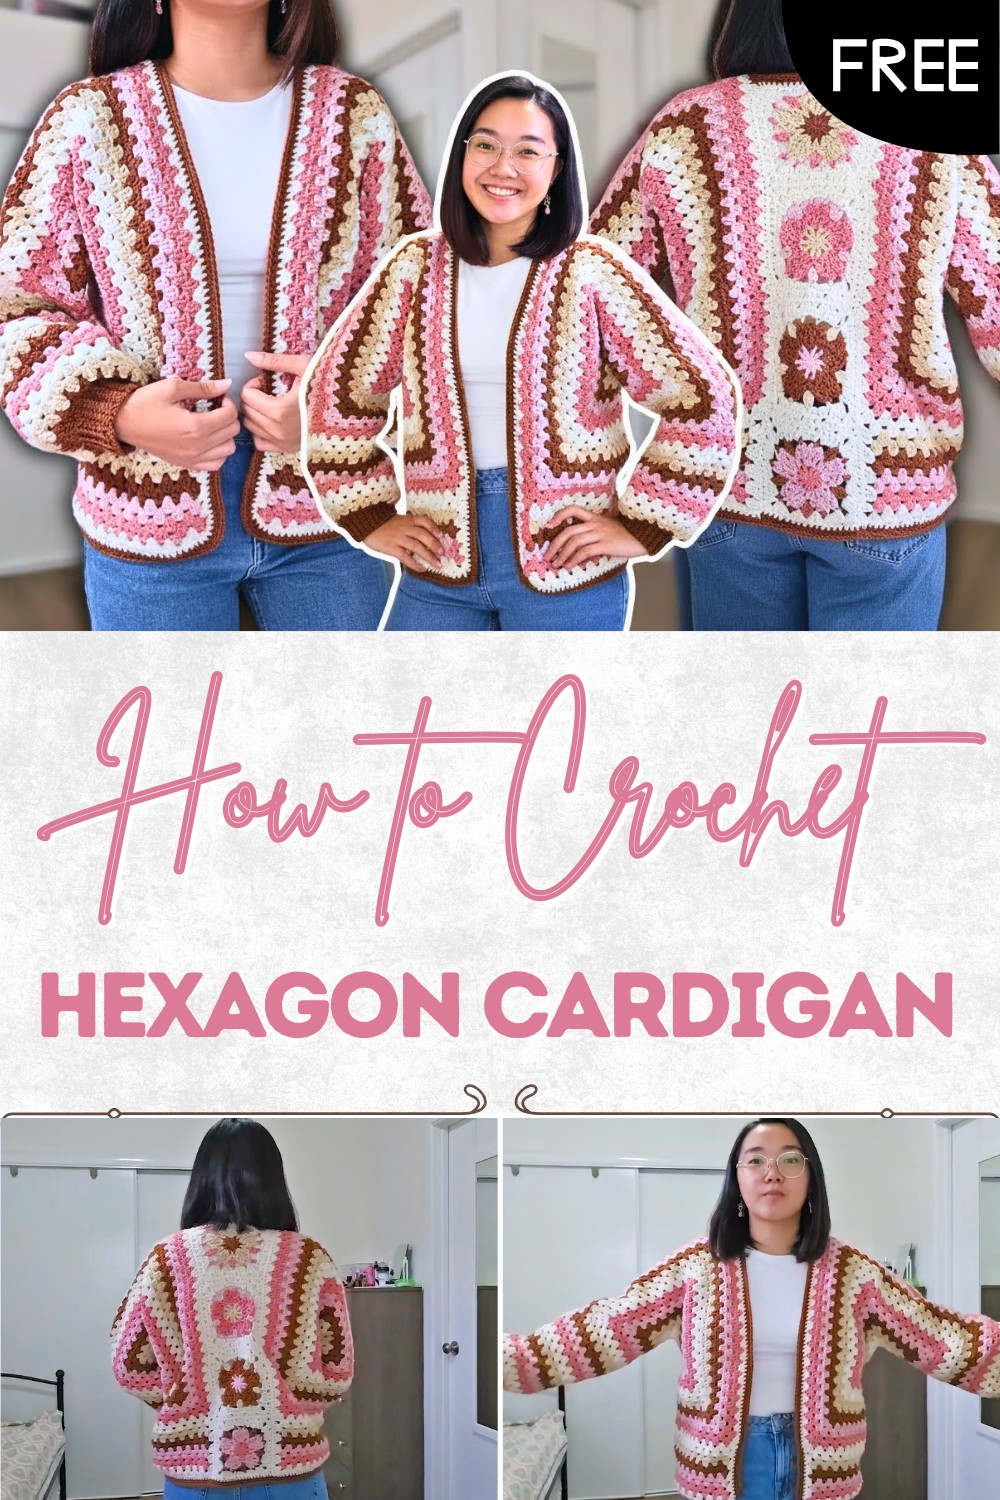
Starting a crochet hexagon cardigan is a smart choice for anyone eager to blend creativity with practicality. The pattern is constructed mostly using the classic granny stitch, which is repetitive and relaxing, perfect for crocheters at any skill level. You don’t need to be an expert to get great results, and because the hexagons are made separately, you can work in small, manageable sections, ideal if you’re busy or new to crochet. The endless color options mean you can design something bold and cheerful with stripes, or select solid shades for a more understated look. Whether you want something oversized and cozy or a cropped and fitted finish, this pattern can be easily tailored to your tastes.
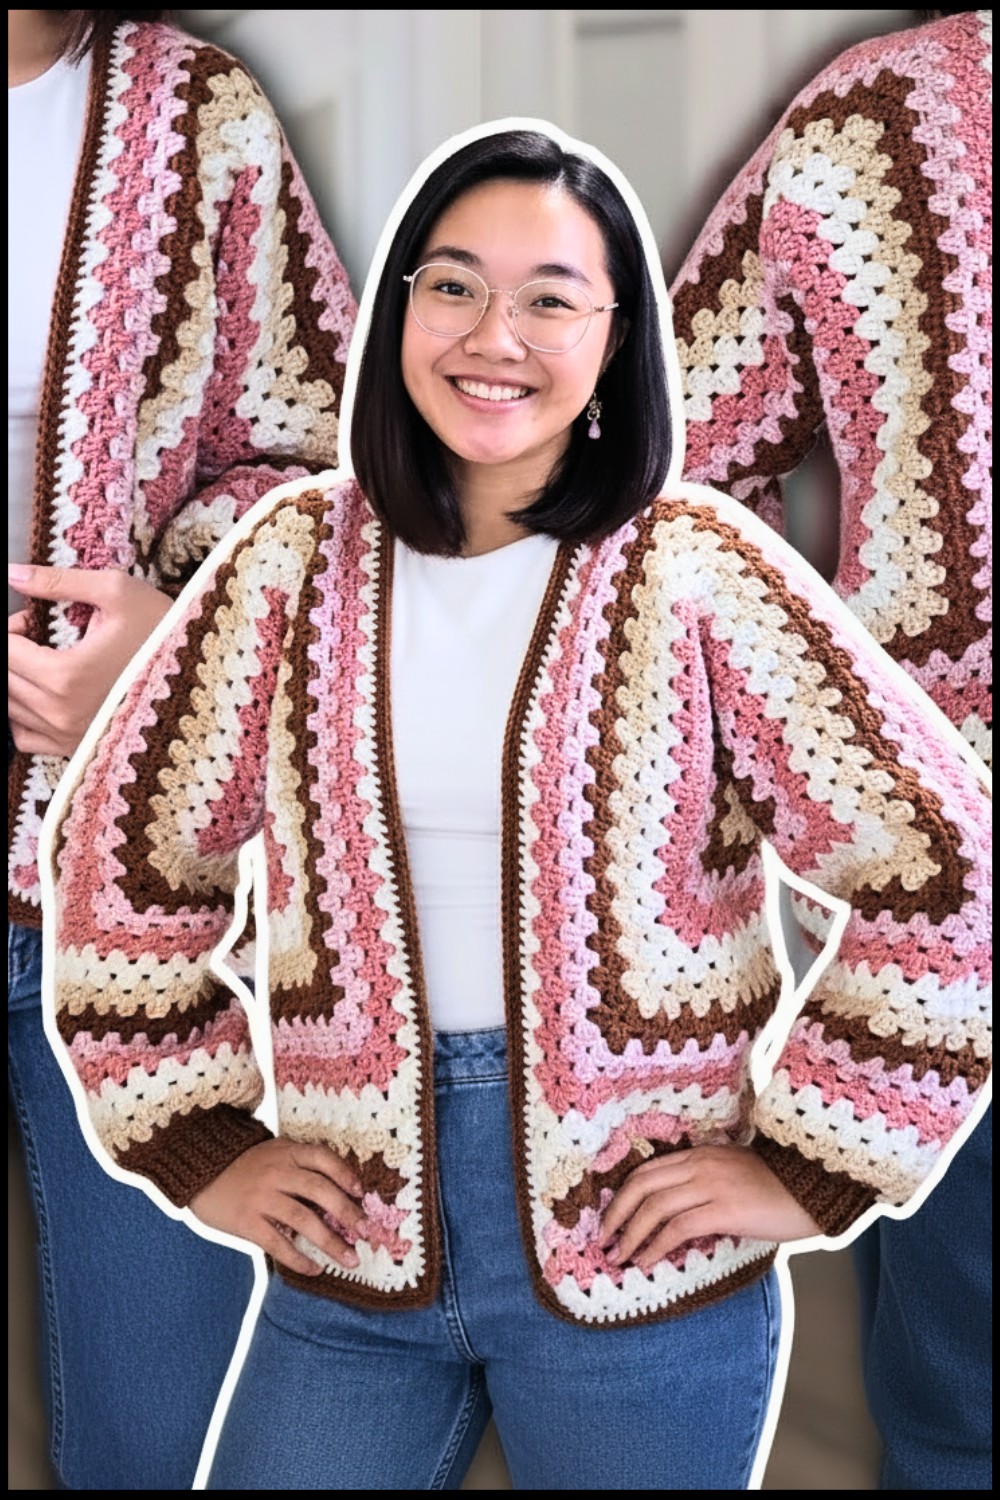
A key feature that makes this cardigan so appealing is its adaptability. With a little imagination, this pattern can be flipped into other garments, simply adjust the number of rounds for a pullover, shrink it down for a vest, or add different decorative borders for a unique appearance. The granny stitch not only adds texture and warmth, but also keeps the cardigan lightweight and easy to wear during any season. You’ll love how the colors blend together as you crochet, and the customizable options mean no two cardigans ever look the same.
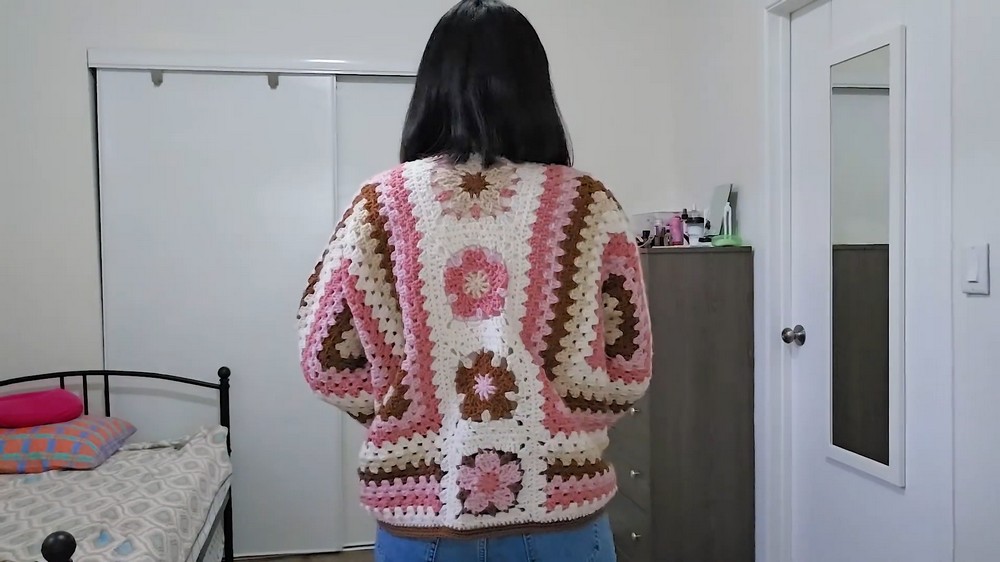
To get the best result, there are some crucial steps you shouldn’t skip. Always check your yarn and hook size; this directly affects the final fit. Try the hexagons against your arms and torso as you build them—this helps you choose exactly when to stop increasing rounds for that perfect fit. Blocking each hexagon before you join them keeps the shapes neat and helps the assembly process go smoothly. Take your time to seam the pieces together neatly, and consider adding a ribbed or single crochet border for a finished, professional touch.
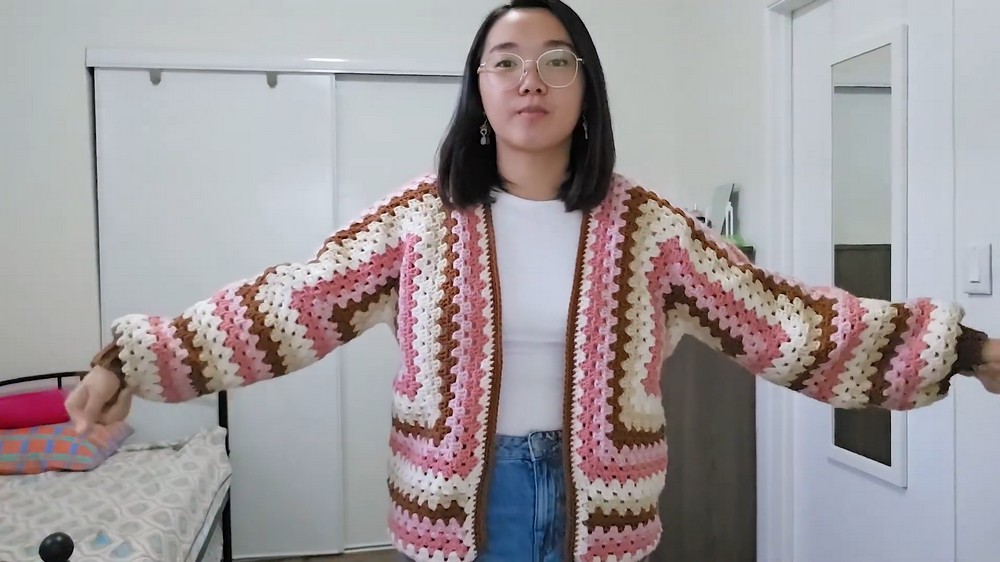
Hexagon Cardigan with Cherry Blossom Granny Square Insert
Skill Level
Intermediate to Advanced
Understanding of joined motifs, color changes, and basic garment construction is recommended.
Materials
- Big Twist Value Yarn (100% acrylic, weight 4/worsted, 380 yards/170g per skein)
- Color Ivory/Cream
- Light Rose
- Cosmetic Pink (salmon pink)
- Toffee (brown)
- 6mm (J) crochet hook (for main hexagon and body)
- 5.5mm crochet hook (for granny square motifs)
- 5mm crochet hook (for sleeve cuffs and border ribbing)
- Stitch markers
- Scissors
- Darning/yarn needle
- Blocking board & pins (optional, for shaping granny squares)
- Handheld steamer or bowl of hot water (optional, for blocking)
- Tape measure
Key Abbreviations
- ch = chain
- sl st = slip stitch
- sc = single crochet
- hdc = half double crochet
- dc = double crochet
- st = stitch
- rep = repeat
Special Notes
- The hexagon cardigan consists of two large hexagon motifs, folded and joined to create sleeves and body.
- Color changes are made every two rounds, following a Neapolitan ice cream-inspired palette.
- Granny squares are used to fill the back neckline gap and as decorative inserts.
- All measurements are approximate; adjust number of rounds and rows for a customized fit.
- For a seamless look, consider adding a white/cream border to both the cardigan and granny squares before joining.
Cardigan Pattern
Step 1. Swatching & Yarn Preparation
Make a gauge swatch using your chosen hook and yarn before beginning to check if your tension matches the desired fit for a cardigan. Yarn is worsted weight, but swatch and measure to ensure drape and fit match your preference.
Swatching will help determine whether you need to size up or down with your hook. Thick yarn gives a cozy result; if you want a more draped cardigan, try larger hooks. Always check that you have enough yarn for your size!
Step 2. Crochet Hexagon Motif (Make 2)
Round 1:
- Ch 4. Join with sl st to form a ring.
- Ch 3 (counts as dc). Work 11 dc into ring. Sl st to top of beginning ch-3. (12 dc total)
Start your hexagon with a basic circle, which sets up for polygon shaping in subsequent rounds. If you prefer, use a magic ring in place of ch-4 for a tighter center.
Round 2:
- Ch 3 (counts as dc), dc in same st.
- (Ch 2, 2 dc in next st.) Rep around for each stitch. Sl st to join. (Each corner consists of 2 dc, ch 2, 2 dc.)
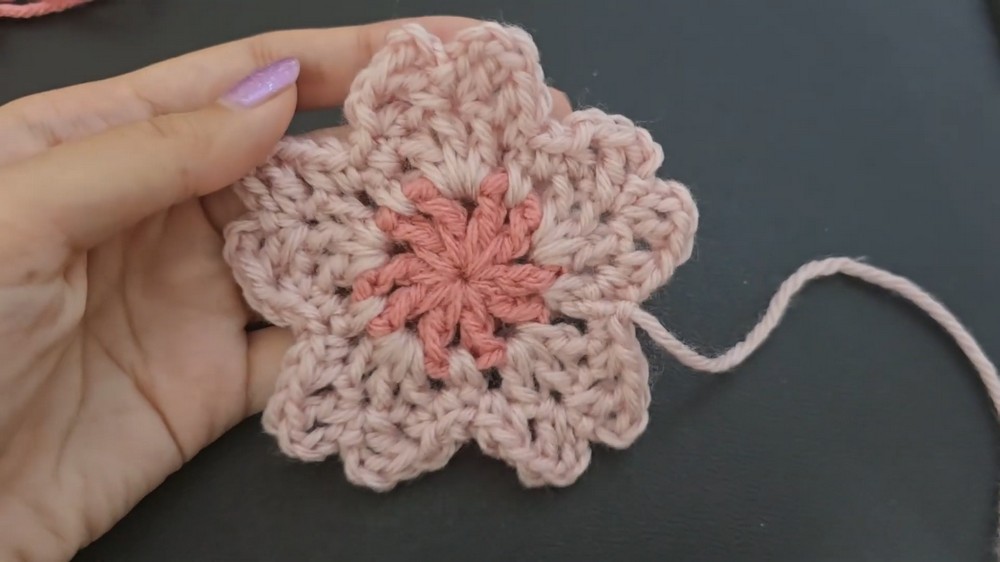
This round begins forming points for the hexagon. Chain spaces become corners, and groups of double crochets build sides.
Round 3:
- Sl st to next ch-2 corner.
- (Ch 3, dc, ch 2, 2 dc) in ch-2 space (corner).
- (Dc in each st across to next ch-2 corner.) Rep for all sides. Sl st to join.
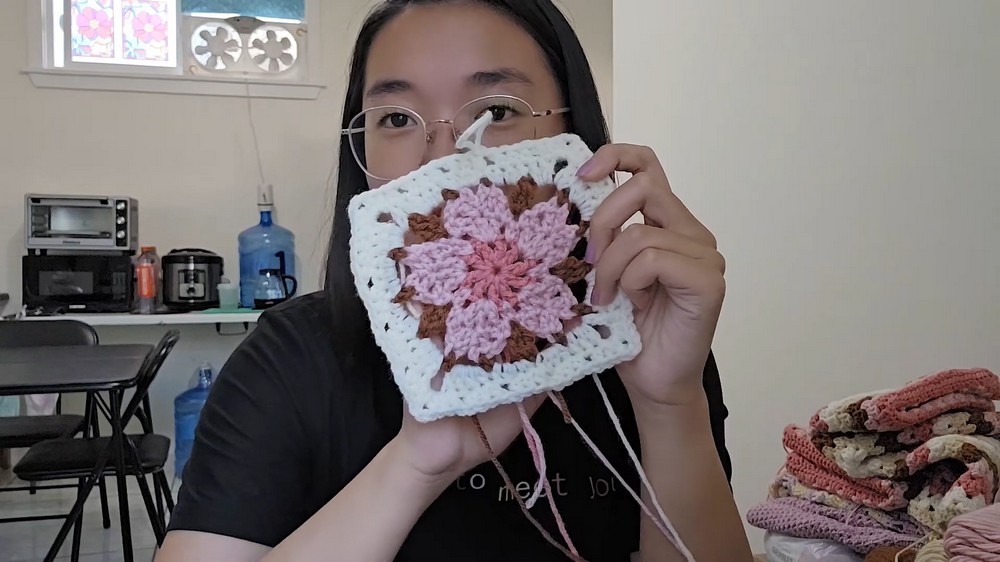
Work corners and sides consistently. Hexagon shape becomes more prominent now. Remember to keep stitches and corners even for symmetry.
Round 4–? (Continue Rounds):
- Continue in established pattern:
- In each corner ch-2 space: (2 dc, ch 2, 2 dc)
- Across each side: dc in each st
- Change color every two rounds as desired (Ivory → Cream → Brown → Light Pink → Salmon Pink).
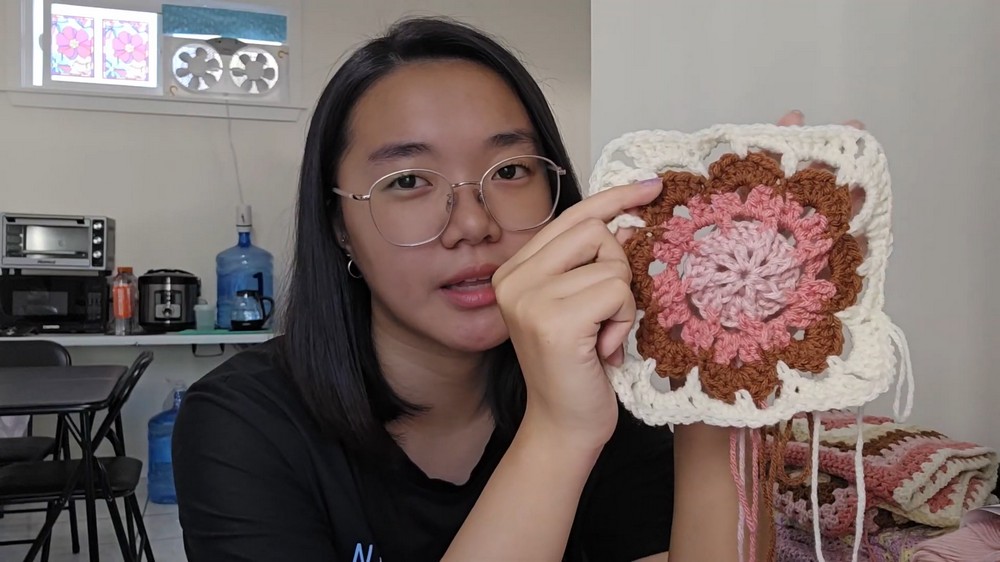
Add rounds until hexagon reaches desired size for your bust and sleeve length. Folded hexagon should form an L shape when folded.
Tips:
- Weave in yarn tails as you work, or use stitch markers to help with color change placement.
- To adjust the size, add or subtract rounds.
Step 3. Fold Hexagons & Create Cardigan Shape
- Fold each hexagon along one axis to form an L shape.
- Place both hexagons together, matching the sleeves and body, ensuring neat corners.
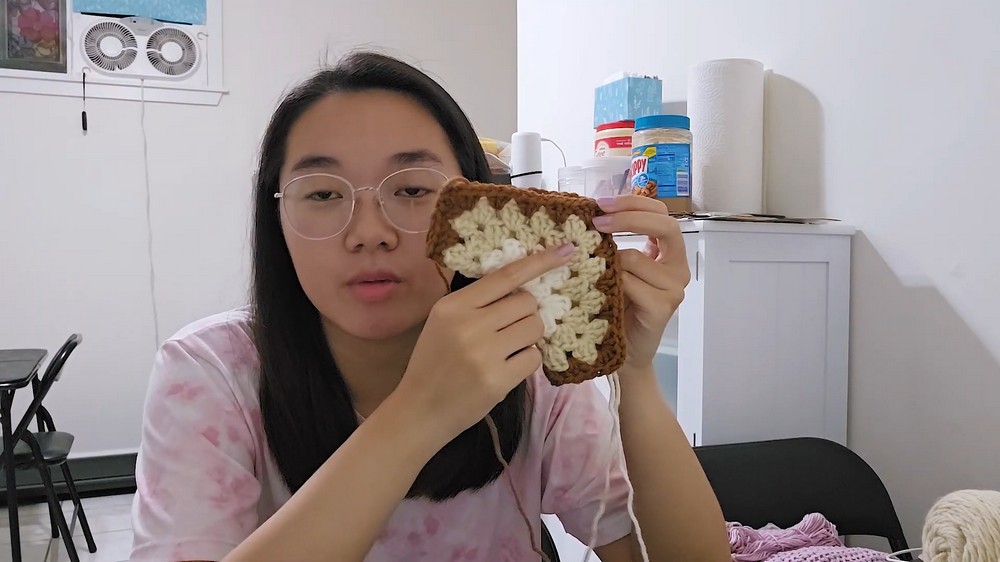
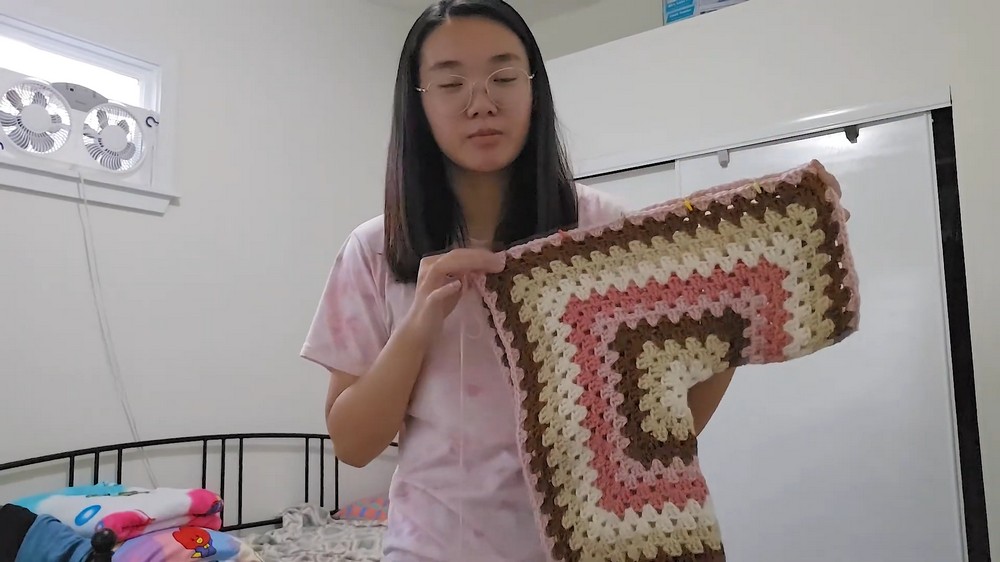
When folded, each hexagon forms one side of the cardigan (sleeve and half the body). Use stitch markers to temporarily hold in place and try on for fit.
Step 4. Join Shoulder & Side Seams
- Use whip stitch (with a darning needle and matching yarn):
- Sew shoulder seams together: under both loops from each hexagon, pull through.
- Sew side seams underarm to hem.
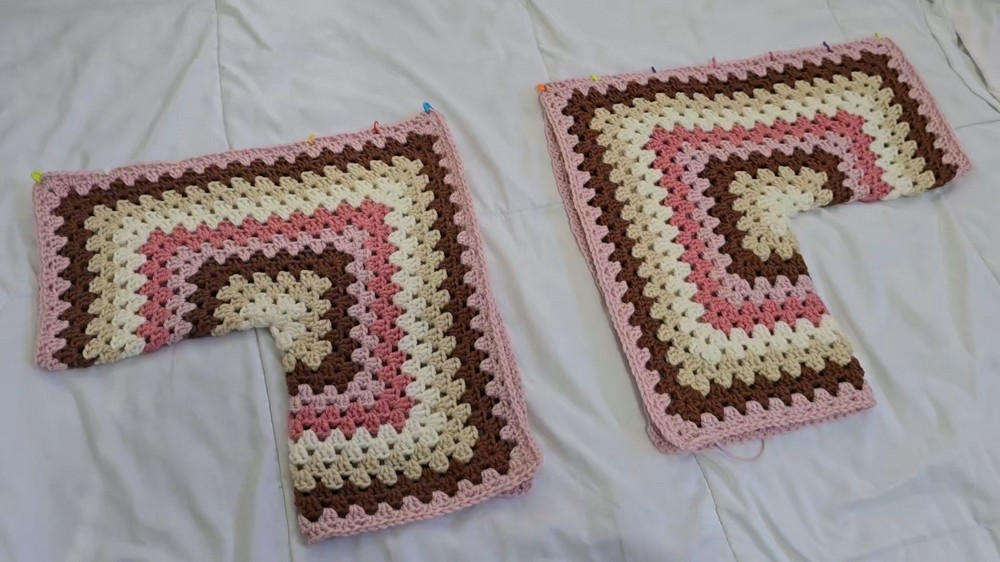
Proper seam joining creates a clean look on the outside. If you prefer, you can join with slip stitches using your hook. Try to match colors at the seams for a polished finish.
Step 5. Lengthen Body & Sleeves As Needed
- Work additional rounds of granny stitch (dc clusters or your preferred stitch) at the bottom hem and sleeve edges.
- Alternate colors to match palette.
- Continue until cardigan length and sleeves fit as desired.
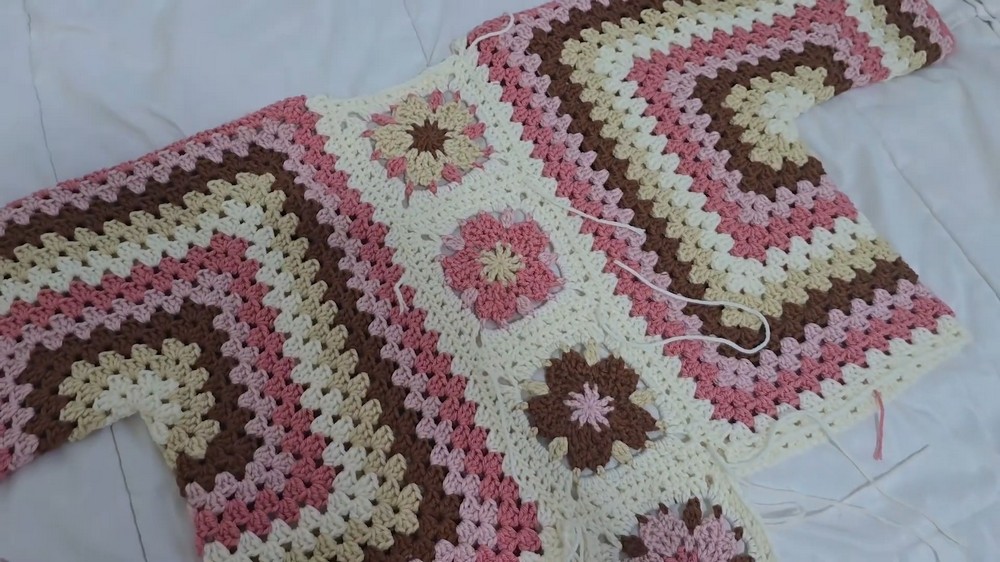
Extra rounds allow for a longer, less-cropped cardigan. Try on regularly to check fit and customize length.
Step 6. Cherry Blossom Granny Square Inserts (for Back Panel)
- Choose your preferred granny square motif (cherry blossom recommended).
- Use 5.5mm hook for flower, switch to 6mm hook for border.
- Use hdc in border rounds to keep squares smaller.
- Make 3–4 granny squares, block them as needed for flatness and sizing.
Granny squares fill the neckline gap at the back and add decorative flair. Mix and match colors for extra creativity. Block squares with steam or a damp towel for shape.
Step 7. Attach Granny Squares
- Use the whip stitch and a darning needle to join granny squares together.
- Seam the combined strip onto the back gap of the cardigan, matching stitch counts for a seamless fit.
Align squares carefully; a border in white/cream helps blends them into the main fabric. Block after attaching for best results.
Step 8. Finish Bottom & Borders
- For the hem and borders, use 5mm hook and dark brown yarn.
- To create sleeve cuffs:
- First, work one round of single crochet decrease (sc2tog) all around the sleeve.
- Work rows of sc in back loops only (9 stitches wide) for the cuff width; join ends with slip stitch for a tubular cuff.
- For cardigan border:
- Work three rows of single crochet in dark brown yarn around inner edge and bottom.
Single crochet in back loops only creates a ribbed look for cuffs and makes the edge more comfortable and stretchy. You can add more rows for thicker ribbing.
Step 9. Weave In Ends, Block if Desired
- Weave in all yarn tails with a yarn needle.
- Block overall cardigan if desired for shape and drape.
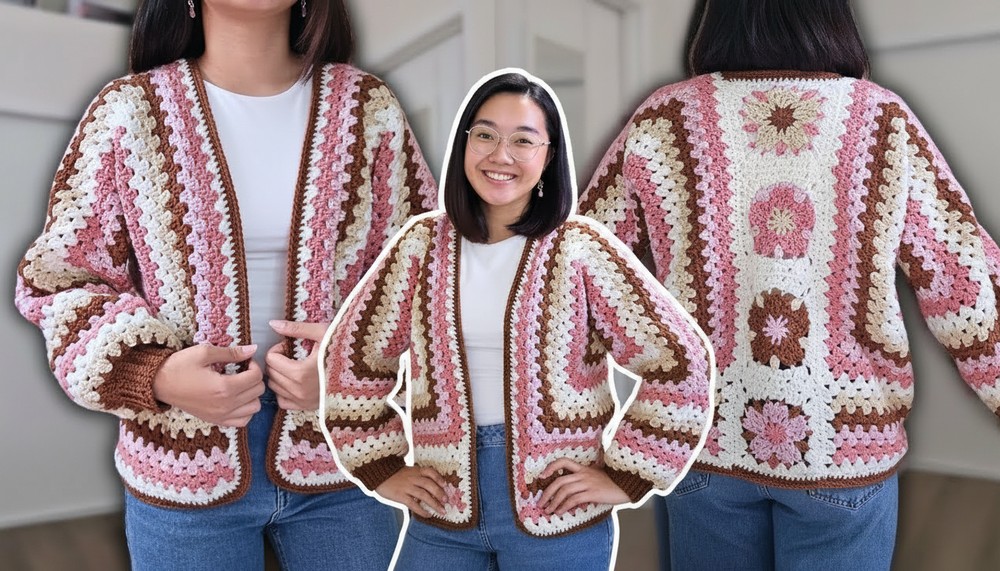
Finishing touches give your cardigan a neat, polished look and help it wear well.
Conclusion
You have completed a beautiful, cozy hexagon cardigan featuring cherry blossom granny squares! This modern yet classic design lets you explore colorwork, granny motifs, and garment construction in a fun, accessible way. The Neapolitan color palette is both trendy and timeless—perfect for cooler seasons or any time you want a handmade touch.
Pattern Corrections & Tips
- Correction: For a more seamless granny square join, ensure all squares and body edges have matching stitch counts—add or decrease on last round as needed.
- Tip:
- Try on your cardigan frequently as you build each section for best fit.
- Weaving in ends as you go reduces tedious finishing work!
- Blocking is essential for granny motifs—use steam or a damp towel for best results.
- Use stitch markers to help keep hexagon corners and seam alignments straight.
- For tighter sleeves, decrease more stitches before adding ribbing.
- Customize by mixing granny square motifs, changing palette order, or adding decorative borders.
Special Notes
- Add your own creative accents—buttons, pockets, embroidery—for a one-of-a-kind cardigan.
- Leftover yarn can be used for accessories, appliques, or another project.