Free Sunflower Cardigan Pattern for Handmade Lovers
Brighten your style with this Free Crochet Sunflower Cardigan Pattern featuring cheerful designs and easy steps everyone can enjoy easily.
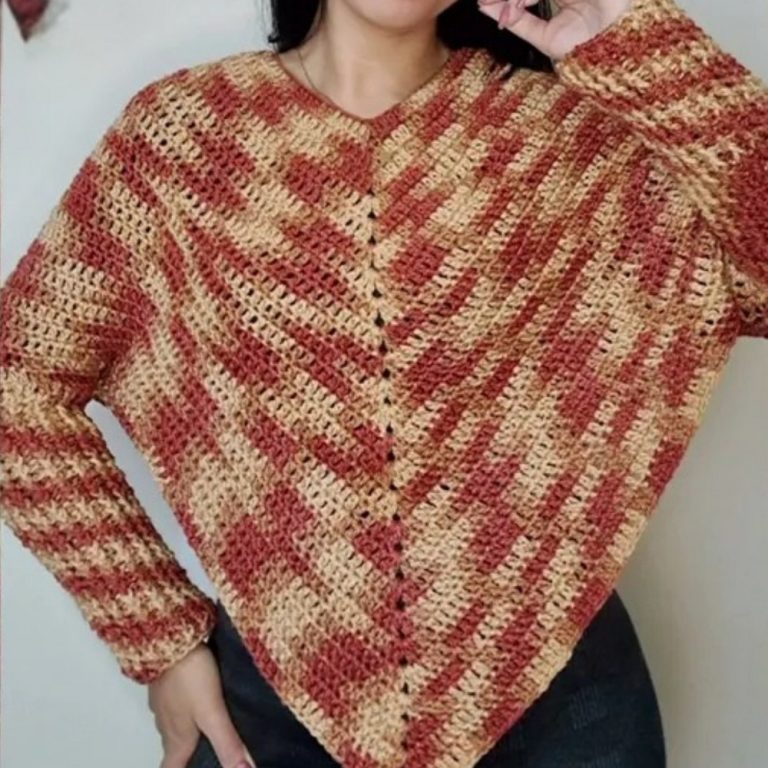
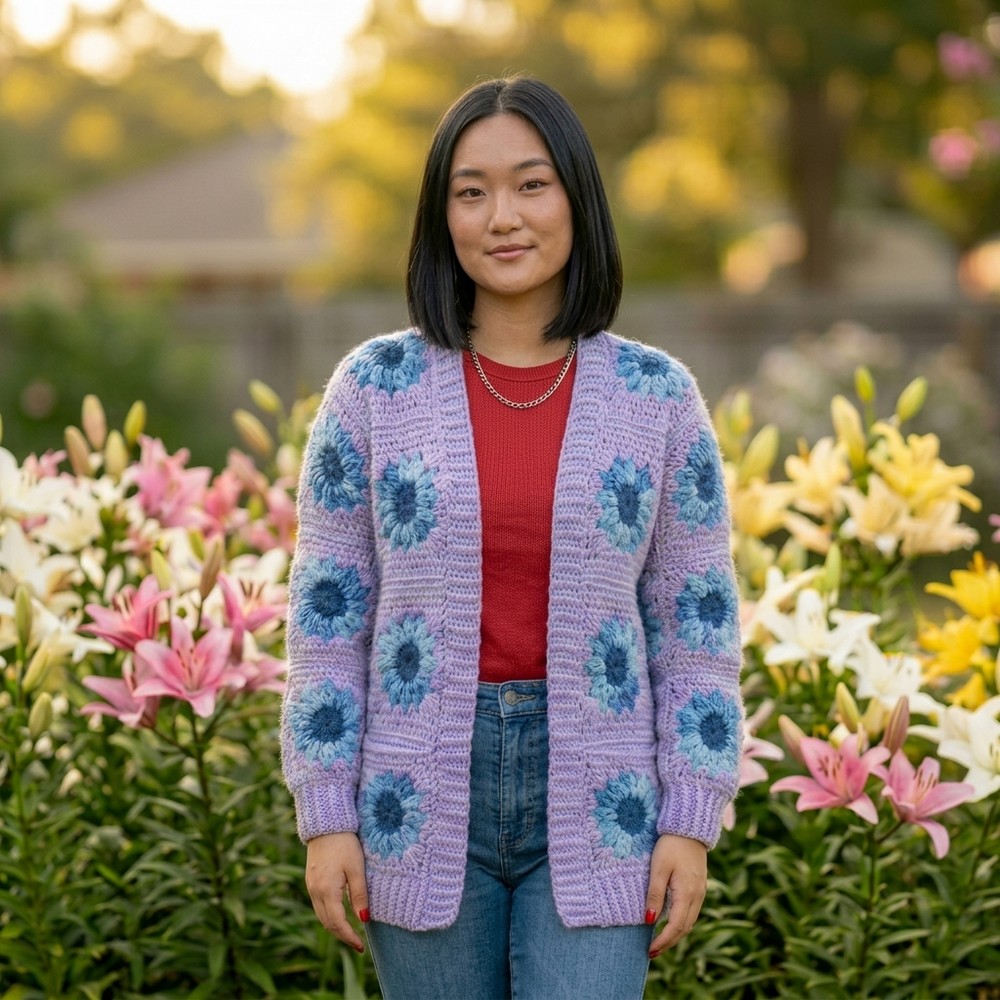
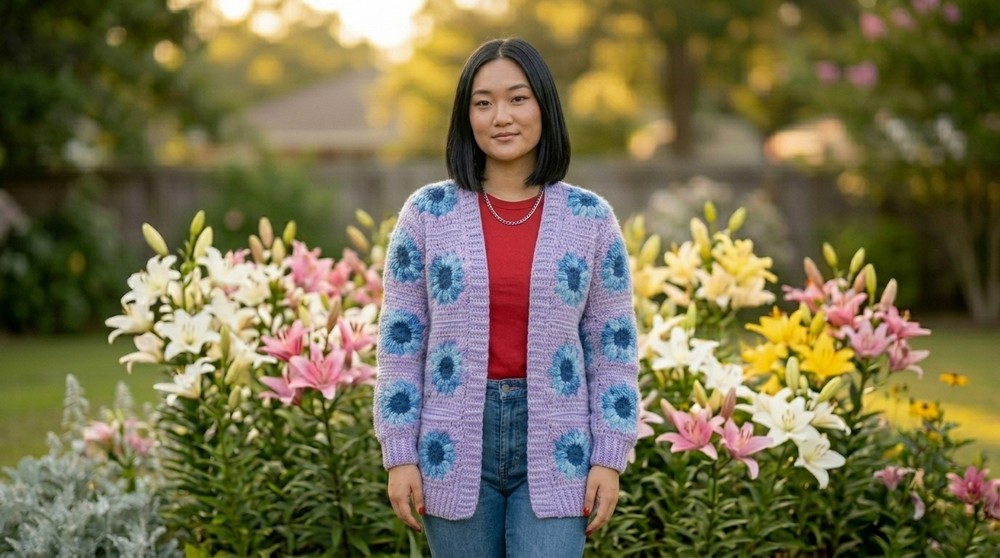
Imagine a cardigan that brings bright sunflower joy everywhere you go. People can enjoy cheerful colors and lovely flower designs that lift spirits, and add happiness to any day. Crochet Sunflower Cardigan pattern creates a beautiful sweater that shines with yellow petals and green leaves. Each piece looks like a garden on your shoulders, making you stand out in every crowd. You can wear it outside for a walk, or at home to stay cozy and feel the warmth of summer anytime.
Trendy Free Sunflower Cardigan Crochet Pattern
This pattern makes a wonderful gift for friends and family, because sunflowers mean friendship and love. It lets you try easy steps, so every hand can turn yarn into wearable art. With the Crochet Sunflower Cardigan pattern, people feel proud and comfortable, and their style glows with charm. Soft yarn keeps bodies warm, while colors make eyes smile. With this pattern, every age can create a special item to share sunflower happiness.
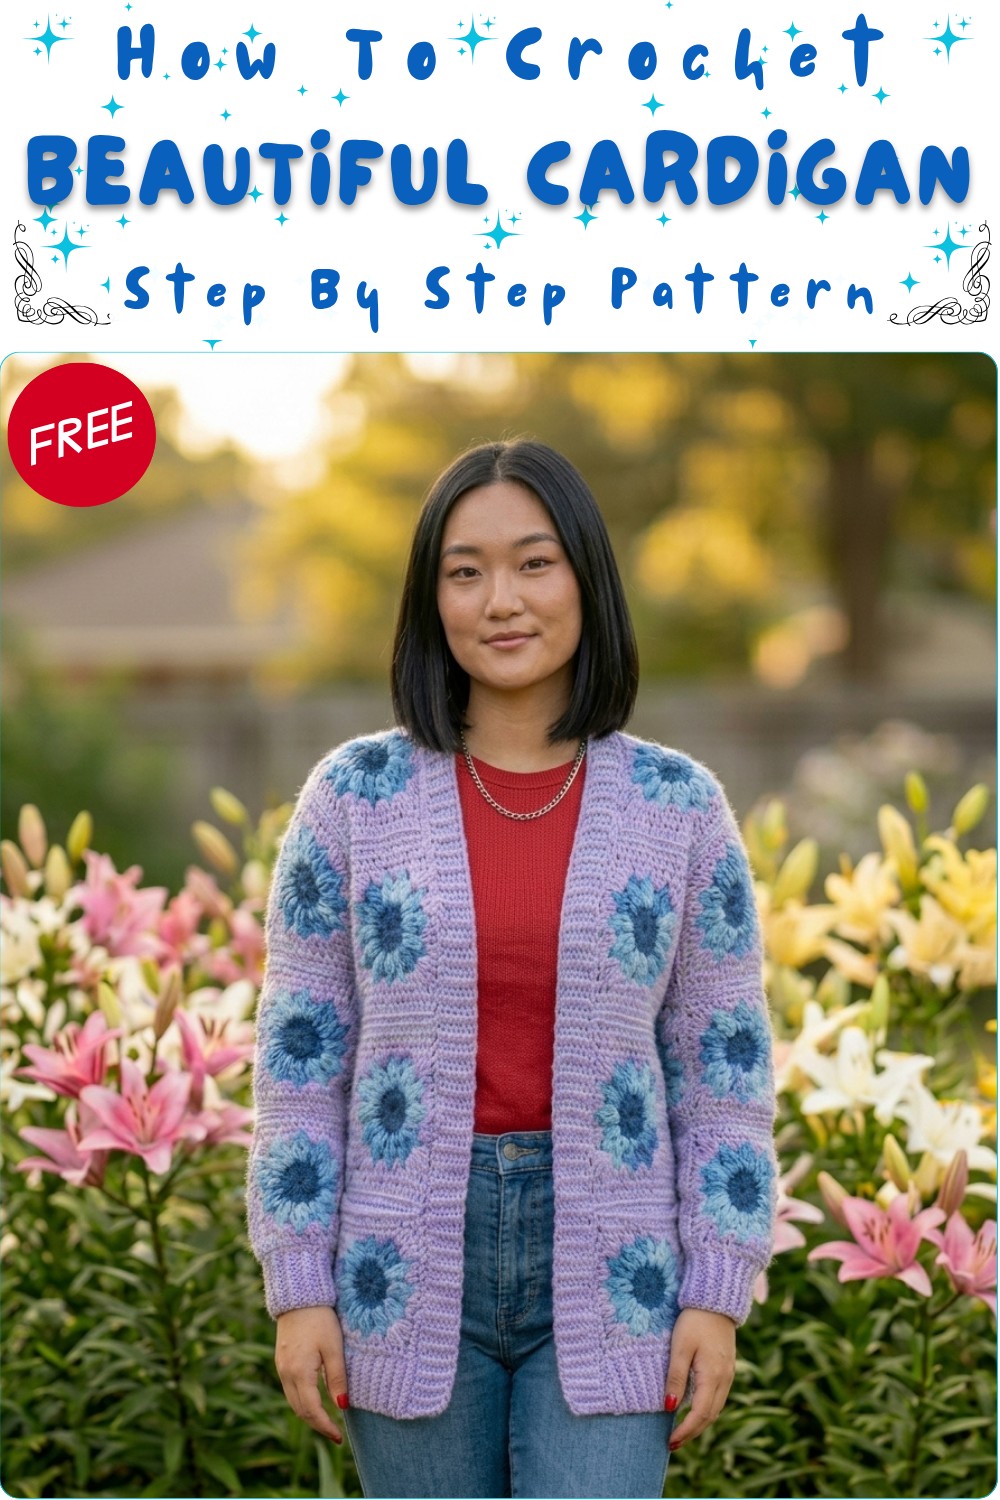
Sunflower Granny Square Cardigan – Step-by-Step Crochet Pattern
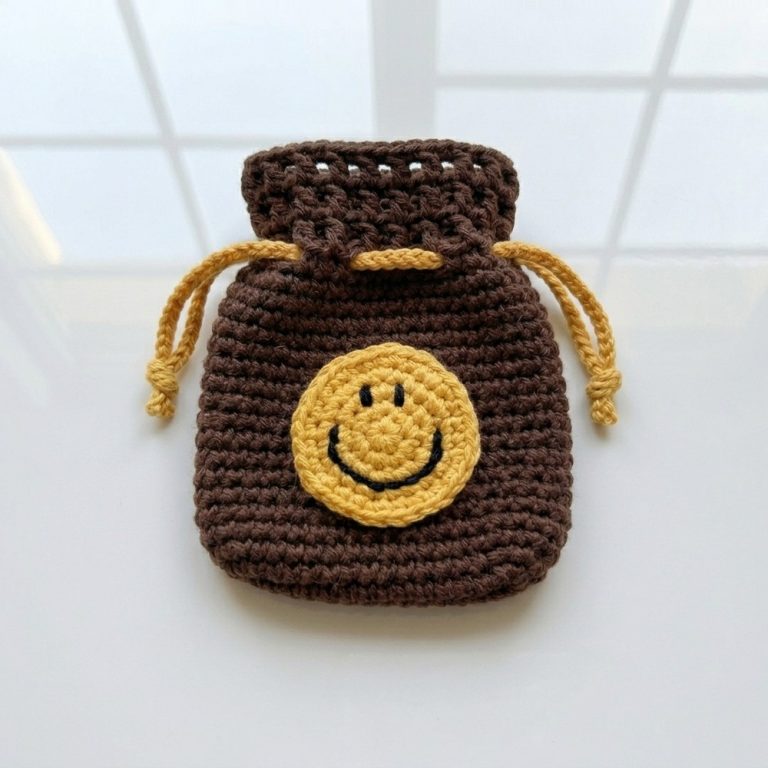
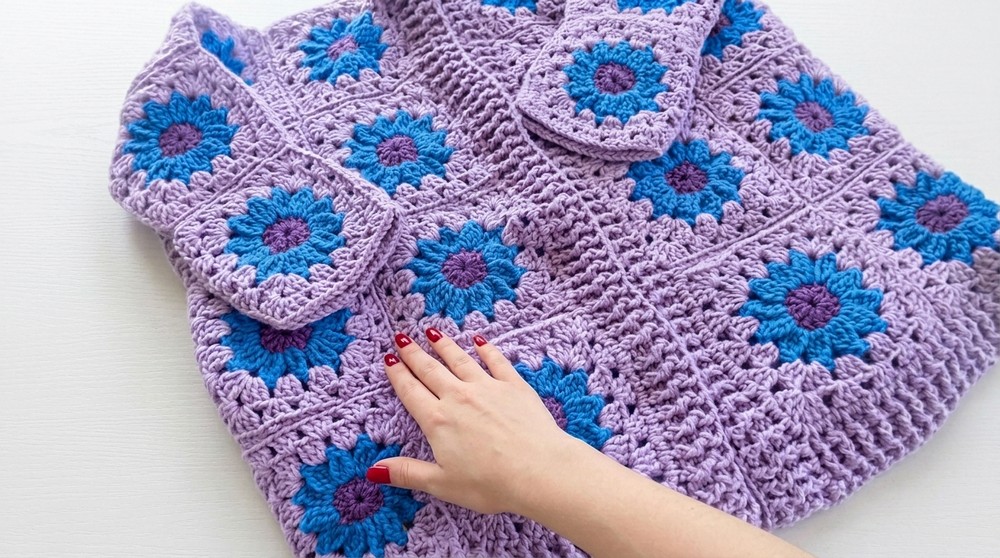
Bring boho sunshine into your wardrobe with this eye-catching sunflower granny square cardigan! Inspired by a sweet sunflower keychain, this laid-back and cheerful layering piece is created by assembling multiple granny squares crocheted in warm sunflower shades. The whole design is beginner-friendly, heavily relies on classic and textured granny techniques, and is perfect for any season. You’ll make sunflower centers, add squishy petals, frame them with granny rows, and then join them for a stunning final effect.
Skill Level & Terminology
- Skill level: Adventurous Beginner
- Terminology: All instructions use US crochet terms.
If you know how to work basic stitches like double crochet (dc), chain (ch), and slip stitch (sl st), plus work in rounds, you’ll catch on fast. You’ll also learn the magic of three-triple-crochet petals and simple join-as-you-go seaming.
Materials & Tools
- Yarn: Size 4/worsted weight yarn
- Center: Purple (Mainstays, Walmart, color: Brown)
- Petals: Blue (Loops and Threads, Michaels, color: Mustard)
- Lavender, or any main color you love (I Love This Yarn, Hobby Lobby, color: Mahogany Singe)
- Hook: 4 mm (G/6) crochet hook
- Notions:
- Yarn needle (for sewing)
- Scissors
- Tape measure (optional, for checking final dimensions)
- Other: Steamer (optional; for blocking finished cardigan)
Gauge
- Each finished sunflower granny square (with 2 rounds of border) should be about 4–4.5″ (10–11 cm) square.
- Gauge Swatch: Work 1 full square and measure for a reliable gauge.
Abbreviations List
| Abbreviation | Meaning |
|---|---|
| ch | chain |
| sl st | slip stitch |
| dc | double crochet |
| tr | triple (treble) crochet |
| st(s) | stitch(es) |
| sp | space |
| rep | repeat |
| RS | right side |
Special Stitch Instructions
- Three Triple Crochet Together (petal):
(Yarn over twice, insert hook in stitch, yarn over and pull up a loop, [yarn over, pull through 2 loops] twice) three times in the same st, yarn over and pull through all 4 loops on hook. This makes one “petal.” - Front/Back Post Double Crochet (Ribbing):
For front post: yarn over, insert hook from front to back to front around post of st, complete as dc.
For back post: yarn over, insert hook from back to front to back around post, complete as dc. - Back Loop Slip Stitch (Sleeve Ribbing):
Insert hook only under back loop, sl st as usual. Produces elastic effect.
Finished Size
- Back Panel: 4×4 squares – approx. 16–18″ square (customizable).
- Front Panels: 2×4 squares each.
- Sleeves: 2×2 squares per sleeve.
- Pockets: 1×2 squares each.
- Overall: Adult Small/Medium (can size up/down by adding squares).
The Pattern Itself
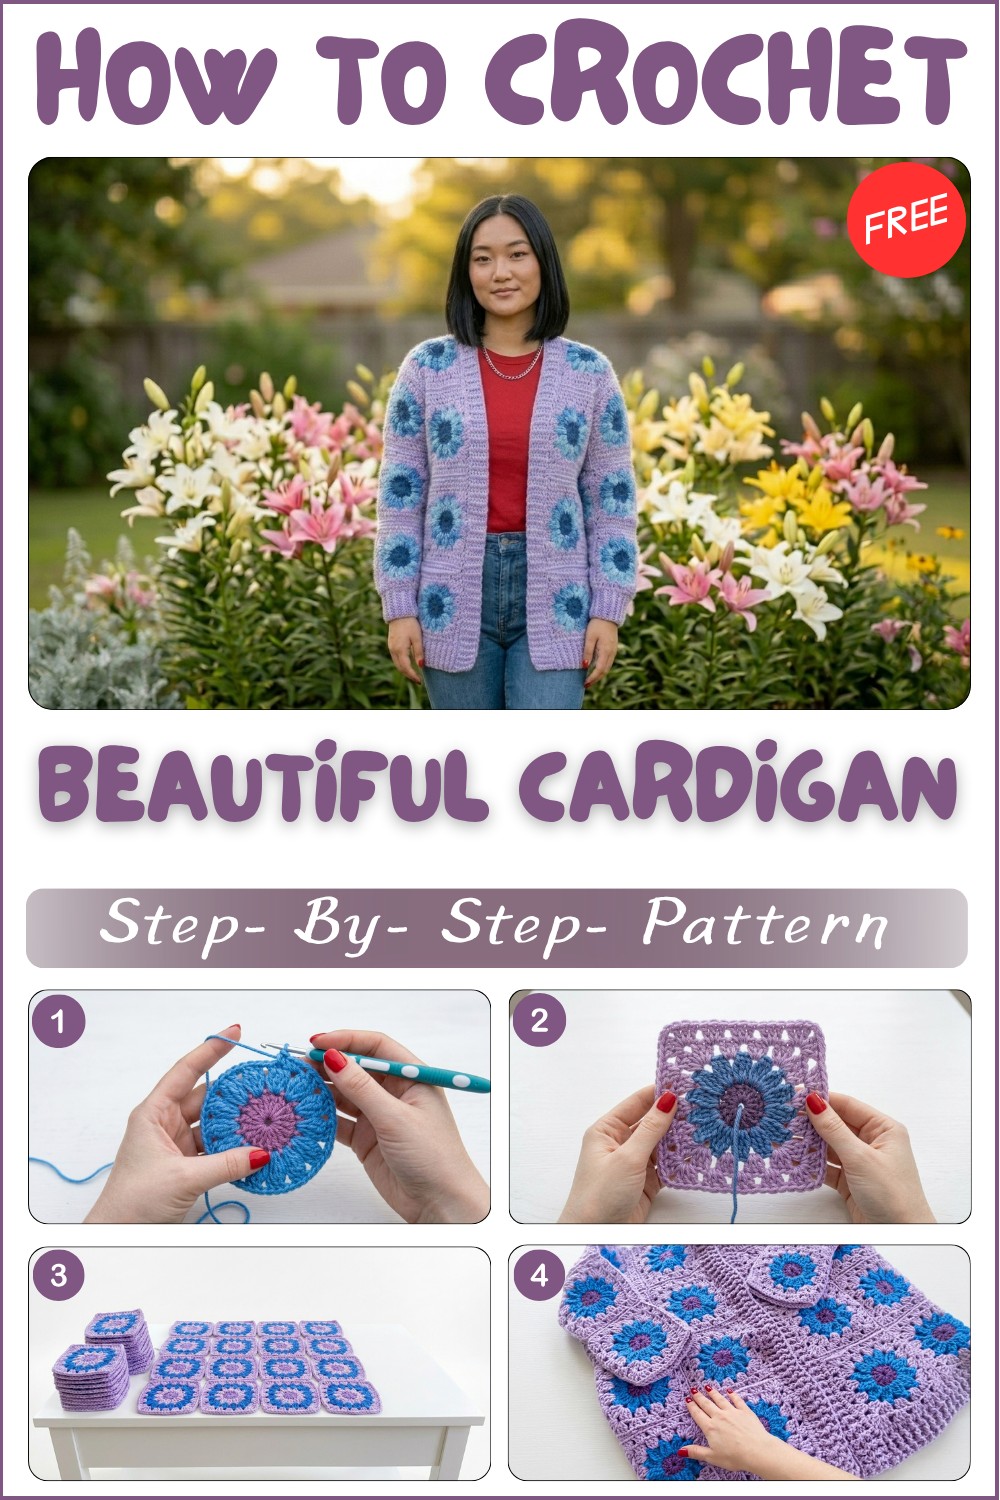
1. Sunflower Granny Square (make 42)
Center:
- With Purple:
- Ch 4, sl st to 1st ch to form a ring.
- Ch 3 (counts as dc).
- Work 11 dc into ring (12 dc total).
- Sl st to top of 1st dc to join.
- Ch 1 tightly, cut yarn.
You have the sunflower center. If you’re not used to reading patterns, just crochet a brown round with 12 double crochets.
Petals (Blue):
- Join Blue into any st.
- Ch 4 (counts as 1st tr).
- (Petal cluster):
- [Yarn over twice, insert in same st, pull up loop, (yo, pull through 2) twice]* repeat three times,
- Yarn over, pull through all loops on hook.
- Ch 1 to secure, ch 1 again (for sp).
- Rep petal cluster in next st, ch 1, ch 1; around (12 petals).
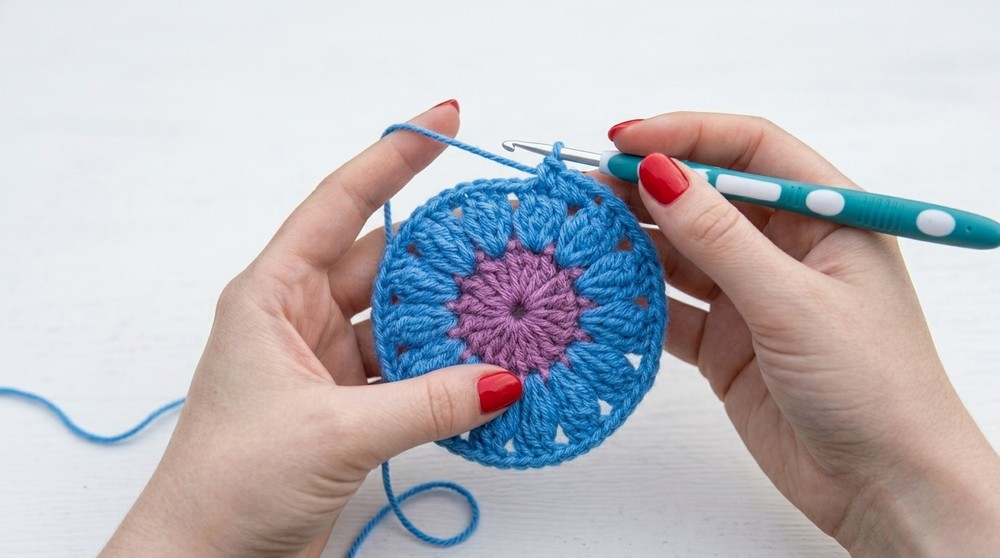
- Sl st to first petal to join.
- Cut and fasten off.
After petals, your motif should look like a classic sunflower circle!
Border / Square Rounds (Lavender):
- Join main color in any ch-sp.
- Ch 3 (counts as dc), 2 dc in same sp.
- Ch 2, 3 dc in same sp (corner).
- Ch 1, 3 dc in next sp, ch 1, 3 dc in next sp;
- In next corner sp: 3 dc, ch 2, 3 dc (corner);
- Repeat pattern, making two 3-dc clusters then a corner around,
- End: h- dc in 1st dc group to finish with hook in the ch-sp corner for next rnd.
- Ch 3, 2 dc in that sp (starting next rnd)
- Continue granny square pattern with ch 1 between clusters, 3 dc, ch 2, 3 dc in corners.
- Stop after 2 rounds (add a 3rd for larger squares).
- Fasten off.
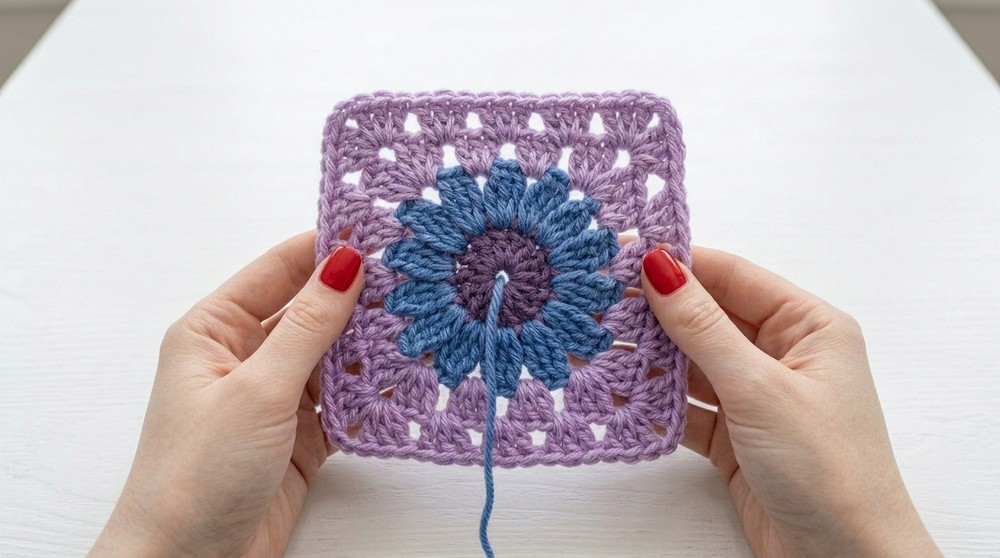
The borders square off the sunflower motif and prep all pieces for joining.
2. Make All Squares
- Repeat above for a total of 42 squares: 16 (back), 8 each (fronts), 4×2 (sleeves), 2 (pockets).
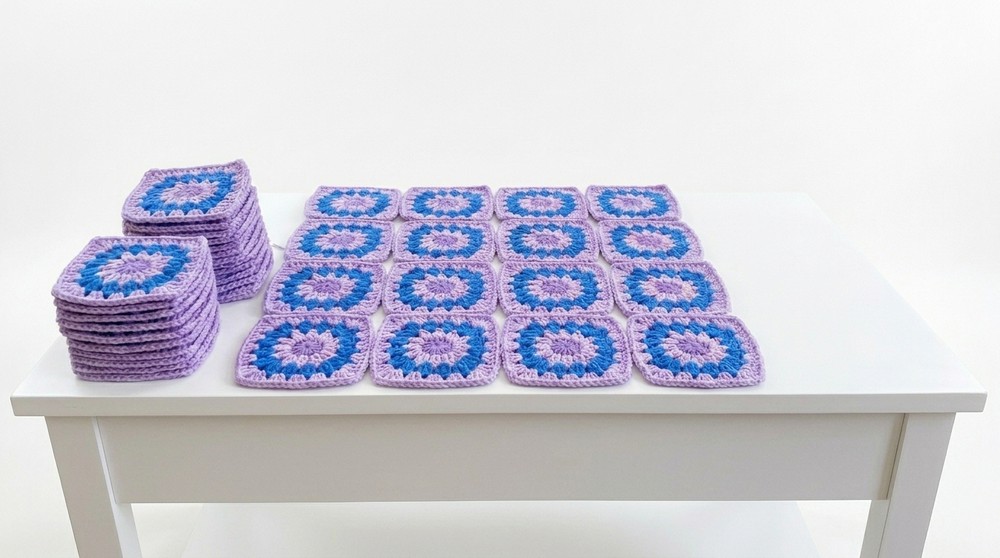
Make all your squares before assembly. You can lay them out to preview your design before joining!
3. Assembly
- Lay out back panel: 4×4 squares, RS down.
- Sew columns first (top loops only), then rows with yarn needle for a clean flat seam.
- Repeat to join front panels (2×4) and sleeves (2×2).
- Join front panels to back panel at shoulders (top two squares each side, top loops only).
- Lay cardigan panels RS together; sew sleeve panels to body.
- Fold at the shoulder, seam beneath sleeve, then up sides for body using same top loop join.
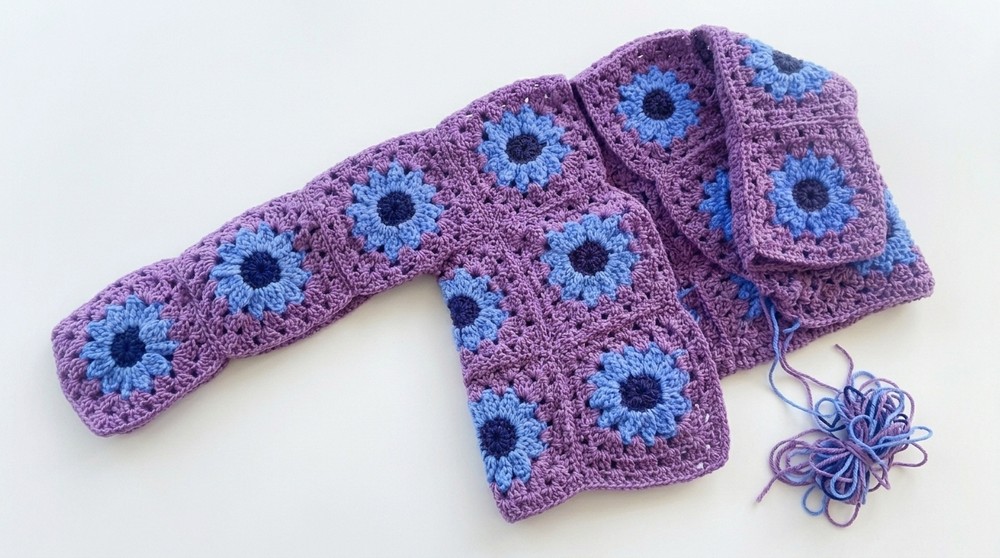
For each step—always keep the “face” of your squares inside. The seams will show beautifully on the outside when you turn your work later.
4. Add Pockets
- Place each pocket (1×2 square) on desired spot on cardigan front bottom edge.
- Sew around bottom and sides; leave top open.
Add pockets before ribbing for a neatly finished look.
5. Ribbing & Finishing
- Attach ribbing yarn to cardigan bottom edge.
- Row 1: Work 1 dc in each st across.
- Rows 2–4: Ch 3, turn. Work front post dc in front post dc, back post dc in back post dc across row.
- Fasten off.
- Repeat ribbing along cardigan opening and neckline, doubling dc at curve of neck for extra looseness.
Ribbing provides stretch and polish! Do the same along sleeves:
- With ribbing color: Ch 9, sl st in back loop of each ch across (8 sts).
- Sl st to sleeve edge, turn, sl st back loop only, ch 1, turn—rep around sleeve, sew closed at end.
Assembly & Finishing
- Whipstitch ribbing seams as needed; weave in ends.
- Turn right side out for finished look.
- Steam or block cardigan, especially if using acrylic: this relaxes and evens seams and stitches.
- Enjoy your sunflower garden!
This pattern is a joyful combination of basic stitches: chain, slip stitch, double crochet, triple crochet (for petals), and front/back post double crochet (for rib). If you prefer not to read crochet patterns, simply follow along as: make brown and yellow flower centers, frame with colored granny squares, sew everything together, rib the edges and sleeves, and add pockets.