Free Amigurumi Crochet Mini Sun With Easy Pattern

Did you ever wish you could hold a little sunshine in your hands even when it’s pouring rain outside? That’s exactly how I felt one gloomy afternoon, until I discovered the magical world of crochet mini suns! Imagine being able to make your very own pocket-sized sun, bright and bouncy, using only a crochet hook, some yarn, and a chuckle or two. Whether you’re a complete beginner or just want a quick, joyful project, this free crochet mini sun pattern is the perfect way to bring a splash of happiness to any day.
Step-by-Step Guide to Crochet a Mini Sun Pattern Design
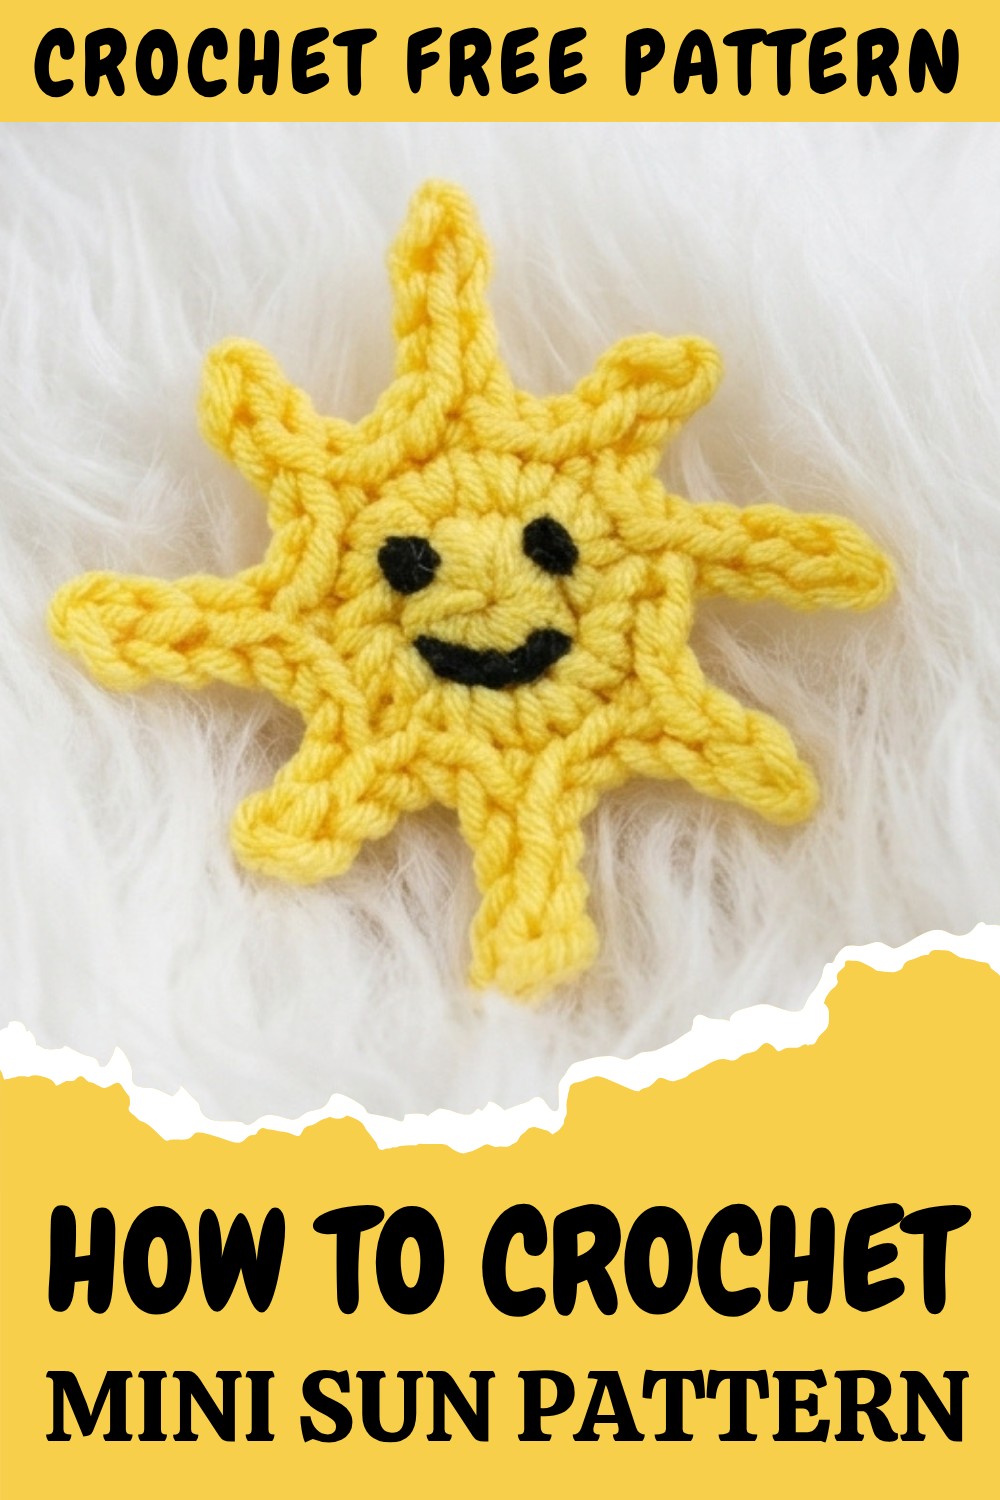
What makes these mini suns so delightful? First, they’re all about fun and color! The pattern uses a cheerful yellow for the middle and a burst of orange or gold for the rays, so it’s impossible not to smile while making one. The basic stitches used (mostly single crochet and slip stitch) mean you don’t have to be an expert to create something adorable. Plus, you can jazz yours up by sewing on a happy face, or turn it into other awesome stuff like a cute keyring, a sunny coaster, or even a bright garland for your room by making a few more.
Super Important Steps You Absolutely Can’t Forget:
- Start with a magic ring (it keeps the center closed and neat!).
- Keep each stitch snug so your sun looks even and round.
- Count your stitches each round—mini suns love symmetry.
- Make the rays all the same length (unless your sun likes to dance!).
- Weave in any yarn ends so your sun doesn’t unravel mid-fun.
Common Oopsies and Quick Fixes:
- Center goes wobbly or curls up: Try loosening your stitches or adding another increase round.
- Rays look wonky or floppy: Make sure you’re using the same stitch count and tension for each one.
- Color change isn’t smooth: Fasten off the old yarn neatly and weave in the ends as you go for a clean finish.
The typical mini sun ends up about 2–4 inches wide—just the right size for a charm or decoration. You can make it bigger or smaller simply by changing your hook size or adding more rounds. So, grab your yarn, put on your favorite playlist, and start stitching your own little burst of sunshine. By following these fun steps and learning as you go, you’ll have a mini sun that brightens everything it touches.
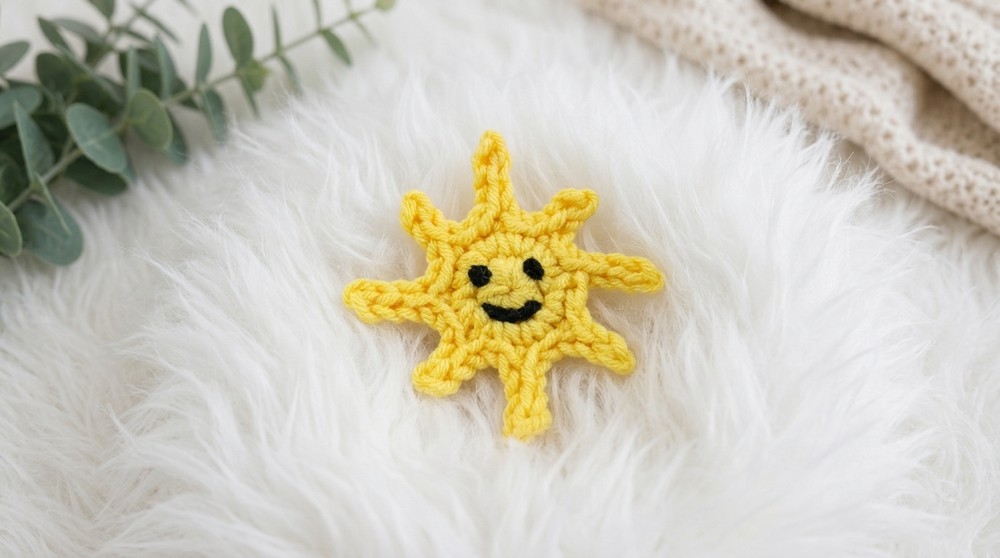
Smiling Sun Applique Crochet Pattern
Materials
- 5 ply (sport or DK weight) milk cotton yarn (yellow for sun, black for details)
- 3.5mm crochet hook
- Scissors
- Yarn needle (with a sharp tip for embroidery)
- Optional: Scrap white yarn if you want to add “eyes” or other faces
Abbreviations
- ch = chain
- sc = single crochet
- sl st = slip stitch
- st = stitch
Pattern
Round 1: Center of the Sun
- Make a magic ring.
- Ch 1 to begin.
- Work 7 sc into the magic ring.
- Pull the yarn tail to close the center tightly.
- Sl st into the first sc to join.
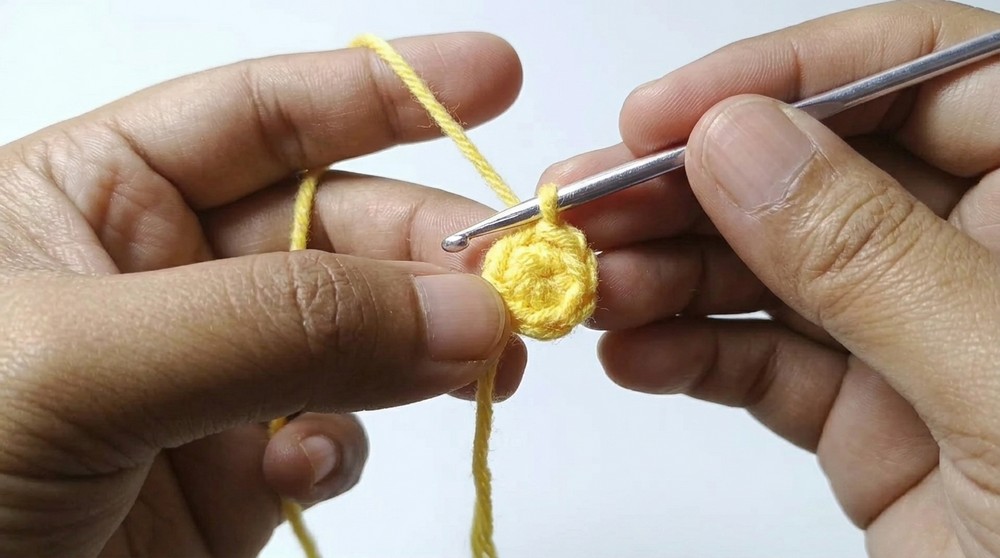
This step makes a small circle that will be the middle of your sun. Pull the magic ring tight so there’s no hole. You now have the sun’s little face!
Round 2: Expanding the Circle
- Ch 1.
- In the first stitch, work 2 sc.
- In each of the next 6 stitches, work 2 sc (total 14 sc).
- In the last stitch, work 1 sc (this helps keep the circle round).
- Sl st to the first sc to join the round.
Now you are making the sun larger by putting two single crochet in every stitch. By the end, your sun is round with 16 stitches, making a small disc. Don’t worry if you have 15 or 17 stitches—it will still look cute!
Round 3: Forming Sun Rays
- Ch 4.
(Forms long ray. You’ll alternate long and short rays.) - Skip 1 stitch, sl st into next stitch.
Repeat this process for 3 times in total: Ch 4, skip 1, sl st in next—to create 3 long rays. - For shorter rays:
- Sl st in next st.
- Sl st into next st again.
- Ch 3, skip 1 st, sl st into next st (repeat 2 times for 2 short rays).
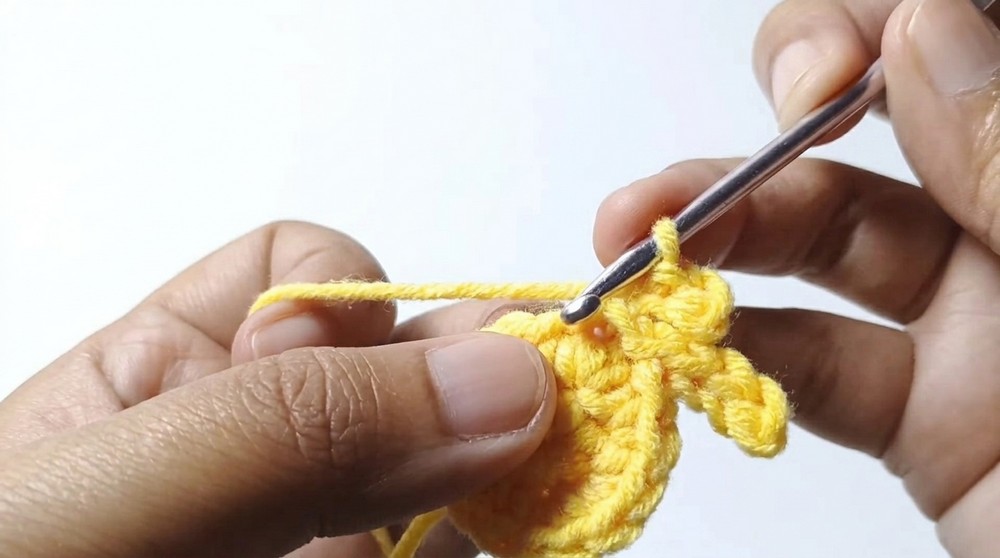
- Continue alternating:
- After 2 short rays, make another set of 3 long rays (Ch 4, skip 1, sl st).
- Then 2 short rays (Ch 3, skip 1, sl st).
- Continue this pattern around.
In this round, you create zigzag edges or “rays” of the sun by making chain loops—some long, some shorter. You’ll go around the edge, alternating long (ch 4) and short (ch 3) rays, always skipping a stitch between. If you lose count, just keep going until the circle is full and adjust as needed.
Finishing the Circle
- Slip stitch to where you started to finish the round.
- Cut your yarn and weave in all ends neatly on the back.
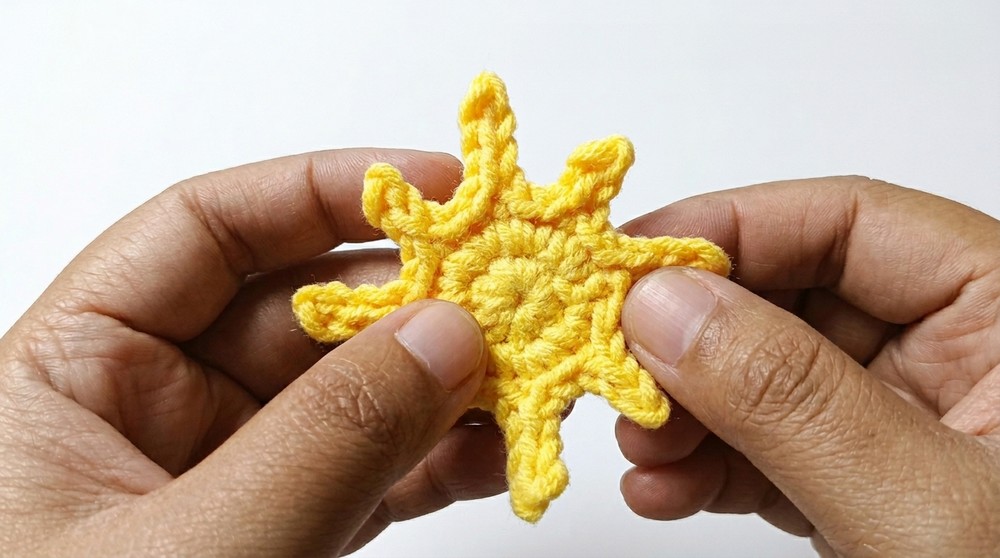
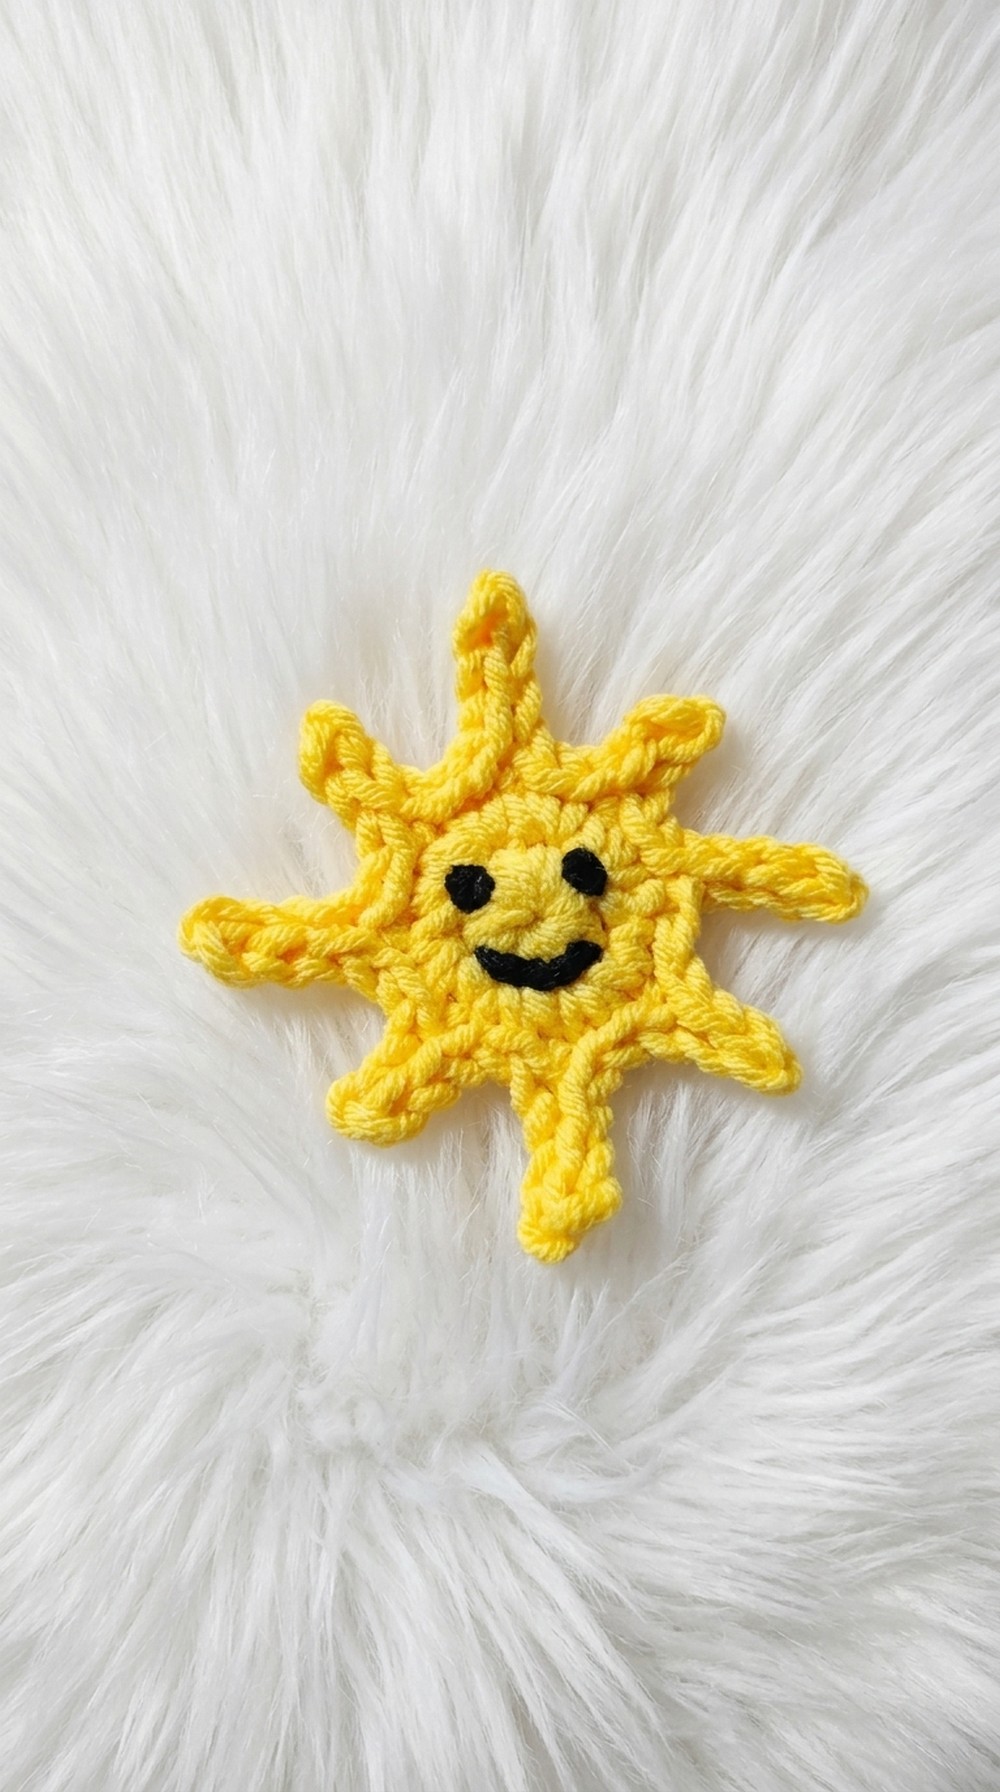
The round is done when your sun has pointy edges. Your applique should look like a little sun with spiky rays all around. Don’t worry if it isn’t perfectly even—the face will make it adorable!
Embroidering the Face
- Eyes:
- Thread a length of black yarn (or embroidery floss) on a sharp yarn needle.
- From the back, bring the needle to the front where you want the first eye.
- Make one small stitch, looping once to make a simple oval or dot.
- Bring the needle back to the back and pull tightly to keep the eye small.
- Repeat for the second eye, spacing evenly apart.
These eyes are easy—just a single loop or a tiny straight stitch for each one!
- Smile:
- Bring your needle up from the back in the center, between the eyes.
- Make a curved line by stitching down a few rows to one side, then back up to the center, then the other side, forming a simple arc.
- Secure the end on the back of the applique and weave in ends.
The smile can be as simple or fancy as you like—just a gentle curve will give your sun a friendly look. If you pull too tight and the face looks puckered, loosen and smooth the stitches, then anchor them from the back.
Final Touches
- Trim all extra threads.
- Flatten and stretch with your fingers to finish the shaping.
- Your smiling sun is ready!
You can add your sun to hats, keychains, baby booties, headbands, or any crochet project!
Tips for Beginners
- It’s okay if you have one more or one less ray than the video—nobody will notice!
- If your sun curls up, gently flatten it with your hands, or use a damp towel and press for a few minutes.
- Want a bigger sun? Add an extra increase round before making the rays.
Summary
Now you have a cute, smiling sun applique! Each step is simple and forgiving, so relax and have fun. This project is perfect for brightening any crochet piece, and it’s great practice for learning magic rings, single crochet, slip stitch, and basic embroidery.