Stylish Crochet Waffle Crop Top Pattern for Summer Outfits

When I started my crochet journey, I wanted to make something fun, stylish, and totally wearable. That’s when I stumbled across the waffle stitch crop top. The first time my hook looped through the soft yarn and the bumpy, waffle-like texture started to take shape, I realized this wasn’t just another project, it was something I could wear and be proud of crocheting a crop top felt like mixing fashion and crochets into one exciting adventure, and best of all, I could personalize every detail.
Free Crochet Waffle Crop Top Pattern for Beginners
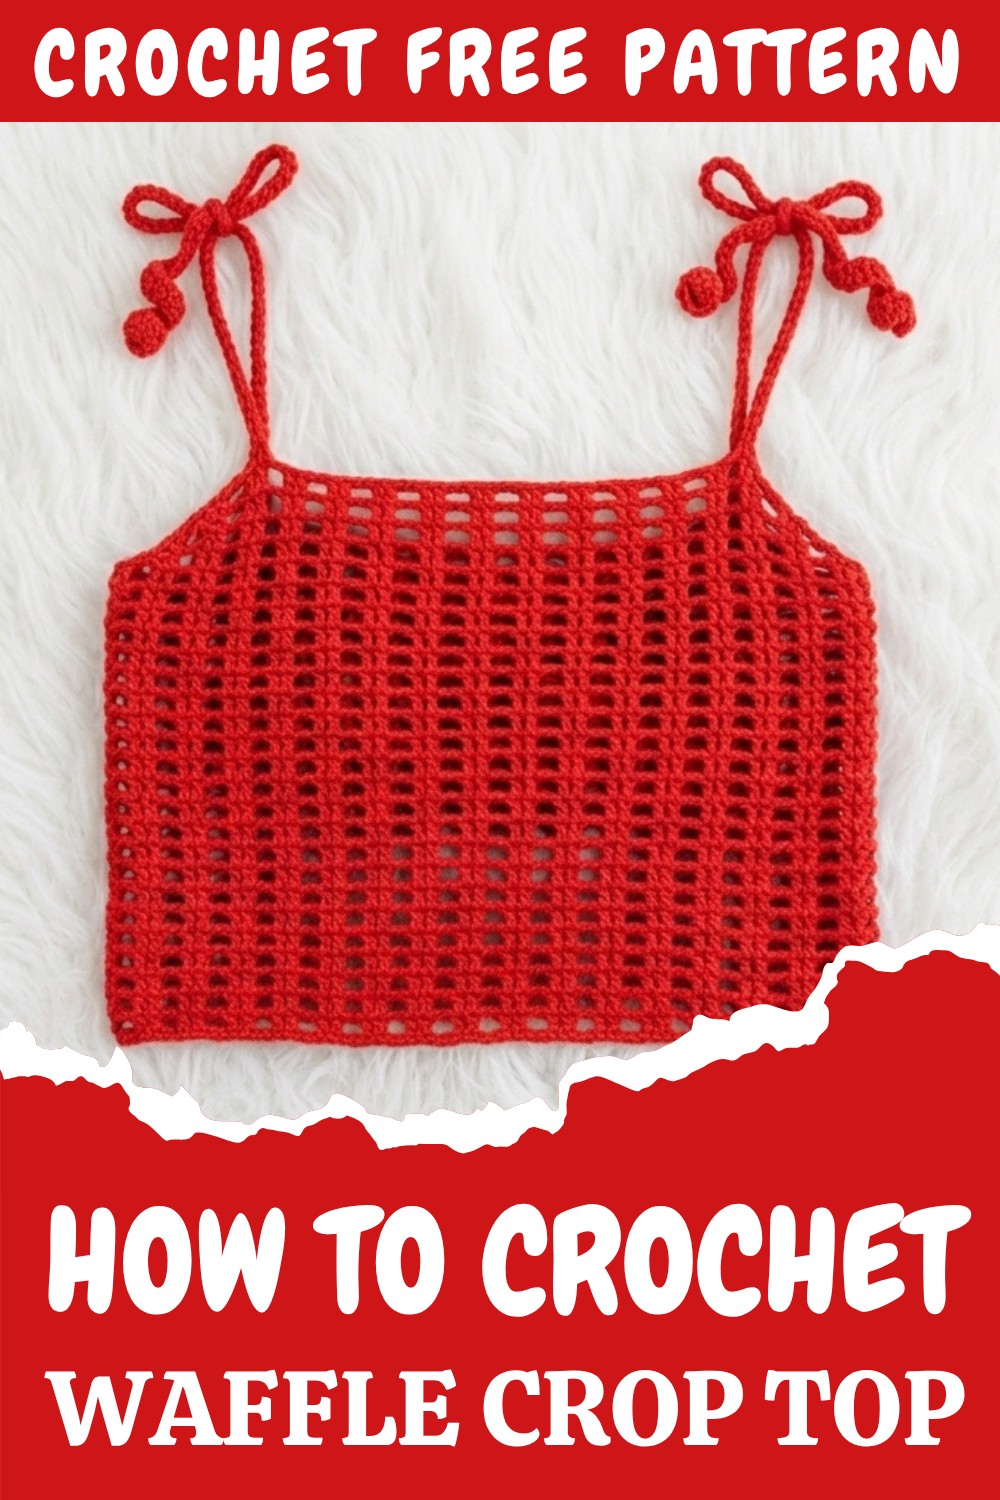
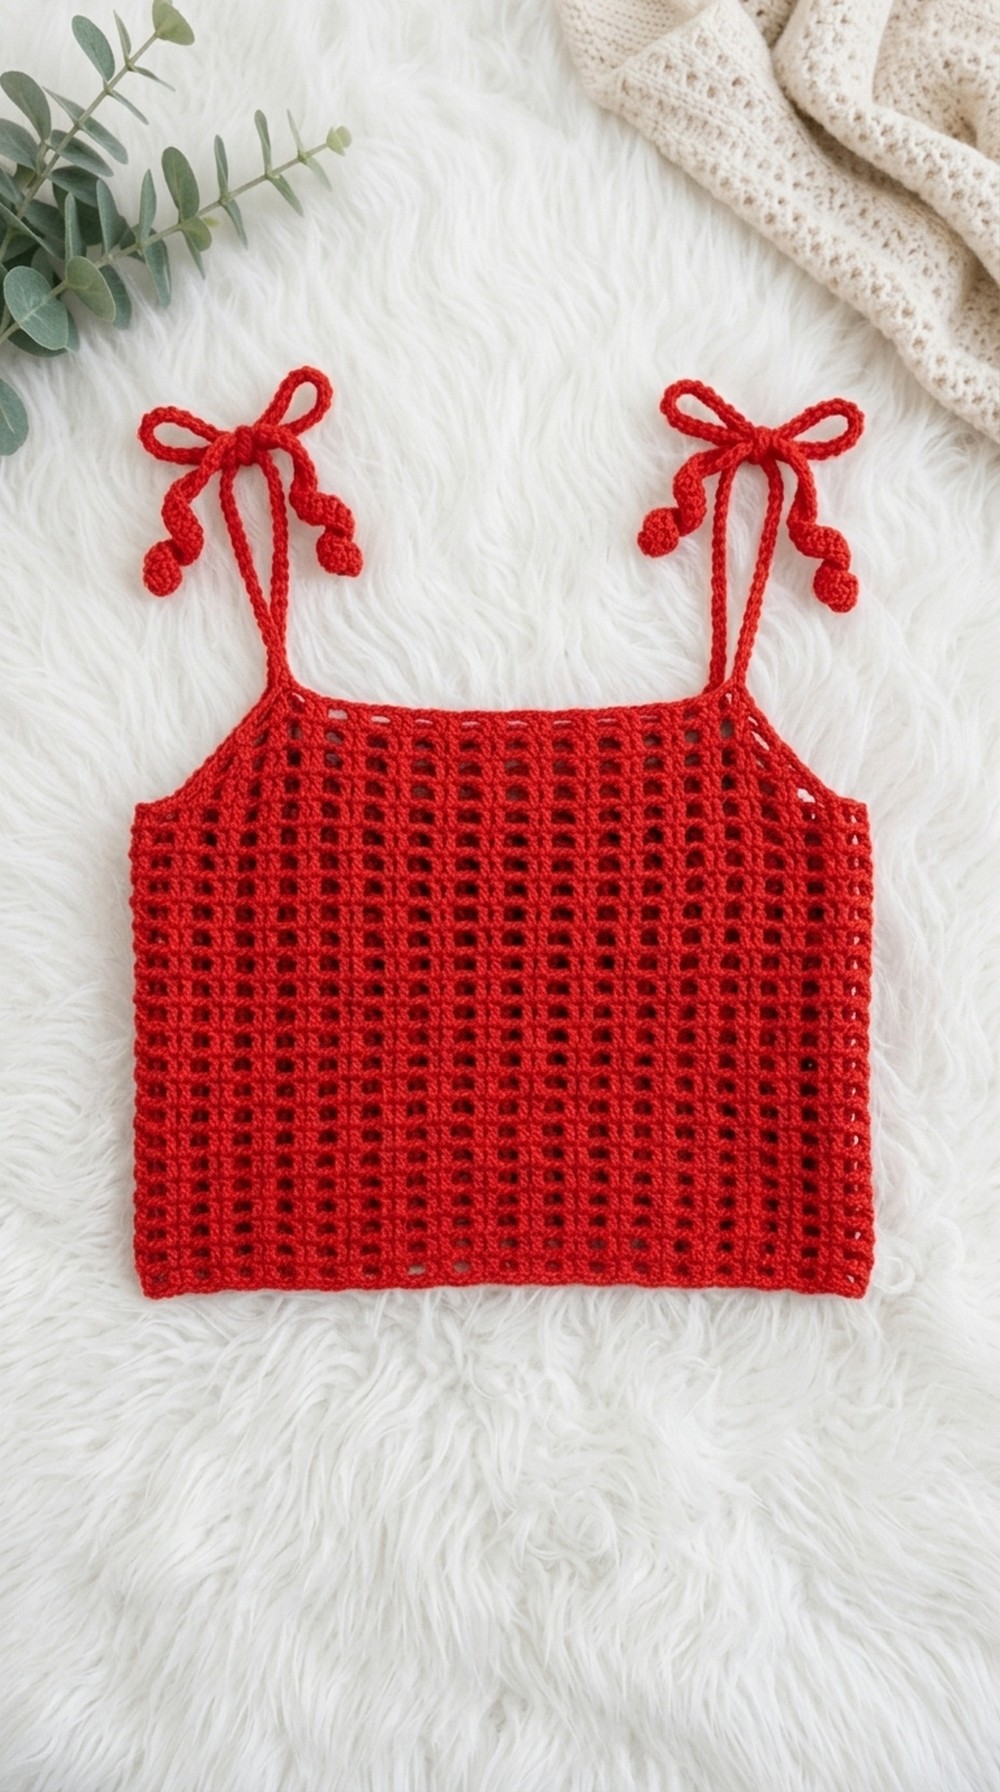
The crochet waffle crop top stands out for its textured, grid-like pattern that really pops in any color—think summery pastels, bold brights, or classic whites. The magic comes from using the “waffle stitch,” created with front and back post double crochet stitches. This gives the top its 3D look and a slightly stretchy fit, which is perfect for a comfy, flattering summer piece. Once you master the waffle stitch, you can use this pattern to make other cool items too: cozy waffle stitch blankets, trendy tote bags, or even cute pillow covers, just by changing up the size and shape
Important Steps You Can’t Forget:
- Check your gauge before you start to make sure the top will fit just right.
- Use soft, breathable yarn for comfort.
- Always count your stitches at the end of each row to keep the shape even.
- Remember to try on the piece as you go, and adjust the length to your liking.
- Finish off by weaving in your yarn ends neatly for a polished look.
Common Issues & How To Fix Them
- Uneven edges: This usually happens if stitches are missed or extra ones are added. Count carefully after each row.
- Too tight or loose: Switch to a bigger or smaller hook to correct your tension.
- Pattern not showing up well: Use a yarn with good stitch definition and avoid very dark colors.
Stick with these tips and you’ll reach the final step with a crop top that fits, looks fantastic, and makes you want to show it off. For sizing, measure around your bust and check the pattern’s recommendations—usually crop tops are made to fit a bit snug, but you can easily adjust by adding or taking away a few stitches or rows. Your first waffle crop top might make you want to crochet another right away—especially after all the compliments you’ll get!
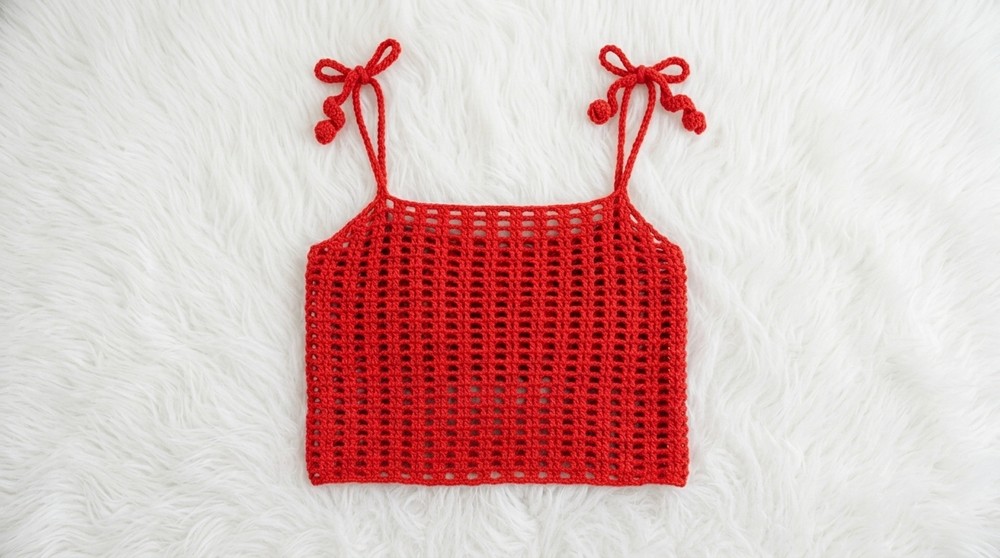
Waffle Crop Top Crochet Pattern
Skill Level
Intermediate (Pattern is beginner-friendly, but involves repeating sequences and joining, suitable for those comfortable with basic stitches and joining techniques)
Materials
- Milk Cotton Yarn (5 ply) — approx. 125g
- 3.5mm Crochet Hook
- Scissors
- Yarn Needle (for weaving in ends)
- Measuring Tape
- Stitch Marker
- Optional: Extra yarn for shoulder straps or embellishments
Key Abbreviations
- ch = chain
- dc = double crochet
- sl st = slip stitch
- st = stitch
- sk = skip
Special Notes
- Pattern is written for small/medium sizes; adjust starting chain for different sizes as desired.
- Do not twist the starting chain before joining.
- Each ch 2 in the pattern counts as a dc; mark with a stitch marker for easier joining.
- Crop top is constructed in rounds/rows for body, with additional crochet for shoulder straps.
Waffle Crop Top Pattern
Step 1: Foundation Chain
- Make a slip knot, then ch 138 for small/medium (approx. 63 cm / 24.8 inches).
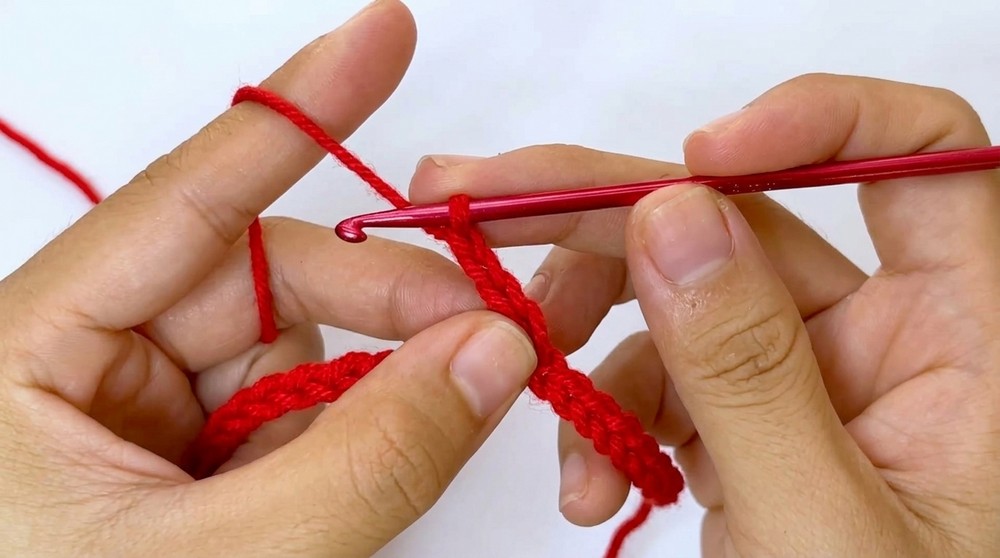 The foundation chain matches your bust measurement. Adjust the chain count for smaller/larger sizes. Keep the chain relaxed but not loose, so your top fits comfortably.
Step 2: Joining Chain
- Check your chain is not twisted, then sl st to the first chain to form a round.If your chain is twisted, the top will not sit flat. Take your time here to arrange the chain neatly before joining.
Step 3: Row 1 — Main Body Pattern
- Ch 2 (counts as dc), dc in same ch.
- Ch 2, sk 2 ch, 2 dc in next ch — repeat this sequence along the chain.
- Place a stitch marker on every ch 2 (especially at the starting point).
- Finish the row, ch 2, sl st to first ch 2 to close the round.
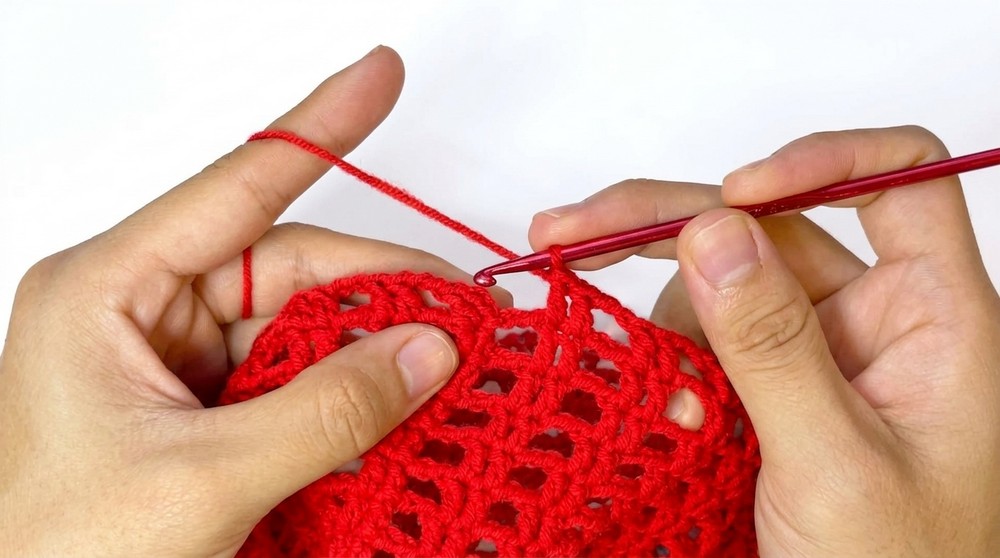 This creates the waffle/lattice texture. Each repeat forms a cluster separated by chain spaces. The stitch marker helps locate your join point on every round.
Step 4: Row 2 — Establishing Pattern
- Ch 2 (counts as dc), dc in dc st from previous row.
- Ch 2, sk chain space, 2 dc in dc st — repeat around the row.
- Continue: ch 2, sl st to the first ch 2.From this row onward, work your double crochets directly in the previous row’s double crochet stitches. The chain 2 separates each cluster, keeping the top airy and easy to wear.
Step 5: Rows 3–25 — Repeating Rows
- Repeat Row 2 instructions (ch 2, 2 dc in dc st, ch 2, sl st at the join) for a total of 25 rows (approx. 30 cm / 11.8 inches in height, and 21 cm / 8.3 inches wide).Continue the same stitch pattern. You may try on your top during this section and adjust number of rows for your height. Keep joins neat and use the stitch marker to help with accuracy.
Step 6: Finishing Body
- Fasten off, cut the yarn.
- Use yarn needle to sew/hide all yarn tails inside the work.
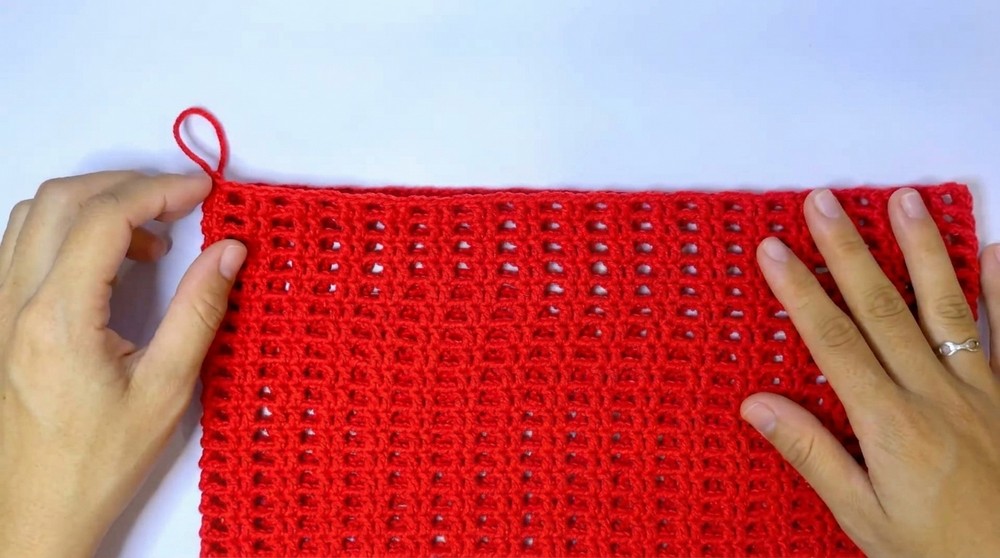 This step makes the edges neat and comfortable. Always secure the ends tightly to avoid unraveling after wearing or washing.
Step 7: Shoulder Straps
- Decide where you want your straps; use stitch markers to mark placement.
- Attach yarn at a double crochet stitch at the top edge.
- Ch 2, dc in next dc st.
- Ch 2, dc between dc stitches — repeat until strap reaches desired length (60 cm / 23.5 inches recommended).
- Fasten off and weave in tails.
- Repeat for second strap.Shoulder straps can be customized for length — longer for more coverage, shorter for a halter style. Make sure straps are even. The chain and double crochet pattern matches the body texture for a professional finish.
Step 8: Final Weaving and Assembly
- Sew and hide all yarn tails with yarn needle.
- Check crop top fit; adjust straps, add extra stitches if needed for comfort.Finishing touches make your top ready to wear! Try on and make small adjustments before cutting excess yarn.
Conclusion
Your Waffle Crop Top is now complete! This chic and playful design, with an airy waffle texture and easy-fit straps, is perfect for layering or summer wear. The construction is simple yet effective for beginners ready to level up, or for intermediate crocheters seeking a quick garment project.
Pattern Correction & Tips
- Correction: If working in continuous rounds (instead of joined rows), always use a stitch marker to mark your round starts to keep the pattern aligned.
- Tip: For a larger size, increase your starting chain in multiples of 3 and add extra rows for more length. For smaller sizes, decrease the initial chain count.
- Use a soft, stretchable yarn for comfort and avoid yarns that itch or irritate skin.
- If you lose count, lay your work flat and gently stretch it to check for missed stitches or uneven joins.
Special Tips
- Blocking: After finishing, lightly block your top to help it sit flat and achieve the correct size.
- Customization: Add fringe, beads, or decorative stitches along the bottom edge for extra flair!
- Washing: Wash gently by hand or in a laundry bag to keep your top in perfect shape.