Cute Crochet Owl Keychain Free Pattern for Unique Style

Add charm to your accessories with this free crochet owl keychain pattern, featuring easy steps for a cute and personalized handmade touch.
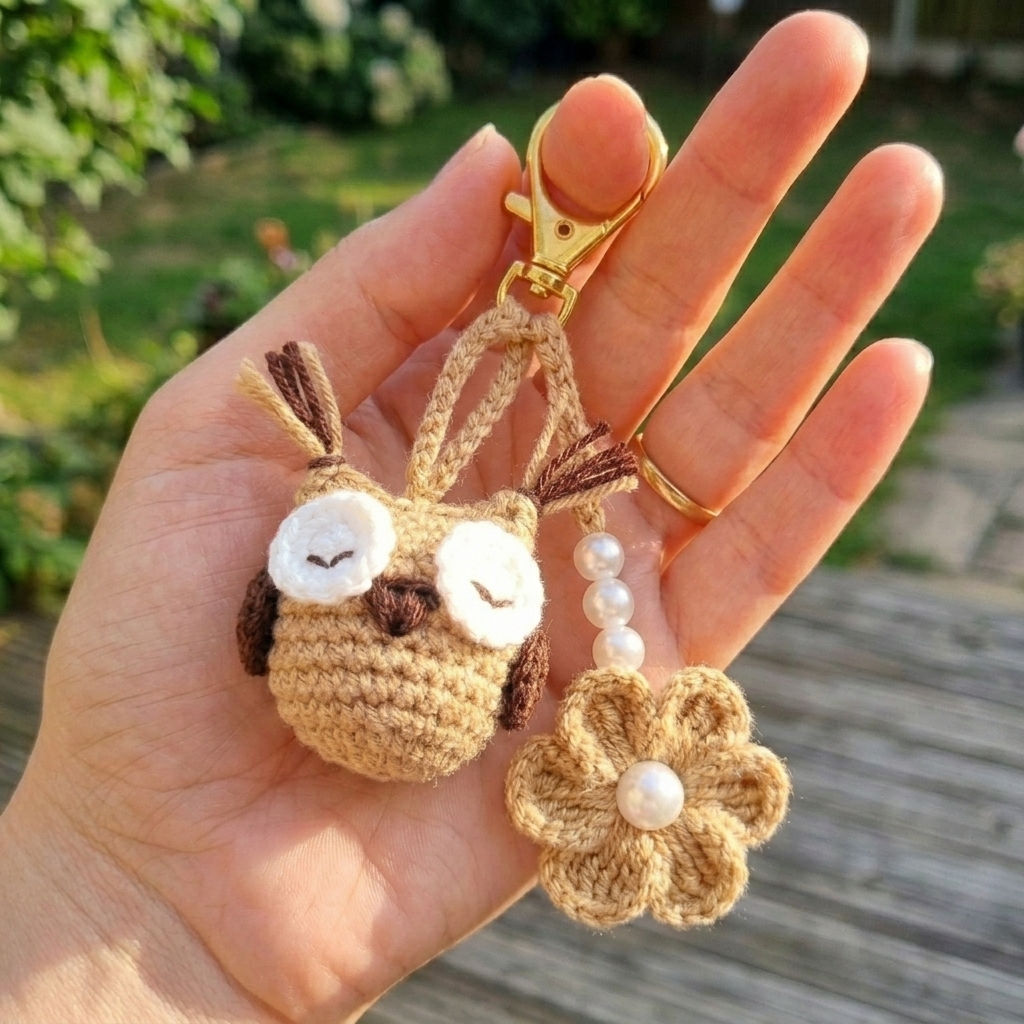
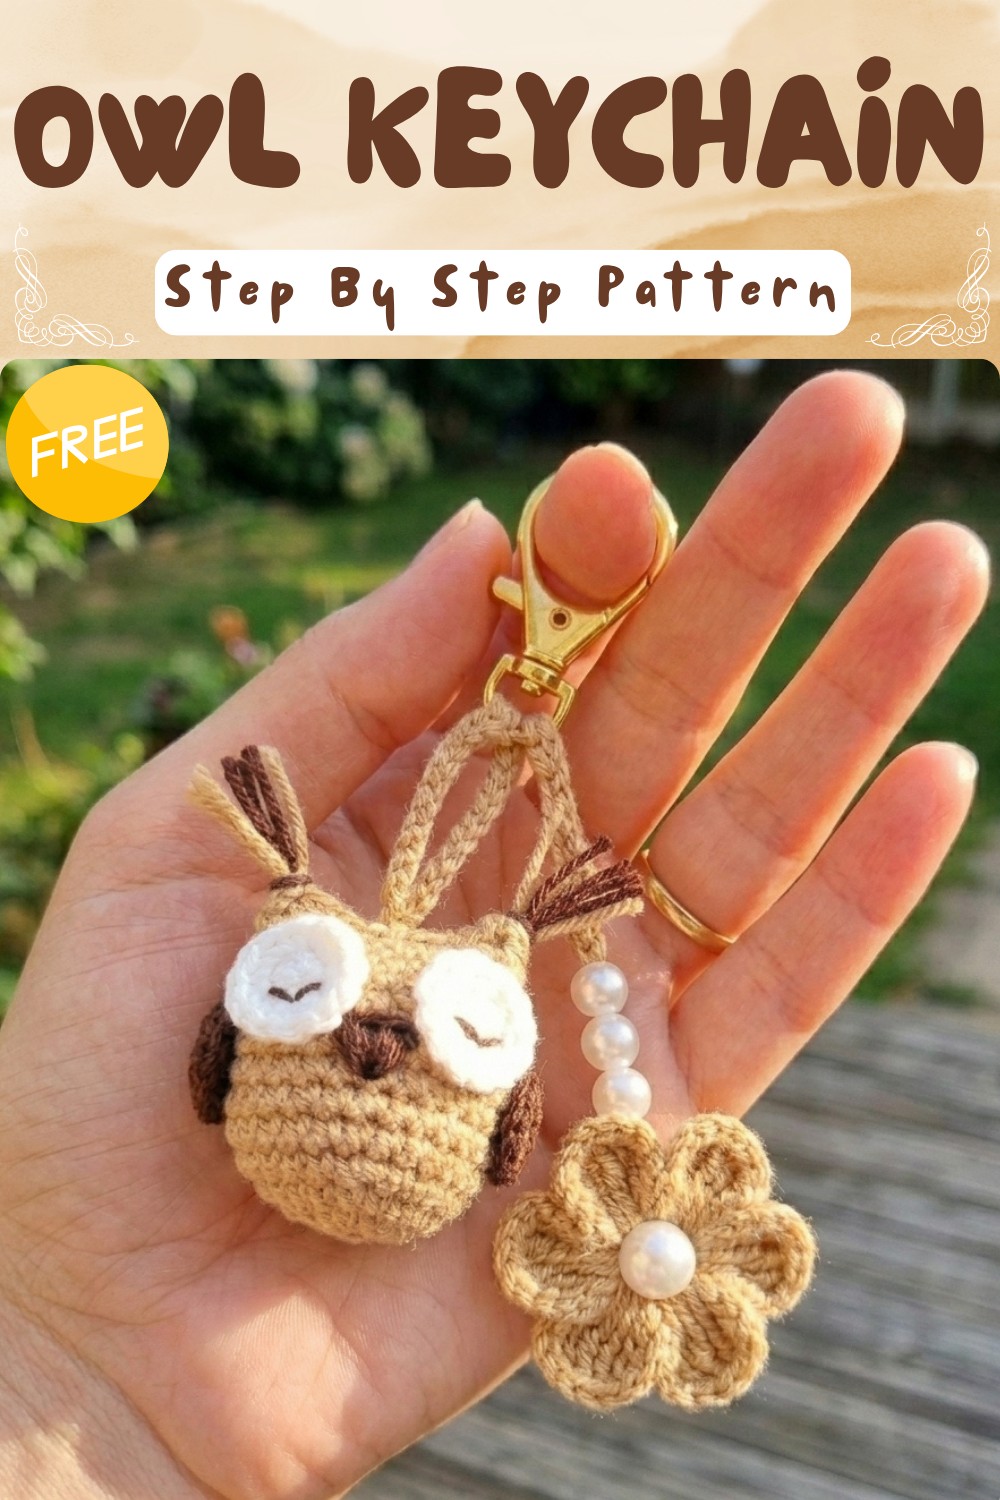
Owls are very wise and cute animals, and making a small owl with yarn can be lots of fun! The Free Crochet Owl Keychain Pattern lets you create a tiny, adorable owl that you can hang on your keys, bag, or zipper. This little owl is not just pretty but also useful. You can carry it everywhere and always find your keys easily. By choosing different colors or changing the size, you can make a variety of owls to suit your style.
Free Crochet Owl Keychain Pattern With Step By Step Guide
This owl keychain looks very sweet with big round eyes and a tiny beak. You can use bright colors like orange, yellow, or blue for the body, and softer shades for the eyes and wings. The round shape and soft yarn give it a cuddly feeling, making it feel nice in your hand. You can also make the owl bigger or smaller depending on what you want to use it for.
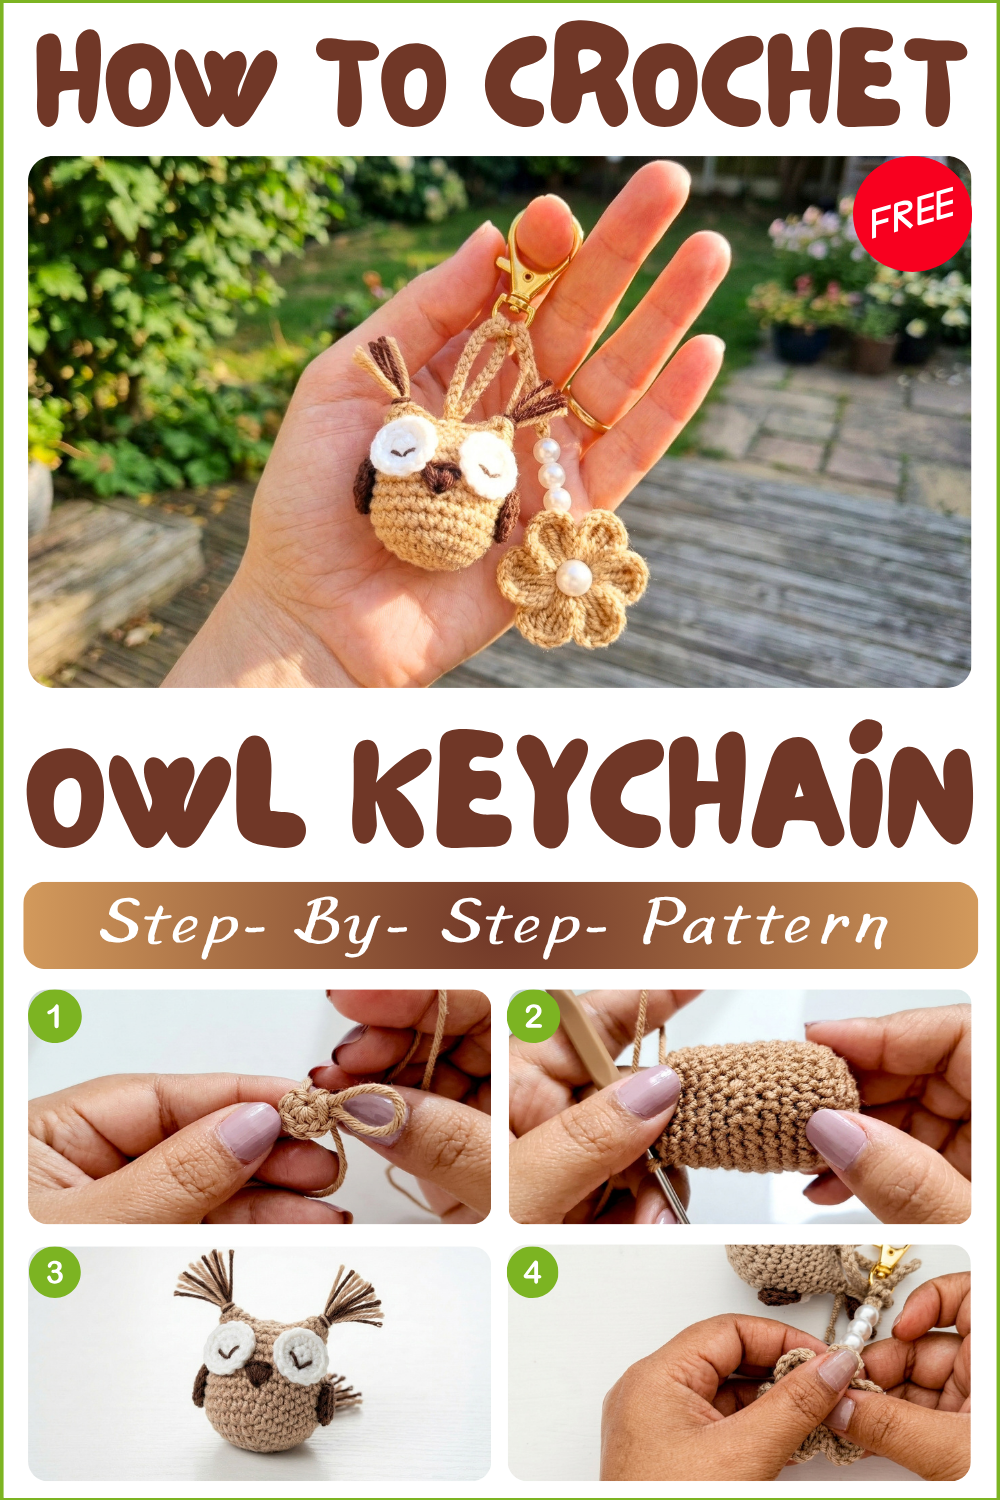
The main stitch used in this pattern is the single crochet stitch, which is easy and perfect for those just starting to crochet. This stitch makes the owl tight and sturdy so it keeps its shape well. Little details like the eyes and wings are made separately and then sewn together, which makes the project more exciting!
Besides making a keychain, this pattern lets you create different things like a bag charm, a small toy, or a cute decoration for your room. It’s a fun and simple project for all ages, especially for kids who want to try something new. This owl is a tiny piece of happiness you can carry everywhere.
Owl Crochet Keychain Pattern
Before You Start
- Check all materials and prepare your workspace.
- Read through the pattern to understand each assembly and finishing step.
- Keep a stitch marker handy for rounds.
- Adjust colors and embellishments to your taste for customization.
Pattern Notes
- Worked in joined rounds with increasing, then plain, then decreasing rounds.
- Two identical sides (front & back) for amigurumi style owl.
- Embellishments (eyes, nose, wings, etc.) and keyring are attached at the end.
- You’ll use mainly single crochet (sc) and slip stitch (sl st).
- Stuffing is added before the final closure.
How I Made the Crochet Pattern
- Began with a magic ring and increased in spiral rounds for a flat circle.
- Repeated rounds without increases for body height.
- Formed head/body shape with decreases and stuffed before joining.
- Made and attached simple amigurumi components—eyes, nose, wings, and chain/“bandana.”
- Assembled all pieces, sewed/seamed, and decorated.
Skill Level
Confident Beginner – If you know how to work into the round, do basic increases/decreases, and can sew pieces, you will succeed with this amigurumi-style owl.
Finished Size
- Body width: ~2″/5 cm
- Body height (including ears and keyring): ~2.5–3″/6–8 cm
- Bandana/chain: 6–8″/15–20 cm
Materials
- 3 mm crochet hook
- DK or light worsted yarn: owl color, accent/contrast for beak, wings, bandana, white/black for eyes
- Small amount of stuffing
- Scissors
- Yarn needle or tapestry needle
- Thin sewing needle & matching thread (for beak/embellishments)
- Keyring (1.5–2″/3.5–5 cm)
- Optional: cold/hot silicone glue, beads or buttons for eyes
Measurements / Sizing
- Owl circle: ~2″/5 cm across
- Bandana/chain: 35–40 chains = ~7″/18 cm
Gauge and Stitch Pattern
- Gauge is not critical; work stitches tightly to keep stuffing in.
- Typical: 6–7 rounds single crochet in spiral = 2″/5 cm across.
Stitch Abbreviations
| Abbreviation | Meaning |
|---|---|
| ch | chain |
| sc | single crochet |
| sl st | slip stitch |
| inc | increase (2 sc in 1 st) |
| dec | decrease (see below) |
| MR | magic ring |
| st(s) | stitch(es) |
Special Stitches
- Magic Ring (MR): Form a loop and crochet first stitches into this adjustable ring, close tightly.
- Invisible Decrease (dec): Insert hook in next 2 sts’ front loops, yarn over, draw through both, yarn over, draw through last 2 loops on hook.
The Pattern
Main Owl Body (Make 2)
Round 1:
- MR, 6 sc in ring. Join with sl st. (6 sts)
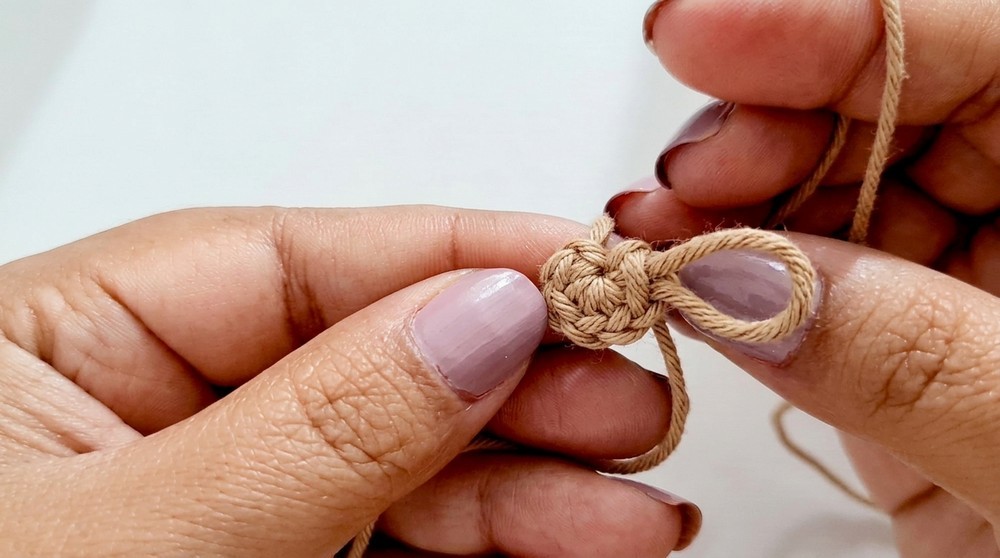
Round 2:
- Ch 1, 2 sc in each st around. Join. (12 sts)
Round 3:
- Ch 1, (1 sc, inc) around. Join. (18 sts)
Round 4:
- Ch 1, (2 sc, inc) around. Join. (24 sts)
Rounds 5–8:
- Ch 1, sc in each st around (no increases). Join. (24 sts×4 rounds)
You should now have a flat circle that begins to look like the body of your owl. These plain rounds give your keychain height and room for facial features.
Shaping & Closing Body
Round 9:
- Ch 1, (4 sc, dec) around. Join. (20 sts)
Rounds 10–13:
- Ch 1, sc in each st around. Join. (20 sts x 4 rounds)
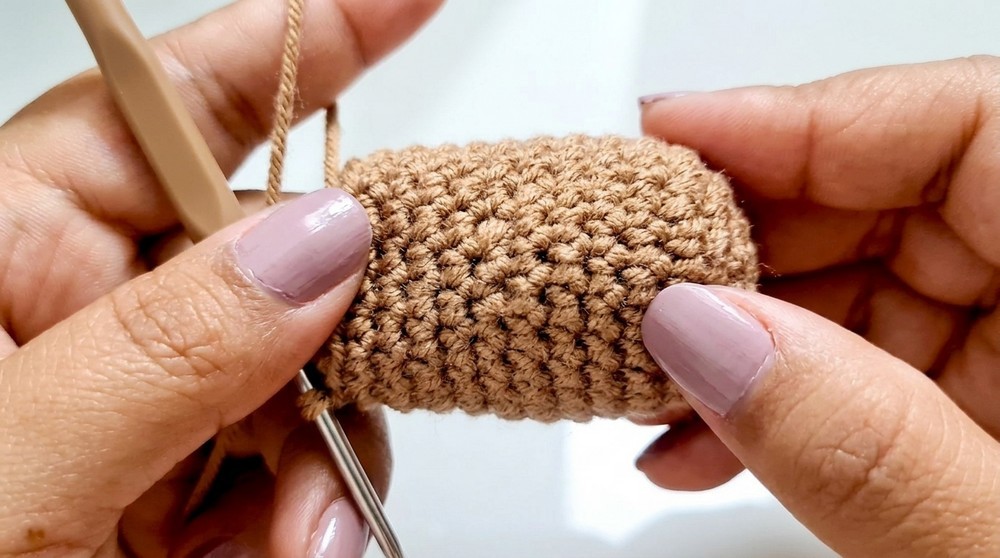
Place a small amount of stuffing in the body to give your keychain shape and squish!
Final closure:
- Join front and back pieces:
- Place pieces WS together, sl st or sew through both layers (matching sts) around, stuffing more as you go, then finish off neatly.
Now you have a neat, double-sided base ready for decoration!
Owl Eyes (Make 2)
Round 1:
- MR, 6 sc in ring, close tightly. Join with sl st. (6 sts)
Round 2:
- Ch 1, 2 sc in each st around. Join. (12 sts)
Fasten off, leaving a long tail for sewing. Optionally, embroider or glue a tiny black/yarn circle for pupil, or sew on small safety eyes/buttons.
Beak
- With contrast color, sew/yarn embroider a triangle between the eyes, centered, over 2 sts.
- Go over 3–4 times to give a 3D effect.
Ears (Make 2)
- Attach yarn to top edge, ch 2, work 2 hdc in same st, sl st back to start.
- Fasten off/secure end and repeat on other side.
Wings (Make 2, Optional)
- Attach yarn at side of body, ch 3, work 2 dc in next st, ch 2, sl st into same st.
- Fasten off/secure, repeat on other side.
Bandana or Hanging Chain
- With yarn, ch 35–40.
- Fasten off, thread into a loop, and sew or tie securely to the top of the owl or the keyring.
Optional Embellishments
- Use short contrasting strands for ear tufts/tassels.
- Add beads/buttons for extra detail.
- Sew or glue felt circles for whites of eyes.
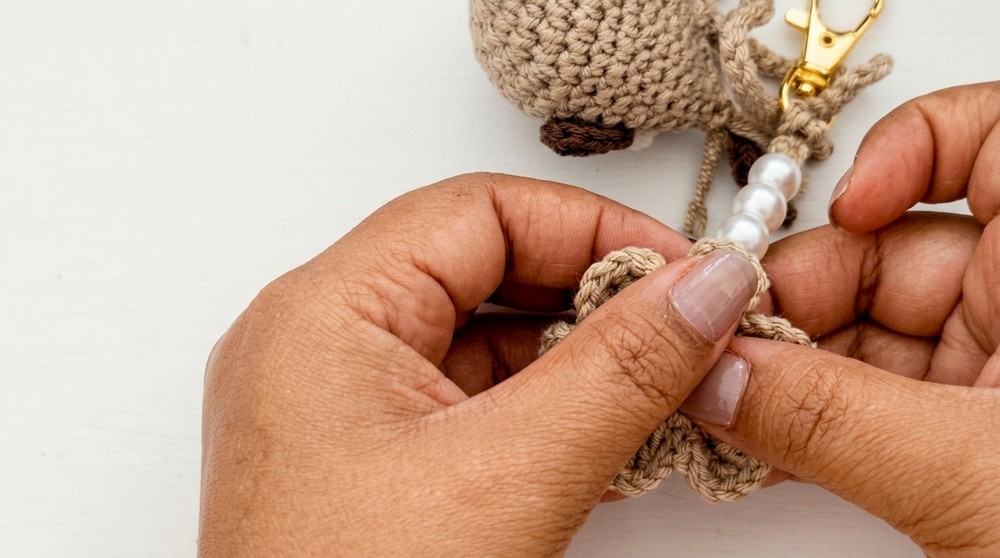
Assembly & Finishing
- Weave in all yarn ends securely into body.
- Sew eyes, beak, wings, and ears firmly to one side (face).
- Sew or glue on any optional embellishments.
- Thread the bandana/chain loop securely through the top and around a keyring, knotting or sewing to anchor.
- For extra security, use a few stitches at bandana/chain joins or add a touch of glue.
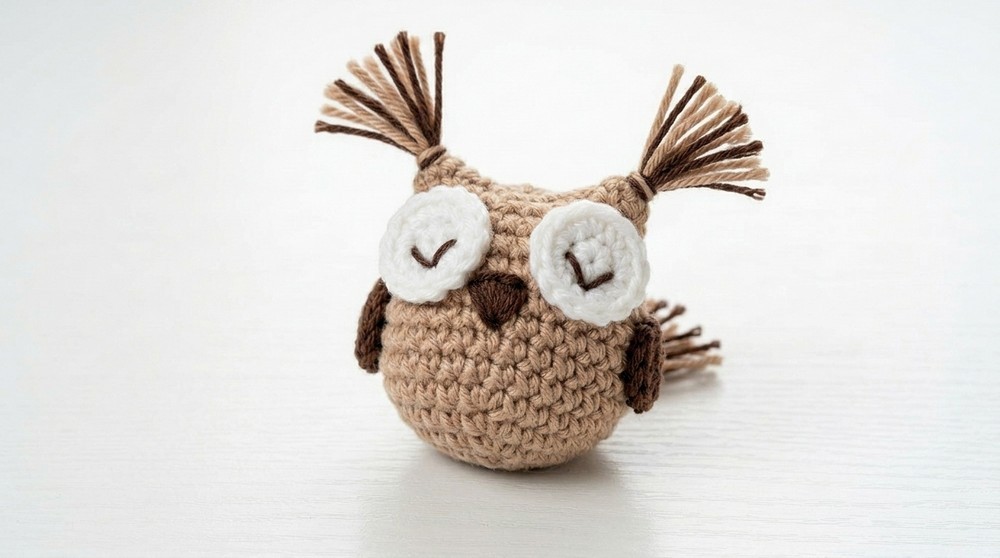
Solution to Common Problems
- Owl body cupping/curling: Gently stretch/shape before joining both sides; block if needed.
- Stuffing coming out: Stitch tightly and add more decrease rounds before closing.
- Features falling off: Always sew with sturdy thread/yarn for durability, especially for keys.
What You Can Make By Using These Stitches
- Keychains for bags or keys
- Bag charms and zipper pulls
- Pocket toys or “lucky” tokens
- Brooches/hair clips (with backing attached)
- Christmas ornaments or party favors (by varying yarn colors!)
Conclusion
This crochet owl keychain lets you practice amigurumi basics plus simple shaping, sewing, and personal embellishments. It is a satisfying, quick project—perfectly giftable and easily personalized. Use leftover yarns for a scrappy effect or match accents for coordinated flair. With secure joining and finishing, your owl will be durable enough for daily use or the perfect little present. Enjoy crocheting!