Crochet Ruffle Hat Pattern with Easy Instructions

Crocheting your own sun hat is a fun and rewarding project, especially with this free crochet ruffle hat pattern. Starting with this project gives you a chance to make something stylish and practical while practicing basic crochet skills. You only need a few tools like yarn, a 3mm crochet hook, scissors, a measuring tape, and a stitch marker. Even if you’re a beginner, this pattern is explained step-by-step, making it easy to follow. Creating your own sun hat not only results in a cute accessory but also helps build your confidence in crochet.
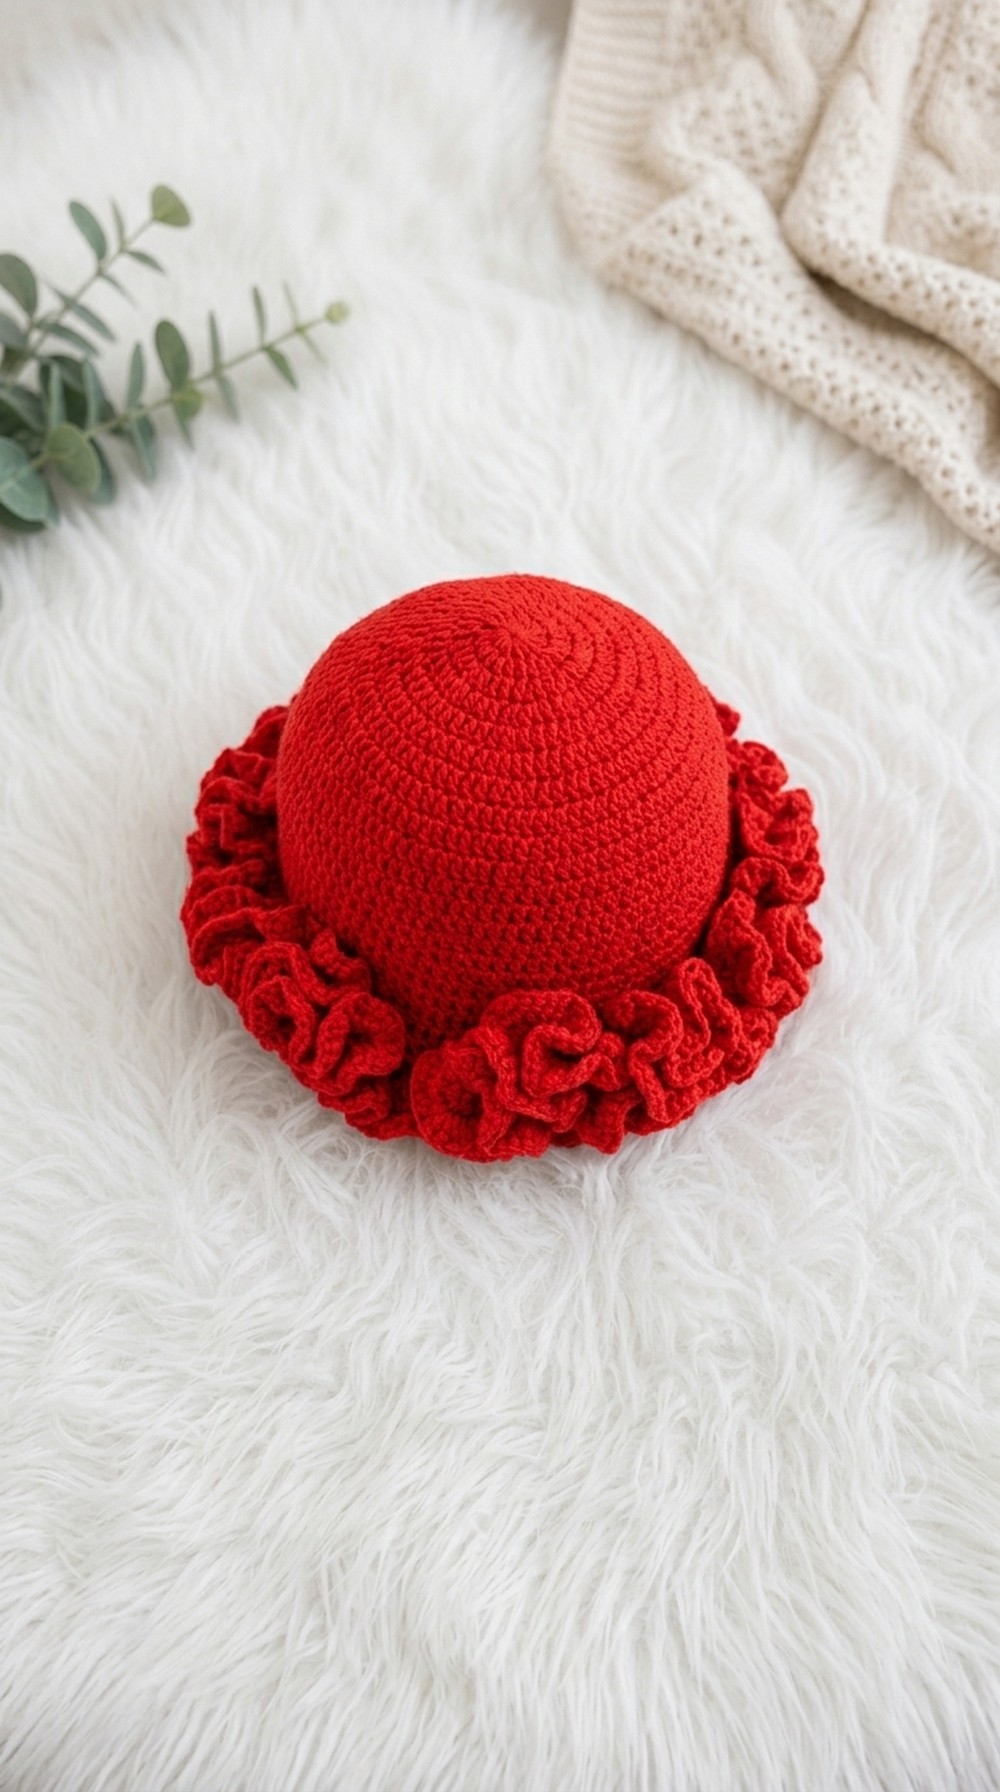
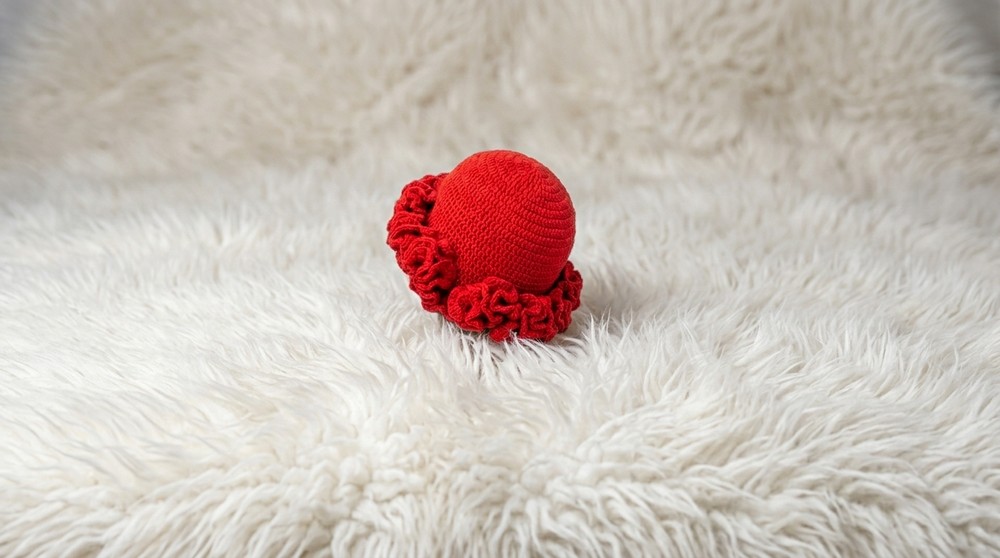
This ruffle sun hat is known for its wide, playful brim full of soft ruffles, making it perfect for adding charm to any summer outfit. The pattern uses double crochet stitches throughout, which are simple but give the hat a lovely texture. You can use any color you like—pastels for a gentle look or bright shades for a fun style.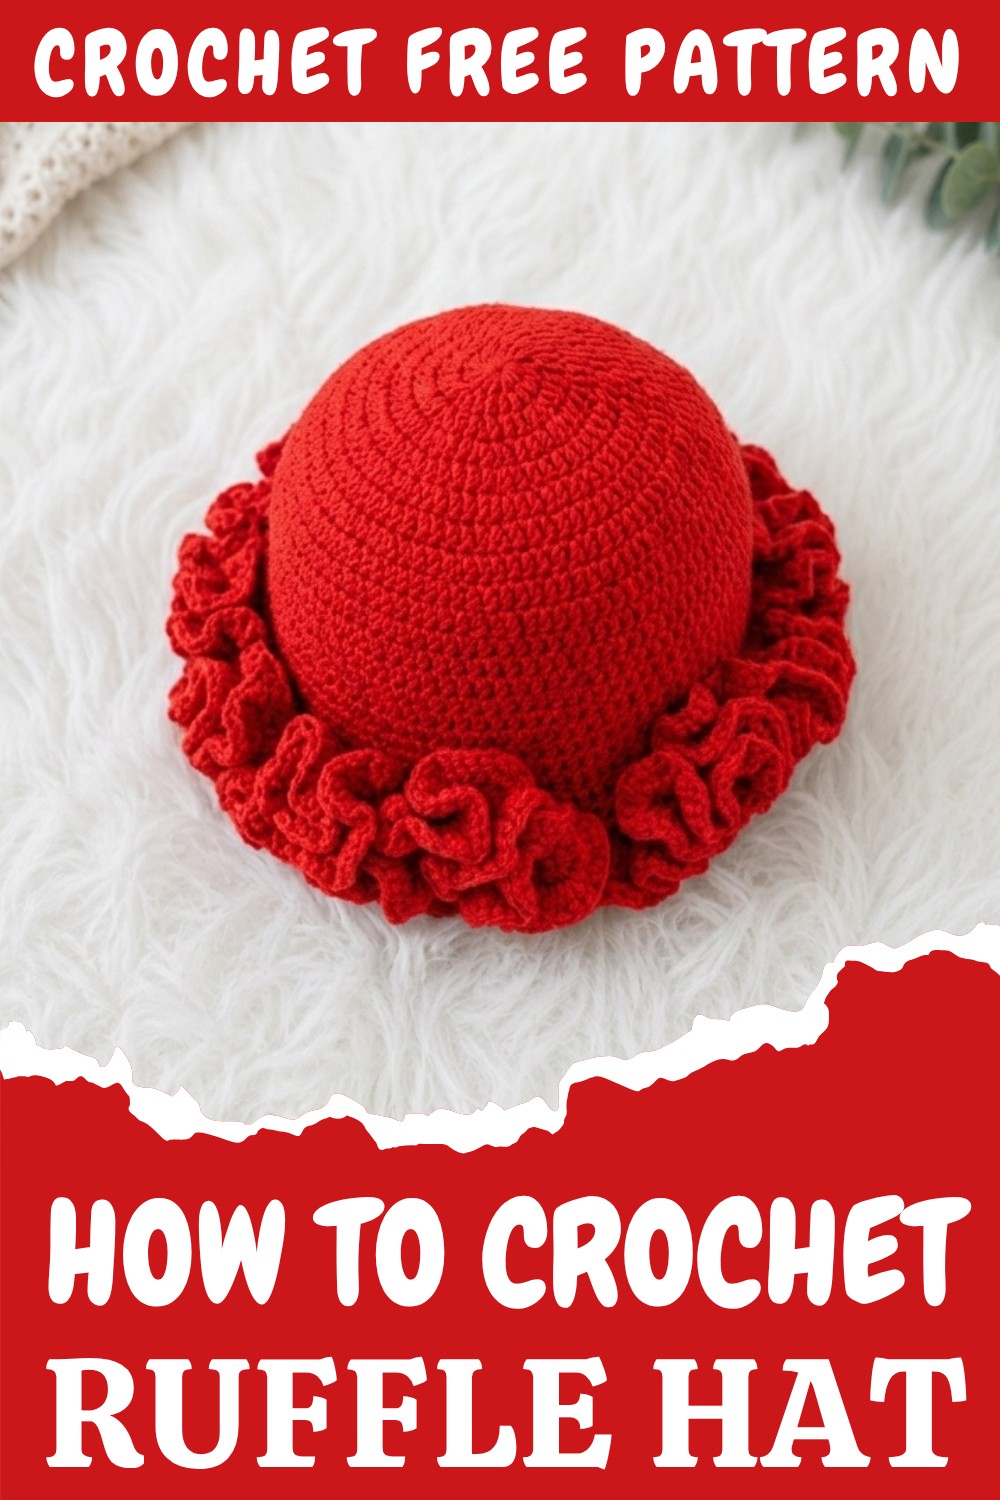
Getting the Perfect Finish and Size Guide
To finish, make sure to weave in all yarn ends neatly. For best results, check the fit after crocheting the main body (about 4-5 inches deep from start of increases).
Size tip: For a standard adult sun hat, aim for a finished circumference that matches your head (most adults need about 21-23 inches).
With patience and attention to the steps, you’ll end up with a beautiful, custom-fit ruffle sun hat that you can wear or gift to others! This project is both fun and useful for anyone, including grade 10 students just learning to crochet.
Elegant Crochet Ruffle Hat Pattern for Every Occasion
Important Steps
- Start with a magic circle for a smooth, closed crown.
- Use double crochet stitches for the main body.
- Increase stitches regularly to shape the crown and avoid puckering.
- After reaching the desired size, work flat rows (no increases) for the body.
- For the ruffle brim, make three double crochets into every stitch to get extra volume.
- Use a stitch marker to track slip stitches and avoid mistakes.
Common Issues and Fixes
- Crown Too Small or Large: Adjust the stitch increases based on hat size needed (can start with 10 or 12 double crochets in the first round).
- Skipping Stitches: Pull your work apart as you go to make sure you’re not skipping stitches, especially when making ruffles.
- Loose or Tight Brim: Make sure your tension remains even so the brim stays soft and bouncy, not floppy or stiff.
Ruffle Hat Crochet Pattern
Skill Level
Intermediate to Advanced
Materials
- Medium Weight (4-ply) Yarn (approx. 100–150g)
- 3 mm Crochet Hook
- Scissors
- Stitch Marker
- Measuring Tape
- Tapestry/Yarn Needle (for weaving in ends)
Abbreviations (US Terms)
- ch = chain
- dc = double crochet
- sl st = slip stitch
- st(s) = stitch(es)
- rep = repeat
- rnd = round
Notes
- Begin each round with ch 2 (does not count as a stitch).
- Finish each round with a sl st to the first dc.
- Stitch counts do not include the beginning chain.
- Adjust initial ring to 10 or 12 stitches based on your yarn and required fit.
- Ruffle rounds use 3 dc in each stitch for a flared edge.
Instructions
CROWN
Rnd 1
Make a magic ring, ch 2, 12 dc into ring. Pull tight. Join with sl st to first dc. (12 dc)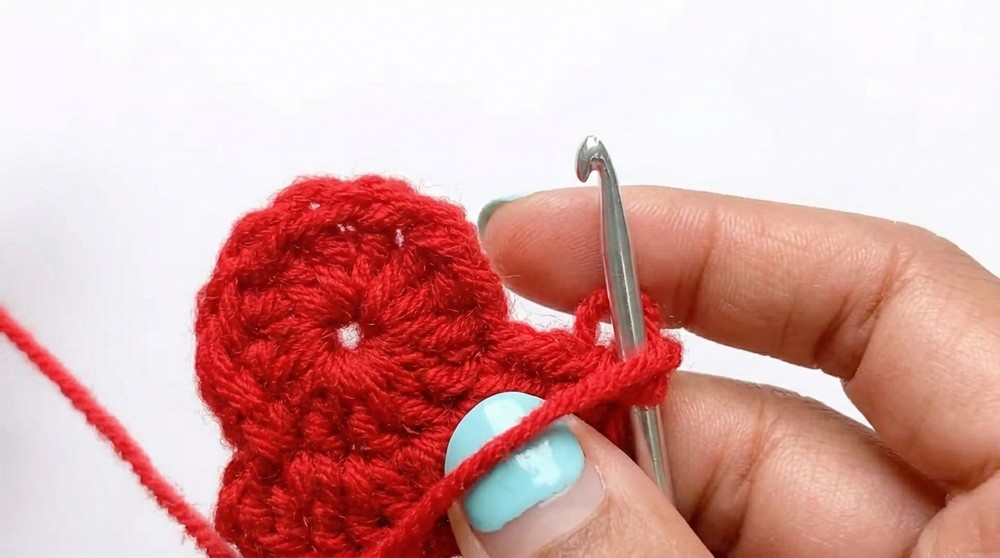
- This makes the very top of your hat. The magic ring helps you to close the starting hole tightly.
Rnd 2
Ch 2, 2 dc in each st around. Join with sl st. (24 dc)
- Increase by making two double crochets in each stitch from the previous round. This helps the circle grow evenly.
Rnd 3
Ch 2, (2 dc in next st, 1 dc in next st) around. Join. (36 dc)
- Alternate between increasing (2 dc in one stitch) and regular (1 dc in next). This continues to expand your circle.
Rnd 4
Ch 2, (2 dc in next st, 1 dc in next 2 sts) around. Join. (48 dc)
- Continue to space the increases farther apart to keep the circle flat.
Rnd 5
Ch 2, (2 dc in next st, 1 dc in next 3 sts) around. Join. (60 dc)
Rnd 6
Ch 2, (2 dc in next st, 1 dc in next 4 sts) around. Join. (72 dc)
Rnd 7
Ch 2, (2 dc in next st, 1 dc in next 5 sts) around. Join. (84 dc)
Rnd 8
Ch 2, (2 dc in next st, 1 dc in next 6 sts) around. Join. (96 dc)
- At this point, your crown should measure about 6.5 inches across (diameter), fitting most adults. Stop increasing here.
BODY
Rnds 9–18
Ch 2, dc in each st around. Join with sl st. (96 dc per round, 10 rounds)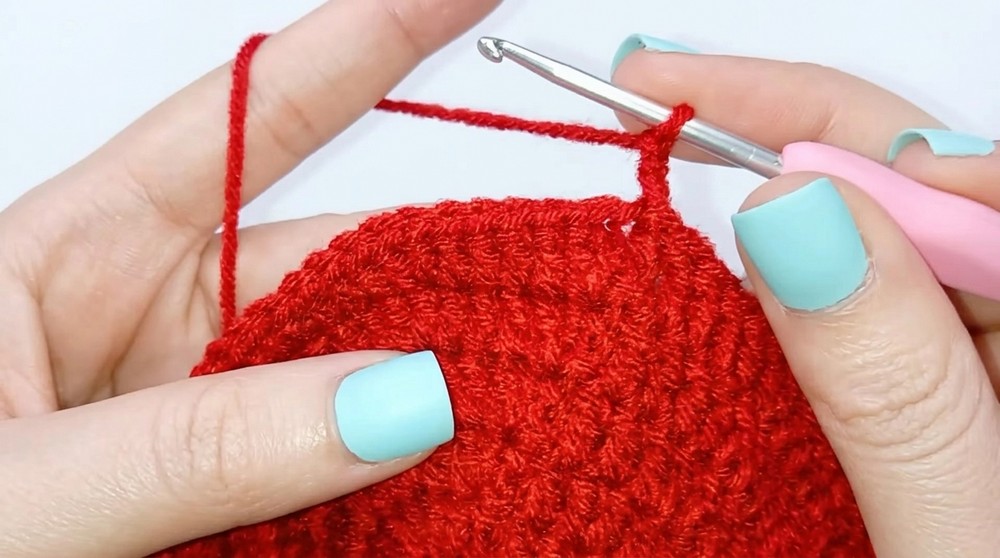
- Work one double crochet into every stitch. This creates the straight sides of the hat. Continue for approximately 4.5 inches or until you reach the length you want, trying on for fit.
RUFFLE BRIM
Rnd 19
Ch 2, 3 dc in each st around. Join with sl st.
- Make three double crochets into every stitch. This forms the first ruffle layer—your brim will flare out.
Rnd 20
Ch 2, 3 dc in each st around. Join with sl st.
- Continue the ruffle by making three double crochets into each stitch again. The ruffle will become even more pronounced.
Rnd 21 (Optional, for extra ruffle)
Ch 2, 3 dc in each st around. Join with sl st.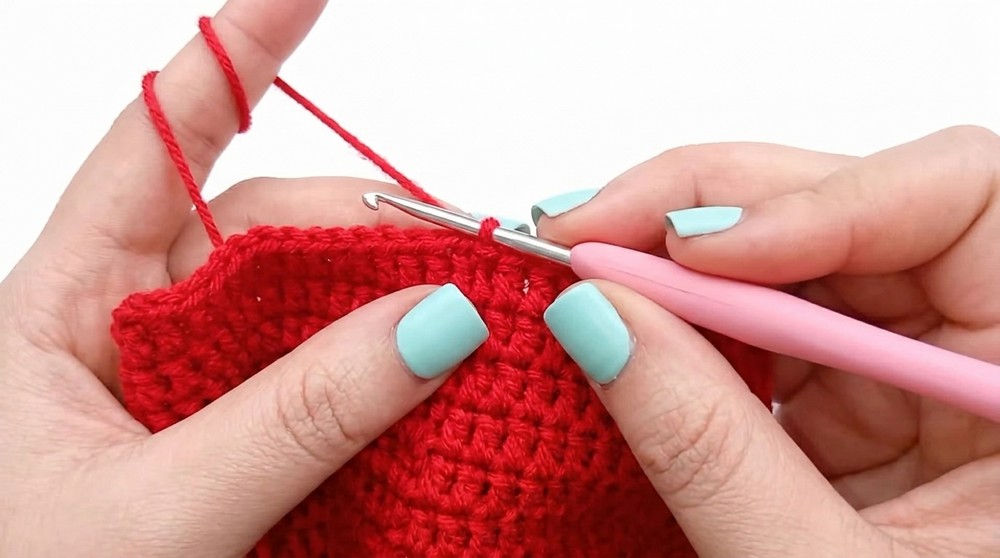
- For a larger, more dramatic ruffle, add a third round.
FINISHING
- Fasten off your yarn.
- Use your tapestry/yarn needle to weave in all ends securely on the inside of the hat.
Pattern Explanations
- Each increase round spaces the increases farther apart for a flat-circle crown.
- The body of the hat does not increase so it forms the sides.
- The ruffle round multiplies stitches, causing the brim to flare and ruffle.
- Try on the hat before starting the ruffle to make sure it fits as you like.
Pattern Correction and Tips
- If you have puckering or the crown domes, you may need to add an extra increase or two depending on your tension and yarn weight.
- If stitches get hard to see on ruffle rows, gently pull the fabric apart to locate the next stitch.
- For a more subtle ruffle, do 2 dc in each stitch on the ruffle rounds.
Conclusion
You’ve made a beautiful ruffle hat with a fitted crown and dramatic, stylish brim! This pattern lets you adjust for size and ruffle fullness, allowing you to create a unique accessory perfect for your style. Remember to check your counts at the end of each round, and enjoy the process.