Crochet Ruffle Hat Pattern with Free Instructions

Making your own ruffle hat with this free crochet pattern is a great way to begin your crochet journey or to create a stylish new accessory! The process is simple, the results are adorable, and you only need minimal supplies: yarn, a 1.5mm hook, and a stitch marker. Crocheting this hat gives you creative control over the colors and style, making it a fun and rewarding craft project for anyone, including students or even as a thoughtful handmade gift.
Elegant Crochet Ruffle Hat Pattern for Sunny Days
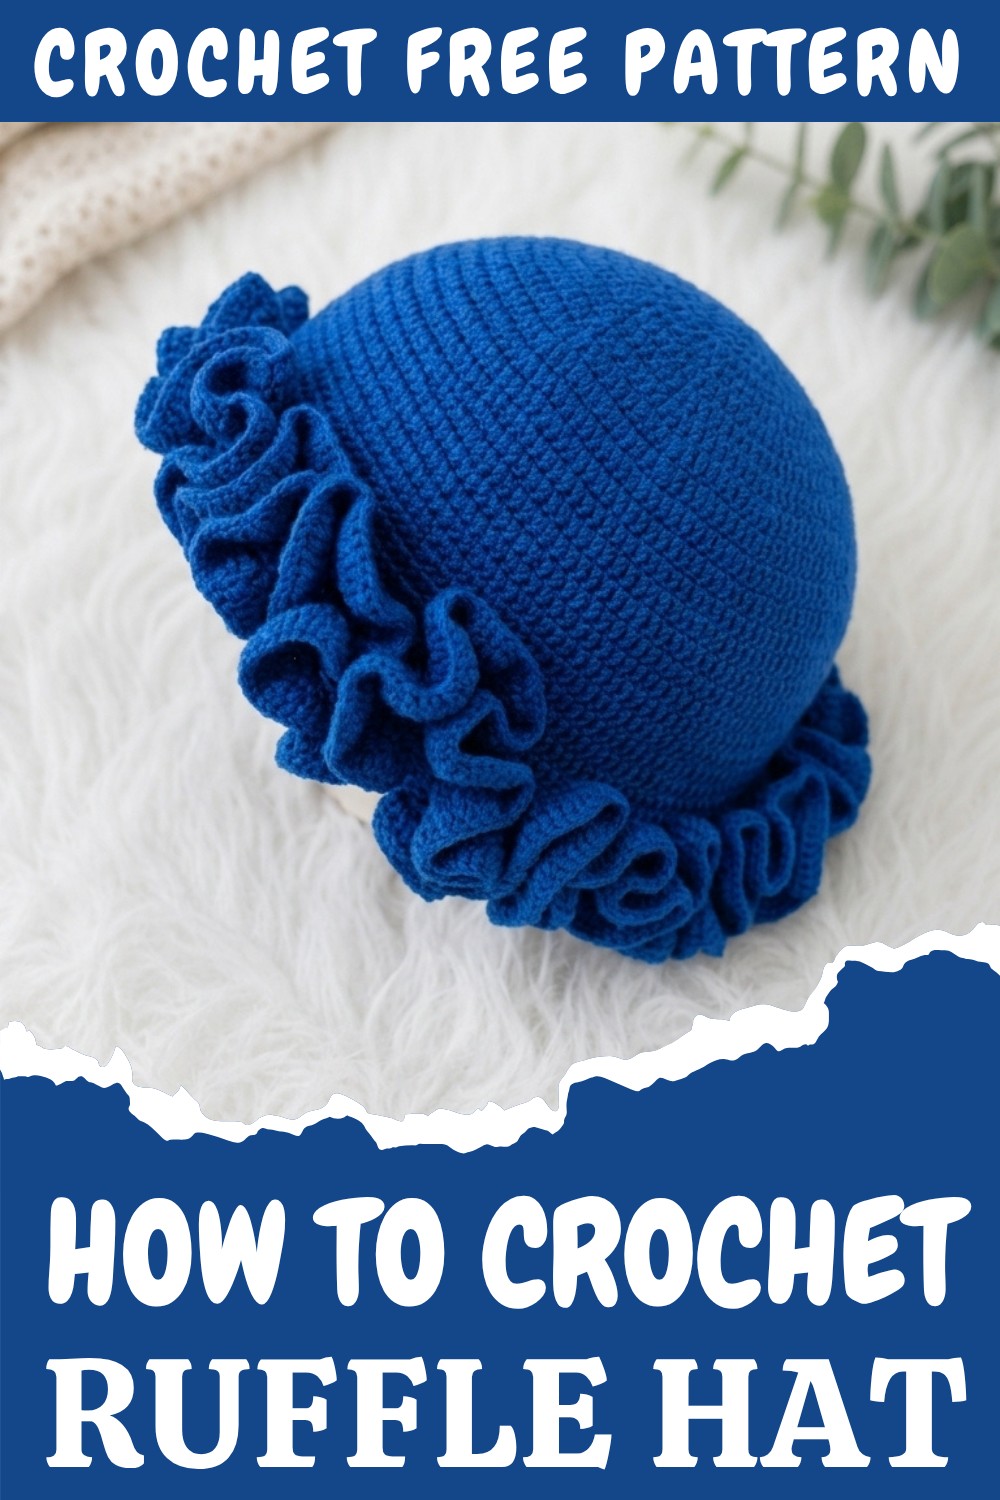
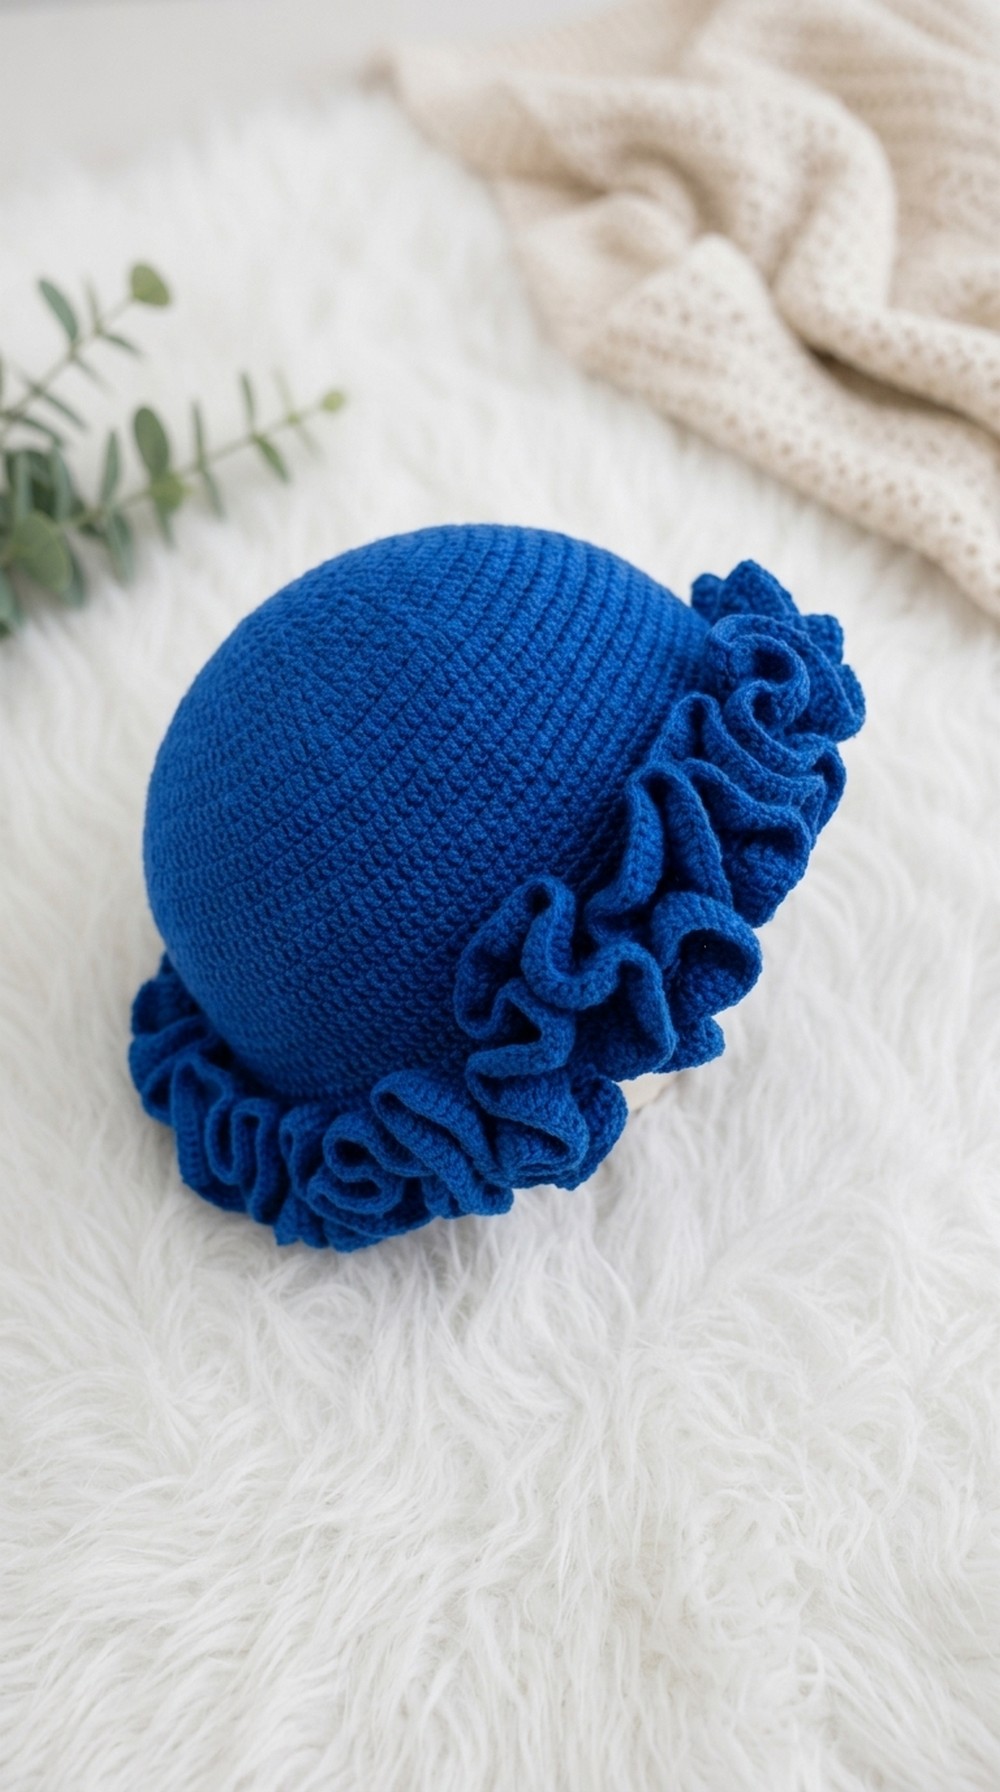
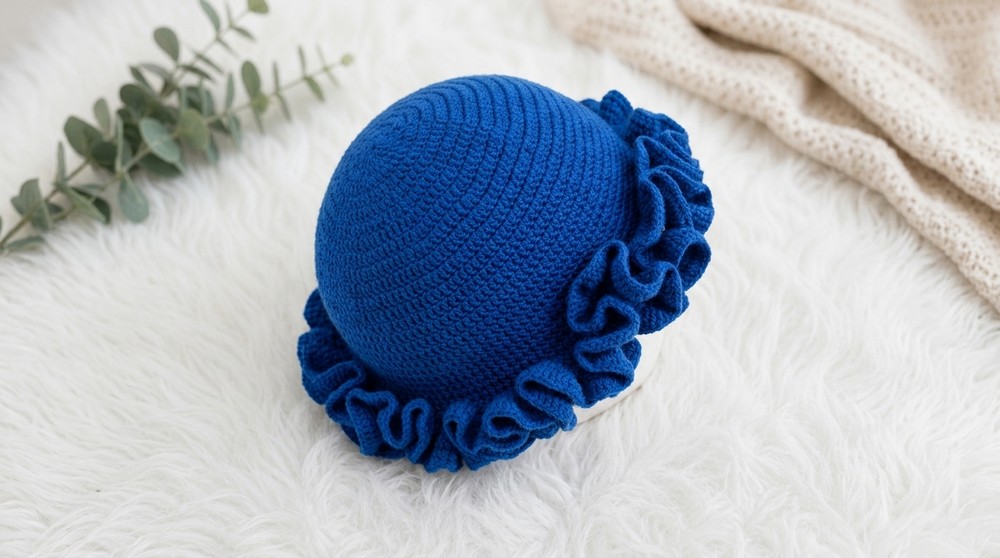
The standout feature of this hat is its soft, ruffled brim, which adds a playful and elegant flair. You can pick pastel shades for a gentle, spring look, bold colors to brighten up any day, or classic tones for something more traditional. The hat is made using mostly double crochet stitches, which create a neat, even texture. By making simple changes, like adjusting the size or swapping out colors, you can use this pattern for matching ruffle-edged bags, summer bonnets, or even cute bucket hats. This makes the pattern super adaptable for different creative projects!
Common Challenges and Simple Fixes
- Getting the Right Fit: Sometimes hats turn out too tight or too loose. You can easily fix this by checking the size once you finish the crown. For most adults, the crown should measure about 6 to 6.5 inches across before you stop the increases.
- Stitch Count Mix-ups: It’s common to forget where you started each round. Using a stitch marker helps you keep track, so you don’t get lost.
- Yarn and Hook Issues: If you use a different yarn or hook size than the pattern, focus on measuring your work instead of just counting rows, which helps the hat fit perfectly.
How to Finish with Great Results and Choose the Right Size
To get a neat result, weave in all loose ends carefully and double-check the fit as you go. For adults, aim for a finished hat circumference of about 21-23 inches. If you’re making it for a child or baby, just adjust the number of rounds and try the hat on as you work.
This free crochet ruffle hat pattern is creative, adaptable, and easy enough for anyone to follow. Whether you want a pretty accessory for yourself or want to make gifts for friends, this pattern is perfect for unleashing your imagination and crochet skills!
Crochet Lightweight Ruffle Hat Pattern
Skill Level
Intermediate to Advanced
Confident in working in the round, making increases, and double crochet.
Materials
- Yarn: Lightweight (category 2) or fine yarn, any color (amount depends on head size; approx. 100–150g)
- Hook: 1.5 mm crochet hook
- Notions:
- Scissors
- Stitch marker or safety pin
- Measuring tape
- Tapestry needle (for weaving in ends)
Abbreviations (US terms)
- ch – chain
- dc – double crochet
- sl st – slip stitch
- st(s) – stitch(es)
- rep – repeat
- rnd – round
Special Notes
- Begin each round with chain 2 (does NOT count as a stitch).
- Finish each round with a slip stitch to the first double crochet.
- Place your stitch marker in the slip stitch at the end of every round to avoid working into it.
- All counts exclude the beginning chain.
- For different yarn weights, focus on the measurements provided, not strictly on the row count.
- Use stitch count checks at the end of each round for accuracy.
Pattern
Crown (Top of Hat)
Rnd 1:
Make a magic ring. Ch 2. 12 dc in the magic ring. Tighten the ring. Join with sl st to first dc. (12 dc)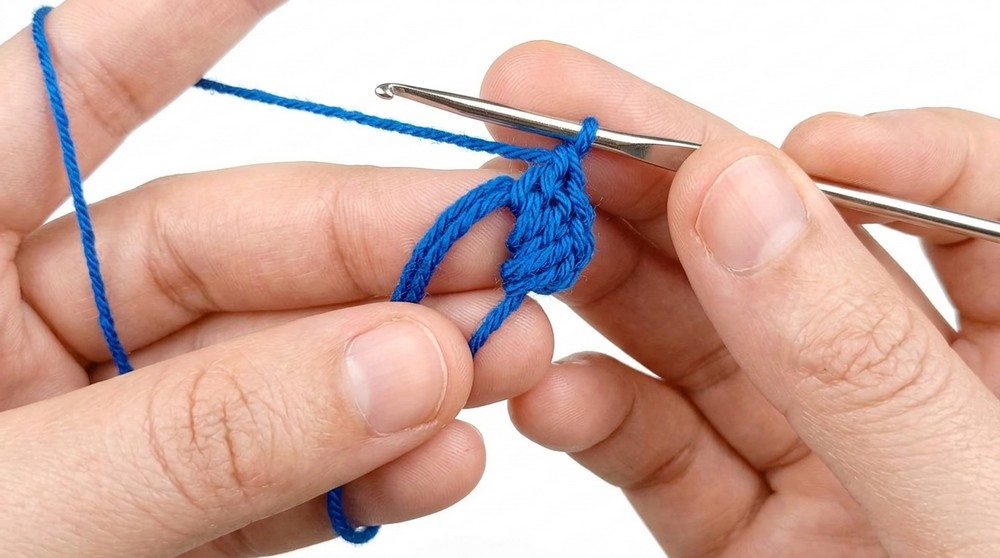
You are forming the very top of the hat, creating a circle. Pull the ring tight so you don’t have a hole at the top. Join the ends so you’re ready to work in the round.
Rnd 2:
Ch 2. 2 dc in each st around. Join with sl st. (24 dc)
Increasing to double your stitch count keeps the circle flat and starts the expansion for the crown. Each stitch from round 1 gets 2 double crochets.
Rnd 3:
Ch 2. (2 dc in first st, 1 dc in next st) rep around. Join with sl st. (36 dc)
Alternate between increasing in a stitch and working a regular double crochet. This helps the circle grow evenly.
Rnd 4:
Ch 2. (2 dc in first st, 1 dc in next 2 sts) rep around. Join with sl st. (48 dc)
Space the increases further apart for smooth, gradual growing.
Rnd 5:
Ch 2. (2 dc in first st, 1 dc in next 3 sts) rep around. Join with sl st. (60 dc)
Continue this increase pattern, making sure to count your stitches. Keep the circle flat.
Rnd 6:
Ch 2. (2 dc in first st, 1 dc in next 4 sts) rep around. Join with sl st. (72 dc)
The hat’s crown continues to expand, adjusting for head size. It’s helpful to check the diameter here.
Rnd 7:
Ch 2. (2 dc in first st, 1 dc in next 5 sts) rep around. Join with sl st. (84 dc)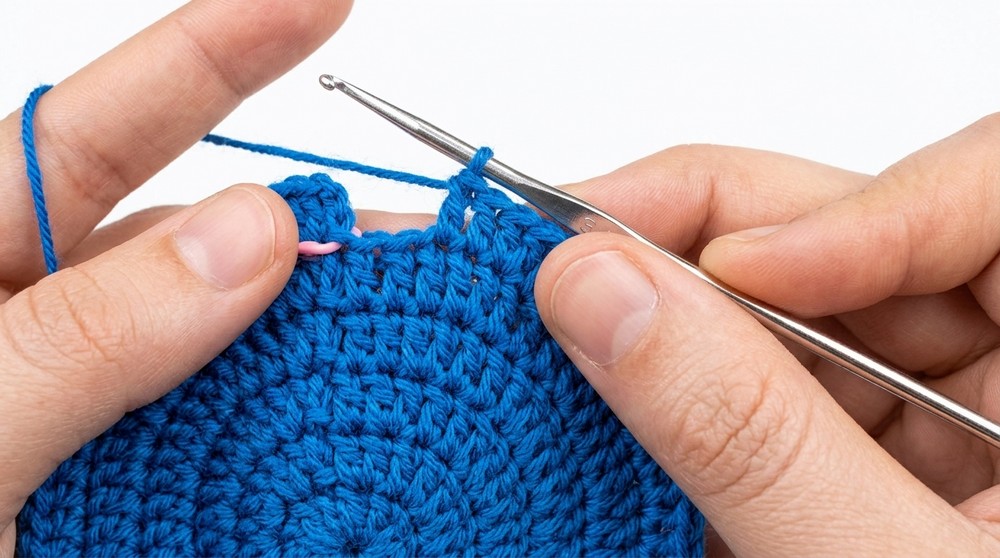
Rnd 8:
Ch 2. (2 dc in first st, 1 dc in next 6 sts) rep around. Join with sl st. (96 dc)
Rnd 9:
Ch 2. (2 dc in first st, 1 dc in next 7 sts) rep around. Join with sl st. (108 dc)
Rnd 10:
Ch 2. (2 dc in first st, 1 dc in next 8 sts) rep around. Join with sl st. (120 dc)
Rnd 11:
Ch 2. (2 dc in first st, 1 dc in next 9 sts) rep around. Join with sl st. (132 dc)
Your crown circle should measure about 6.5 inches across at this point. If using another yarn weight, focus on this measurement rather than the row count for best fit.
Body (Sides of Hat)
Rnds 12–25:
Ch 2. 1 dc in each st around. Join with sl st. (132 dc per round)
You will NOT increase anymore. This shapes the sides down towards the brim. Continue each round until the body measures about 4 inches from the start of the straight (non-increase) rounds (row 12 onward). Try on the hat to decide the perfect length for you.
Ruffle Brim
Ruffle Rnd 1:
Ch 2. 3 dc in each st around. Join with sl st.
Create the ruffle effect by working three double crochets in every stitch around. This makes the brim flare outward nicely.
Ruffle Rnd 2:
Ch 2. 2 dc in each st around. Join with sl st.
For the next level of ruffles, work two double crochets into each stitch around.
Ruffle Rnd 3:
Ch 2. 2 dc in each st around. Join with sl st.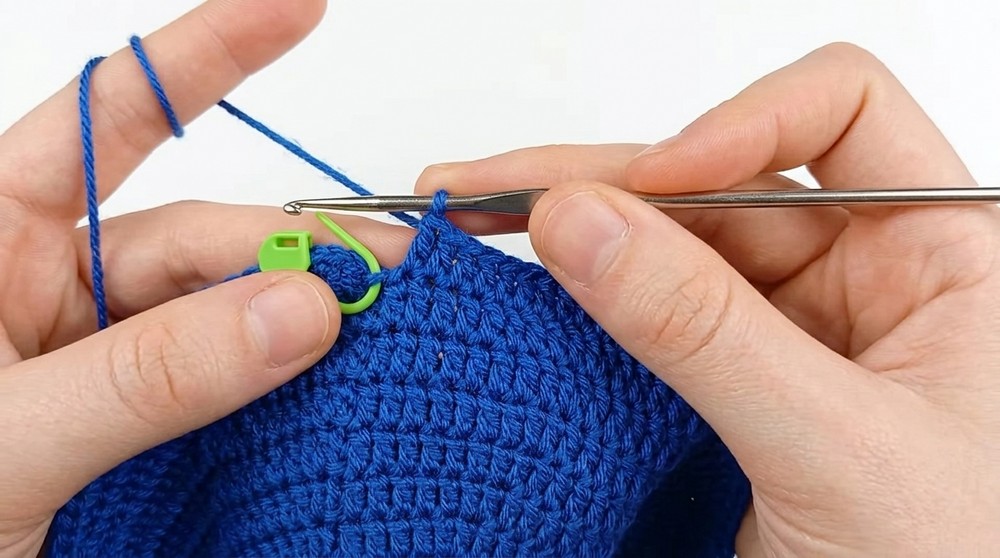
Repeat the previous row for an even fuller ruffle brim.
Ruffle Rnd 4:
Ch 2. 1 dc in each st around. Join with sl st.
This round finishes the brim cleanly and evenly, with one double crochet per stitch to stabilize the edge.
Finishing
Fasten off your yarn. Use your tapestry needle to weave in all loose yarn ends neatly and securely.
Once woven in, your hat is ready to wear! Gently stretch the ruffle brim to shape it as you like.
Pattern Correction and Tips
- Slanted seam or misshapen rounds: Always place your stitch marker in the slip stitch of joining so you don’t accidentally work into it.
- Stitch count not matching: Double count after each round, especially after increases, to confirm accuracy before proceeding.
- For varying yarns/hooks: Always use the stated measurements (crown diameter, body length) as your guide instead of strictly the row count.
- For a subtler or bolder ruffle: Try 2 dc or 4 dc in each ruffle stitch as desired.
Conclusion
By following these clear, step-by-step directions, you’ve created a lightweight ruffle hat perfectly sized for your needs. Check measurements for fit, use the correct increases, and enjoy the dramatic ruffle effect. Adjust the brim and body length for your style. This pattern is flexible for any yarn weight as long as you focus on the measurements.