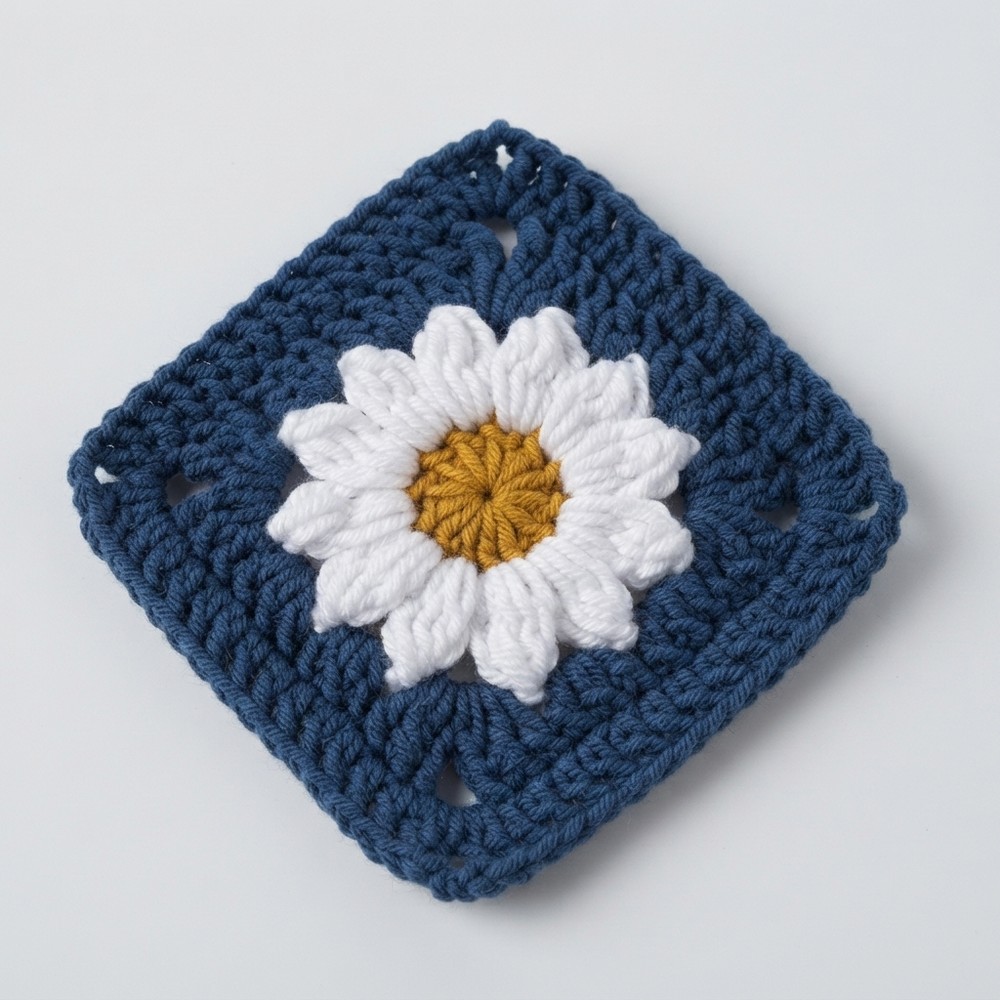
How to Crochet a Daisy Granny Square – Step by Step Tutorial

Celebrate every stitch with the free Crochet Daisy Granny Square pattern a delightful way to create charming and colorful crochet masterpieces.
Bringing a cozy and cheerful vibe to your home is easier than you might think. A design featuring a daisy at its heart, neatly framed within a granny square, combines the charm of flowers with the classic appeal of crochet squares. This pattern captures the beauty of nature in a simple and creative way, making it a favorite for many.
Daisy Granny Squares – Free Crochet Pattern to Brighten Your Project
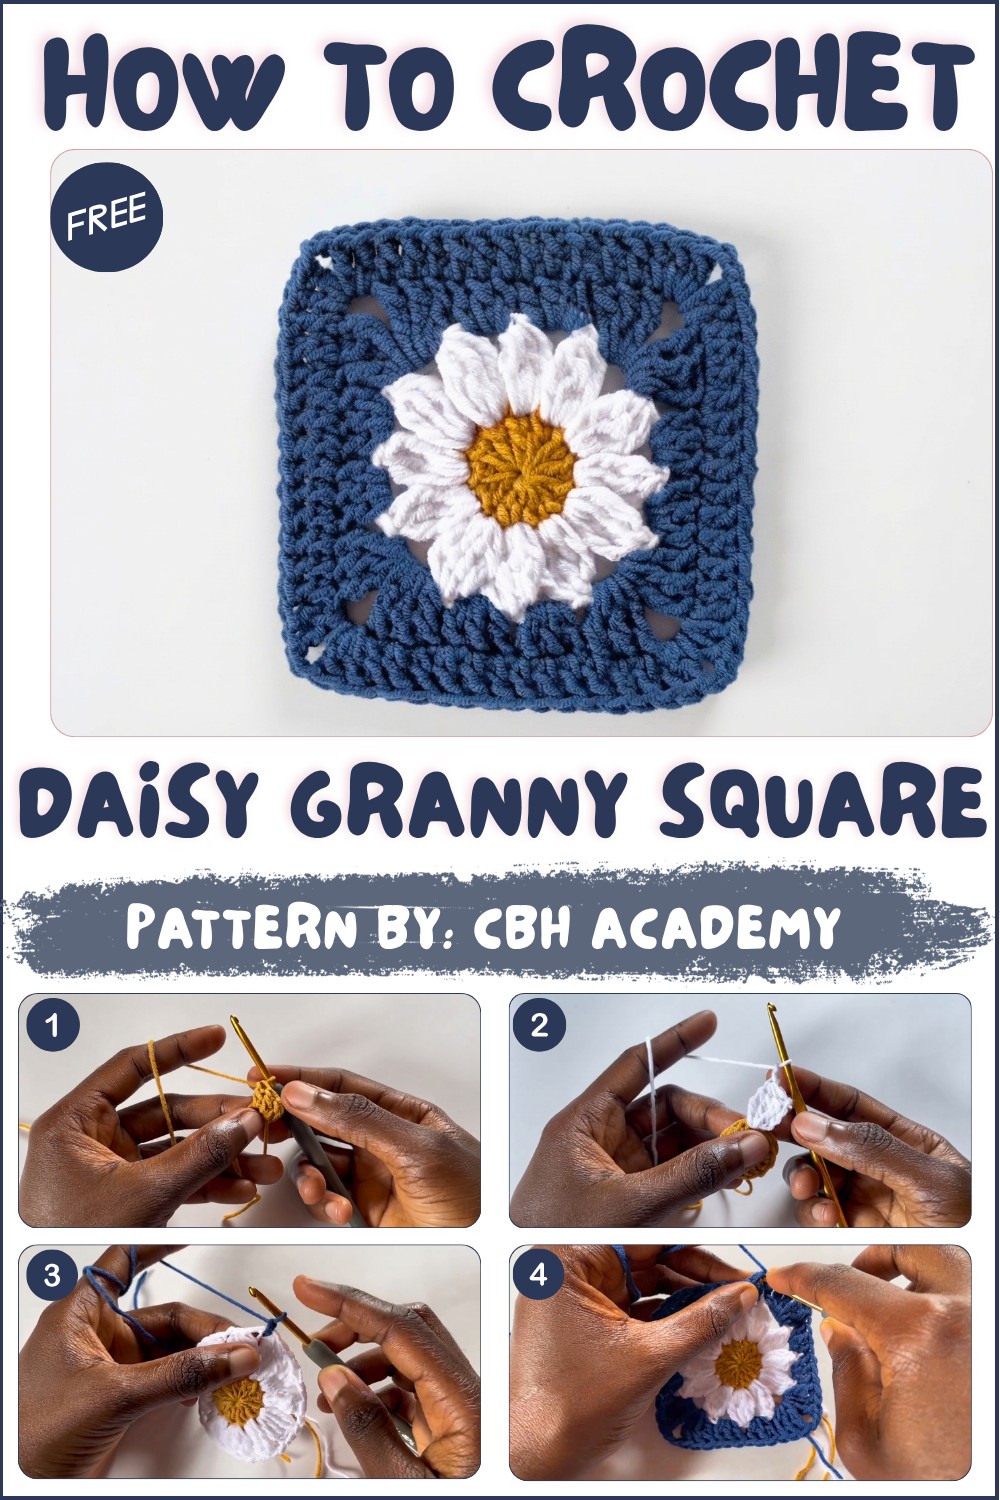
CBH Academy provides an easy-to-follow tutorial for this daisy granny square pattern. From creating the bright yellow center to shaping the white petals and finishing with a sturdy outer frame, every detail is explained step by step. One of the standout features of the tutorial is how it includes helpful tricks, such as crocheting over loose ends to save time and keep your work neat. Even if you’ve never made anything like this before, the instructions make the process smooth and enjoyable.
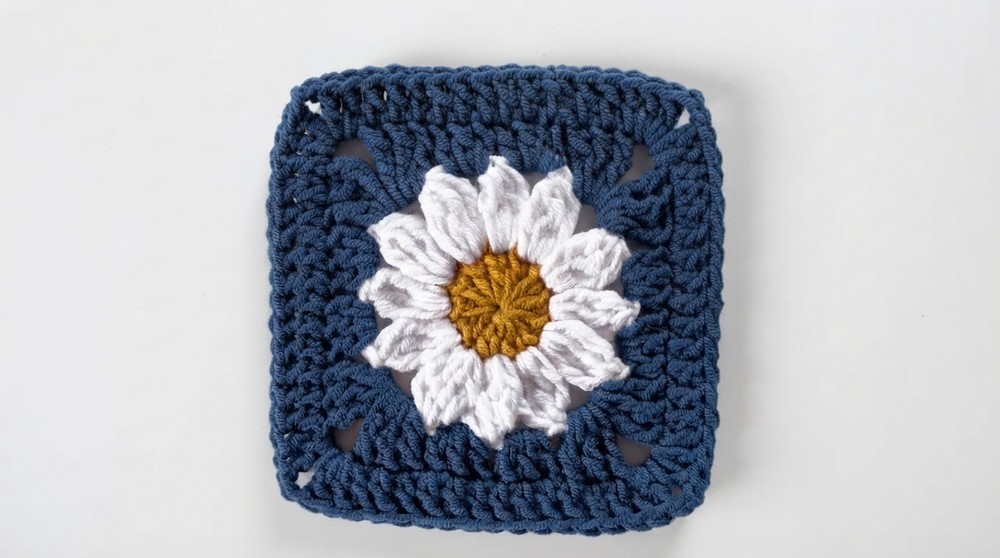
This square can be used for a variety of projects, from colorful blankets and pillow covers to bags, scarves, and table accents. Its standout feature is the slight 3D effect of the petals, which gives the square a lively and textured look. The combination of soft, delicate petals and a bold, structured frame makes this design both charming and practical. Whether for personal use or gifting, it’s a pattern that easily stands out in any creation. 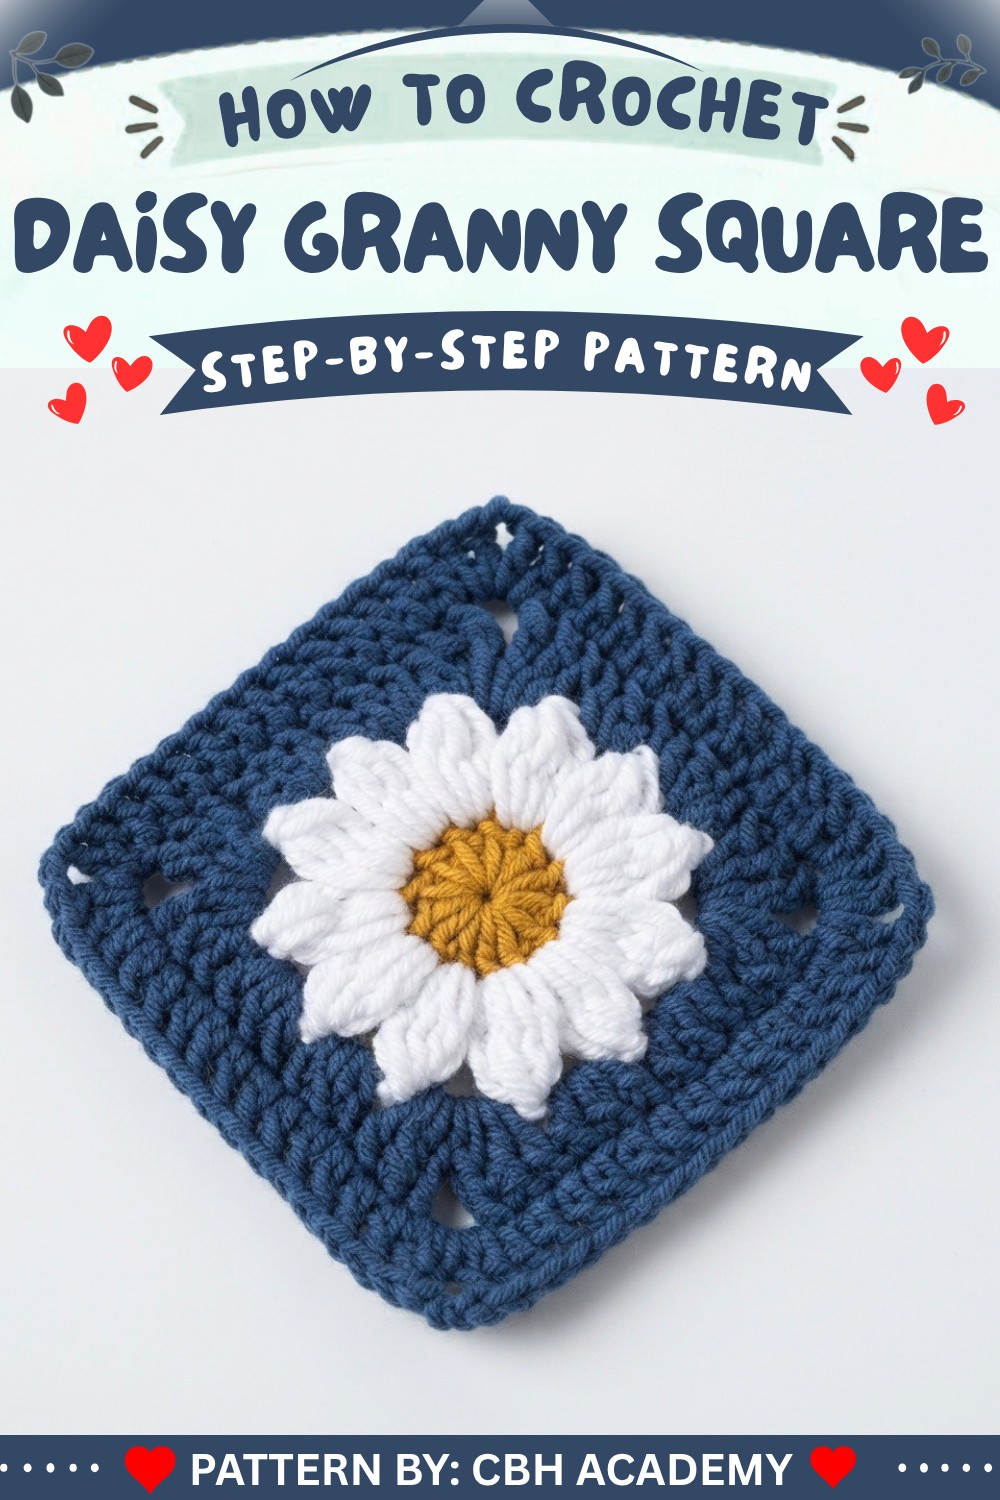
Daisy Granny Square Pattern
The Daisy Granny Square combines a charming floral motif with the timeless beauty of a classic granny square. Featuring a vibrant flower in the center, framed by a solid square base, it’s a great addition to blankets, pillows, or any decorative project. This pattern is well-suited for crocheters with basic experience who want to practice working with multiple colors and stitch groups.
Skill Level
Intermediate – This pattern involves the use of basic crochet stitches like double crochet and treble crochet, with some experience needed for color changes, cluster stitches, and shaping techniques.
Materials
- Yarn:
- Three colors of medium-weight yarn:
- Golden yellow for the daisy center.
- White for the flower petals.
- A primary color of your choice for the square body.
- Three colors of medium-weight yarn:
- Hook:
- 3.50mm crochet hook.
- Additional Tools:
- Scissors.
- Darning needle for weaving in loose ends.
- Measuring tape (optional, for precise sizing).
Special Stitches
Magic Ring:
- Wrap the yarn around two fingers to create a ring.
- Insert the hook into the ring, yarn over, and pull through.
- Chain one to secure the ring as a base for your stitches.
Standing Double Crochet (Standing DC):
This replaces a chain-3 at the start of a new color or round.
- Start with a slip knot on your hook.
- Yarn over, insert the hook into the designated stitch or space, and pull up a loop.
- Yarn over and pull through 2 loops.
- Yarn over again and pull through the remaining 2 loops.
Treble Crochet Cluster (Tr Cluster):
- Yarn over twice, insert the hook into the stitch, and pull up a loop (4 loops on hook).
- Yarn over, pull through 2 loops (3 loops remain). Yarn over, pull through 2 (2 loops remain).
- Repeat this process twice more into the same stitch, keeping all partially finished stitches on the hook.
- Once you have 4 loops on the hook (one from each unfinished treble and one from the working yarn), yarn over and pull through all loops.
Stitch Abbreviations
- CH = Chain
- DC = Double Crochet
- Tr = Treble Crochet
- Tr Cluster = Treble Crochet Cluster
- SL ST = Slip Stitch
Useful Tips
- Practice the Magic Ring: If you’re unfamiliar with the magic ring, consider practicing it a few times before starting. Alternatively, substitute it with a chain-4 ring (join the first and last chains with a slip stitch).
- Color Changes: Always secure a clean color transition when finishing a round by pulling the new yarn through the last stitch of the previous round.
- Maintain Consistent Tension: Ensure tension remains steady throughout the project to avoid distorting the square’s shape.
- Count Your Stitches: Verify your stitch count at the end of each round to ensure accuracy in shaping and cluster placement.
- Arrange Colors Strategically: Choosing visually contrasting colors for the center, petals, and square body enhances the definition of the daisy pattern.
Free Written Pattern
Round 1: The Center Circle
- Create a magic ring using the golden yellow yarn.
- Work a standing DC, followed by 11 more DCs into the ring (12 DC total, including the standing DC).
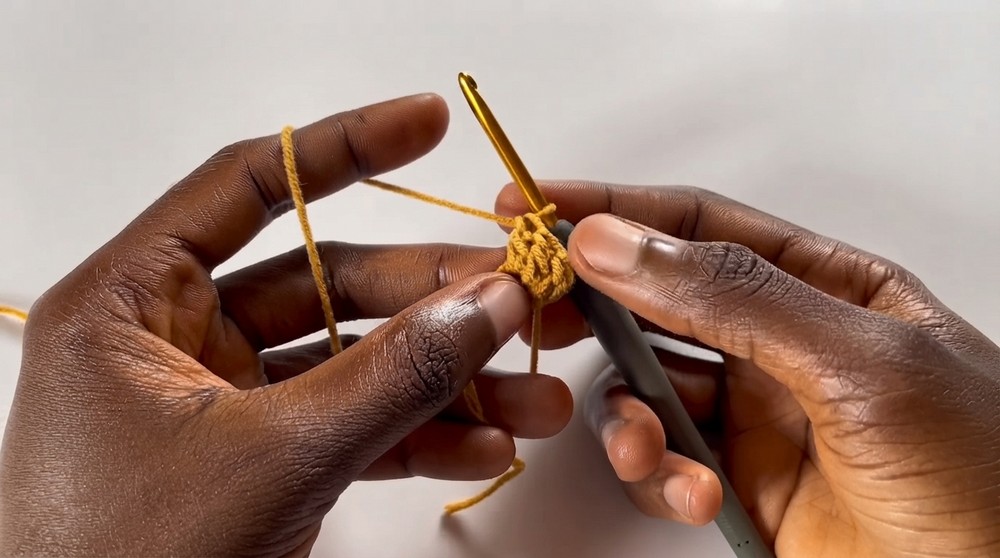
- Pull the yarn tail tightly to close the ring.
- Slip stitch into the top of the first standing DC to join.
- Chain 1 and cut the yarn, leaving a tail for weaving in.
Round 2: The Daisy Petals
- Join white yarn into any DC with a slip knot.
- For the first petal, chain 4, then work 3 Tr Cluster into the same stitch.
- After clustering the trebles, chain 2 to finish the petal.
- Repeat in each remaining stitch: 4 Tr Cluster, chain 2.
- You should have 12 petals with chain-2 spaces in between.
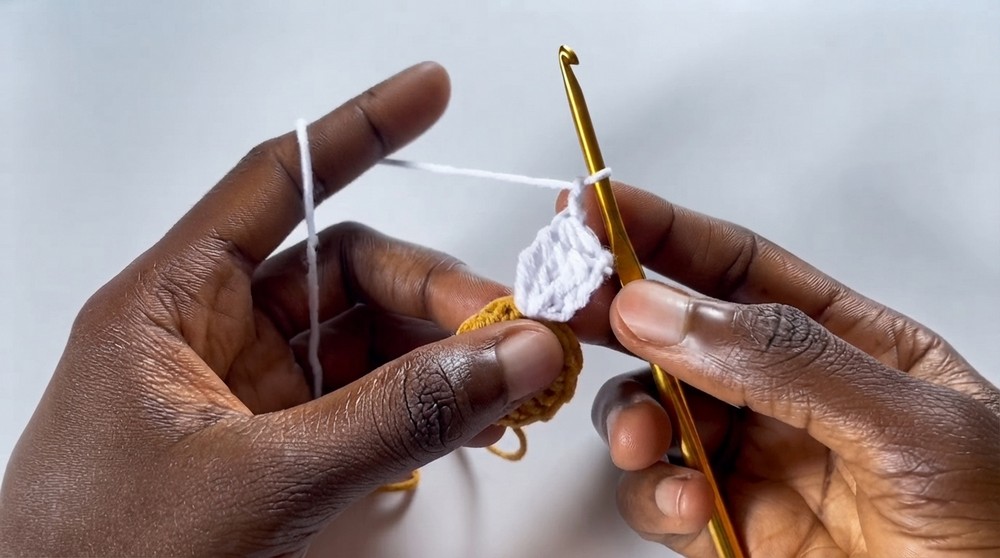
- You should have 12 petals with chain-2 spaces in between.
- Slip stitch into the top of the first petal to complete the round, ensuring all petals look even.
- Chain 1 and cut the yarn.
Round 3: The Square Base
- Join your primary color into any chain-2 space with a slip knot.
- Work a standing DC, followed by 2 DC into the same space (3 DC total). This forms the first cluster on the side.
- In the next two chain-2 spaces, work 3 DC clusters.
- In the next chain-2 space (corner): Work 3 Tr, chain 2, 3 Tr into the same space.
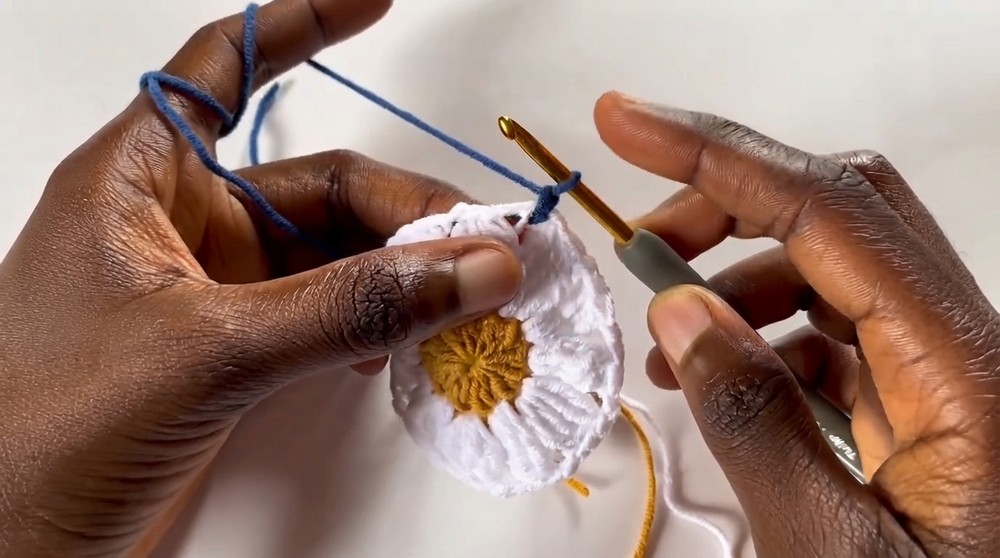
- Repeat the sequence around: 3 DC in the next two spaces, corner cluster in the next space.
- After completing the final corner, slip stitch into the top of the first standing DC to join the round.
Round 4: Final Border
- Chain 1 and work a standing DC in the first stitch.
- Work 1 DC in every stitch along the side of the square.
- At the corners: In each chain-2 corner space, work 2 DC, chain 2, 2 DC to firmly define the corners.
- Continue working DC stitches along the sides and repeating the corner pattern.
- Ensure you don’t miss the first stitch hidden by the corner spaces.
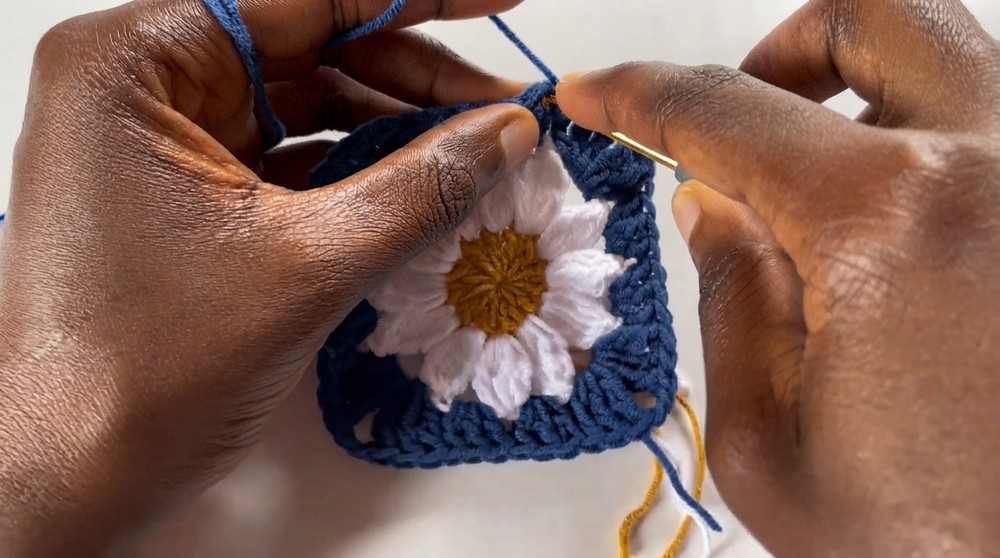
- Slip stitch to the first standing DC to close the round. Chain 1 and cut the yarn.
Assembly and Sizing
Sizing:
- The finished daisy granny square is typically 5–6 inches across, depending on tension and yarn thickness.
- Measure your square after completion to ensure it matches the desired dimensions.
Assembly:
- For larger projects (blankets, bags, etc.), join multiple squares using your preferred method, such as:
- Whipstitching: Sew the squares with a darning needle and matching yarn.
- Slip Stitch Join: Seam the squares with a crochet hook for a clean border.
- Join-As-You-Go: Seam squares directly in the last round for consistent assembly.
- Block all completed squares for sharp edges and even-shaped corners.
Good Words
The Daisy Granny Square is a charming and versatile crochet motif with ample opportunities for creative color combinations. With its textured petals and sturdy square base, it is perfect for creating bold, vibrant projects or delicate floral works. Whether you’re making blankets, table mats, or decorative pillows, this pattern offers a delightful way to add a touch of springtime beauty to your crochet projects. Tailor the square to your personal style by experimenting with different yarn weights, colors, and finishing techniques.