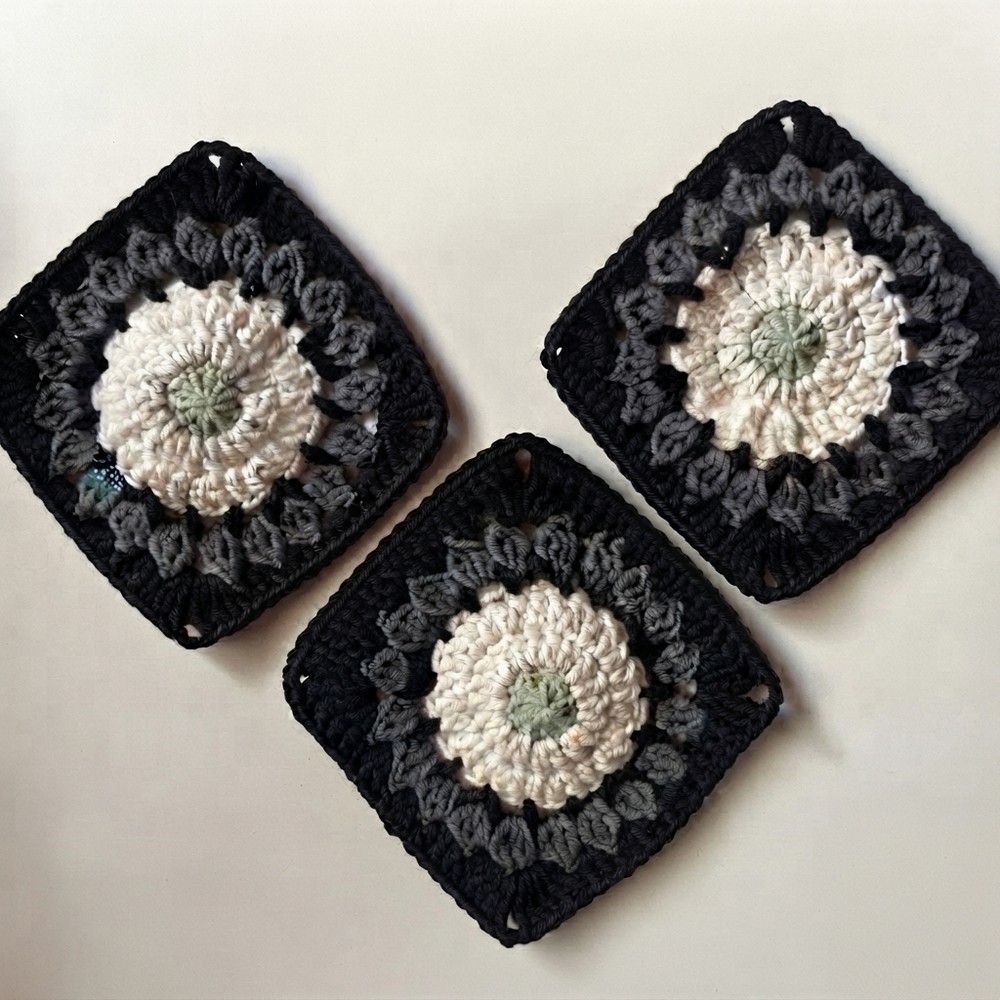
Crochet Spider Web Granny Square – Free Pattern For Halloween

Capture eerie elegance with this free crochet Spider Web Granny Square pattern ideal for seasonal decor and distinctive handmade gifts.
Yarn and a simple square of work can become something truly special with the right design. One shape that stands out is a spider web-inspired square, giving projects a bold and striking appearance. This pattern is easy to create and provides endless possibilities, whether for seasonal decorations or everyday items that need a touch of creativity.
Quick and Easy Free Crochet Spider Web Granny Square Tutorial
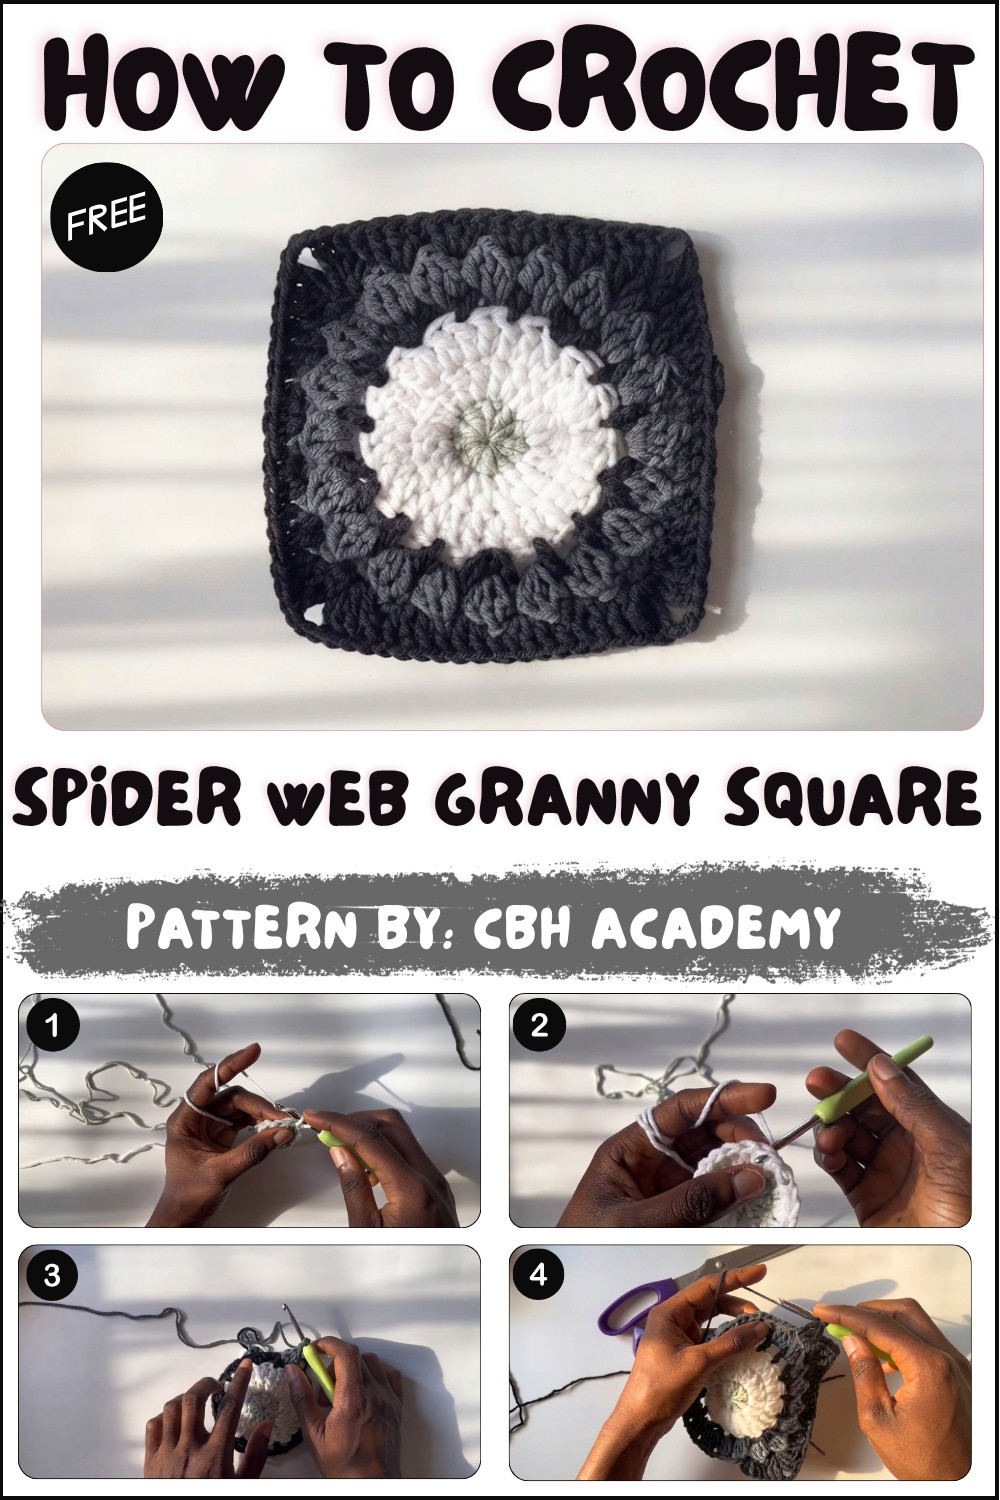
About Designer!
CBH Academy offers a clear and helpful guide to making this unique design. The tutorial explains every detail, from starting the first loops to forming the web-style details and finishing the edges neatly. The web-like design in the middle of the square draws attention and becomes the focal point, while its strong edges keep it structured and durable. Even new learners can create this unique shape thanks to the detailed steps in the video.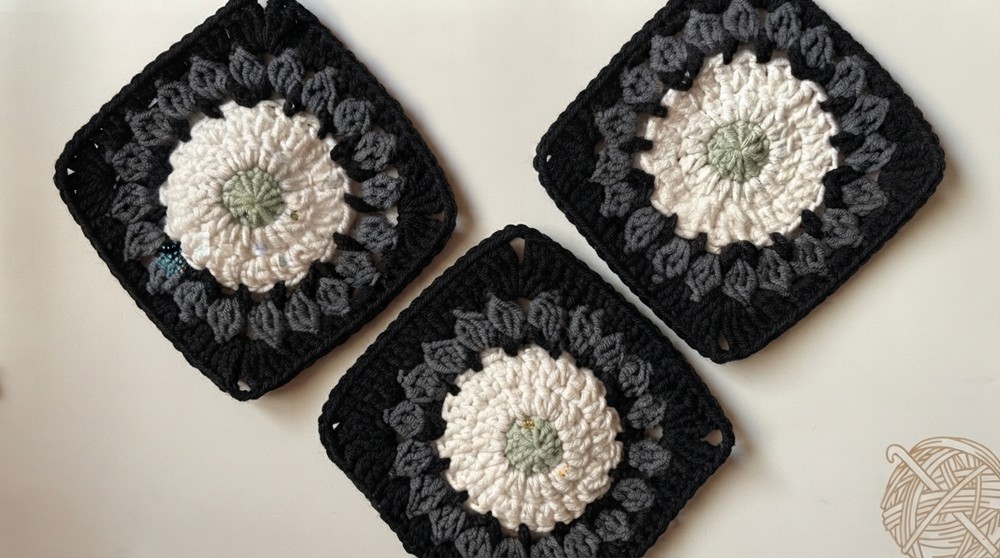
This square isn’t just decorative; it’s highly versatile. Use it to make throws, cushions, bags, shawls, or even festive banners for events like Halloween. The clean shape and stunning texture make it suitable for almost any project, adding style without looking overly complicated. Its detail gives every finished piece personality while remaining simple enough to bring a unique look to your creations.
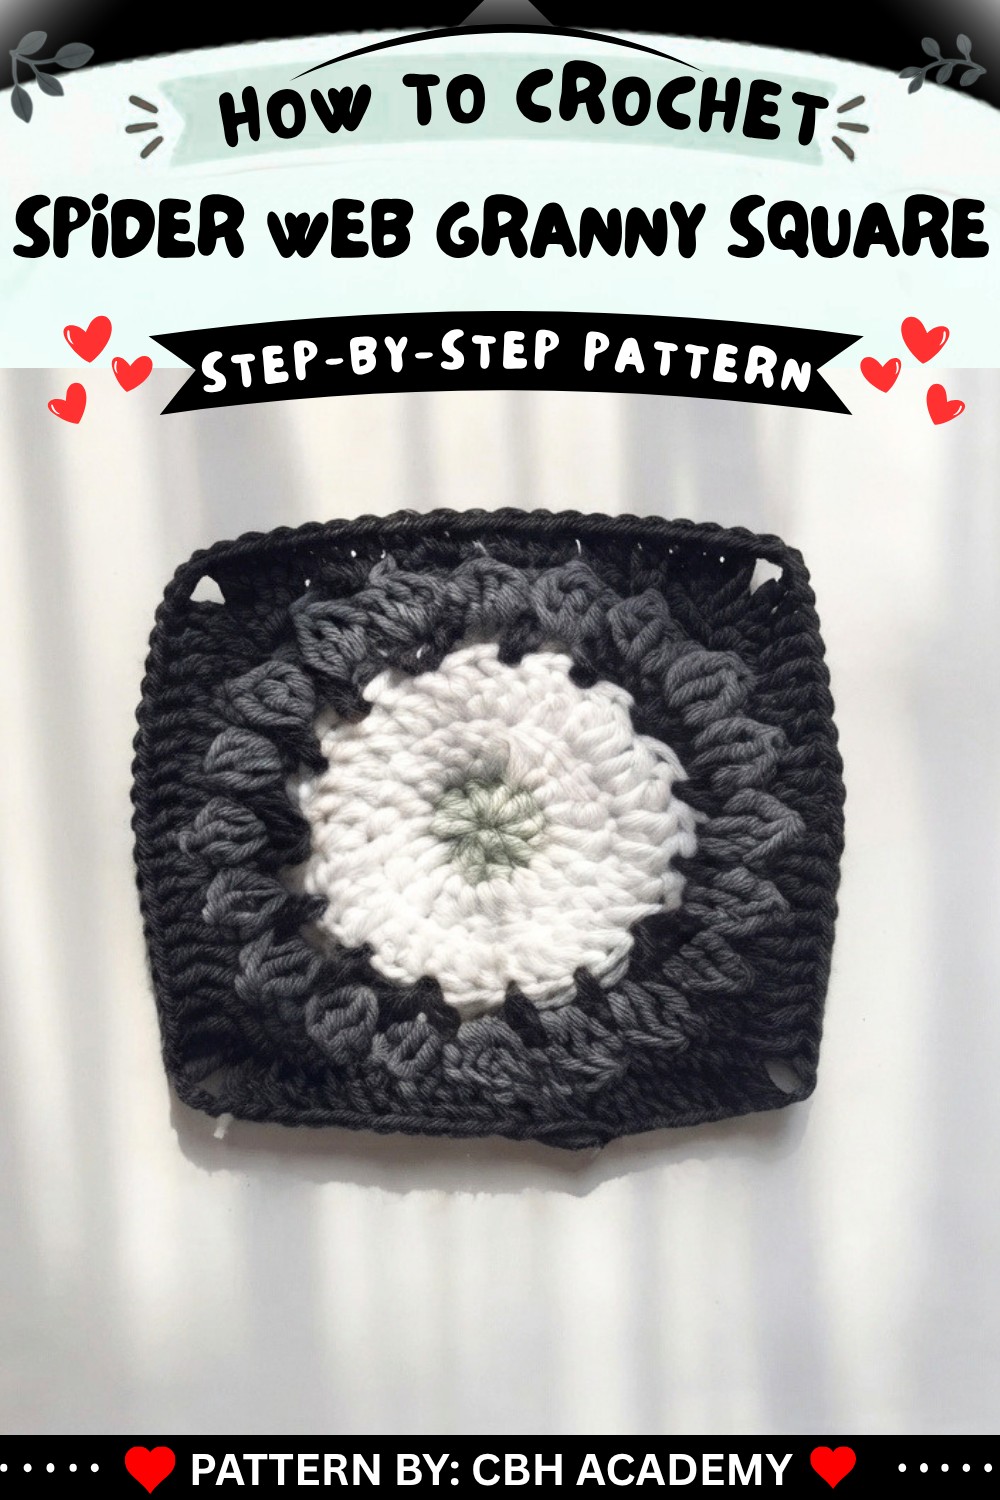
Spider Web Granny Square Pattern
The Spider Web Granny Square is a unique and elegant crochet motif with a striking web-like center. It combines foundational crochet techniques with visually appealing openwork and structured edges. This pattern is perfect for intermediate crocheters looking to expand their skills. The square can be used for various projects, such as blankets, table covers, or even wearables.
Skill Level
Intermediate – This pattern requires familiarity with double crochets, treble crochets, and working in spaces rather than stitches. The pattern also involves chains for creating meshwork and corners and uses stitch clusters to achieve the spider web effect.
Materials
- Yarn:
- Milk cotton or similar medium-weight yarn (100% cotton, approx. 6-ply).
- Hook:
- 4.50mm crochet hook (or size suitable for your yarn).
- Additional Tools:
- Scissors.
- Darning needle for weaving in ends.
Special Stitches
Magic Ring:
- Wrap the yarn around two fingers, forming a loop.
- Insert the hook under the first strand, grab the second, and pull through.
- Begin working stitches into the ring, pulling the yarn tail later to close the loop.
Standing Double Crochet (Standing DC):
- Start with a slip knot on your hook.
- Yarn over and insert the hook into the specified space.
- Pull up a loop (3 loops on the hook).
- Yarn over, pull through the first 2 loops, yarn over again, and pull through the remaining 2 loops.
Cluster of 3 Incomplete Double Crochets:
- Yarn over, insert hook into the space, and pull up a loop (3 loops on hook).
- Yarn over, pull through two loops (leave the last loop on the hook).
- Repeat this action two more times, leaving each final loop on the hook (total of 4 loops on the hook).
- Yarn over and pull through all loops at once, securing the cluster.
Stitch Abbreviations
- CH = Chain
- DC = Double Crochet
- TRB = Treble Crochet
- HDC = Half Double Crochet
- SL ST = Slip Stitch
Useful Tips
- Adjust Hook Size: For a stiffer or looser square, adjust your hook size accordingly. A smaller hook yields a denser fabric, while a larger hook gives a more open and airy square.
- Use Contrasting Colors: Highlight the spider web effect by using contrasting colors for the center, mesh, and edges.
- Consistent Tension: Maintain even tension for a symmetrical square. Variations in tension can distort the spider web pattern.
- Test Before Committing: If you’re new to the magic ring, practice it a few times before starting to ensure a tight and neat ring.
- Count Spaces and Stitches: Frequently check your stitch count when creating the mesh and corner formations to avoid mistakes.
Pattern Itself
Round 1: Magic Ring
- Create a magic ring and secure it with a chain-1.
- Begin with a standing DC inside the ring.
- Work 9 more DC into the ring (10 DC total, including the standing DC).
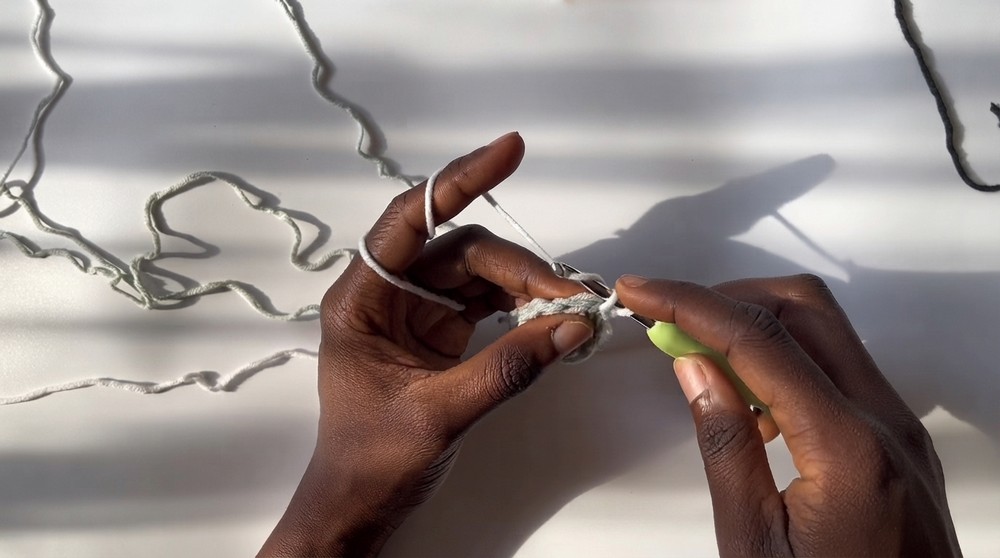
- Pull the yarn tail tightly to close the ring completely.
- Slip stitch into the top of the first standing DC to join the round.
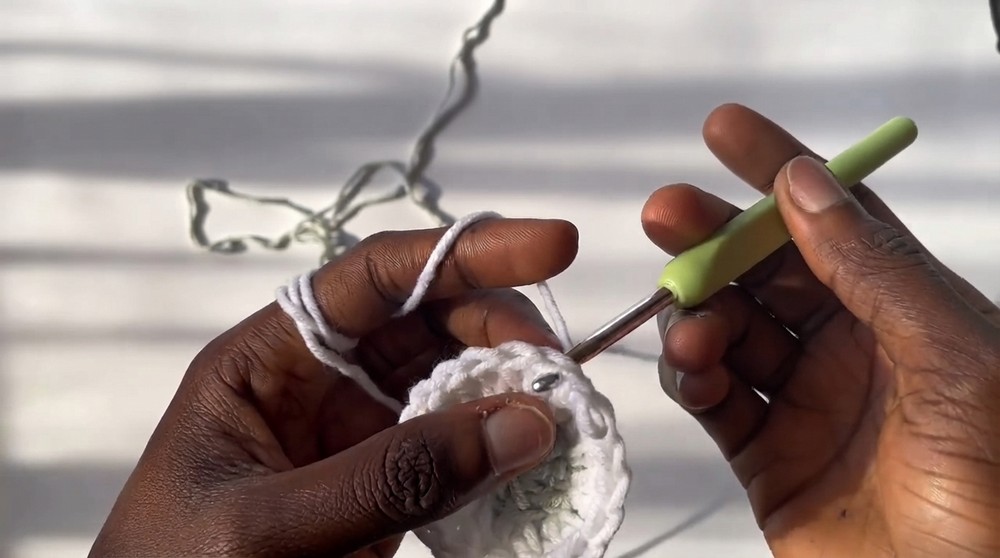
Round 2: Increase
- Slip stitch into the second DC of the previous round.
- Begin with a standing DC in the same stitch, then work 1 DC into the same stitch.
- Continue working 2 DC into every stitch around (1 increase per stitch).
- You should now have 20 DCs by the end of this round.
- Slip stitch into the top of the first standing DC.
Round 3: Increase
- Slip stitch into the second DC of the previous round.
- Begin with a standing DC, followed by 1 DC in the next stitch and 2 DC in the third stitch.
- Continue the pattern of 1 DC, 1 DC, 2 DC (increase) around the round.
- By the end of this round, there should be 30 DCs.
- Slip stitch into the top of the first standing DC to join.
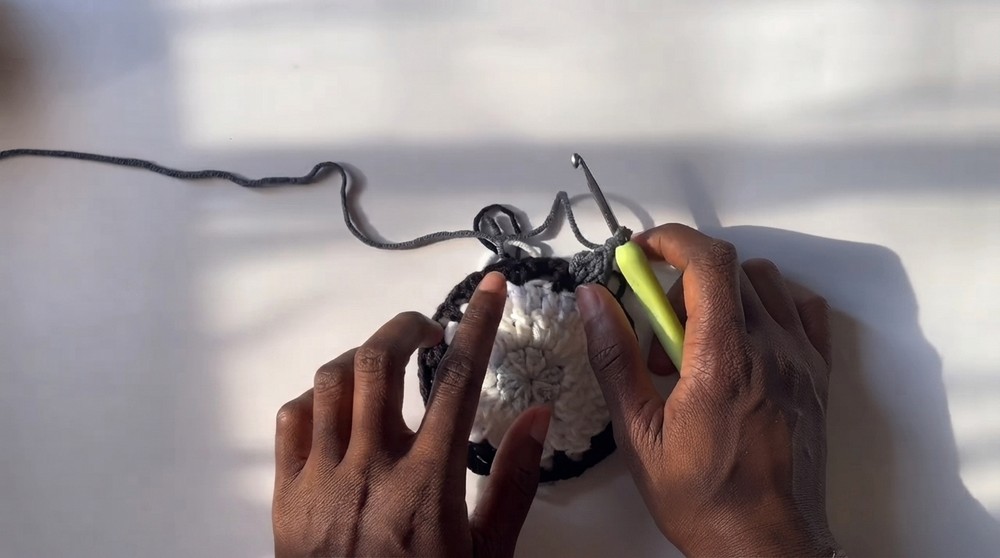
Round 4: Spider Web Mesh
- Introduce a new color if desired by slip stitching to the second DC of the previous round.
- Chain 1, then work 1 DC in the next stitch, chain 1, and skip 1 stitch.
- In every third stitch, work 1 DC, chain 1, 1 DC to create the web’s increase pattern.
- Repeat this sequence of DC, chain 1, skip 1; DC, chain 1, DC (increase) until you have a total of 20 chain-1 spaces.
- Slip stitch to the top of the first DC to close.
Round 5: Granny Clusters
- Into the first chain-1 space from Round 4, begin with a standing DC.
- Work a cluster of 3 incomplete DCs, yarn over, and pull through all loops to complete the cluster.
- Chain 2 to transition to the next chain-1 space.
- Repeat cluster of 3 incomplete DCs, chain 2 in every chain-1 space around.
- Slip stitch into the top of the first cluster to close.
Round 6: Defining the Square
Using a final color (if applicable), proceed to create the square shape:
Corners:
- In the first chain-2 space, begin with 3 treble crochets (TRB), chain 3, and 3 TRB (corner cluster).
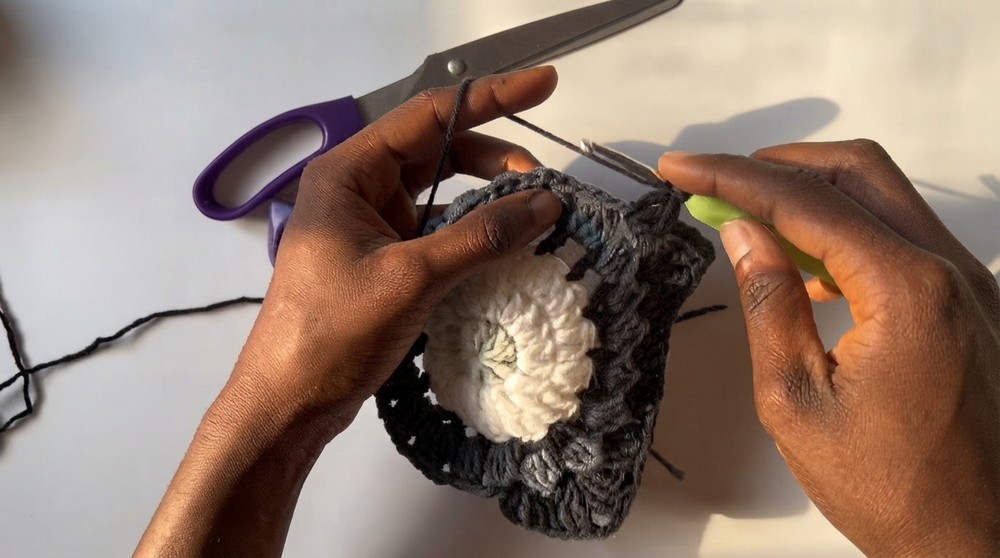
Sides:
- In the next space, work 3 DCs.
- In the following space, work 3 HDCs.
- Alternate between DC and HDC clusters until the next corner cluster.
- For each corner, repeat 3 TRB, chain 3, 3 TRB.
- Continue the pattern around the square, alternating between corners and sides.
- Finalize the square by slip stitching into the first stitch, chain 1, and cut the yarn.
Assembly
Assembly:
- To create larger projects like blankets, join the squares row by row using your preferred joining method:
- Continuous join-as-you-go: Seamlessly connect squares as you crochet.
- Slip or whipstitch with a darning needle for a clean, finished look.
Final Point
The Spider Web Granny Square is a delightful crochet project combining structural beauty with functionality. Perfect for bold, striking designs, this square adds texture and dimension to any project. Adjust colors and configurations to make the pattern uniquely yours. This crochet motif is both versatile and visually impactful in various settings.