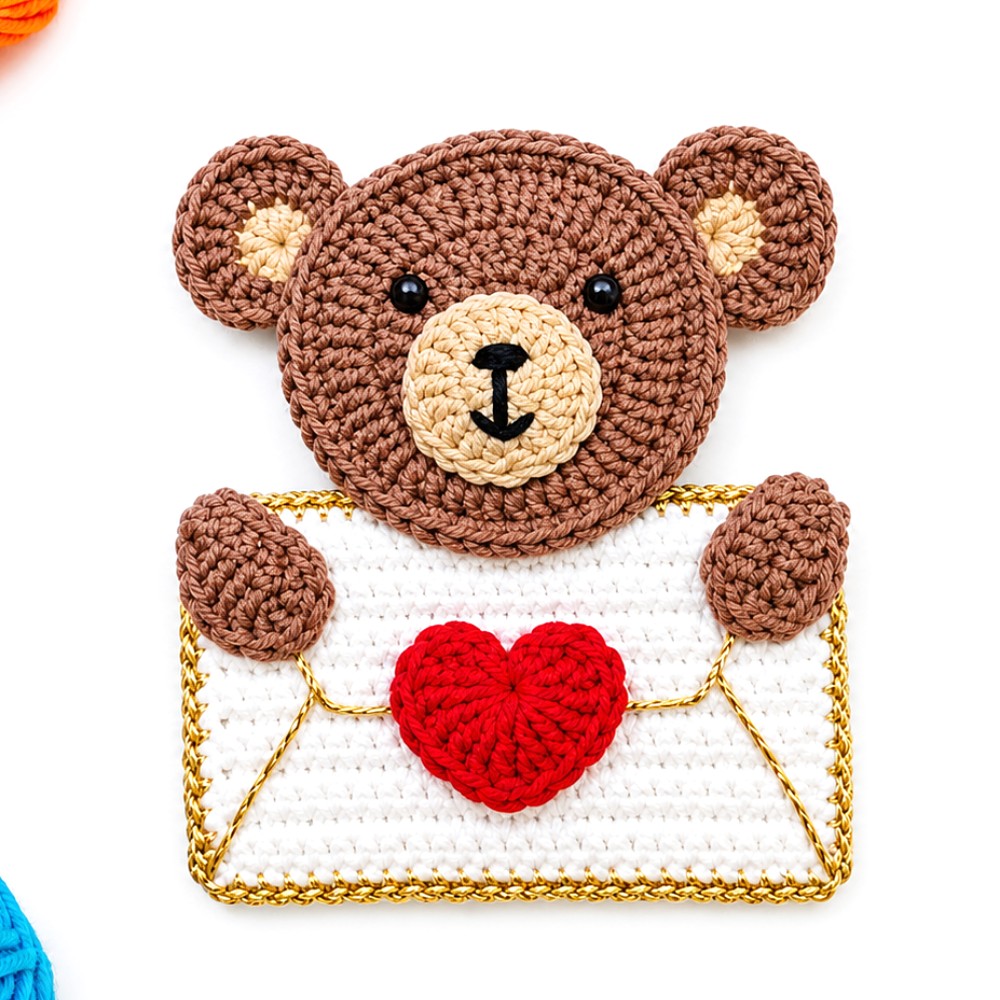
Free Crochet Valentine Bear Appliqué with Envelope Pattern With Tutorial

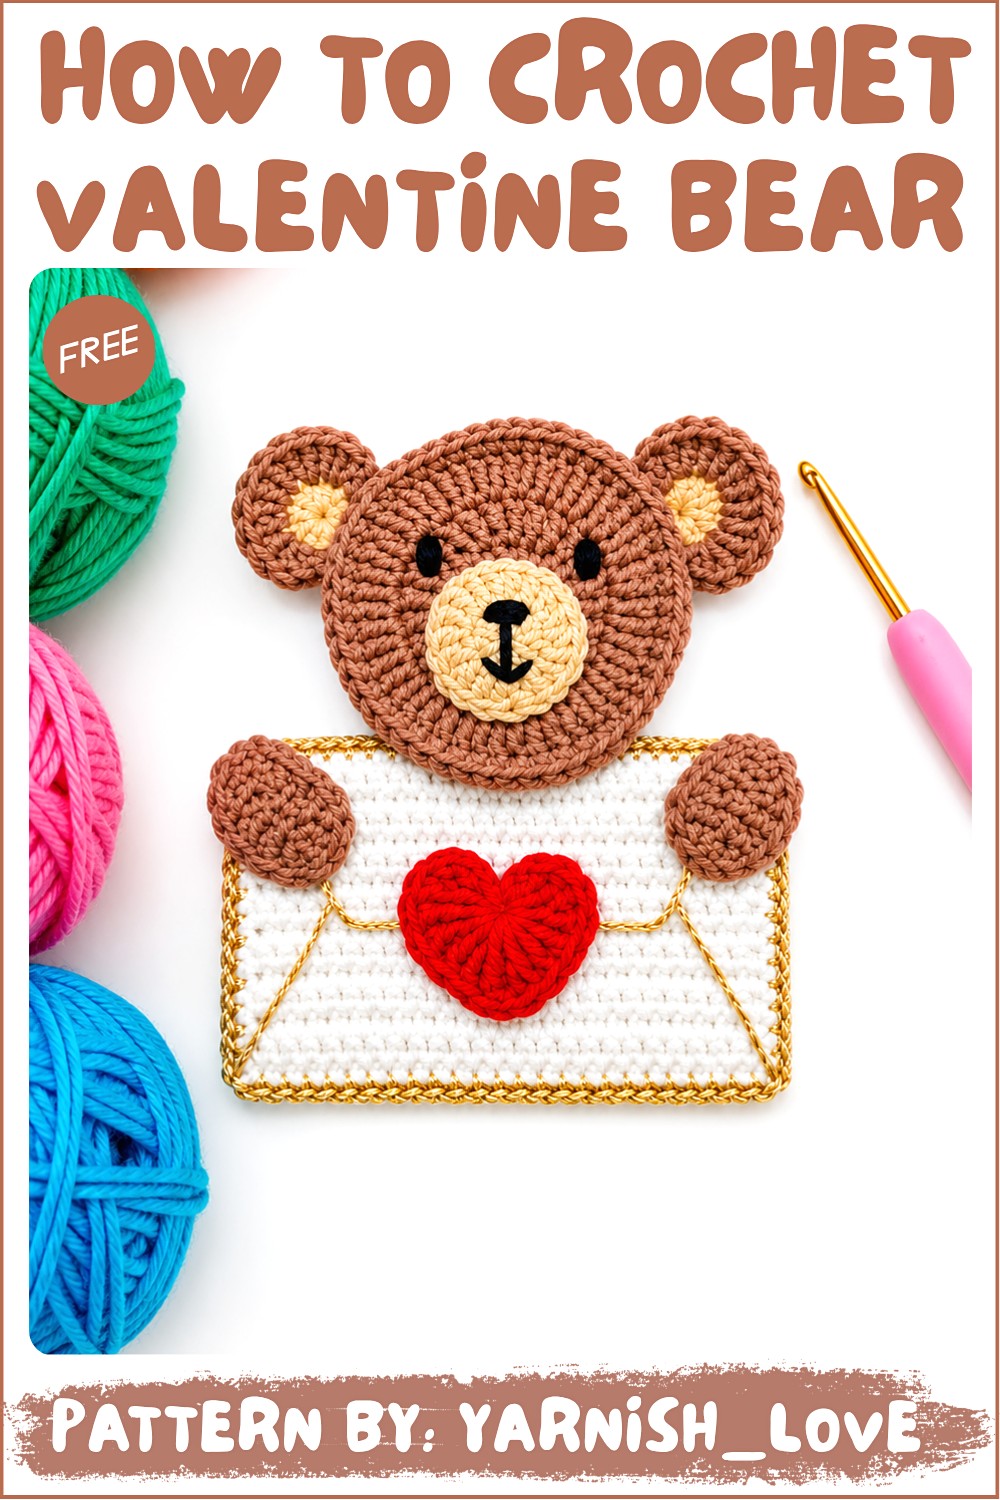
Share a sweet message through the Free Crochet Valentine Bear Appliqué with Envelope Pattern, a charming choice for thoughtful gifts and cute keepsakes.
A small gift feels more memorable when the decoration tells a story. The Valentine Bear Appliqué with Envelope Free Crochet Pattern combines an adorable animal shape with a little letter theme, giving the finished piece a warm and friendly look.
Free Valentine Bear Appliqué with Envelope Crochet Pattern to Share Love
The bear and envelope work together as the main feature. Instead of relying on lots of extra details, the design uses a familiar image of sending love through a note. That simple idea gives the decoration plenty of character. It suits anyone who likes gentle colors, cheerful animal faces, and gifts with a personal meaning.
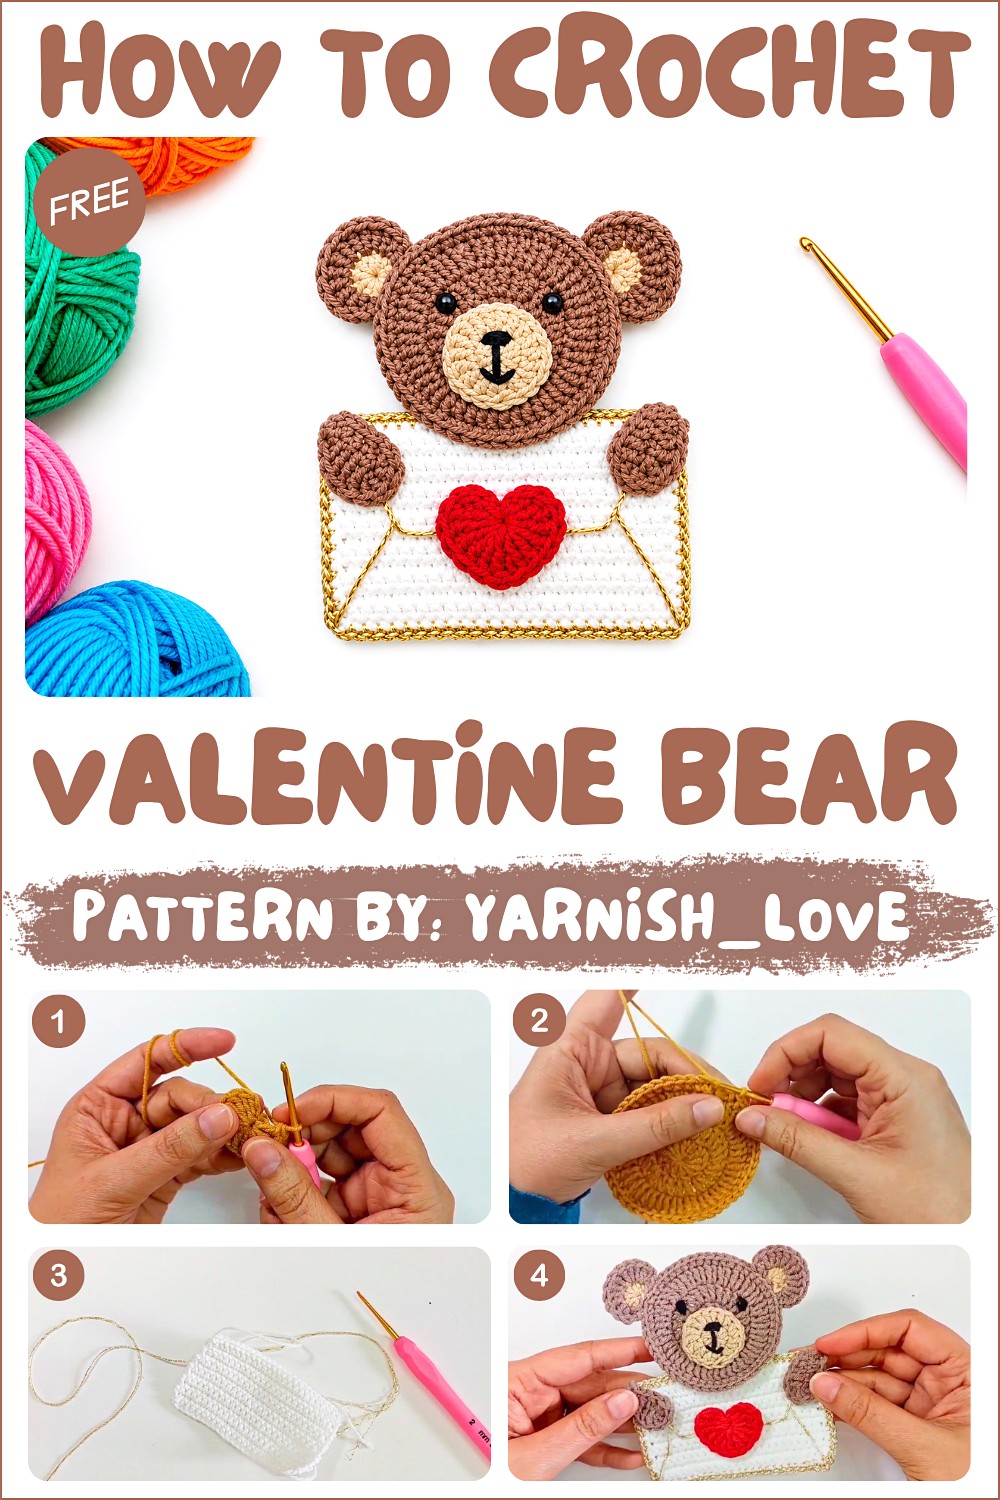
You could place this applique on a handmade card for someone close to you or use it to decorate a fabric pouch. It would also look sweet on a plain tote bag, where the small design can stand out against a simple background. For a matching gift set, use the same colors on the wrapping or card so everything feels connected.
A Look at the Designer
The yarnish_love channel gives familiar romantic symbols a playful crochet twist. This bear and envelope idea pairs a friendly animal with the feeling of sending someone a letter. For people who like gifts with a story, the creator’s original project offers a sweet place to begin and explore it further.
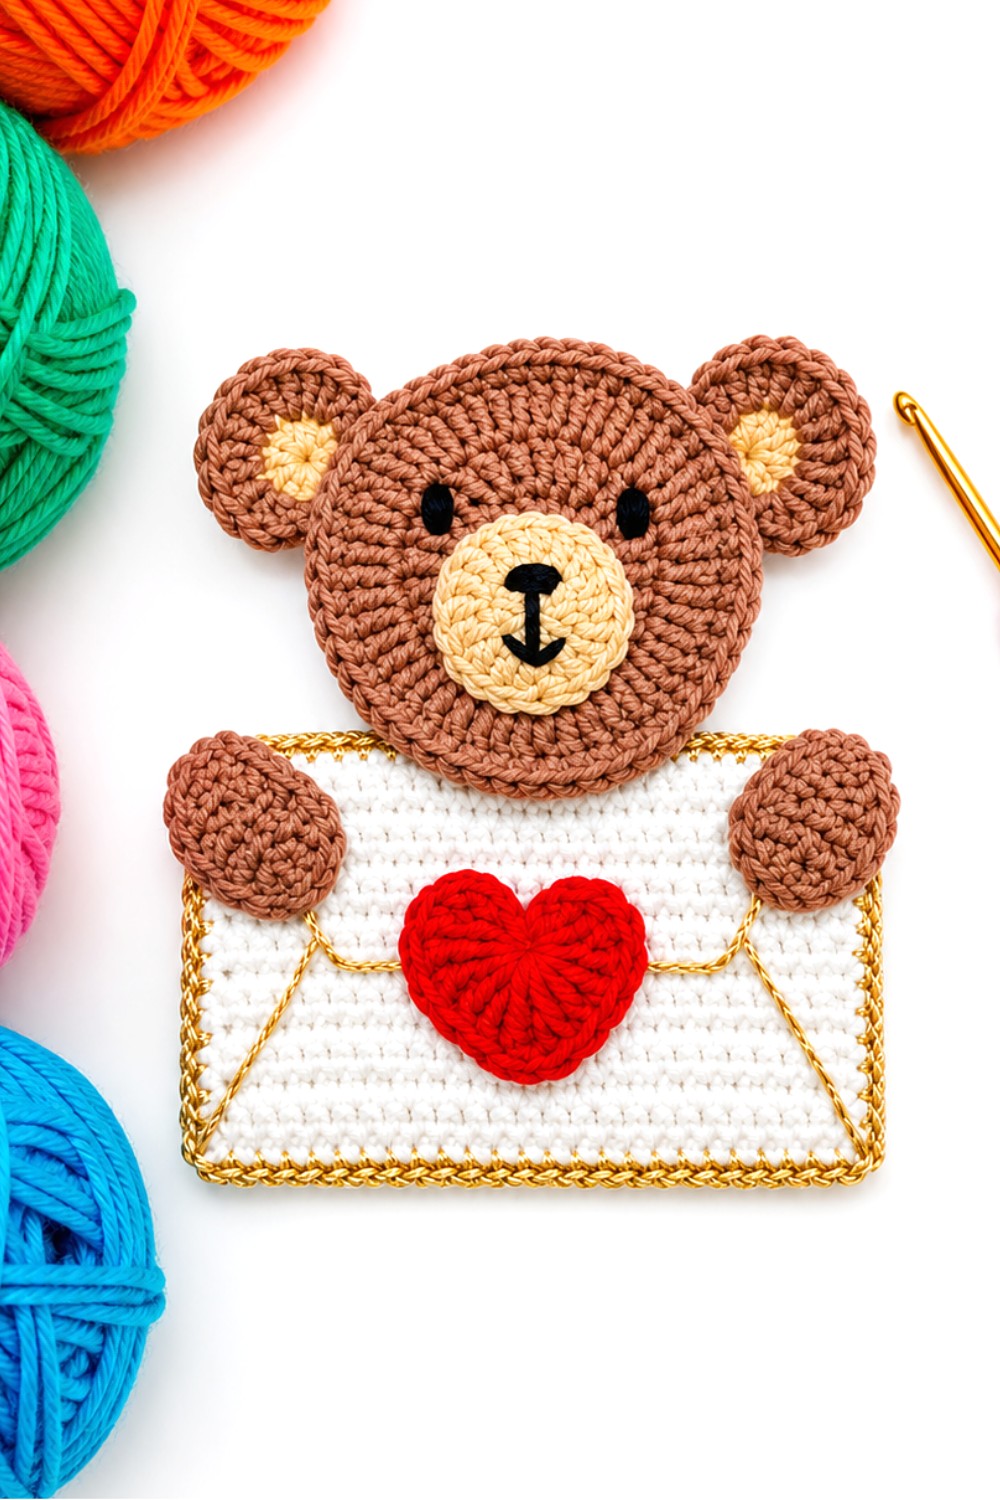
The appeal is not limited to Valentine’s Day. A bear carrying an envelope also suits a birthday greeting, a thank-you present, or a thoughtful note sent just because. Keeping the stitches neat and the pieces arranged clearly helps the shapes remain easy to recognize. The result is a cheerful little accent that can express affection without needing a long message.
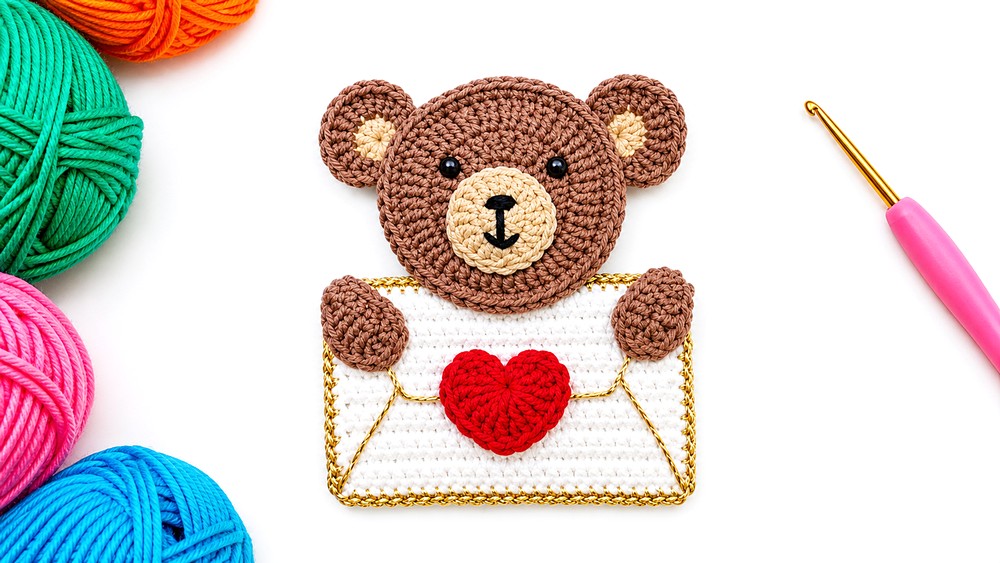
Valentine Bear Appliqué with Envelope Crochet Pattern
This charming Valentine bear appliqué carrying an envelope is perfect for adding a heartfelt touch to your projects. Embellish cards, clothing, blankets, or gift packaging with this adorable and detailed crochet appliqué. Designed with separate components like the head, ears, hands, muzzle, and envelope, this pattern ensures flexibility to customize colors and assemble the pieces into a cohesive design.
Skill Level
Intermediate
This pattern involves a mix of basic stitches, shaping, and constructing individual pieces that are assembled afterward. While the stitches themselves are straightforward, achieving proper alignment and assembly requires intermediate-level experience and attention to detail.
Materials
To create the Valentine bear appliqué, you will need:
- Yarn:
- Alize Cotton Gold yarn, or a similar cotton yarn with a lightweight texture, for clean stitch definition. Use colors such as brown for the bear, cream for the muzzle, and golden or red for the envelope.
- Hooks:
- 2.5 mm hook for crafting the main components like the bear’s head, ears, and muzzle.
- 2 mm hook for adding borders to the envelope for finer detailing.
- Scissors: For trimming yarn ends during the assembly process.
- Tapestry Needle: For weaving in ends and sewing the appliqué pieces together.
Stitch Abbreviations
- ch – Chain
- sc – Single Crochet
- hdc – Half Double Crochet
- dc – Double Crochet
- sl st – Slip Stitch
- magic ring – Magic Adjustable Ring
Useful Tips
- Practice the Magic Ring: If you’re unfamiliar with the magic ring technique, practice on scrap yarn before beginning the pattern. It creates a closed center, perfect for circular shapes like the head and ears.
- Switch Hooks for Precision: Using a finer hook (2 mm) for borders ensures smooth stitches and a delicate finish for smaller components such as the envelope’s edges.
- Adapt the Envelope Size: You can chain more or fewer stitches for the envelope foundation depending on your preferred dimensions.
- Align Pieces Before Sewing: Arrange all pieces on a flat surface before stitching them together to ensure proper alignment and symmetry.
- Blocking: Light blocking (especially for the envelope) helps create crisp edges and ensures neatness for your finished appliqué.
- Use Contrasting Colors: To make the envelope stand out, choose vibrant or metallic yarn for the borders.
Pattern Instructions
Below, you will find the step-by-step instructions for creating the Valentine bear appliqué. Each piece is crafted separately and sewn together during the assembly stage.
1. Head
The head forms the main base of the bear appliqué.
Round 1:
- Begin with a magic ring, then ch 3 (this does not count as a stitch).
- Work 12 dc into the ring. Pull the tail snugly to close the ring completely.
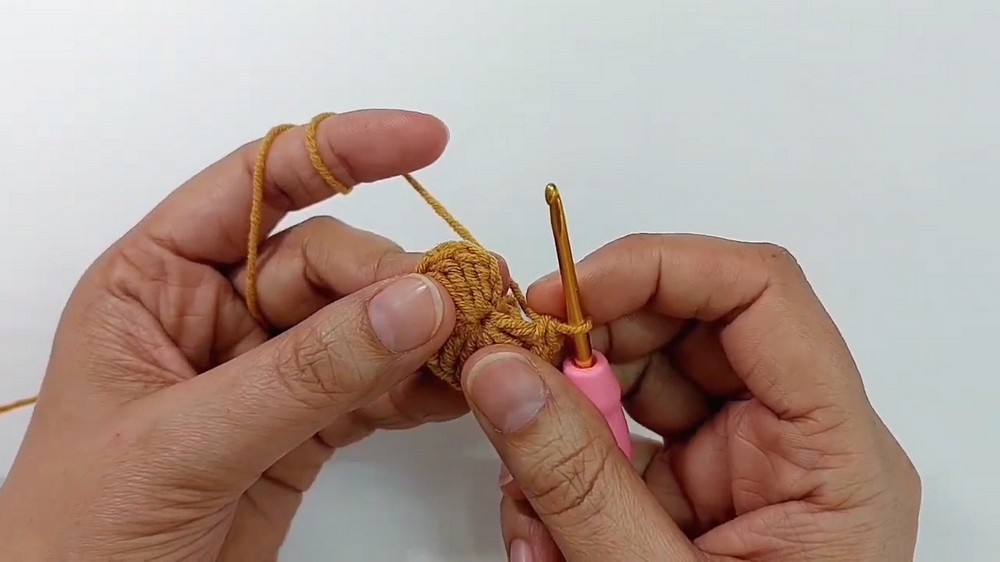
- Join with sl st to the first dc.
Round 2:
- Ch 1, sc in the same stitch, ch 1 (this counts as 1 dc).
- Work 2 dc in each stitch around, resulting in 24 total stitches.
- Sl st to join the round.
Round 3:
- Ch 1, sc in the same stitch, ch 1, then 1 dc in the same stitch.
- Continue with 2 dc in each stitch around, doubling the stitch count to 48 total stitches.
- Sl st to join.
Round 4:
- Ch 1, then work 1 sc in each stitch around (48 total stitches).
- Sl st to finish and cut the yarn, leaving a tail for sewing.
2. Ear
Make two ears to attach to the bear’s head.
Round 1:
- Begin with a magic ring, then ch 2.
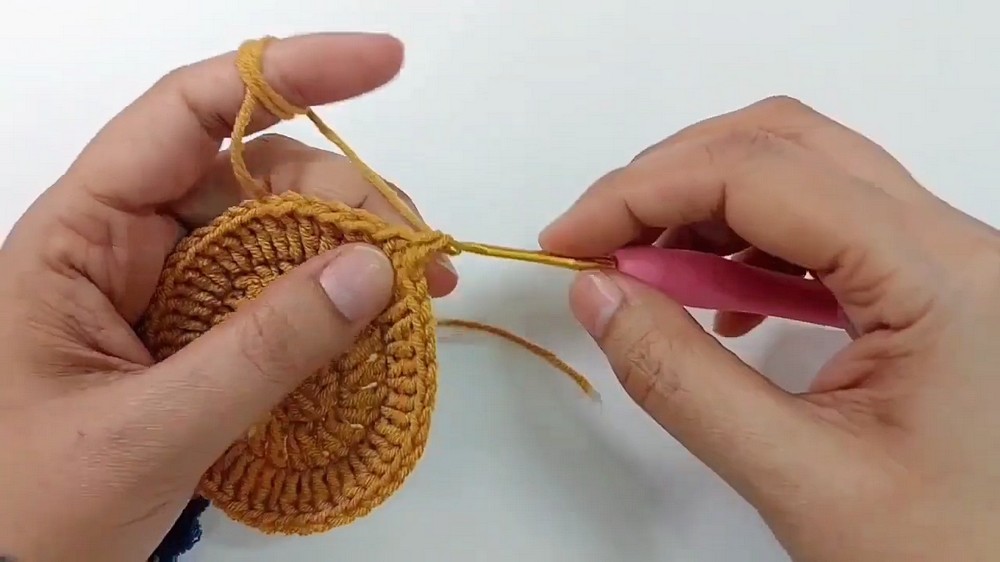
- Work 5 hdc into the ring, then pull the tail tightly to close the circle.
Round 2:
- Join yarn on top of the first stitch with a sl st, then ch 2.
- Work 2 dc in each stitch, finishing with 3 dc in the last stitch to create a slight curve.
Set the ears aside for later assembly.
3. Hand
Make two hands, which will hold the envelope.
- Ch 6, skip the first chain, and turn to work into the back bumps of the chain.
- Work 1 sc in the next two chains.
- 1 hdc in the next stitch, followed by 1 dc in the next stitch.
- In the last chain, work 5 dc to create the curved shape.
- Turn and work back along the opposite side of the chain:
- 1 dc, 1 hdc, 1 sc, 1 sc in the last chain.
Set the hands aside for assembly.
4. Muzzle
The muzzle adds dimension and detail to the bear’s face.
Round 1:
- Create a magic ring, then ch 2.
- Work 8 hdc into the ring. Close the ring tightly.
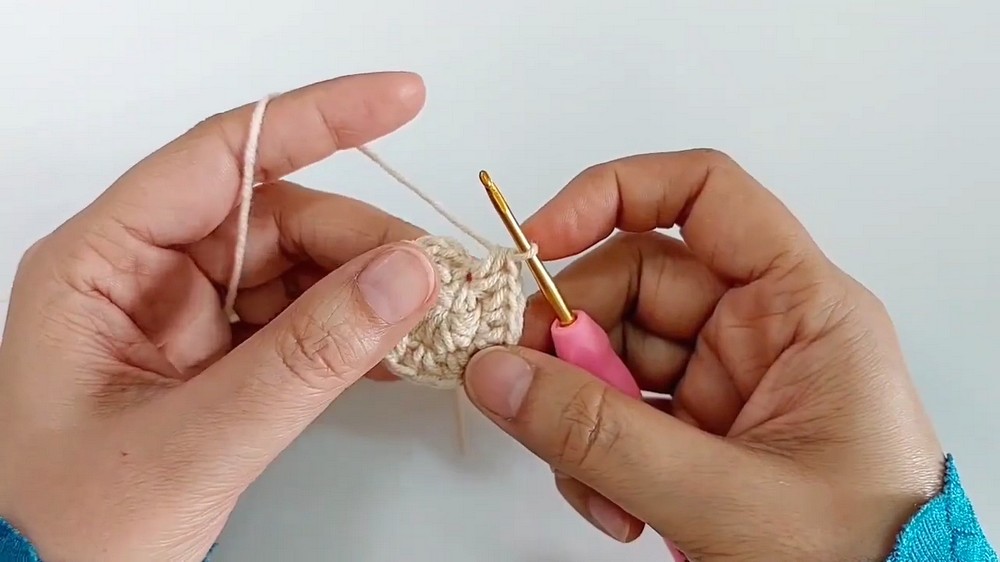
Round 2:
- Ch 2, then work 2 hdc in each stitch around (16 total stitches).
- Sl st to join and cut the yarn.
5. Envelope/Letter
The envelope is created as a simple rectangle with decorative border stitches.
Foundation Row:
- Ch 25 and turn.
- Work 24 sc into the back bumps of the chain, creating a solid first row.
Rows 2-14:
- Ch 1, turn, and work 1 sc into each stitch across (total: 24 stitches per row).
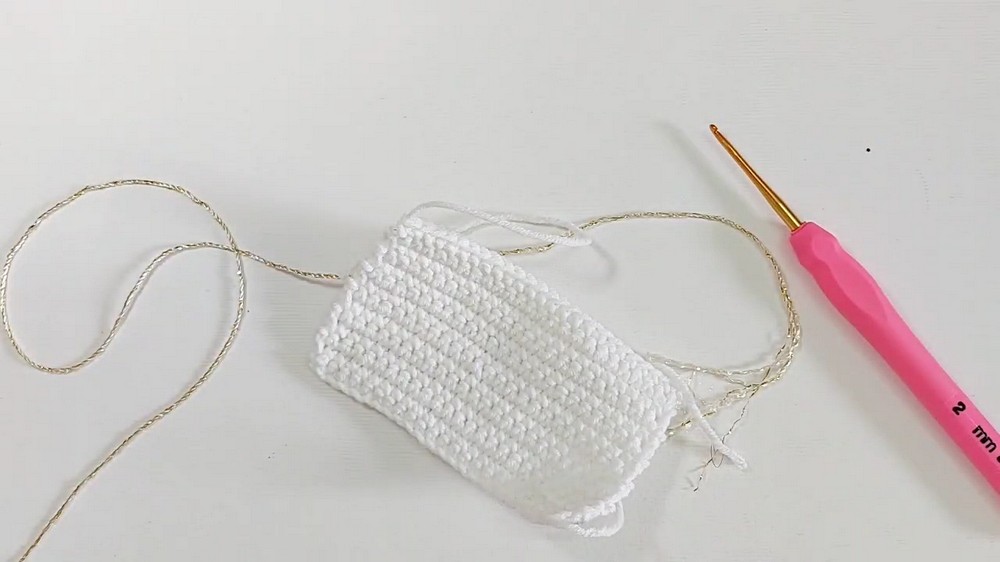
Adjust the number of rows based on your desired envelope size.
Border (using 2 mm hook):
- Join golden yarn at one corner of the rectangle.
- Work 1 sc along each row/stitch around the entire edge.
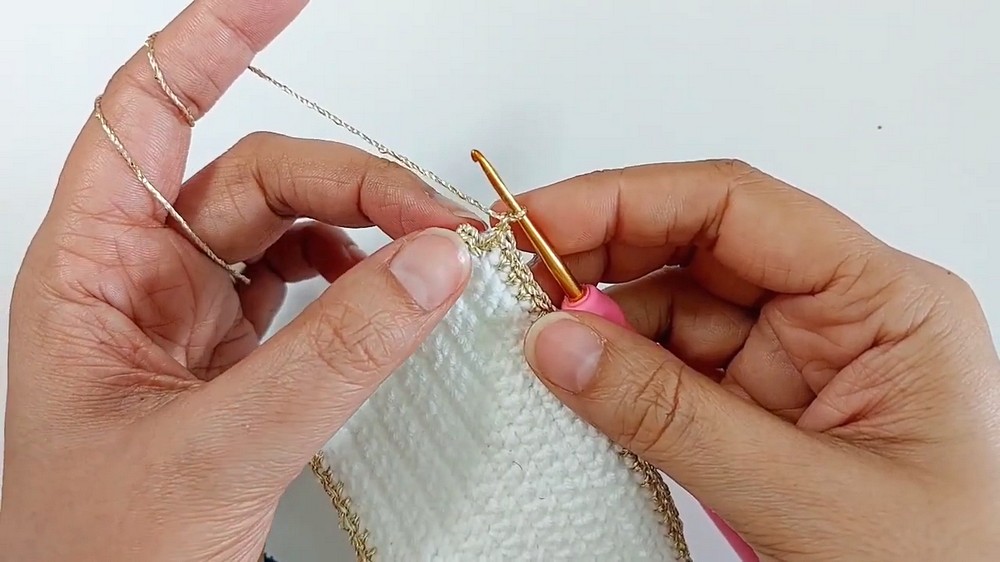
- When reaching corners, ch 1, and work an additional sc into the same space to maintain sharp edges.
Assembly
- Position the components (head, muzzle, ears, hands, envelope) on a flat surface.
- Sew the muzzle to the center of the head and add embroidered facial details (nose, mouth, and eyes).
- Attach the ears symmetrically to the top of the head.
- Sew the hands to the sides of the envelope, curving them slightly to make it appear as though they are holding it.
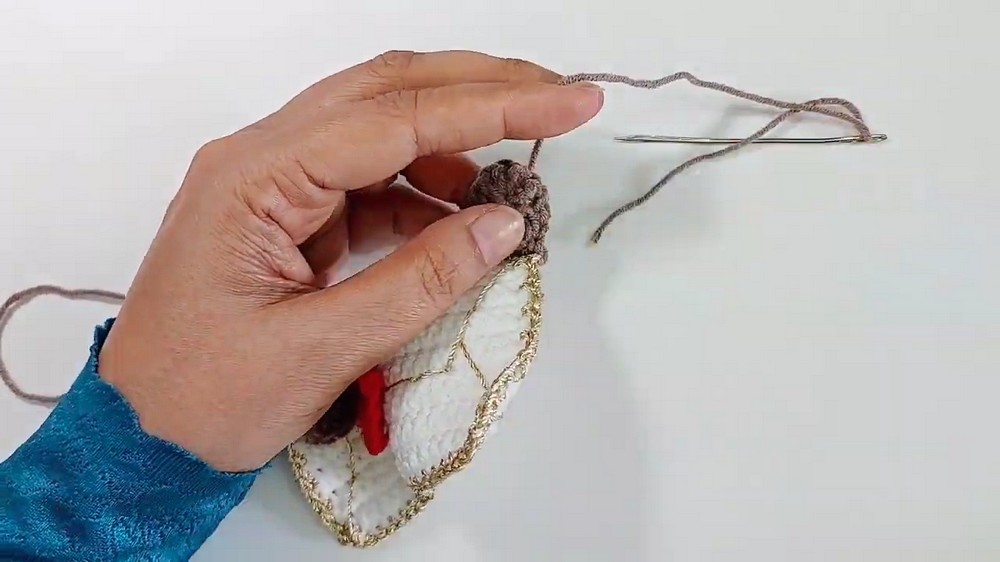
- Attach the completed envelope to the base of the head.
Conclusion
The Valentine bear appliqué featuring the envelope combines creativity and craftsmanship, resulting in an adorable crochet masterpiece. With customizable colors and optional embellishments, this pattern can be tailored to suit various projects. Whether attached to a card, blanket, or gift packaging, the finished appliqué brings warmth and character to your crochet creations. Perfect for expressing affection or celebrating special occasions, this appliqué is a meaningful addition to any handmade project.