Crochet Pumpkin Amigurumi Free Pattern with Easy Tutorial

Bring autumn to life with this Free Crochet Pumpkin Amigurumi Pattern that’s adding cozy seasonal charm and a touch of handmade joy to your home or gifts.
If you enjoy making cute and cozy handmade decorations, a small pumpkin amigurumi is a perfect choice to try next. The Free Crochet Pumpkin Amigurumi Pattern offered by Tejidos Joss provides clear, step-by-step instructions to create a pumpkin that measures around 5 cm high and 6 cm wide. This sweet pumpkin is not only charming but also very versatile.
Free Crochet Pumpkin Amigurumi Pattern for Home Decoration
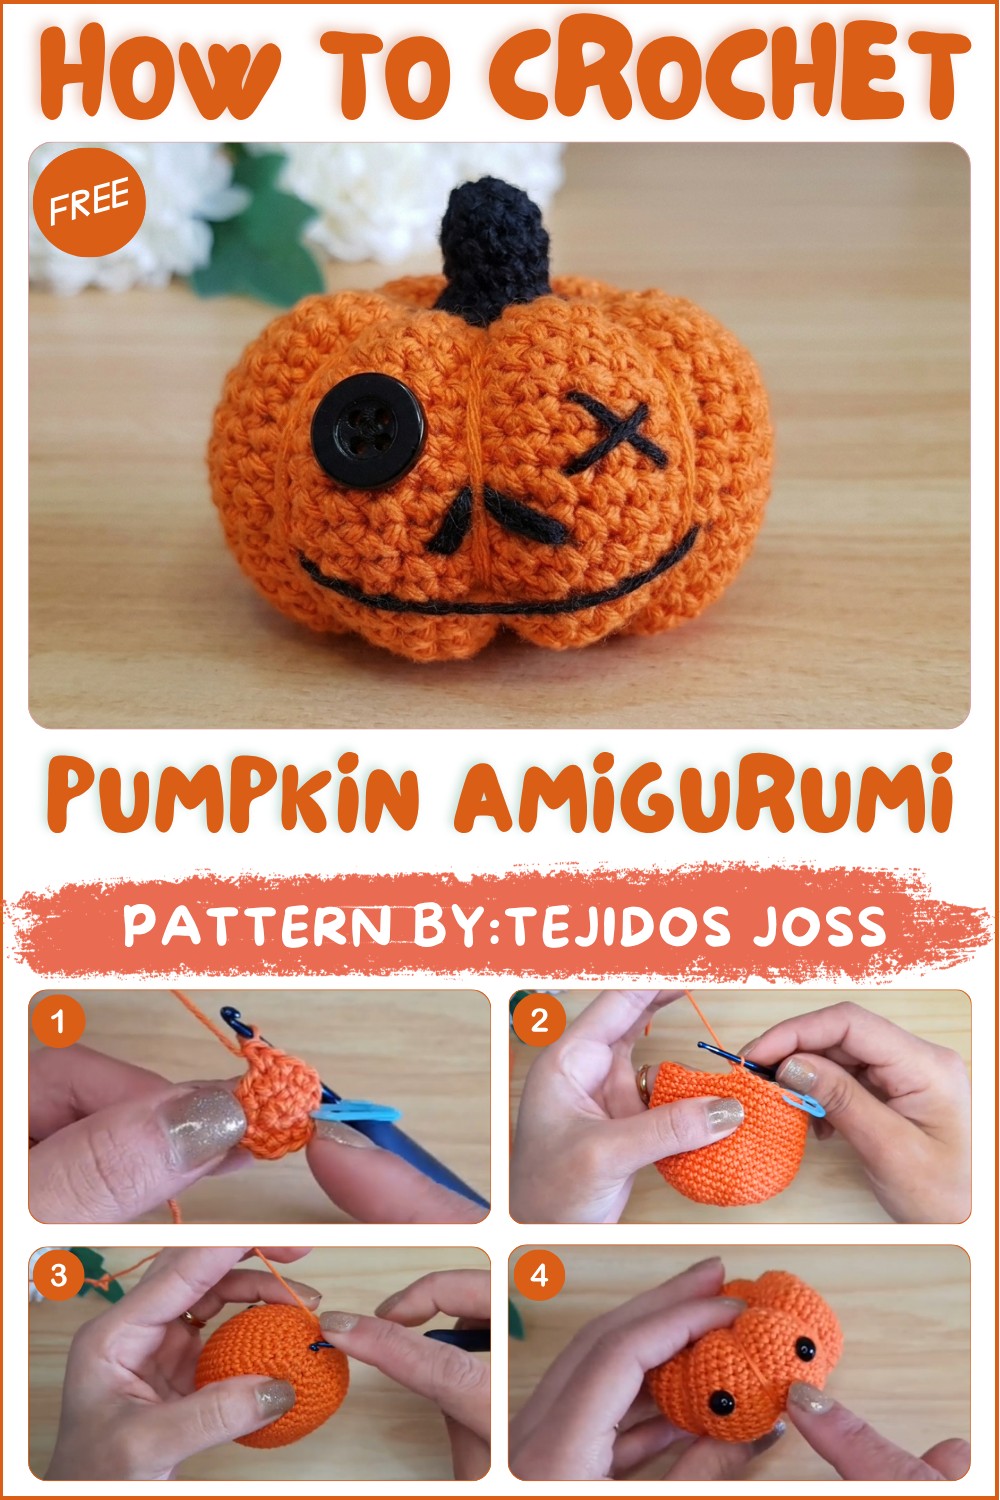
This project stands out with its beautiful round and plump shape, created with soft cotton yarn that has a smooth and firm texture. The pumpkin’s surface is carefully shaped with crochet stitches and divided into sections by yarn lines that mimic the natural grooves of a real pumpkin. Adding to its personality, you can either give it a friendly, cute face or a more playful, spooky expression by embroidering or attaching small safety eyes or buttons. The top features a tiny green stem and curled leaf made with crochet chains that roll up nicely, completing the look perfectly.
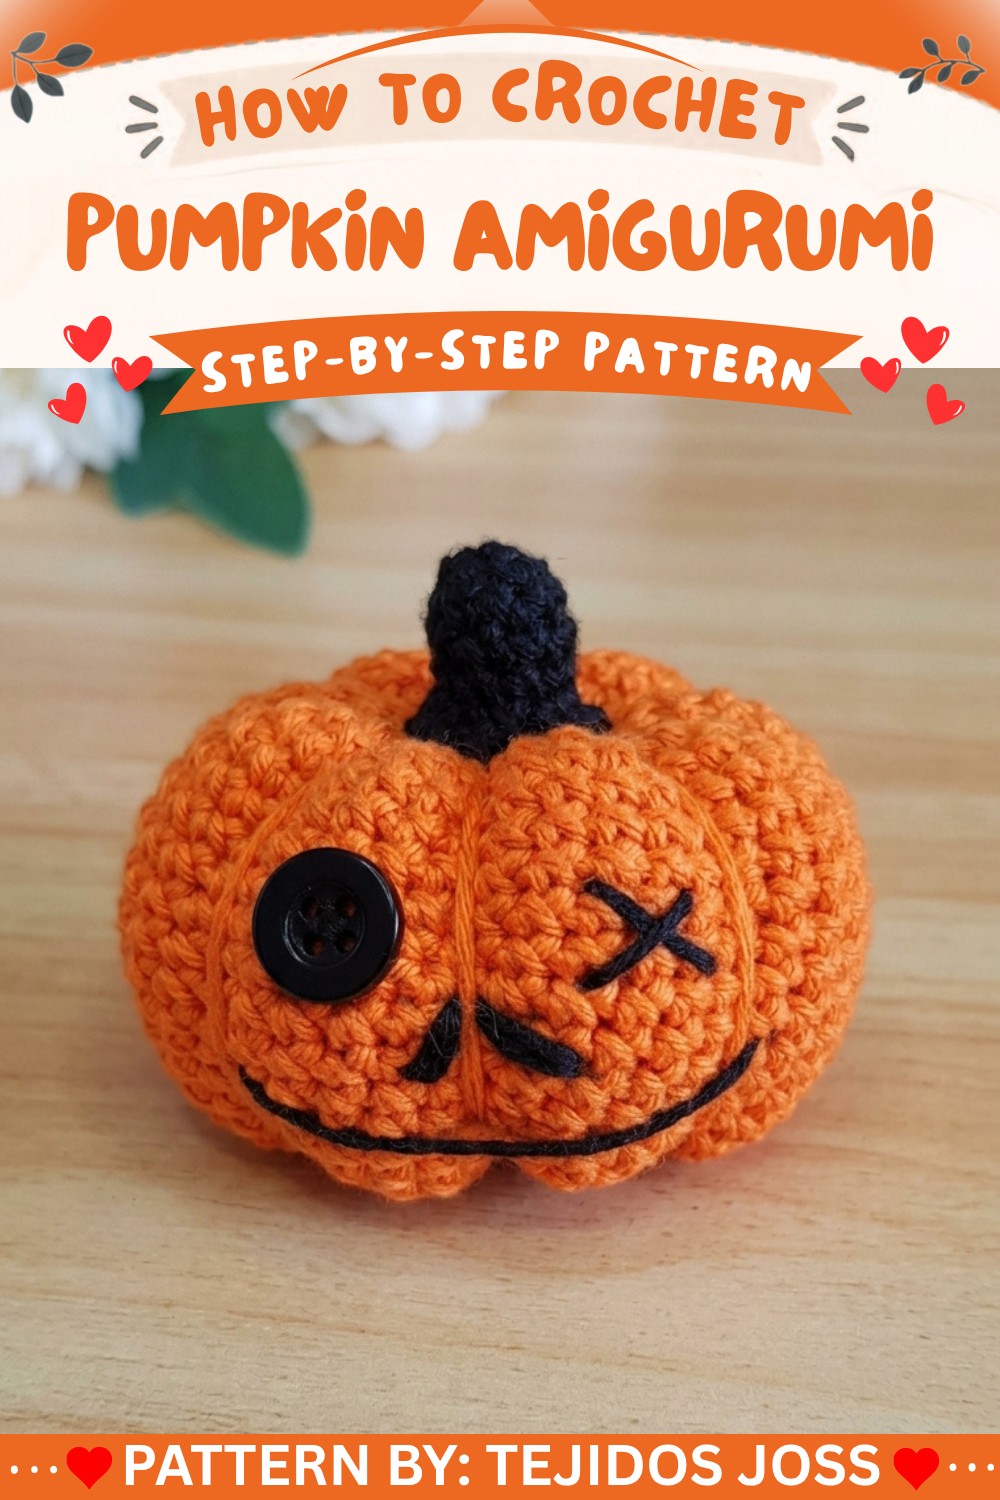
This pumpkin amigurumi is wonderful for decorating your home during autumn, Halloween, or Thanksgiving. It can be used as an ornament on shelves, tables, or even as a keychain or bag charm when adding a small ring. Handmade gifts like this pumpkin make warm, personal presents that friends and family will love, especially those who appreciate unique handcrafted items.
This project is suitable for crocheters with some basic experience who want to practice increases, decreases, and embroidery details. Crocheting this adorable pumpkin is easy to follow and fun, resulting in a charming piece that radiates warmth and creativity in any space.
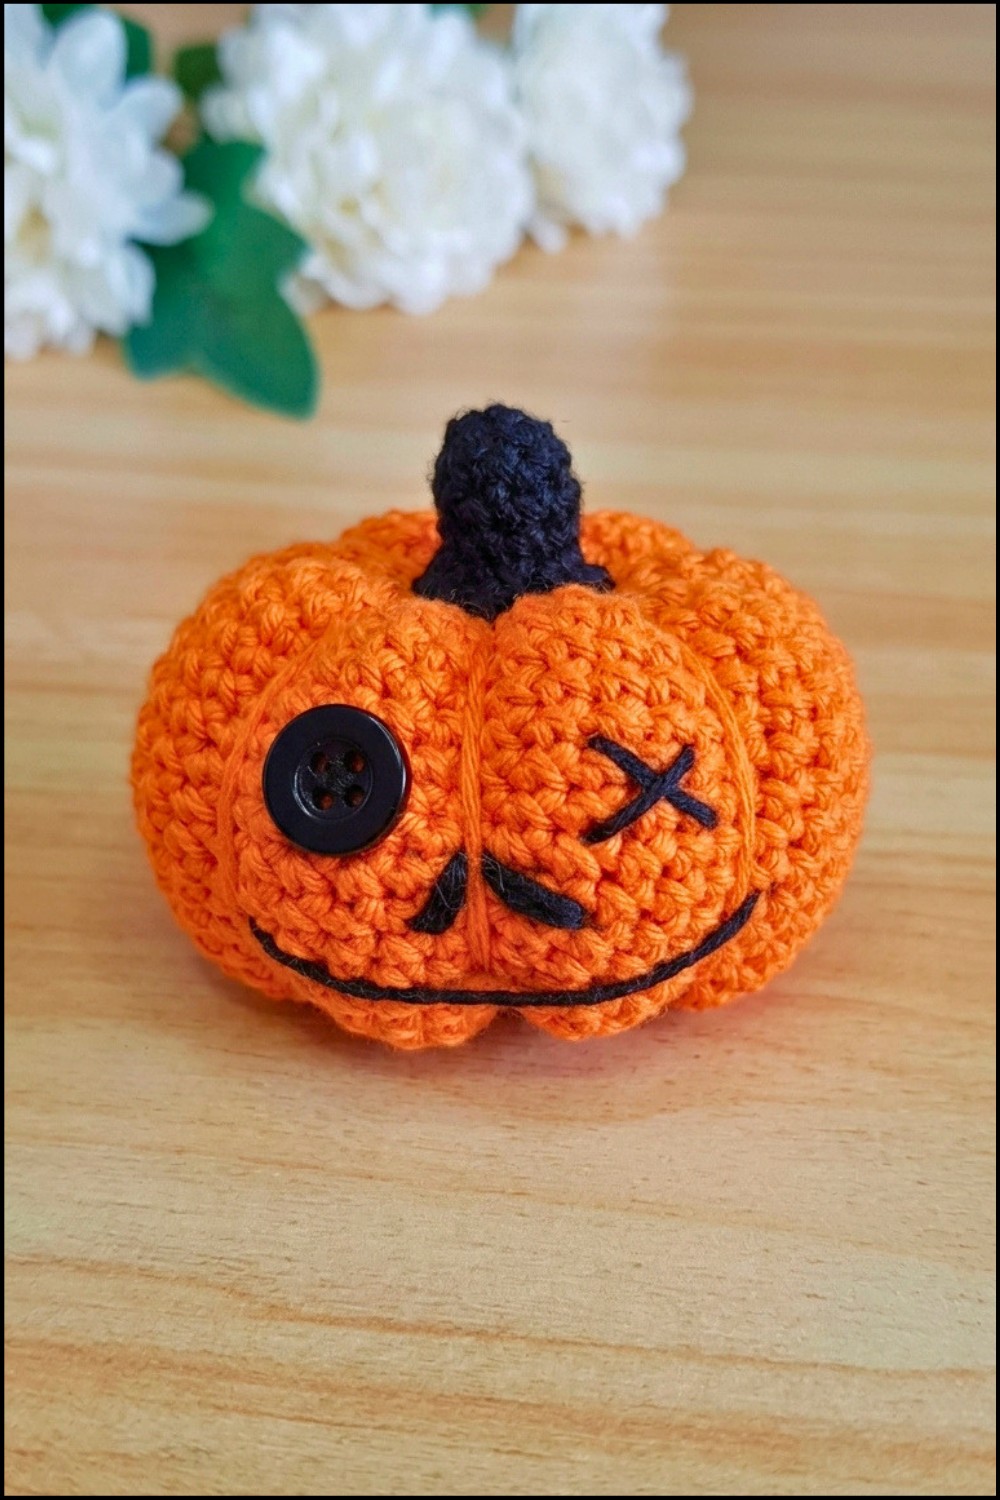
Kawaii Pumpkin Amigurumi Crochet Pattern
Inspired by the iconic autumn symbol, this pattern yields a charming pumpkin—perfect as a decorative piece, keychain, or adorable gift. You can add either a cute, smiling face or a spookier, stitched expression for Halloween or everyday fun. Step-by-step instructions ensure that both amigurumi beginners and experienced crafters can enjoy bringing these expressive pumpkins to life.
Pattern Basic Points
Key Construction Features:
- Seamless Crochet in the Round for smooth pumpkin shaping.
- Face Customization for cheerful or spooky personality options.
- 3D Pumpkin Ridges using strategic shaping and finishing yarn techniques.
- Sturdy Stem and Leaf crafted separately for realistic finishing.
Special Notes
- Yarn Thickness: 2mm cotton recommended for the soft yet firm structure.
- Custom Eyes: Use safety eyes (8mm) or sew on a small black button and embroider for extra character.
- Stuffing: Even, firm stuffing enhances the pumpkin’s 3D ridges and stability.
- Finish: Always leave a long tail after closing to create the defining pumpkin lines.
Skill Level
Beginner to Adventurous Beginner
You’ll need to know:
- Magic ring,
- Single crochet (sc),
- Increases and decreases,
- Basic embroidery techniques.
No prior amigurumi experience required if you’re comfortable with basic crochet stitches!
Materials
- Yarn: 2mm thick premium cotton in orange (pumpkin), green (stem/leaf), black (face/embroidered option), pink (cheeks)
- Crochet Hook: 2.5 mm
- Safety Eyes: 8 mm (or small black button for alternative face)
- Notions: Stitch marker, embroidery/tapestry needle, sewing thread and fine needle for button, scissors, synthetic fiber stuffing
- Optional: Keychain ring/blush for cheeks
Measurements / Sizing
- Finished Size: ~5 cm tall, ~6 cm width
Gauge
- Gauge: Not critical, but stitches should be tight to prevent stuffing from showing.
- Approximation: 6 rounds single crochet ≈ 2–2.5 cm diameter.
Stitch Abbreviations
| Abbreviation | Meaning |
|---|---|
| MR | Magic Ring |
| sc | Single Crochet |
| inc | Increase (2 sc in 1 st) |
| dec | Decrease (sc 2 sts together) |
| sl st | Slip Stitch |
| ch | Chain |
| st(s) | Stitch(es) |
Special Stitches
- Decrease (dec): Insert hook into front loop of next two stitches, yarn over and pull through both, yarn over and pull through two loops on hook.
- Embroidered features: Use black/pink thread/yarn for cute or spooky details, as described in the pattern.
- Pumpkin Ridges: After closing, use long tail and a tapestry needle to shape ridges from top to bottom.
Step-by-Step Pattern
Pumpkin Body (in Orange)
- Round 1:
- MR, work 6 sc into ring. (6)
- Round 2:
- 6 inc (2 sc in each st around) (12)
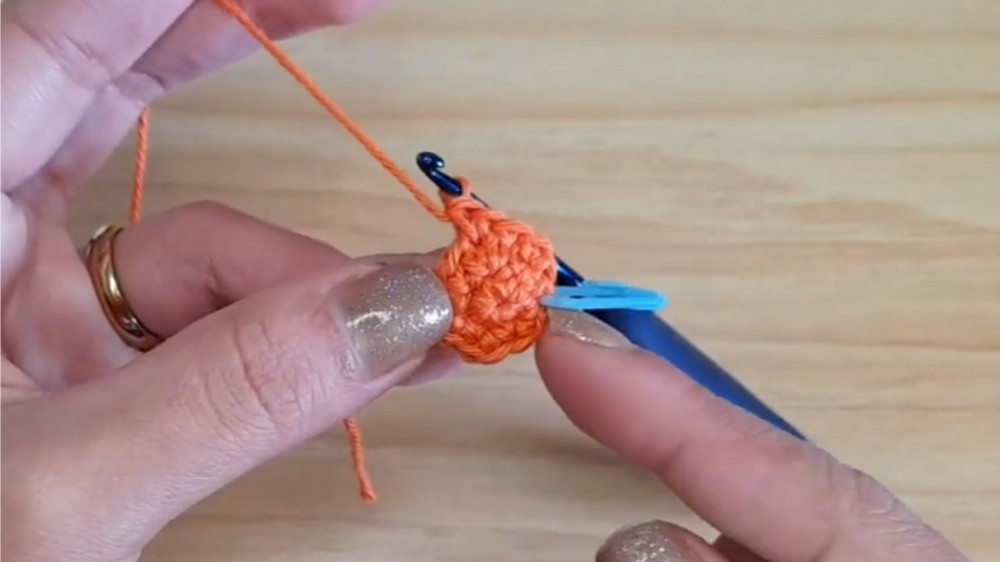
- 6 inc (2 sc in each st around) (12)
- Round 3:
- (1 sc, inc) repeat 6 times (18)
- Round 4:
- (2 sc, inc) repeat 6 times (24)
- Round 5:
- (3 sc, inc) repeat 6 times (30)
- Round 6:
- (4 sc, inc) repeat 6 times (36)
- Round 7:
- (5 sc, inc) repeat 6 times (42)
- Rounds 8–20:
- 1 sc in each st (42) (work evenly for all 13 rounds)
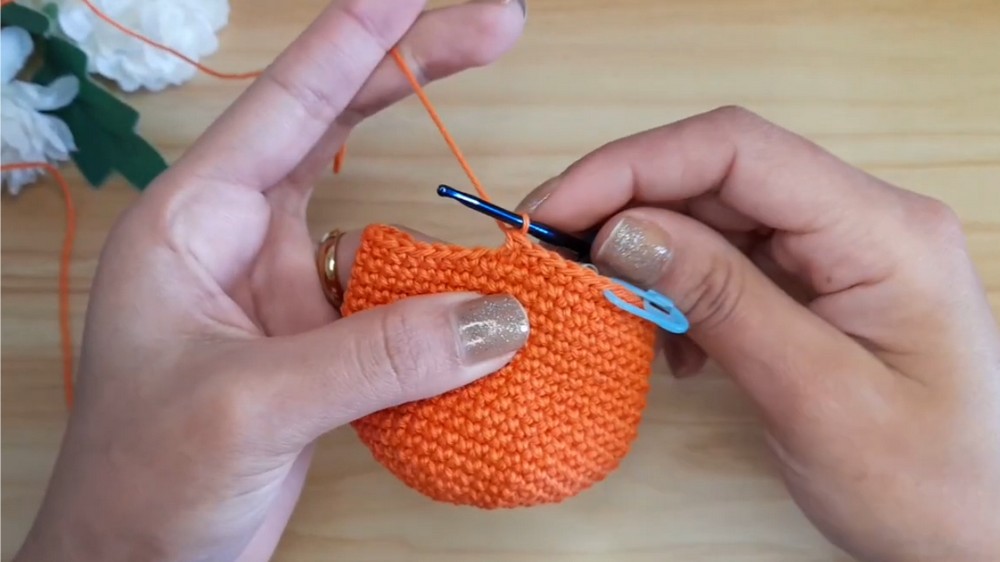
- Round 21:
- (5 sc, dec) repeat 6 times (36)
- Round 22:
- (4 sc, dec) repeat 6 times (30)
- Round 23:
- (3 sc, dec) repeat 6 times (24)
- At this point:
- If adding safety eyes, insert now between rounds 13–14, separated by 6 stitches.
- If using a button, wait until the very end.
- Stuff firmly after round 23.
- At this point:
- (3 sc, dec) repeat 6 times (24)
- Round 24:
- (2 sc, dec) repeat 6 times (18)
- Round 25:
- (1 sc, dec) repeat 6 times (12)
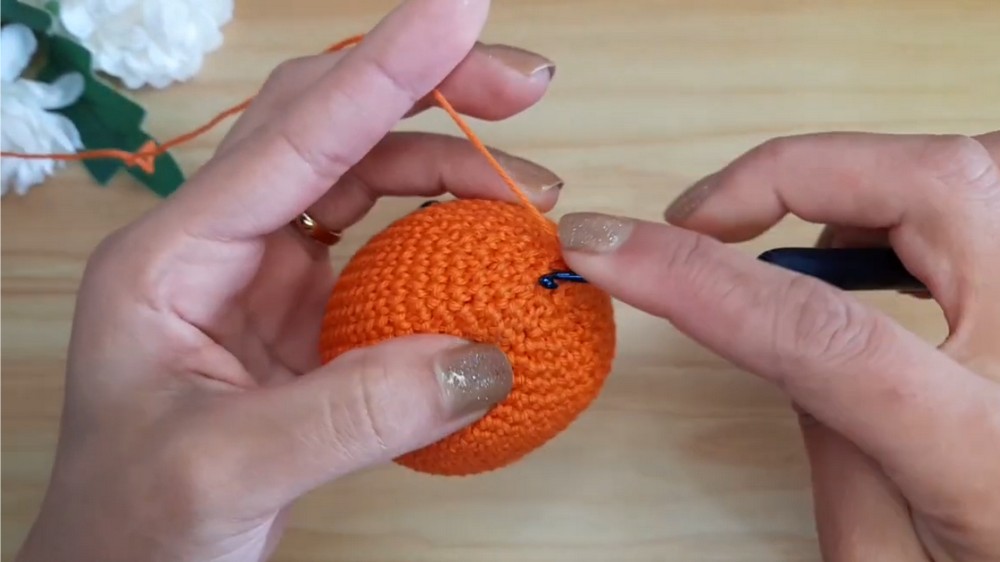
- (1 sc, dec) repeat 6 times (12)
- Round 26:
- 6 dec (6)
- Finish off:
- Sl st into next st, ch 1, and (very) long tail for ridges and sewing.
- Pull to tighten and close hole but do not weave in: use the tail for shaping next.
- Finish off:
- 6 dec (6)
Creating Pumpkin Ridges
- Use tapestry needle and long tail.
- Thread from bottom to top (where MR started).
- Pull yarn tightly along the exterior, then insert back through the base, pulling each “line” slightly to indent and form the classic pumpkin groove.
- Repeat:
- Form lines in the front, back, and at least 8 evenly spaced segments around.
- Secure:
- Tie off underneath, hide the knot, and/or bury yarn tail inside pumpkin.
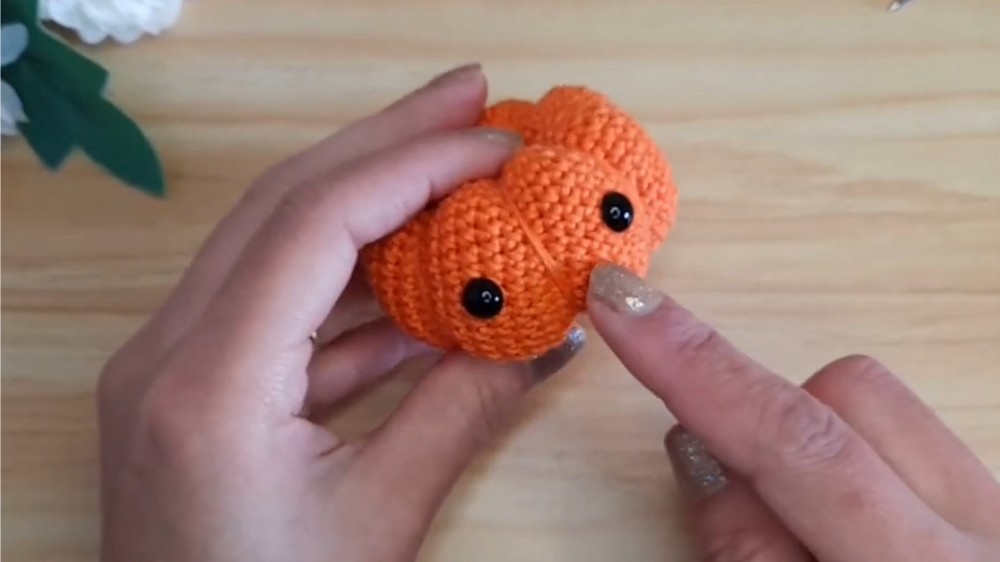
- Tie off underneath, hide the knot, and/or bury yarn tail inside pumpkin.
Pumpkin Face
Cute Face (Safety Eyes & Smile)
- Insert safety eyes between rounds 13–14, 6 sts apart before final stuffing/closing.
- Embroider mouth:
- With black yarn or thread, create a small upside-down triangle or a smiling mouth two rounds below the eyes.
- Blush/cheeks:
- With pink yarn, make two tiny straight stitches under each eye for rosy cheeks.
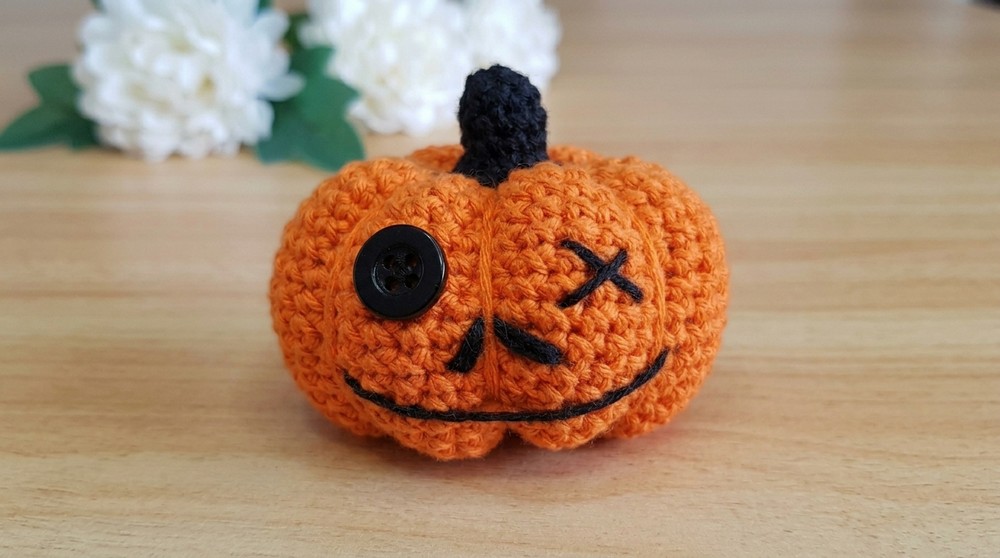
Spooky Face (Button & X Eye)
- Sew a small black button in place of one eye.
- Embroider stitched “X” for the other eye using black thread.
- Embroider nose and mouth:
- Nose: diagonal stitches (two passes each) for a triangle.
- Mouth: Long horizontal or stitched mouth beneath the button.
Pumpkin Stem and Leaf (in Green)
- Round 1:
- MR, 8 sc into ring (8)
- Rounds 2–5:
- 1 sc in each st (8)
- Round 6:
- 8 inc (2 sc in each st) (16)
- Leaf:
- Ch 10, starting from second ch from hook, 2 sc in each ch (forms a curly vine).
- Sl st into next st of last round.
- Cut long tail for sewing; fasten off.
Pumpkin Assembly
- Sew stem/leaf to top center of pumpkin.
- Attach carefully by catching both the base of the stem and several pumpkin stitches so it remains upright.
- Shape leaf by coiling vine as desired.
- Attach keychain (optional): Pull a loop of green or orange yarn through stem, thread keyring, and knot securely.
- Finish face details: For button/X version, embroider after main features are set.
Assembly & Finished Size
- Your finished pumpkin should measure approximately 5 cm in height, 6 cm width.
- The completed pumpkin remains sturdy, plush, and full of personality, whether you choose a cute or spooky face.
Conclusion
You’ve now crocheted your own Kawaii Pumpkin Amigurumi—an ideal project for autumn, Halloween, or as a year-round cheer-bringer. This pattern combined classic amigurumi shaping, accessible techniques, and expressive embroidery so that crocheters at all skill levels could succeed.