Easy Crochet Duck Pattern | Free Amigurumi Tutorial for Beginners

Bring charm to your projects with this free crochet duck guide, helping you design an adorable and thoughtful piece for gifts or home décor effortlessly.
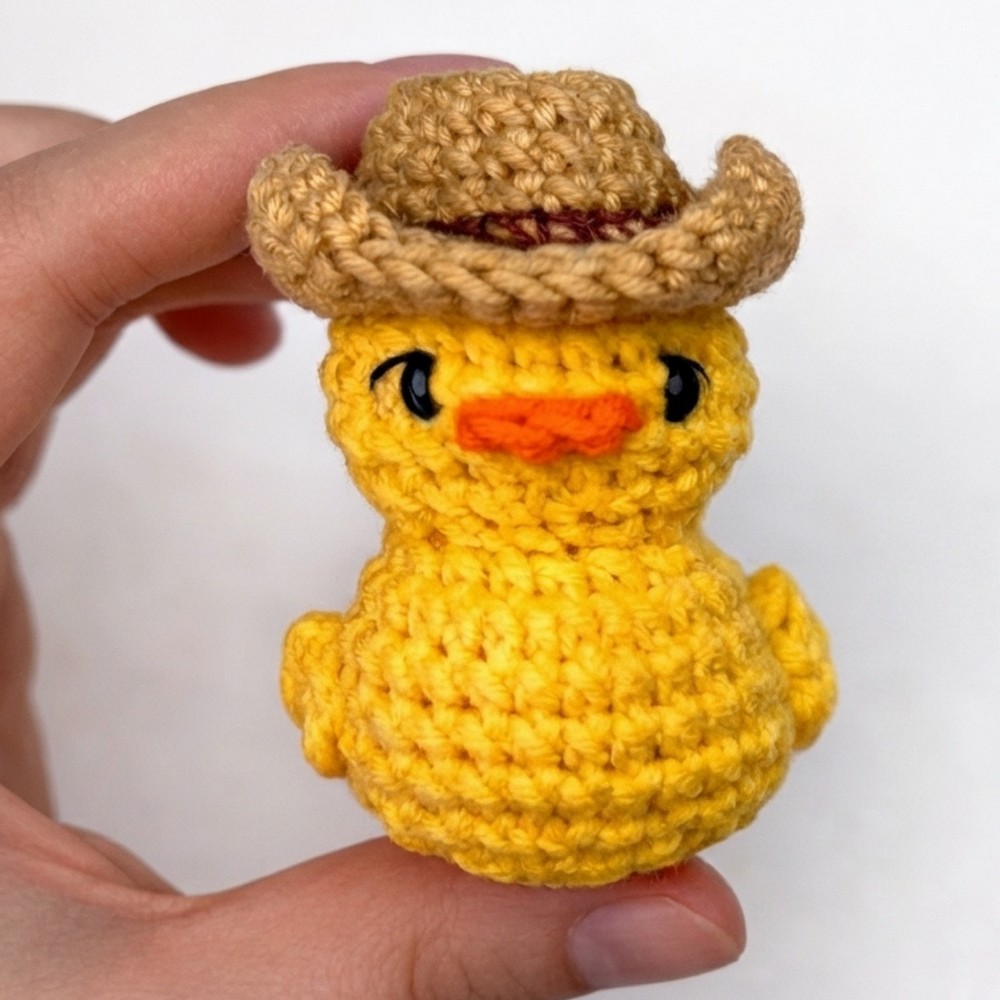
Making soft, handmade toys has always been a relaxing and rewarding activity for me. The Free crochet Duck pattern from Gul’s Cozy Crochet offers an easy and delightful way to create a charming little duck that stands out with its bright colors and friendly design. This project is perfect for those who enjoy working with yarn and want to add a touch of warmth to their space.
Crochet Duck for Kids Free Amigurumi Pattern
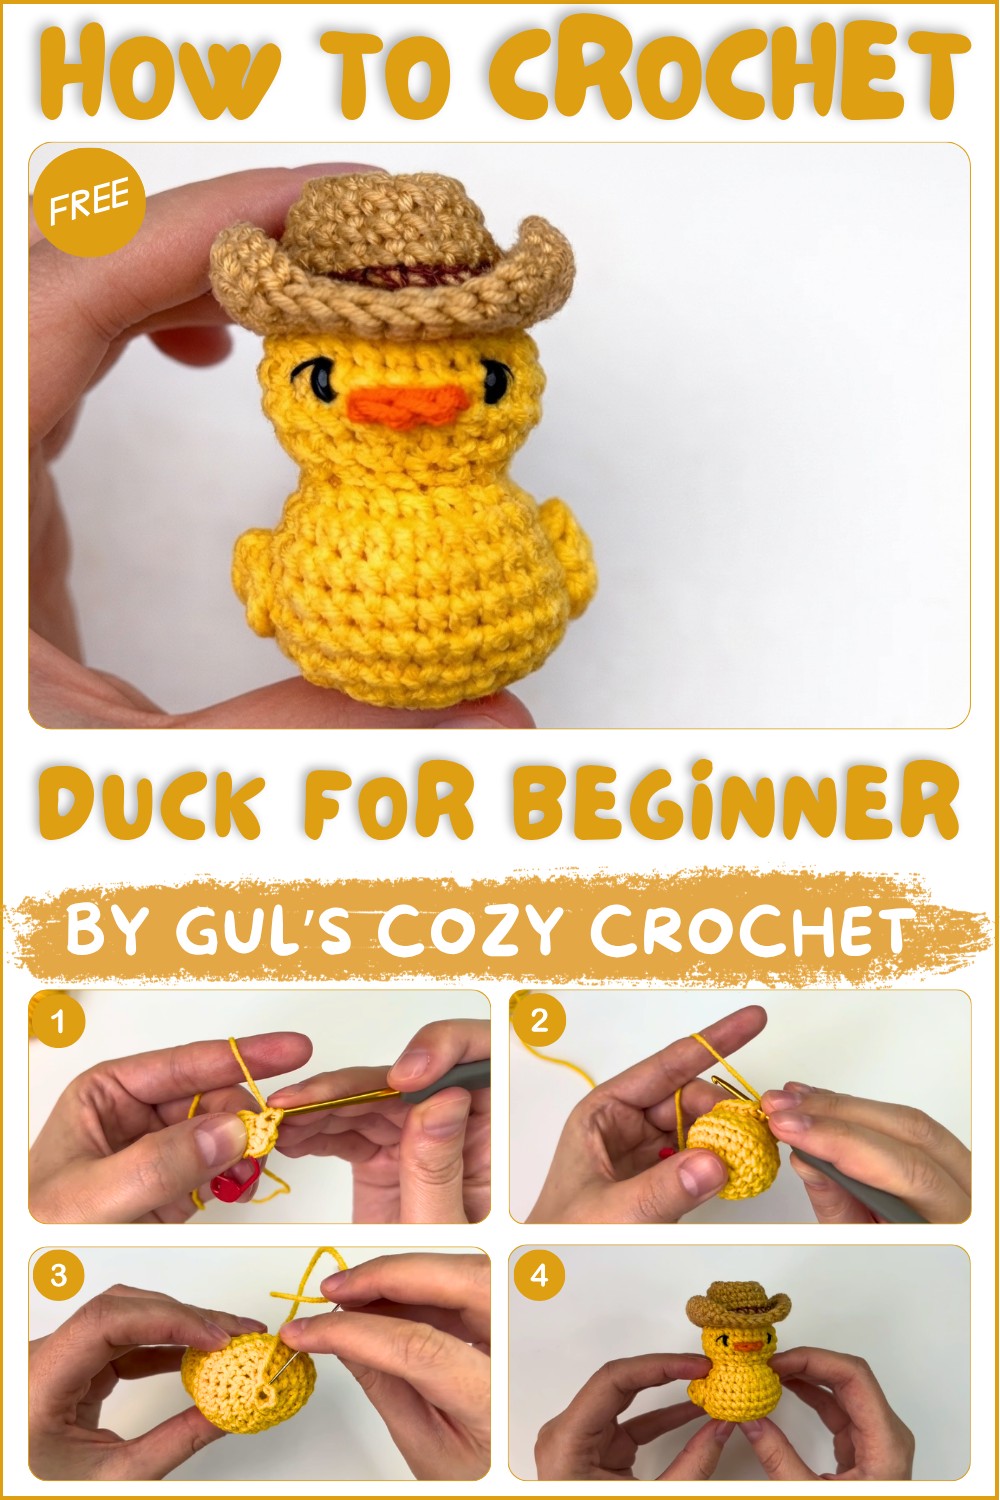
The duck features a round, plump body with smooth stitches and delicate wings and a beak that give it character. Its cheerful appearance makes it suitable as a decorative item or a cuddly toy for children. The combination of yellow and orange yarn provides a vibrant, sunny look that brightens any room.
What makes this creation special is how well it works as a thoughtful gift. A handmade duck can bring a smile to someone’s face, making occasions like birthdays or baby showers even more meaningful. Its compact size also means it’s easy to personalize and share.
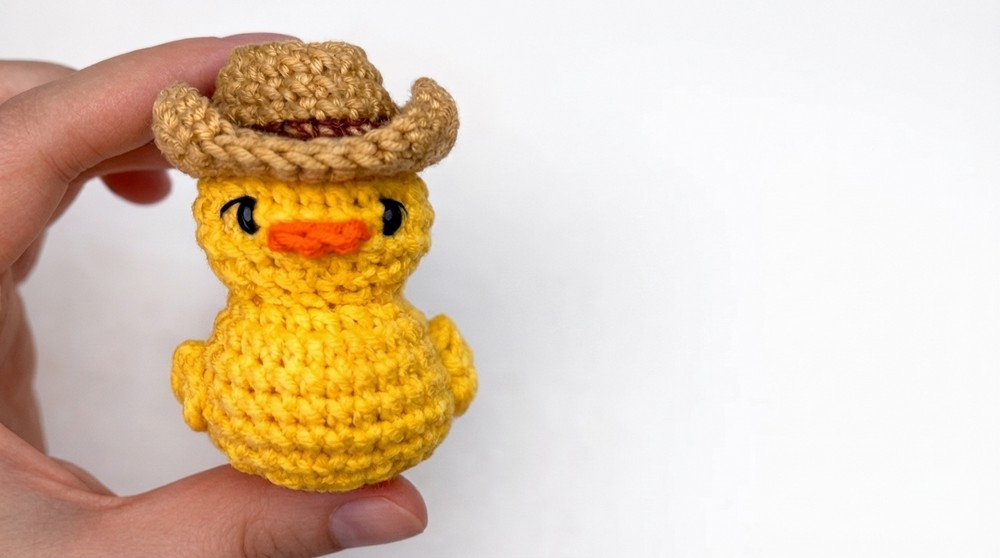
Besides being a lovely present, this free crochet duck is excellent for practicing crocheting skills without overwhelming complexity. The detailed instructions from Gul’s Cozy Crochet guide you through each step, allowing even beginners to follow along comfortably.
In short, this little duck project is simple, enjoyable, and filled with charm, an ideal way to bring a bit of handmade coziness into your life or the lives of those you care about.
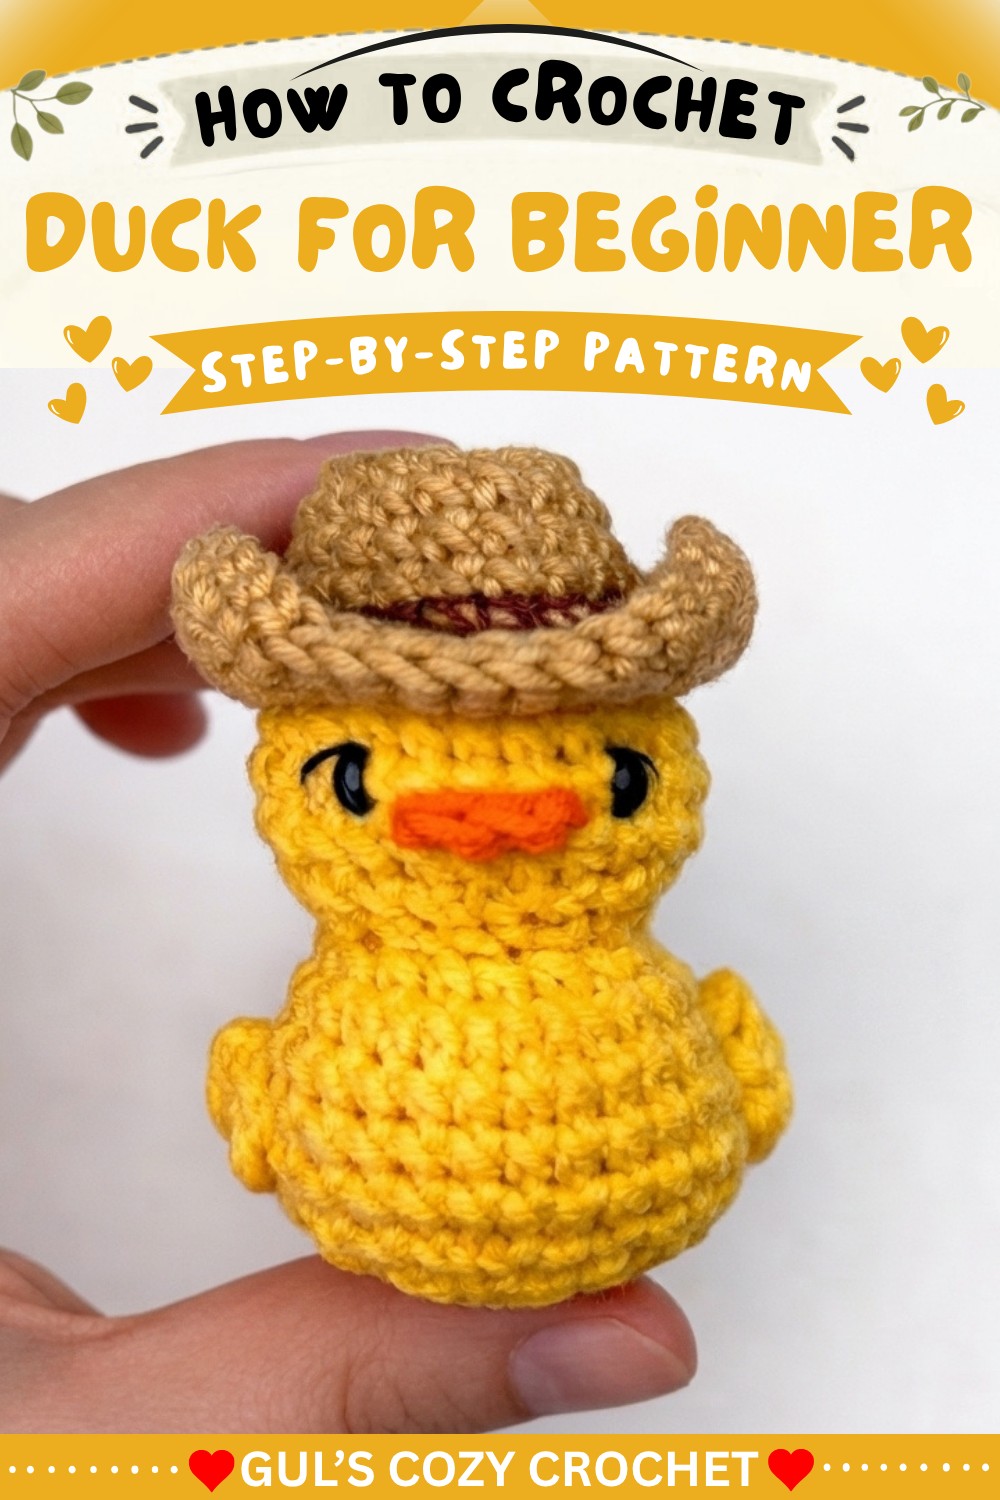
Amigurumi Duck Crochet Pattern
Welcome to this step-by-step amigurumi duck crochet pattern, designed and structured directly from the provided transcription. Follow along closely for detailed instructions, tips, and guidance as you craft your own adorable pocket-sized duck.
Pattern Highlights
Key Features
- Worked in continuous rounds (unless otherwise noted)
- Detailed construction: Seamlessly join the head and body for a neat look
- Simple wing construction: Quick and effective for a finished appearance
- Distinctive beak technique: Uses front loops for realistic placement
Construction Steps
- Head: Crocheted in the round, shaped with increases and decreases, then stuffed
- Body: Worked directly onto the head using a foundation chain for shaping
- Wings: Made separately and sewn on
- Beak: Created directly onto the face using contrasting color in front loops
Notes
- Work continuously in spirals; use a stitch marker to mark the beginning of each round.
- Instructions use US crochet terminology.
- When working with small stitches, stuff the pieces firmly but not so tight that stitches are overstretched.
- Safety eyes are suggested, but embroidery can replace them for child safety.
- This pattern is intended for personal, educational enjoyment.
- Exact times in the video transcription are omitted, but all technical content is preserved.
Skill Level
Beginner to Easy Intermediate
- Suitable for beginners familiar with the magic ring, single crochet, increases, decreases, and working in the round.
- Some experience with joining pieces and simple embroidery (or attaching safety eyes) is helpful.
Materials
- Yarn: Light (3) / Double Knitting (DK) weight, 4-ply.
- Main Color: For head, body, and wings (e.g., yellow or white)
- Contrast Color (Orange): For beak (small amount)
- Crochet Hook: 2.5 mm
- Safety Eyes: 4 mm (or black embroidery yarn)
- Stuffing: Polyester fiberfill or similar
- Notions: Stitch marker, yarn needle, scissors
Measurements / Sizing
- Finished Duck Size (Approximate):
Height: 6–7 cm (depending on yarn and stuffing) - No schematic necessary due to simplicity and small size
Gauge
- Gauge is not critical for amigurumi; tight stitches are required so stuffing does not show.
- Example swatch: 6 sc x 6 rows ≈ 2.5 cm x 2.5 cm (1″ x 1″) in pattern yarn using 2.5mm hook.
Stitch Abbreviations
| Abbreviation | Stitch Name |
|---|---|
| MR | Magic Ring |
| sc | Single crochet |
| inc | Increase (2 sc in next st) |
| dec | Decrease (sc 2 stitches together) |
| ch | Chain |
| sl st | Slip stitch |
| hdc | Half double crochet |
| dc | Double crochet |
| BLO | Back loop only |
Special Stitches
- Magic Ring (MR): Adjustable loop to begin rounds; minimizes central hole.
- Increase (inc): Work 2 sc in the same stitch.
- Decrease (dec): Single crochet 2 stitches together.
Pattern Instructions
Head
- Round 1:
MR, 6 sc into ring. (6 sts)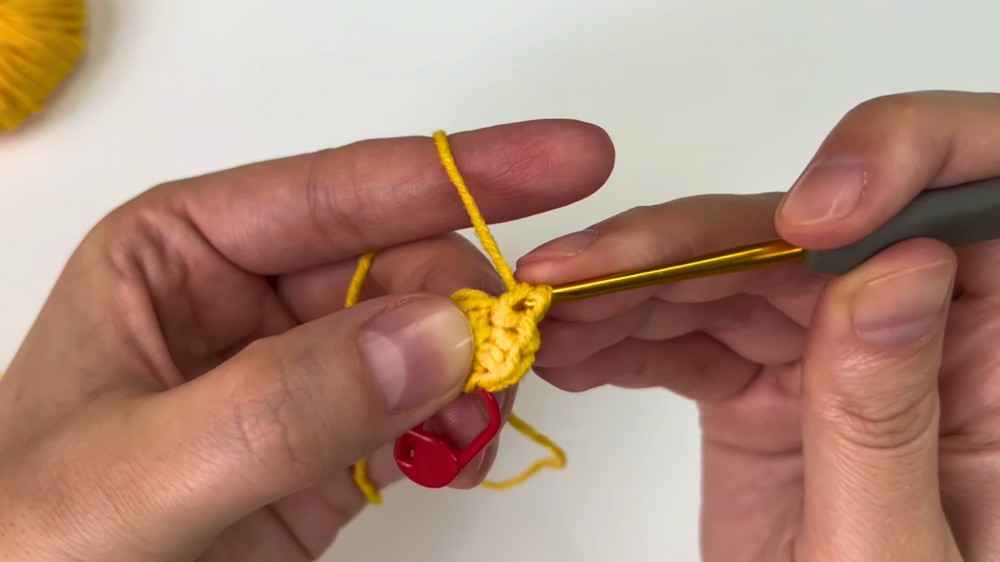
- Round 2:
Inc in every st. (12 sts) - Round 3:
[1 sc, inc] around (repeat 6 times). (18 sts) - Round 4:
[2 sc, inc] around (repeat 6 times). (24 sts) - Rounds 5–6:
1 sc in each st around. (24 sts)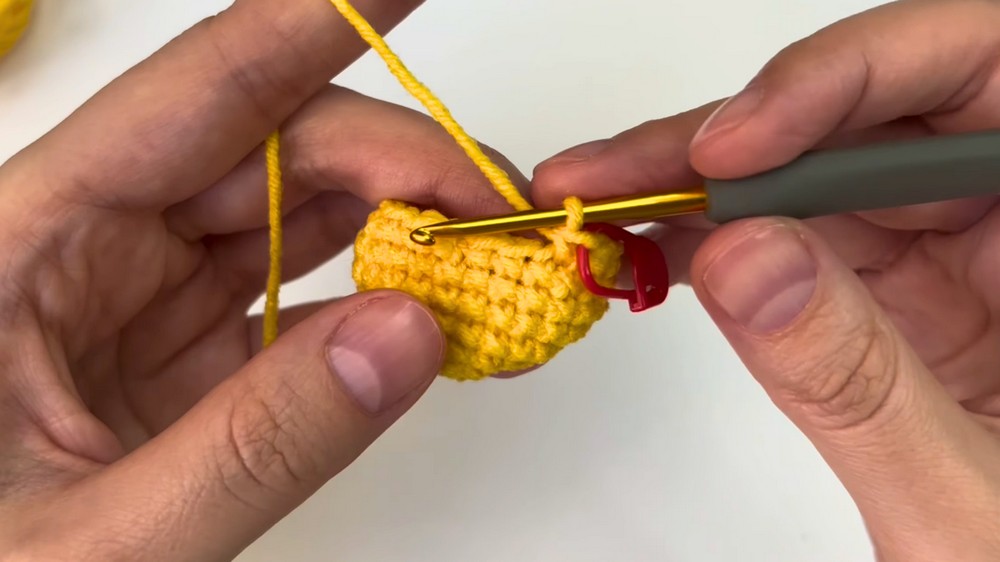
- Round 7:
9 sc, 4 sc BLO (for front loop beak placement later), 11 sc. (24 sts) - Round 8:
[2 sc, dec] around (repeat 6 times). (18 sts) - Round 9:
[1 sc, dec] around (repeat 6 times). (12 sts)At this point, begin to stuff the head firmly.
Body
Foundation:
- Ch 5, skip the first ch from hook, work 4 sc along chain.
Joining:
2. Insert hook into the last st of head and the first front loop of the current round; pull through all loops to seamlessly join.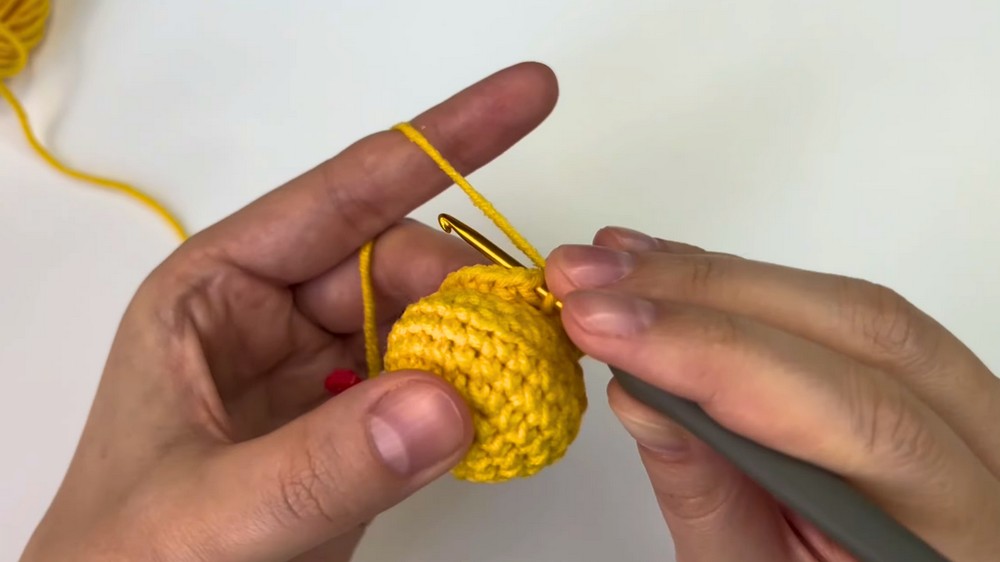
Continue working as follows:
- Round 10:
(1 sc, inc) in front loops only, repeat around; continue along other side of the chain with 3 sc and an inc in the last stitch. - Round 11:
11 sc, inc in next 3 sts, 13 sc (total 30 sts). - Rounds 12–14:
1 sc in each st around (30 sts in each round). - Round 15:
[3 sc, dec] around (repeat 6 times). (24 sts) - Round 16:
[2 sc, dec] around (repeat 6 times). (18 sts) - Round 17:
[1 sc, dec] around (repeat 6 times). (12 sts)Stuff the body firmly as you go.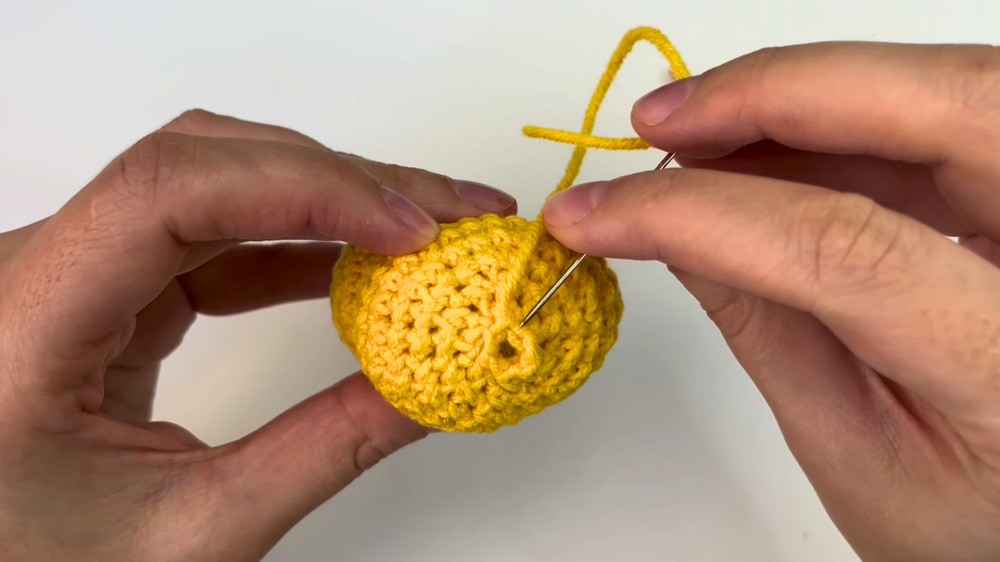
- Round 18:
6 dec to close (6 sts). Fasten off with sl st and weave in ends using yarn needle.
Wings (Make 2)
- In a Magic Ring:
- 2 sc, 1 hdc, 1 dc, 1 hdc, 2 sc.
- Sl st to close the ring.
- Pull ring tight and fasten off, leaving a tail for sewing.
- Attach each wing to the side of the body approximately at the midpoint.
Beak
- Using Orange Yarn:
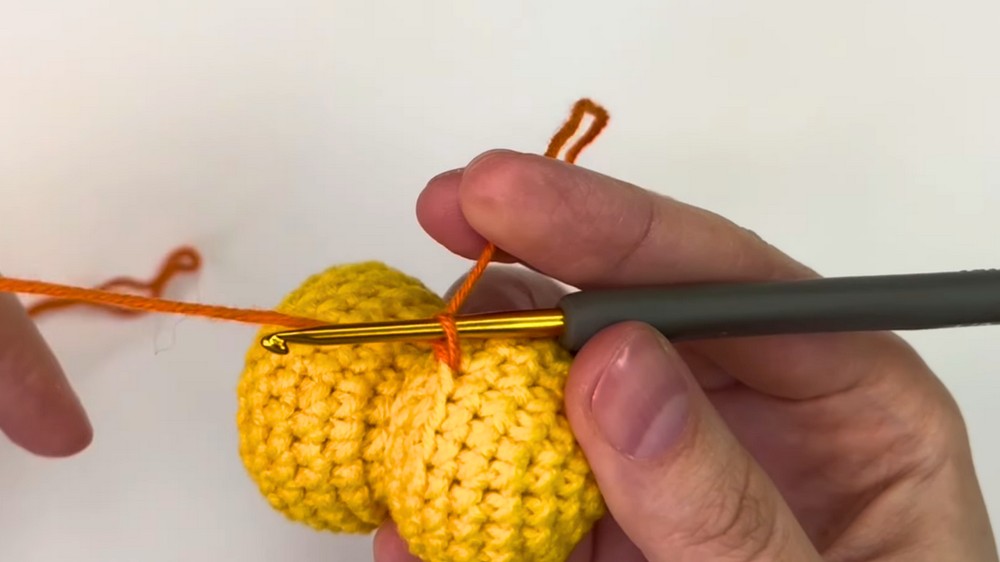
- Attach to the front loops left unworked from Head Round 7.
- Ch 1; 1 dec, 1 sc, 1 sl st in last loop.
- Secure and hide yarn ends inside the head.
Finishing and Assembly
- Eyes:
- Attach safety eyes between Rounds 4 and 5 of the head, positioned equally on either side of the beak.
- If embroidering, use a small length of black yarn to create horizontal or round eyes.
- Wings:
- Position wings symmetrically on either side of the body and sew using matching yarn tails.
- Weaving Ends:
- Carefully tuck all yarn ends inside the duck for a neat appearance.
- Shaping:
- Gently mold the head and body to the final desired shape by hand, rolling and pressing with your fingertips.
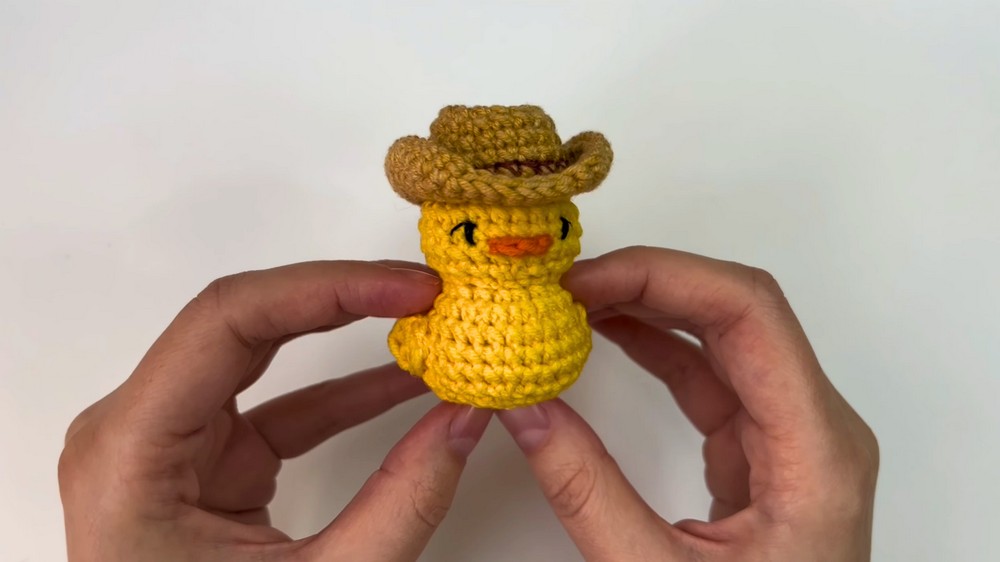
- Gently mold the head and body to the final desired shape by hand, rolling and pressing with your fingertips.
Conclusion
Congratulations on completing your amigurumi duck! This small and sweet project serves as a charming decorative piece, thoughtful handmade gift, or delightful part of a toy menagerie. If this is your first amigurumi, you have learned not just basic stitches but foundational construction and finishing techniques. You can further customize your duck with different colors, add accessories like a tiny bow, or even make a family of ducks in varying sizes.

![[NO-SEW] Mini Crochet Duck Keychain Easy Amigurumi Tutorial (9)](https://claireabellemakes.com/wp-content/uploads/2026/07/NO-SEW-Mini-Crochet-Duck-Keychain-Easy-Amigurumi-Tutorial-9-768x768.jpg)