Easy Crochet Windspinner Free Pattern & Tutorial For Decor

Add movement and charm to outdoor spaces with this Free Crochet Windspinner Pattern, using simple steps to stitch a vibrant and eye-catching decoration.
I recently came across a delightful crochet project that instantly caught my eye, and I couldn’t wait to give it a try. This charming item is called a windspinner, and it’s a perfect combination of crochet and decor. The free crochet windspinner pattern I found offers a fun and creative way to make a stunning piece that can easily brighten up any space or make a thoughtful handmade gift.
Crochet Windspinner – Free Pattern and Guide
You can find the video tutorial for this pattern on the YouTube channel “Evie Hatch Crochet,” which provides clear, step-by-step instructions to guide you through each stage of the project. Watching the tutorial really helped me understand how to work through the stitches and shape the windspinner just right. It’s great for anyone who loves visual learning or wants to follow along with an expert.
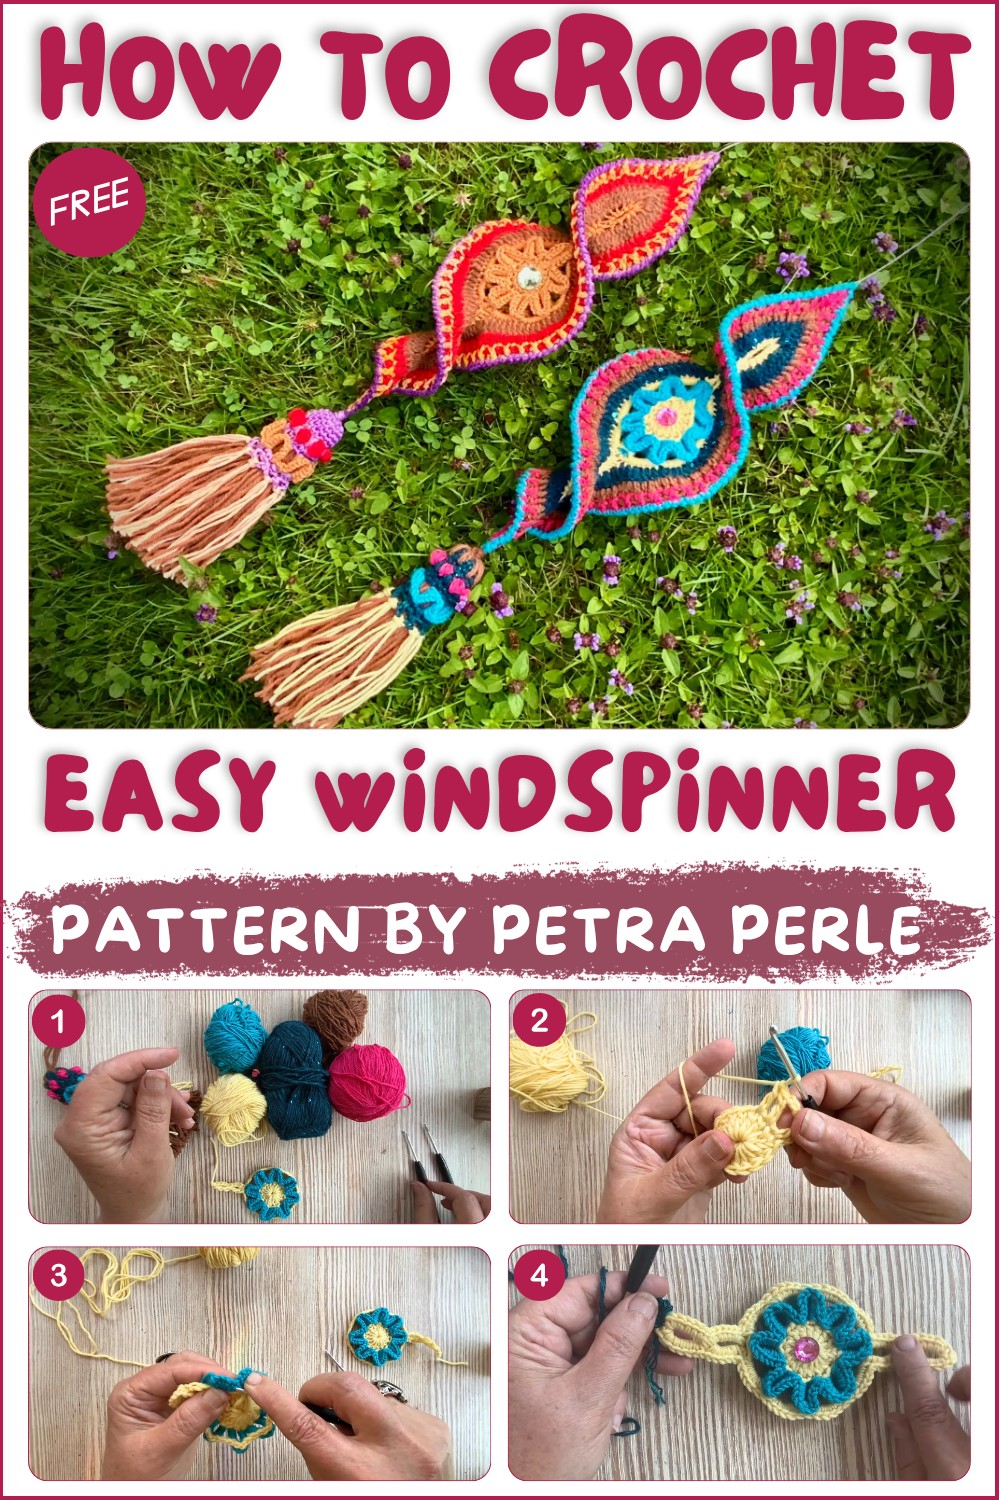
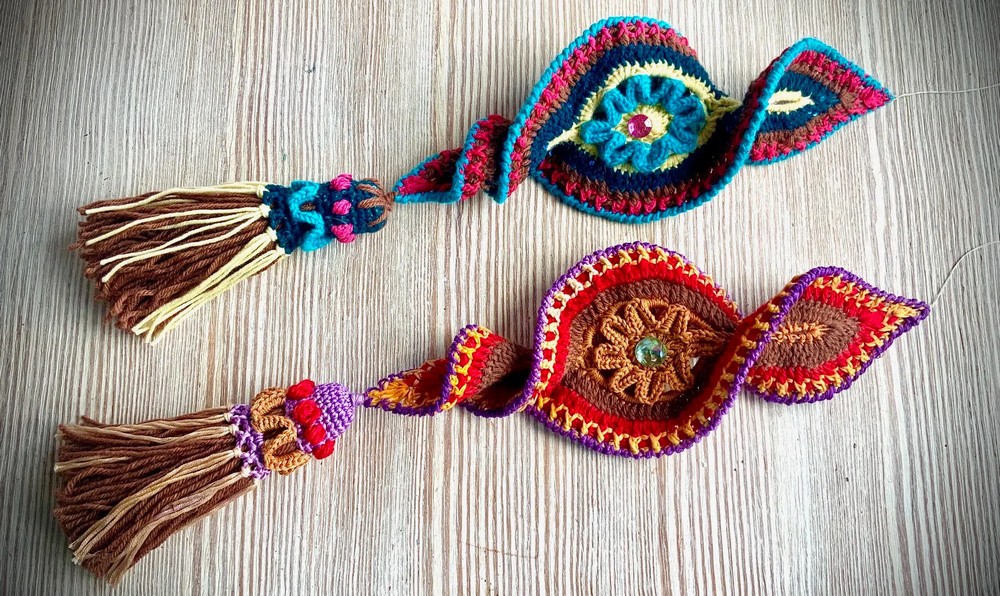
The beauty of this crochet windspinner lies in its elegant and eye-catching design. It features a series of interconnected crochet motifs that form a lovely circular shape with a delicate texture. The lightweight yarn used gives it a soft feel, while the openwork pattern allows the windspinner to catch the breeze and twirl gently, adding a sense of movement and charm. This piece works wonderfully as a hanging decoration for your porch, window, or garden, and it also makes a unique gift that shows off your handmade skills.
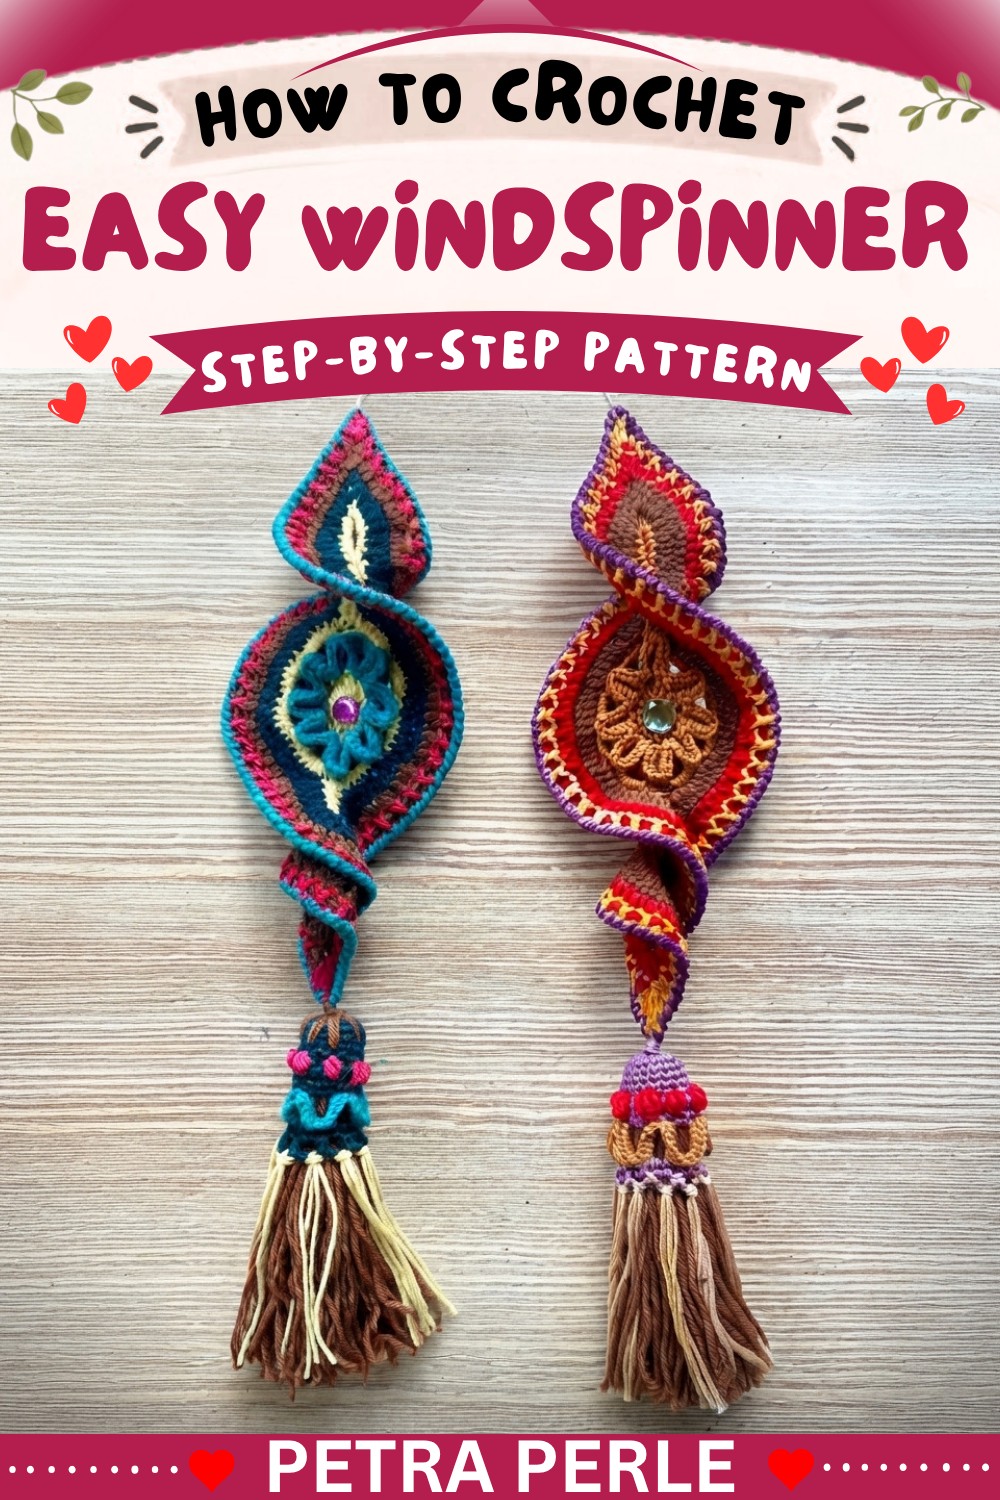
Overall, the pattern is not only beautiful but practical, adding a little whimsy wherever it hangs. Whether you’re giving it as a thoughtful present or keeping it to brighten your own home, this free crochet windspinner pattern is a great project to try. If you enjoy easy-to-follow tutorials and want to create something both decorative and functional, this pattern is definitely worth exploring.
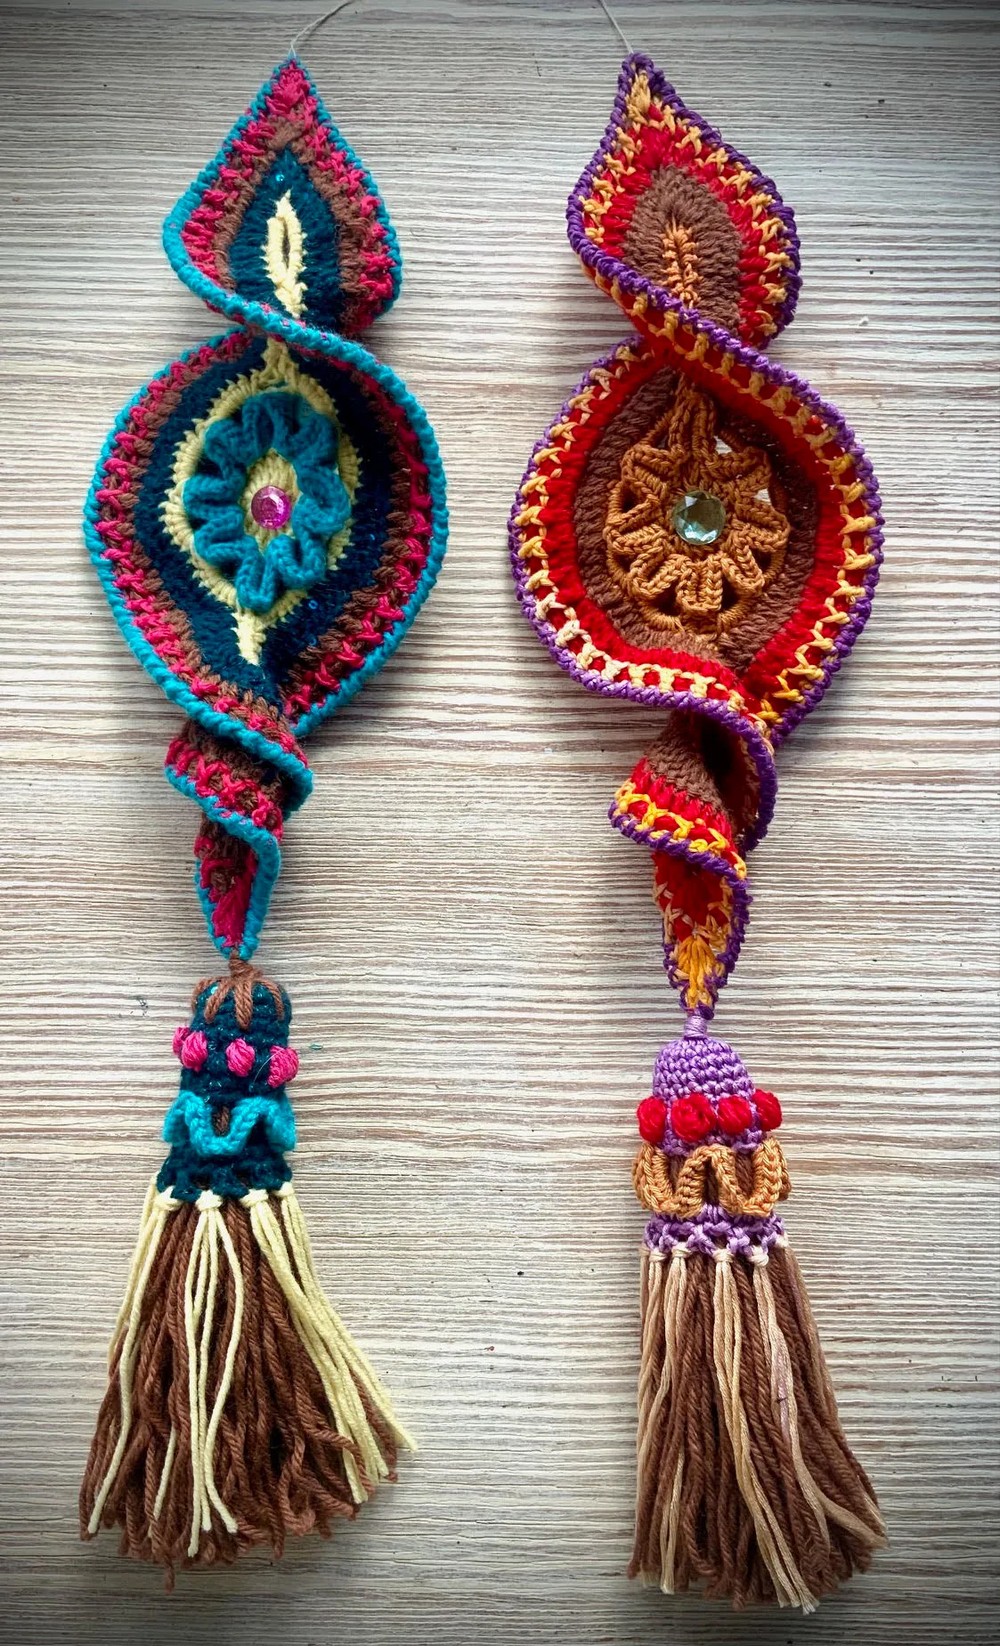
Crochet Wind Spinner “Brigitte”
In this pattern, we’ll crochet a beautiful and fun wind spinner in a special circular form with decorative “arms” and playful colors. It’s an ideal project for all seasons and a great way to practice decorative crochet.
Quick Overview Of Pattern
- Crochet two identical circular centers.
- Add “arms” with single crochet.
- Seam the centers together.
- Build decorative rounds using double crochet and relief double crochet.
- Finish with a crab stitch edge.
- (Optional) Stiffen and add beads/tassel for hanging.
Notes
- You can use any smooth yarn: wool, cotton, synthetic, etc.
- Change colors as you wish for a striped or solid effect.
- Try not to work too tightly; keep your stitches even.
- You will make two identical spinner circles and join them.
Skill Level
Beginner/Confident Beginner
Materials
- Yarn: Any color, about 120m/50g (use yarn leftovers if you wish)
- 3.0mm crochet hook
- Tapestry needle
- Scissors
- (Optional) Tassel, glitter bead, or stone
- (Optional) Waterproof wood glue for stiffening
Measurements / Sizing
- Finished spinner: about 20–25 cm (8–10 inches) across.
Gauge
- Not important for this project. Make sure your stitches are not too loose.
Stitch Abbreviations
- ch — chain
- sl st — slip stitch
- sc — single crochet
- dc — double crochet
- Crab st — crab stitch (reverse single crochet)
Special Stitches
- Crab stitch (reverse single crochet): Work a single crochet, but from left to right, creating a twisted edge.
- Relief double crochet: Work your double crochet around the post of the stitch from the previous row, for a textured effect.
The Crochet Pattern
1. Make Two Centers
Each circle is worked separately.
- Ch 4, join with sl st to the first ch to make a ring.
- Round 1:
- Ch 3 (counts as first dc),
- Work 15 dc into the ring.
- Join with sl st to top of beginning ch 3. (You have 16 dc in total.)
- Round 2:
- Ch 3, dc in next stitch (2 dc in total – “pair”),
- Ch 3,
- [Dc in each of next 2 stitches, ch 3], repeat this so you have 8 pairs of dc with ch 3 spaces between them.
- After the last pair, ch 1 and sl st to top of beginning ch 3 to join.
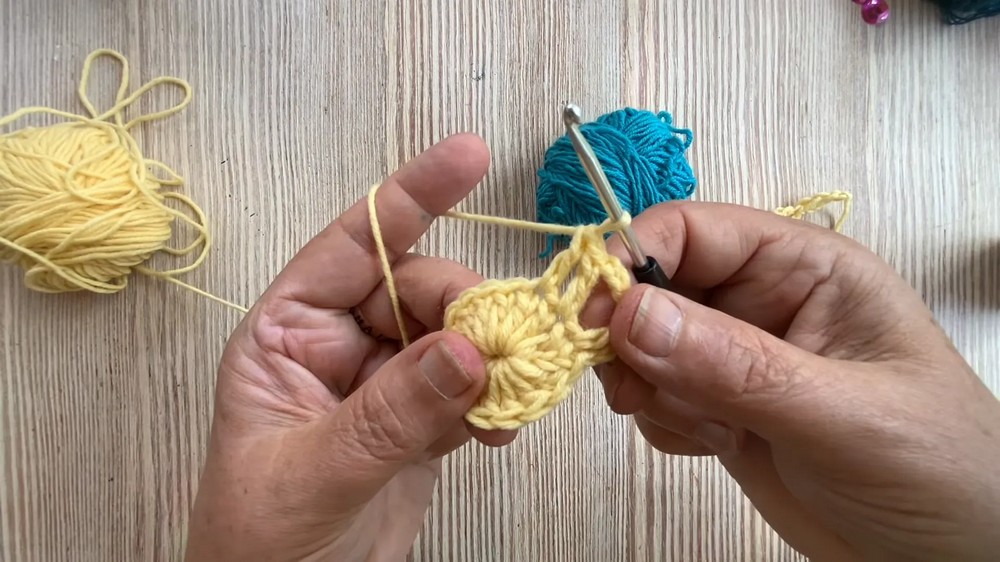
- Round 3 (the “arms” base):
- Ch 3, dc in the same space, ch 4,
- [Dc in top of next dc pair, ch 4]; repeat around for all 8 “arms.”
- Join with sl st.
Fasten off if you want to change color. Make TWO of these.
2. Add Arms (Meander Pattern)
Repeat for each center, or do this when your circles are done and joined.
- Join new color to the edge of any “arm.”
- 6 sc down one side of the “arm.”
- 6 sc up the next side of the arm (the “peak”).
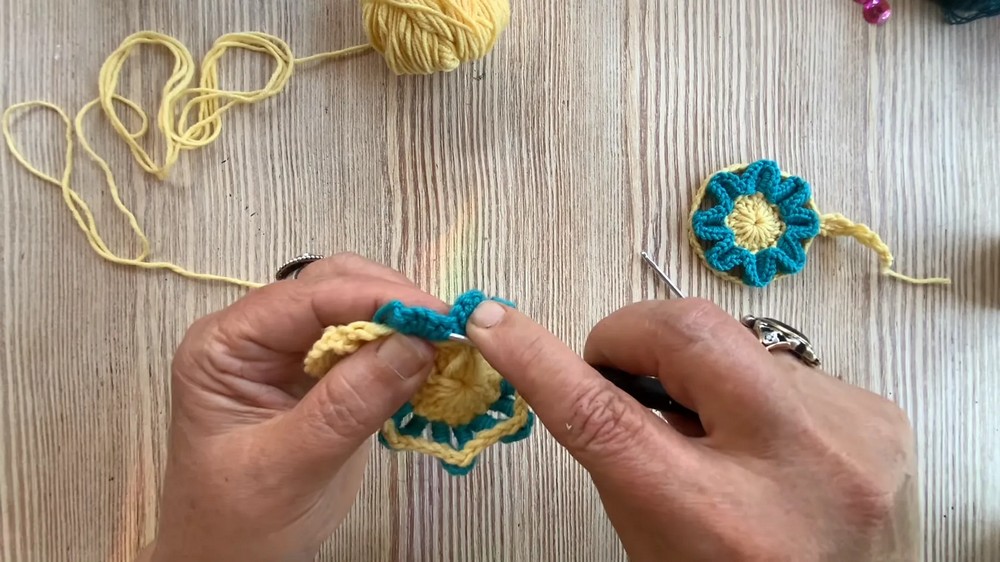
- Continue around, working 6 sc into each “arm” section, down and up.
- After the last arm, sl st to starting sc.
- Fasten off.
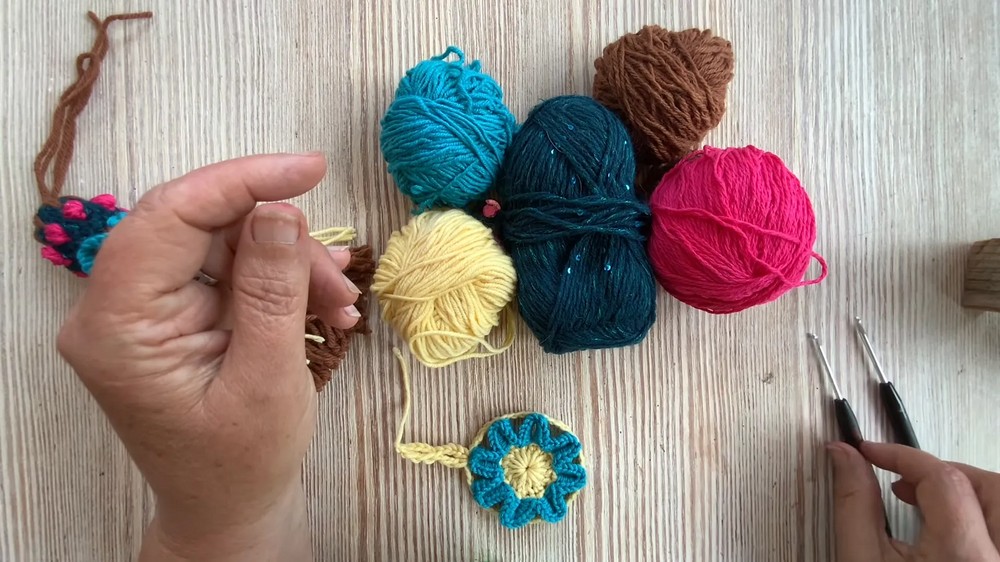
Tip: You can make the arms 7 sc wide if you prefer thicker arms.
3. Join the Two Circles
- Place the two circles on top of each other so the arms line up directly.
- Join yarn at the tip of any arm, through both layers.
- 6 sc through both layers, along the first matched arm.
- Work 2 ch (this forms a tip/point).
- Continue: 6 sc along the next arm through both layers, 2 ch at the next tip/point, working your way all the way around.
- After all arms are joined, sl st to the first sc, fasten off and weave in ends.
4. Decorative Borders: Double Crochet Rounds
First Double Crochet Round
- Join a new color at any arm tip (where you made the 2 ch before).
- Ch 3 (counts as dc), dc in the same space, ch 2, 2 dc in the same space (corner made).
- Work 12 dc along the next arm; at each tip/point, 2 dc, ch 2, 2 dc in the ch-2 space.
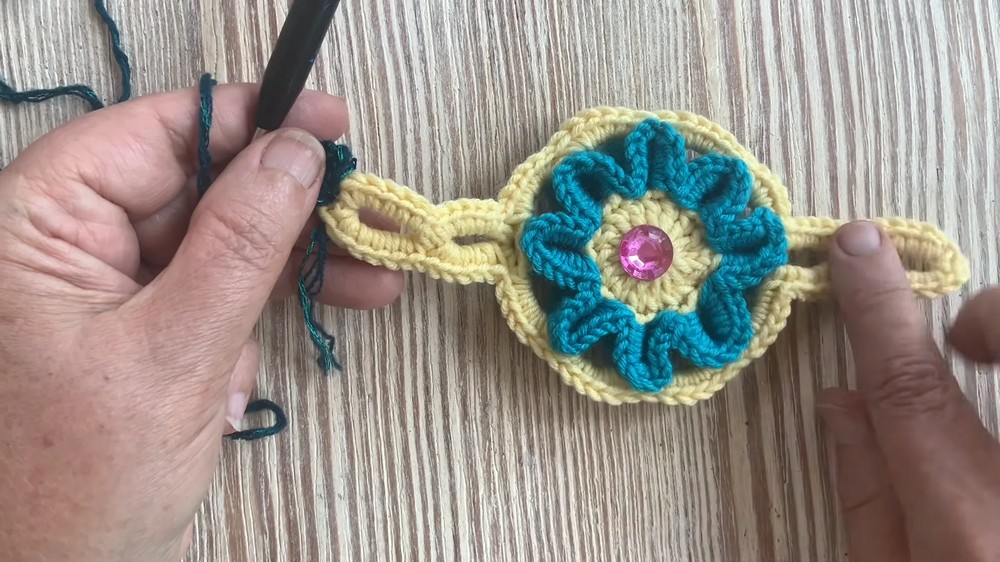
- Repeat around for all arms.
- Finish with sl st in the top of beginning ch 3. Fasten off.
Second Double Crochet Round
Optional: change color or continue with same color.
- Join at any tip (corner).
- Ch 3, dc, ch 2, 2 dc in the tip.
- 1 dc in every dc along each side/arm.
- At each tip, 2 dc, ch 2, 2 dc.
- When full round is done, sl st to starting ch 3 and fasten off.
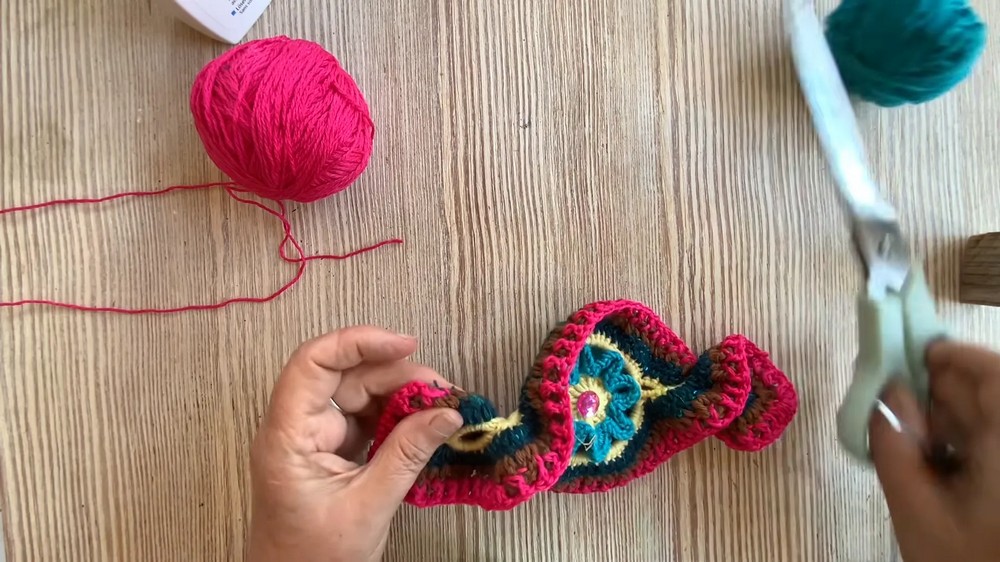
5. Relief Stitch Round (For Texture)
- Change color if you wish.
- Join at any tip.
- For a textured look, alternate front and back post dc (relief double crochet) along each arm (i.e. one is worked from the front, the next from the back, and so on).
- At the tip: place 5 dc in the corner for fullness.
- Continue all around. Finish with sl st.
6. Final Edge: Crab Stitch (Reverse Single Crochet)
- In a new color, join at any tip.
- Work a crab stitch (reverse sc) in each stitch around (insert hook to the right, pull up a loop, yarn over, pull through both loops).
- At each tip, work two crab stitches in the corner.
- At the end, sl st, fasten off and weave in ends.
Finishing, Stiffening, and Assembly
- If you like, stiffen the finished spinner:
- Mix waterproof white glue (such as Ponal) 1:1 with water.
- Dip the entire spinner in the solution.
- Hang to dry, re-shaping the arms and tips as needed.
- Attach a tassel to the bottom point.
- Sew a glitter bead or stone in the center if desired.
- Make a hanging loop at the top with yarn.
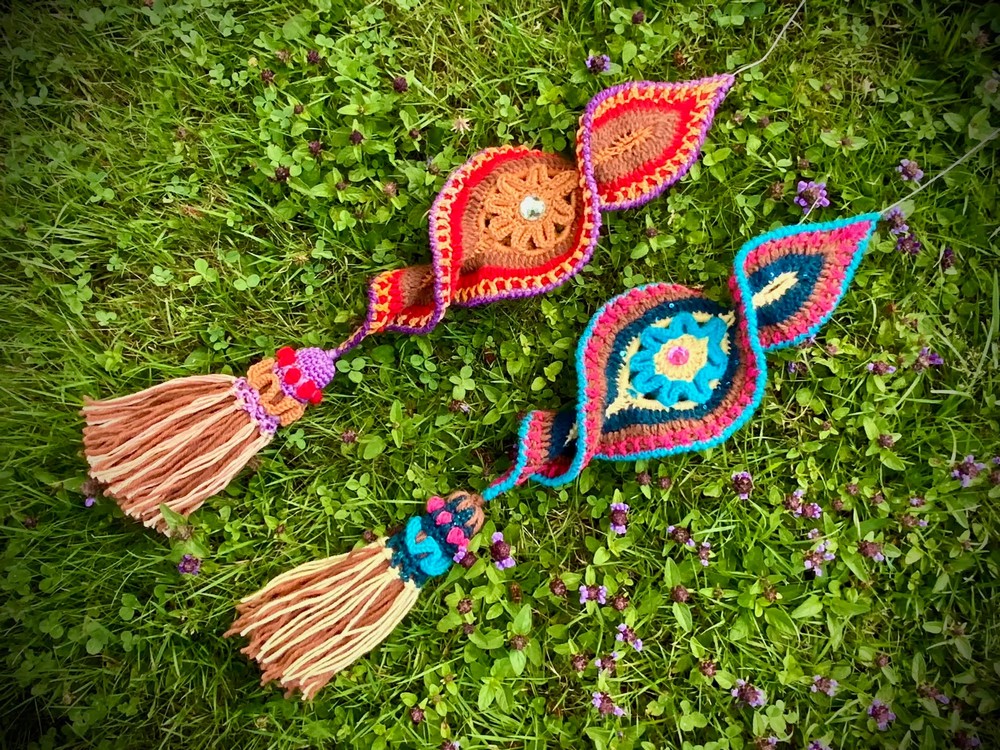
Finished Size
- Your wind spinner will be about 20–25 cm (8–10 inches) in diameter, depending on your yarn and tension.
Conclusion
Congratulations! Your colorful wind spinner “Brigitte” is ready to twirl in the breeze. Have fun experimenting with different color combinations and enjoy your new cheerful decor. See you in the next creative adventure.
Learn More about Petra Perle