Easy Crochet Flower Motif Pattern Free – Stylish Blouse Ideas

Create stunning blouse designs effortlessly with this free crochet flower motif pattern, featuring simple steps to add elegance and charm to your outfit.
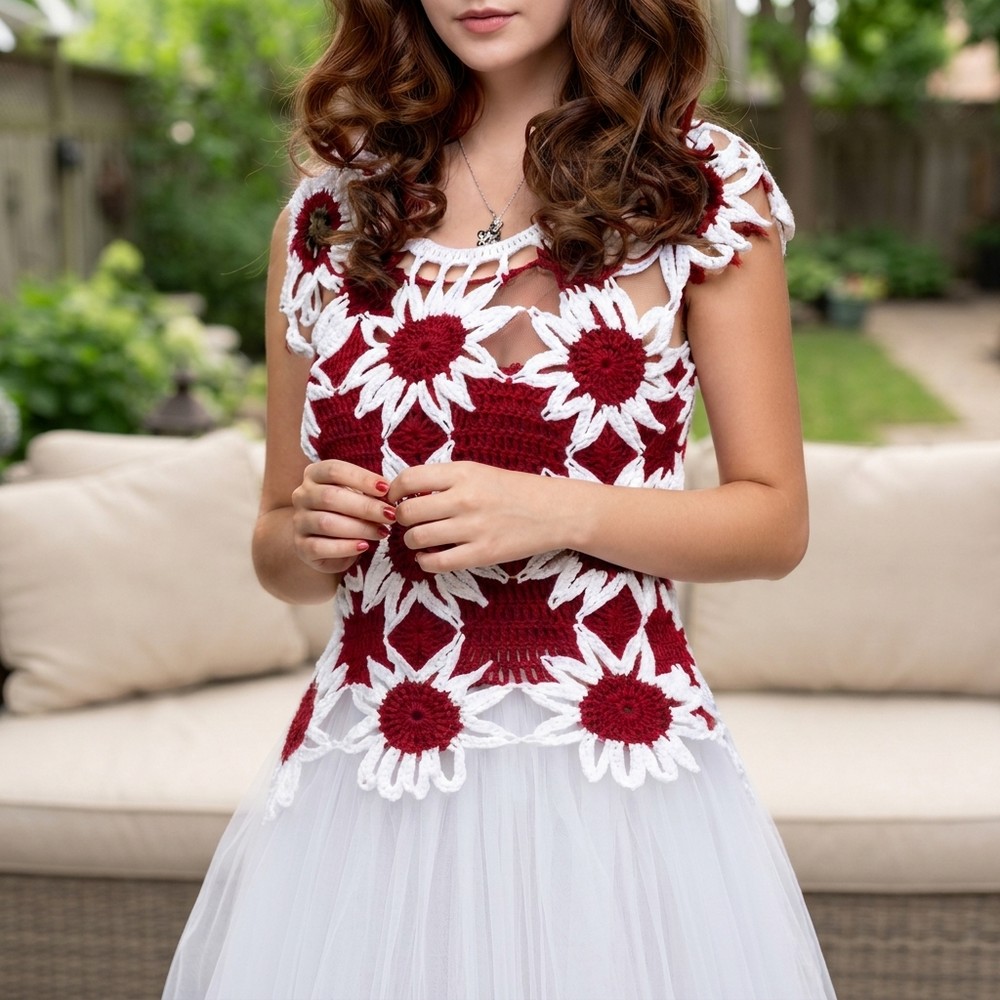
Adding a bit of handmade charm to your clothes can be really fun, and a free crochet flower motif pattern is a perfect way to do that. These little flowers bring a cheerful and fresh look to a blouse, making it feel special and unique without much effort.
How to Crochet Flower Motifs – Free Pattern for Summer
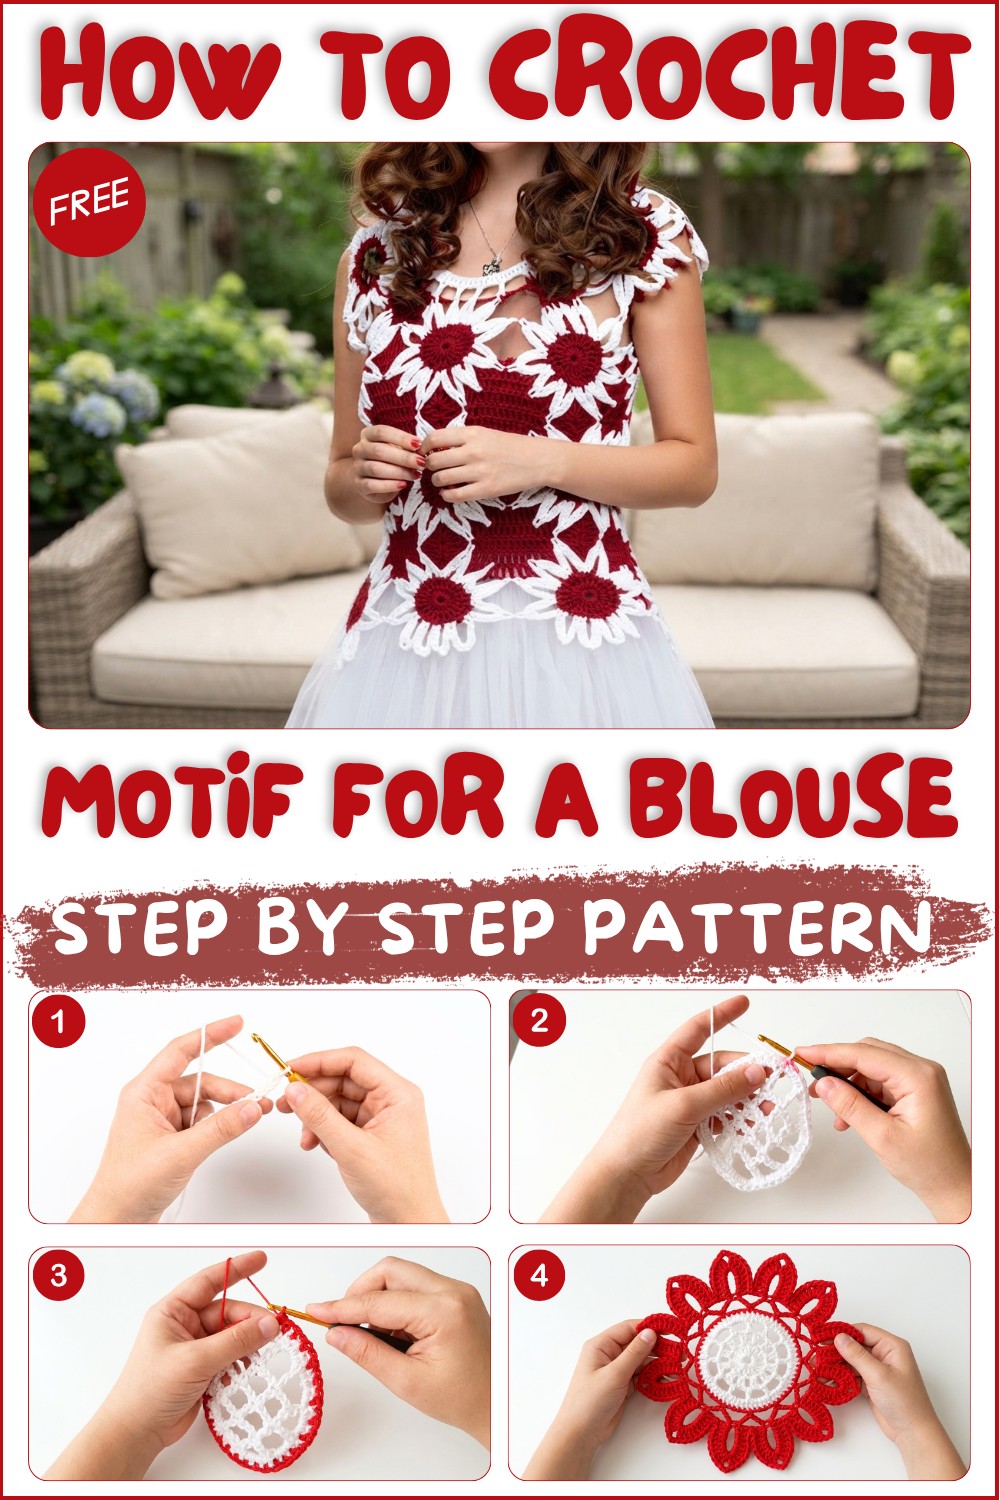
This pattern is about making small, pretty flower shapes that you can sew onto a blouse to give it a sweet and soft touch. The style is simple and friendly, with smooth, rounded petals that have a nice texture thanks to easy crochet stitches. The flowers are shaped like little circles with petals all around, giving them a natural and inviting feel. You can make them small for a subtle look or larger if you want them to really stand out—the size is up to you, so you can change it to fit your style.
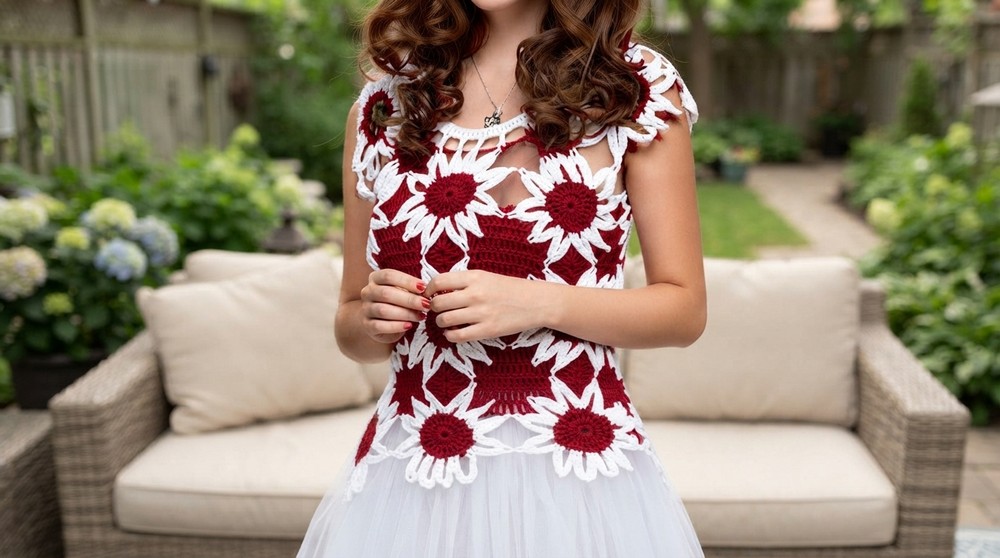
The flowers are usually made by crocheting in rounds, starting from the middle and working outward. One tip to keep them looking nice is to make sure your stitches are even, so the flower keeps its shape well. Using lightweight cotton or a cotton blend yarn works best because it shows off the stitches nicely and feels soft, which goes great with a blouse.
The idea for this pattern came from real garden flowers and handwritten art, aiming to bring a timeless and warm feeling to your clothing. These crochet flower motifs are lovely gifts or great for making your blouse ready for any special occasion. You can also mix colors, layer flowers, or add small beads to make each flower your own. It’s a simple and fun way to add personality to your clothes and enjoy making something special.
Multi-Use Flower Crochet Motif Pattern
I will show you how to make a fresh motif unit that can be used for furniture (tablecloths), clothing (blouses, cardigans), accessories (bags), and more. It’s beautiful, easy, and suitable for beginners, with options for using one or two colors. Let’s stared.
Quick Overview Of Pattern
- Crochet flower motif with circular base and layered petals
- Started in the round; can be joined to make larger pieces
- Options for one or two colors
- Suitable for clothing, tablecloths, bags, or decorative applications
- Utilizes double crochet, single crochet, slip stitch, and chains
Notes
- Pattern uses US crochet terms.
- You may use one color or two – instructions cover color changes for a striking effect.
- Motif can be joined with others or used as a single decorative piece.
- Keep ends tidy for sewing/joining later.
- Takes focus on rounds and increases for a smooth finish.
- Finish edges neatly for sewing into larger items.
Skill Level
Beginner to Advanced Beginner
Must be able to work in the round, use basic stitches, and change colors.
Materials
- Medium-thick wool or acrylic yarn (two colors or one, approx. 20–30g per motif)
- 3.5 mm crochet hook
- Yarn needle for weaving ends
- Scissors
Measurements / Sizing
- Finished motif: Approximately 10–12 cm diameter (using recommended yarn & hook)
- For larger or smaller motifs, adjust yarn thickness or hook size
Gauge
- Not critical for motifs; ensure stitches are even and motif lays flat
Stitch Abbreviations
- ch – chain
- sl st – slip stitch
- sc – single crochet
- dc – double crochet
- st(s) – stitch(es)
- BLO – back loop only
Special Stitches
- Double Crochet (dc): Yarn over, insert hook, pull up loop, yarn over, draw through two loops, yarn over, draw through last two loops.
- Back Loop Only (BLO): Insert hook under only the back loop for a more textured effect.
- Slip Stitch (sl st): Insert hook, pull up loop through stitch and loop on hook.
The Crochet Pattern
1. Center Foundation (Circular Base)
- Begin:
Leave a small tail. Make a magic ring (or ch 3, sl st to first ch for small loop). - Chains:
Ch 16 (counts as foundation for circular shape).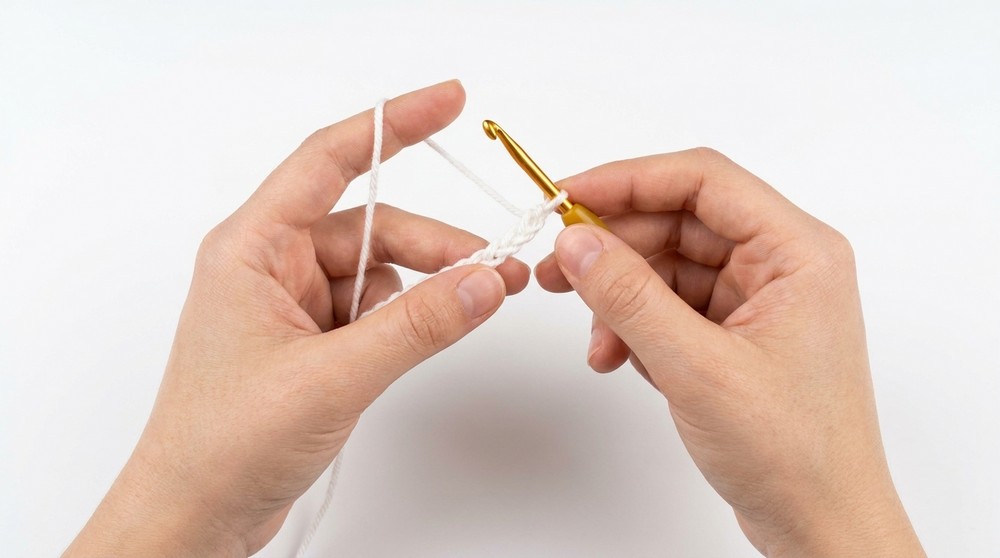
- First Round:
Yarn over, dc in back loop of 9th ch from hook.
Ch 2. Yarn over, skip 2 ch, dc in 3rd ch (BLO).
Continue: Ch 4, skip 3 ch, dc in 4th ch (BLO) to end. Should form a circle of loops. - Join:
Sl st into first ch made to close round.
Ch 5, turn work for second round.
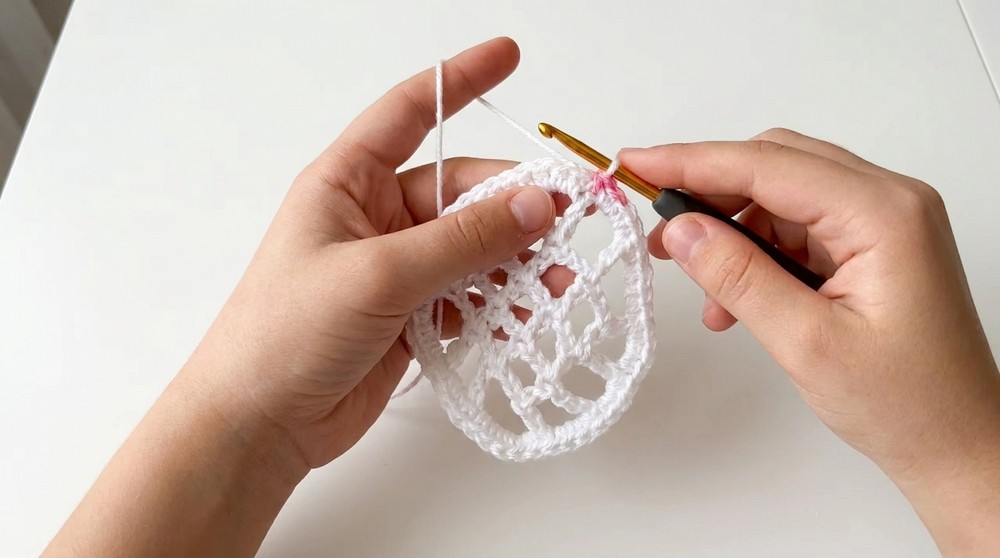
2. Second Round: Building the Circle
- Working Across Loops:
Starting from the four chain loops of previous round, work as follows: - Skip first 2 chains, dc in third chain (BLO). Ch 2, skip 2 chains, dc in third chain (BLO), repeat across.
- At the end, join to starting point with a sl st.
- Ch 5, turn work for next round.
3. Third Round: Expanding the Circle
- Across Loops:
In chain spaces and over columns, work as follows:- Ch 2, dc in column, ch 2, dc in column, ch 2, dc in column
- Continue sequence for a circle shape, chaining between columns.
- At the end, join to starting point with a sl st.
Ch 5, and turn.
4. Fourth Round: Shaping and Closing the Circle
- Chains Reduced:
- Instead of 5 chains, use 4 chains.
- Ch 4, dc in column, ch 2, dc in column, ch 2, dc in column
- Repeat, ensuring to work in back loops for neat texture.
- At the end, join with a sl st.
5. Fifth Round: Detailing & Reducing
- Continue with Chains:
- Ch 4.
- Dc in column, ch 2, dc in column, repeat, joining rounds as before.
- At the end, join with a sl st.
6. Petal Foundation Round
- Using main color, begin stuffing stitches (sc) around.
- Start above dc by working 5 sc in same space (petal base).
- Next space, 4 sc.
- Next space, 3 sc.
- Next space, 4 sc.
- Next space, 5 sc (repeat as per previous).
- Alternate groups of 3, 4, and 5 sc to make flower petals.
- Continue around, joining to first sc with sl st.
7. Color Change (Optional)
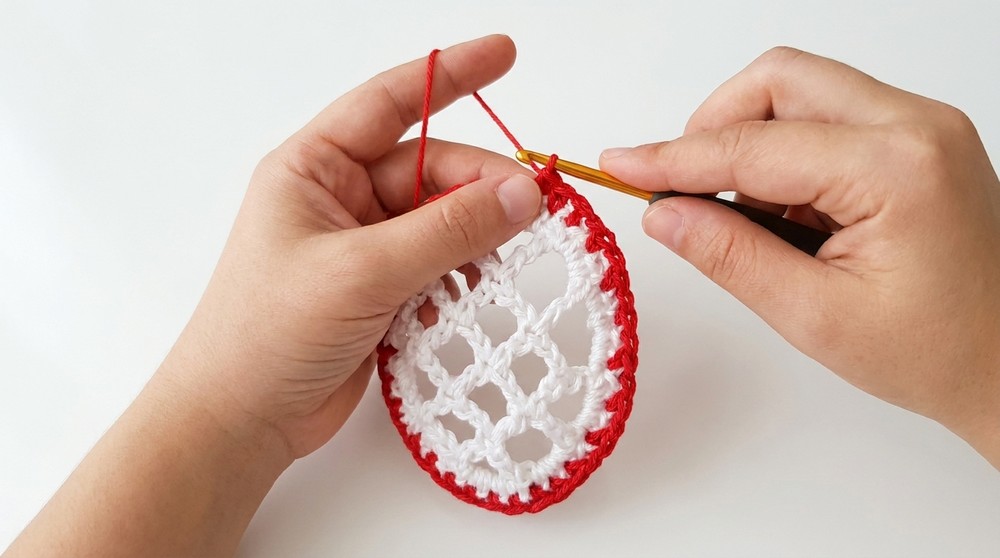
- Join contrast color:
- After last sc of petal round, insert hook, pull contrast color through.
- Leave a small tail, tighten, and tie off starting knot.
- Round with New Color:
- Insert hook in first sc, pull through contrast color and sl st to secure.
8. Petal Shaping Round
- Petal Stitching:
- Sc in first st, ch 1, skip next st, sc in following st, ch 1, skip next st, repeat around.
- This places chains between sc, creating petal separation.
- Join to first sc with sl st.
9. Raised Petals (Large Petal Loop)
- Petal Loops:
- For each petal base: sc, ch 12, sl st to back loop of 3rd sc of same petal, repeat.
- Adjustment: Ch 12, sl st in back loop, ch 3, sl st in next petal base.
- Repeat around entire motif.
10. Petal Fill & Finishing
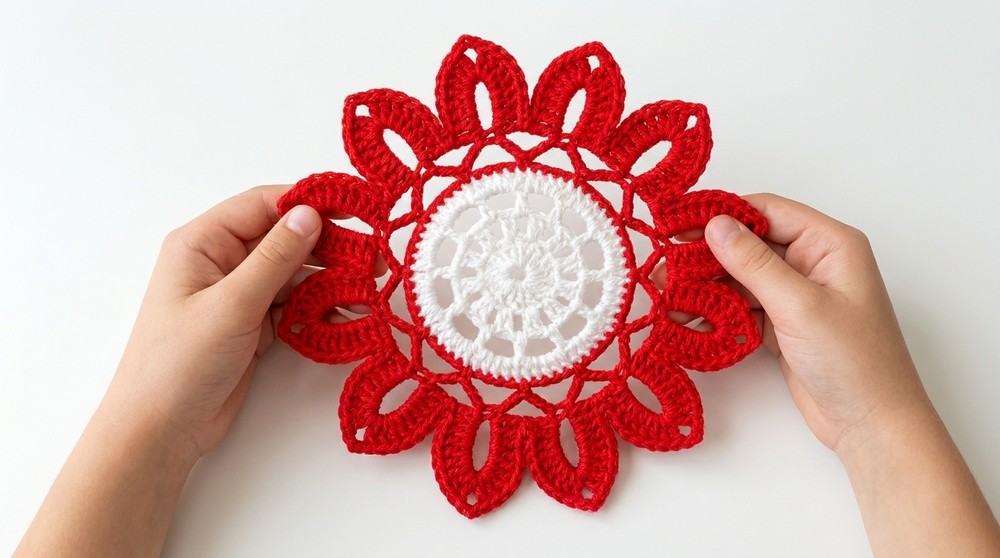
- Petal Fill:
- In each large chain loop, work:
- Ch 2, 8 dc, ch 3, 8 dc, ch 2, sl st at base.
- Repeat for all petals, alternating petals for fullness.
- In each large chain loop, work:
- Move to next petal, repeat for all petal loops.
11. Final Round
- Last round:
- Make sc around motif for frame or join motifs.
- Weave in ends securely, trim tails.
Assembly & Finished Size
- Finished motif: Round, flower-like with distinct petals, approx. 10–12 cm diameter.
- Sew motifs together (through back loops, or at petal tips) to create larger pieces (tablecloth, clothing, bag, etc.).
- Ensure all ends are woven.
Conclusion and Ending Words
Your motif is ready, a versatile, beginner-friendly flower unit you can use for clothing, tableware, home decor, or accessories. Its layered petals and adaptable colors make it a standout piece, and simple joining methods make it easy to combine into larger projects.