Free Crochet Baby Jumpsuit Pattern Perfect for Gifts

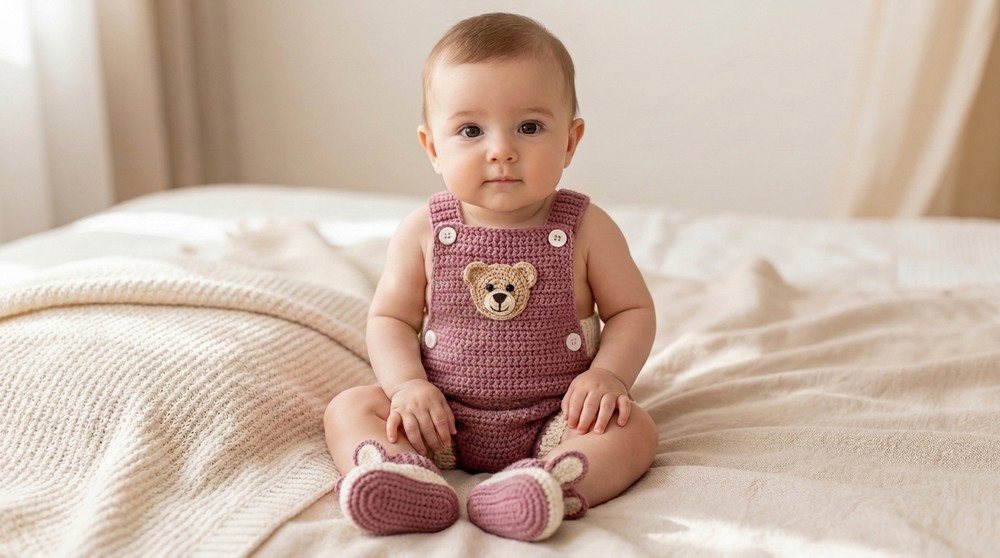
Start a fun and cute clothing project with this free crochet baby jumpsuit pattern and build a soft, warm, and adorable outfit for a precious little one.
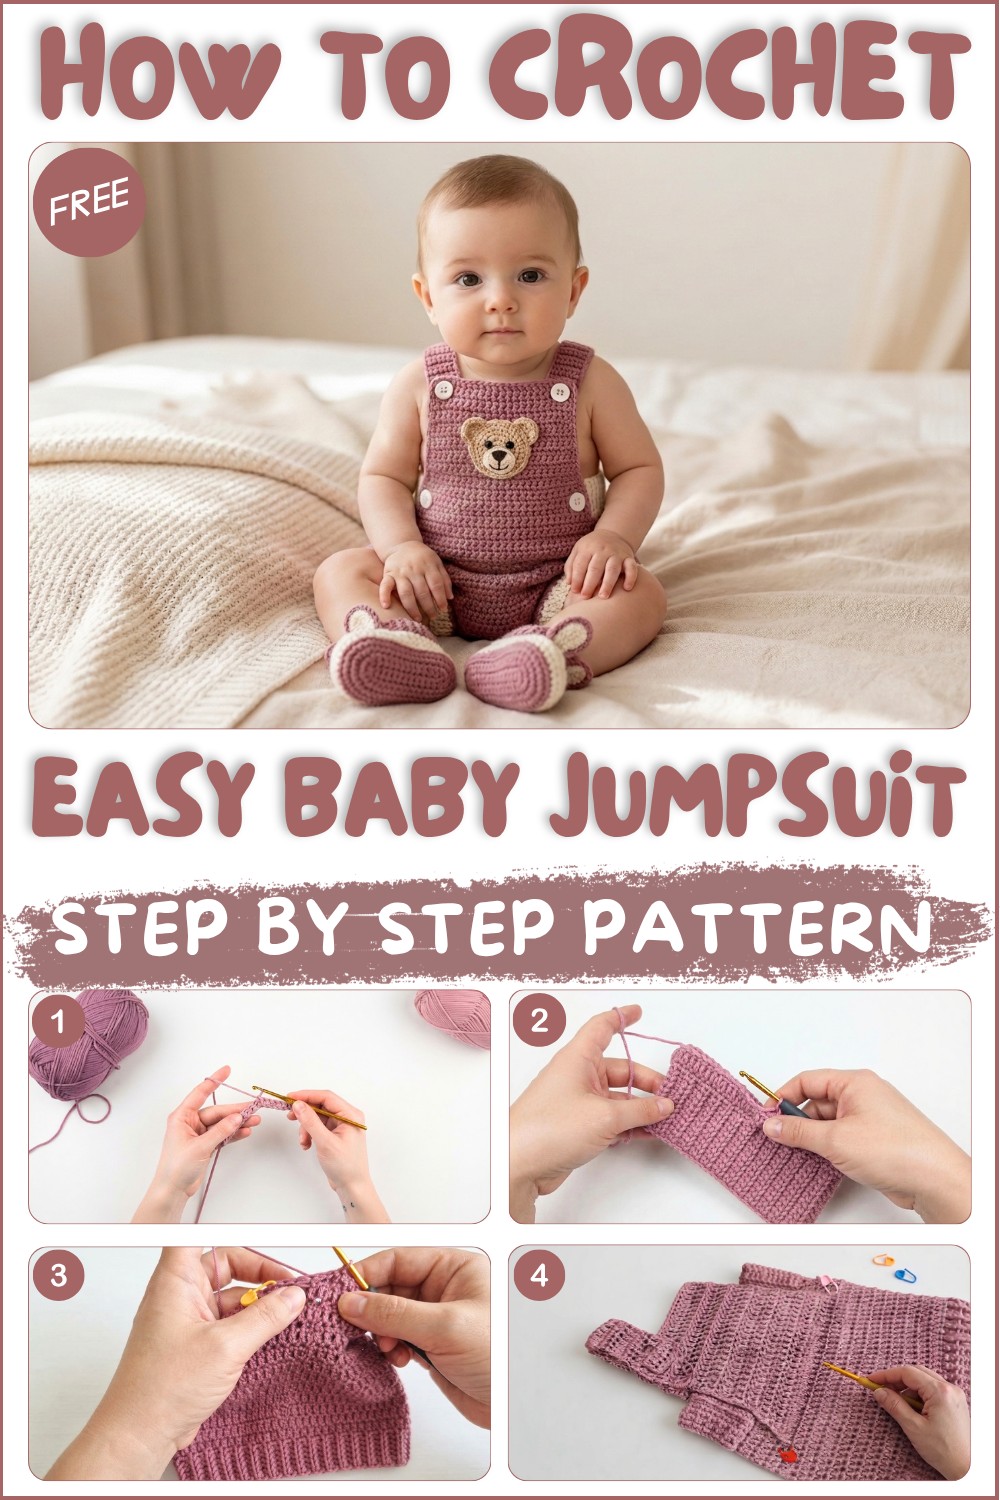
If you are looking for an adorable and simple way to make a baby outfit, this free crochet baby jumpsuit pattern is perfect for you. This pattern is easy to follow and allows you to create a soft and cute jumpsuit for babies just starting their journey in life. You will love how beautiful and cozy the jumpsuit turns out, making it ideal for gifting or personal use.
How To Crochet Baby Jumpsuit Pattern – Free
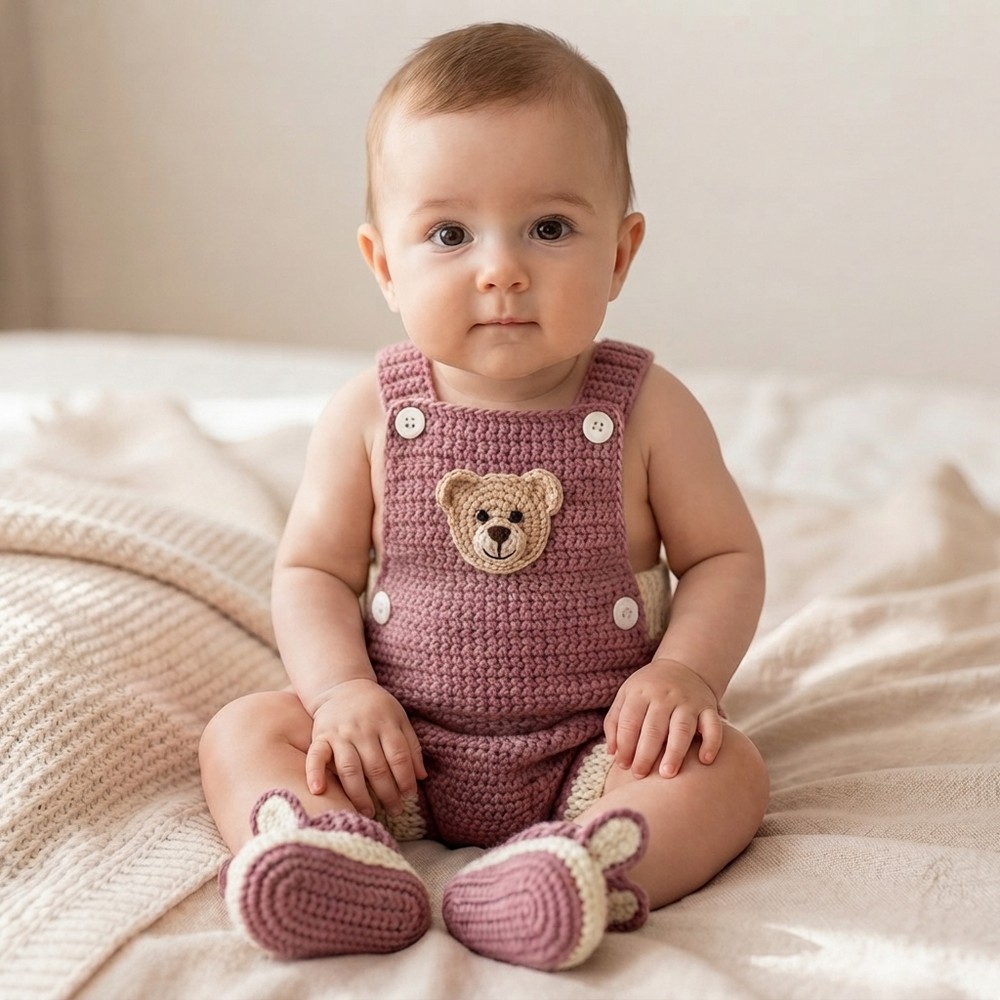
The jumpsuit is crocheted using a medium thick woolen thread and two lovely colors, Raspberry Glac as the main tone and skin tone for accents around the straps and legs. The design is versatile, making it suitable for ages ranging from newborns up to one year with simple adjustments to size. It has a neat ribbed waistband and elegant patterns like zigzags and textured front and back post stitches, which give it a special character.
Quick Overview Of Pattern
- Start with a ribbed waistband using back-loop half double crochet.
- Join the waistband to form a ring.
- Work the body in double crochet, including a strategic increase round.
- Split for front and back panels; create easy leg openings.
- Add ribbing around the leg edges with post stitches for a snug fit.
- Shape the bib/front chest with simple decreases.
- Make two sturdy shoulder straps and finish with buttons.
Crochet Baby Jumpsuit (Salopette) Pattern
In this pattern, you’ll learn to crochet a beautiful, easy baby jumpsuit (salopette), designed in two harmonious colors: Raspberry Glac as the main shade and crisp white as the trim. Sized for ages newborn to three months, with guidance to adjust for larger babies, this project creates a sweet, comfortable garment with ribbed texture, firm edges, practical legs, and buttoned shoulder straps.
Notes
- Pattern uses US crochet terminology.
- The ribbed portions use half double or single crochet in back loops.
- Double crochet rounds start with 2 ch (not counted as a stitch) for a straight seam.
- Instructions and stitch counts are provided for newborn to 3 months, with notes for bigger sizes.
- “Width” refers to total chest circumference. Measure with the fabric doubled, as piece is worked flat and folded.
- Adjust size by:
- Using a thicker or thinner yarn,
- Changing hook size,
- Varying waistband length or round count.
Skill Level
Advanced Beginner
Techniques required: magic ring, chain, single crochet, half double crochet, double crochet, back-loop only, front and back post work, basic decreases, sewing with tapestry needle.
Materials
- DK or light worsted weight wool or acrylic yarn (pistachio – main color, white – contrast/trim): approx. 120–150g main color, 40g contrast
- 3.5 mm crochet hook (or size needed for gauge)
- Scissors
- Stitch markers
- Measuring tape
- Tapestry/sewing needle (with wide eye)
- 2–4 buttons for straps
Measurements / Sizing (with Schematic Suggestions)
| Age | Width (circumference) | Length (full) |
|---|---|---|
| 1 day – 3 months | 20 cm (×2 = 40 cm) | 37 cm |
| 3–6 months | 22 cm (44 cm) | 40 cm |
| 6–12 months | 24 cm (48 cm) | 42 cm |
| 12–18 months | 25 cm (50 cm) | 45 cm |
Waistband: All start at 5 cm tall; waistband length is adjusted per chest width required.
Legs: Customizable for longer pants.
Gauge
- Ribbing: 11 rows of back-loop half double crochet = 5 cm
- Body: 10 double crochet rows ≈ 10 cm (height)
- Adjust hook or yarn if needed to match sizing
Stitch Abbreviations
- ch – chain
- sc – single crochet
- hdc – half double crochet
- dc – double crochet
- sl st – slip stitch
- st(s) – stitch(es)
- BL – back loop
- FPdc – front post double crochet
- BPdc – back post double crochet
Special Stitches
- Back Loop Only (BLO): Insert hook under the back loop of st only
- FPdc/BPdc: Instead of inserting the hook in the top of the stitch, insert it around the “post” from front or back
- Double Crochet Two Together (dc2tog): (Yo, insert into next st, yo and pull up loop, yo and draw through 2 loops) twice, yo and draw through all 3 loops
The Crochet Pattern
1. Waistband (Ribbed Belt) – Work Flat
- With white yarn, ch 11 (creates a 5 cm band; add or subtract ch for desired width).
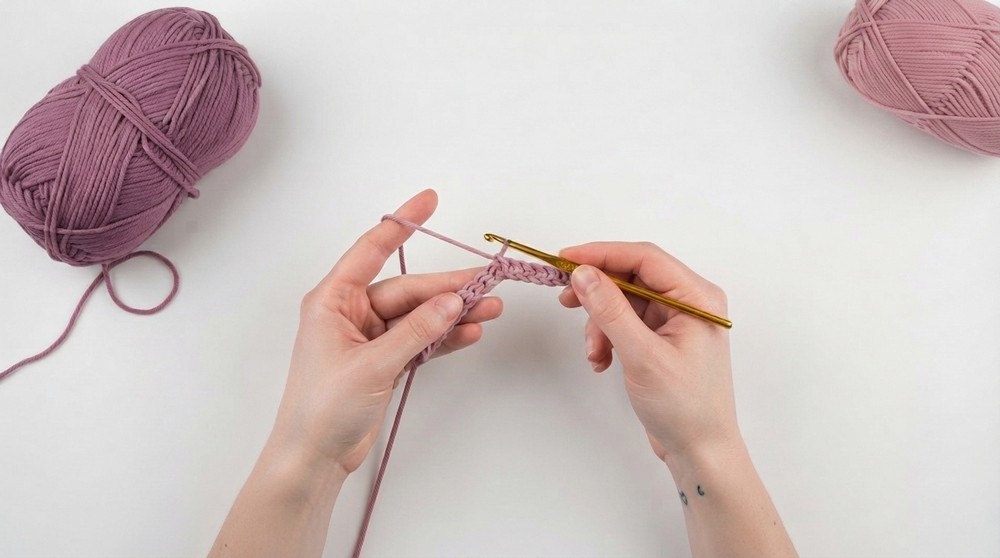
- Row 1: Skip 1st ch, hdc in next ch and each ch across (10 hdc).
- Row 2: Ch 1, turn. hdc in BL of each st across (10 hdc).
- Repeat Row 2 until band measures 20 cm (for NB–3 mo; or desired chest width—see chart).
- Check: You should have about 70 rows, but length is key.
- Do not fasten off – continue to join the short ends.
2. Joining Waistband into a Ring
- Fold the band right-sides together.
- Sl st through BL of last row and chain edge of starting row, matching up 10 sts.
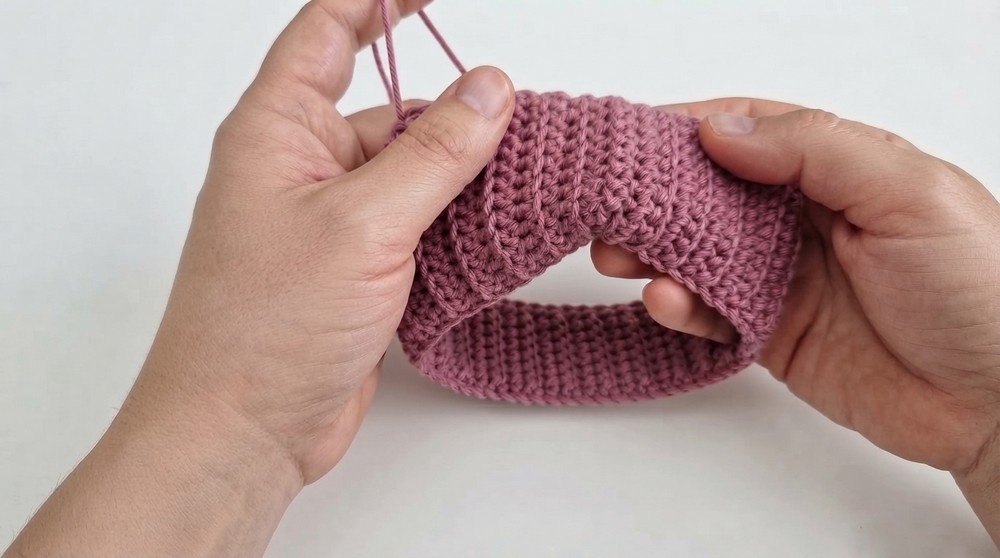
- Fasten off yarn.
3. Body of Jumpsuit
- Join new color with slipknot in the seam.
- Ch 1 (foundation edge): Work 1 sc in each row end around the waistband (should have 70 sc).
- Sl st to first sc to close round.
Transition to dc rounds:
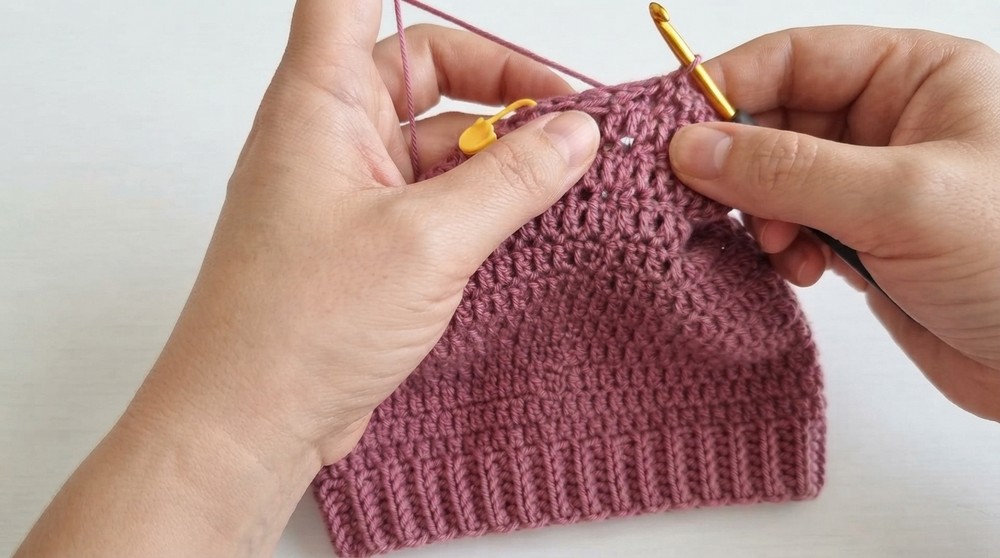
- Ch 2 (does not count as st), dc in same st and each st around (70 dc). Sl st to first dc.Pro tip: Always start dc rounds with 2 ch (not 3), and do NOT count as first st. Always work the first dc in the base of ch-2. This keeps the seam straight.
4. Increase Row
- Next row: Ch 2 (not a st), [dc in next 6 sts, 2 dc in next st] repeat around.
- You’ll increase every 7th stitch (10 increases per round, total 80 dc).
- Sl st to first dc.
5. Work Body Straight
- Ch 2, dc in each st around for 10 more rounds (for a total height from waistband of about 11 cm for NB–3 mo; add more rounds for older sizes per chart).
- Fasten off main color.
6. Split for Legs
Jumpsuit is worked flat for the split, then each leg is worked in rows.
- Lay piece flat. Place markers for the center 20 stitches (10 per side) at the front and back of work.
- Starting at right marker, rejoin yarn. Ch 2, dc across next 10 (or suitable number) for leg, turn.
- Work 4–5 rows over these 10 sts for the crotch/leg opening.
- Repeat on the opposite side for the other leg.
7. Leg Ribbing (Post Rib Edging)
- Join contrast (white) at bottom of leg.
- Round 1: Ch 2, dc evenly around leg opening, sl st to join.
- Rounds 2–5: Ch 2, alternate FPdc and BPdc around (front post, back post), sl st to join.
- Fasten off, weave ends.
Repeat for both legs.
8. Bib/Chest Panel Shaping (Front)
- At front, count and mark center 10 sts.
- Join main color in first marked st.
- Row 1: Ch 2, dc in each marked st (10 dc).
- Rows 2–5: Ch 2, dc across; at start and end of each row, dc2tog in first and last 2 sts (dec 1 each end).
- Continue until only 6 sts remain; work even for 10 more rows.
- Last row: Work 1 row sc in each st, fasten off.
9. Shoulder Straps (Make 2)
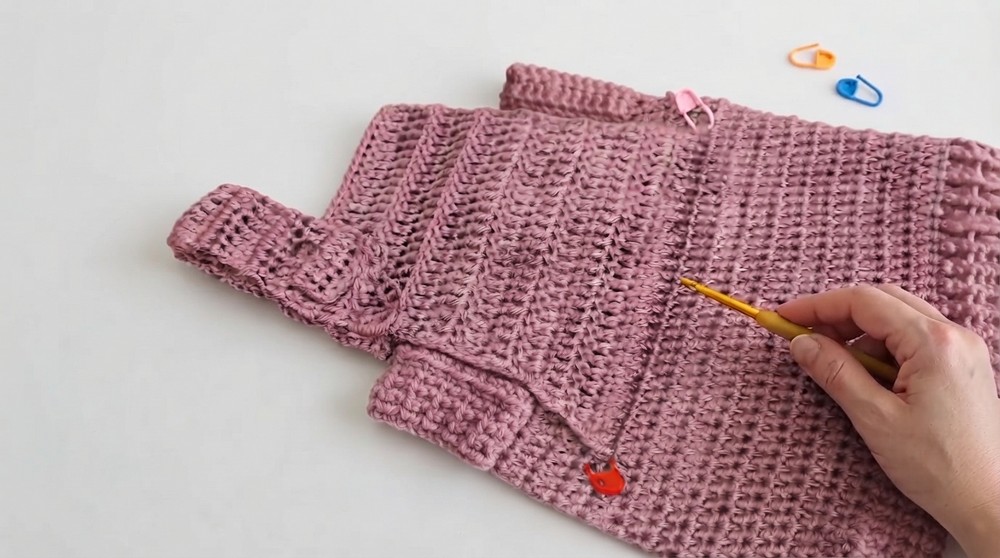
- Join white at one corner of bib panel.
- Ch 6 (for strap width, adjust as desired).
- Row 1: Sc in 2nd ch from hook and across, turn (5 sc).
- Row 2: Ch 1, sc across (5 sc).
- Repeat Row 2 for 15 rows or until desired strap length.
- Buttonholes (optional): On last 2 rows, sc 1, ch 2, skip next 2 sts, sc 2 (makes a space for button).
- Fasten off, leaving long tail.
- Sew end of strap to back waistband using tapestry needle.
- Repeat for second strap.
Assembly & Finished Size
- Weave in all loose ends with tapestry needle.
- Attach buttons to front bib to correspond with buttonholes in straps.
- Check fit around baby by adjusting button placement.
- Finished piece for newborn–3 months: approx. 20 cm wide x 37 cm long.
Conclusion and Ending Words
Congratulations, your adorable crochet baby jumpsuit is ready! This salopette is a wonderful gift for new arrivals, practical, cute, and custom. With adjustable straps and a stretchy ribbed waistband, it’s designed for comfort and growth. As you gain confidence, personalize with additional colors, trims, or appliqués.