Cute Crochet Patrick Star Free Pattern – Easy Amigurumi Toy

Bring your favorite character to life with this Free Crochet Patrick Star Pattern, designed with simple steps to help you create a fun and lovable plush toy.
If you’re a fan of cute and cuddly crochet projects, making a soft Patrick Star plushie is a perfect way to have fun and create something special. I remember how excited I felt when I first made this little starfish, it’s not just a toy but also a charming decoration or a thoughtful handmade gift. This adorable item is perfect for fans of the show or anyone who loves unique, crochet collectibles.
Quick Free Crochet Patrick Star Pattern for Beginners
The free crochet Patrick Star pattern comes from a YouTube channel that offers clear and easy-to-follow tutorials ideal for beginners and experienced crocheters alike. The video guides you through each step with friendly and detailed instructions, making it easy to start crocheting the starfish right away, even if you’ve never tried making an amigurumi before.
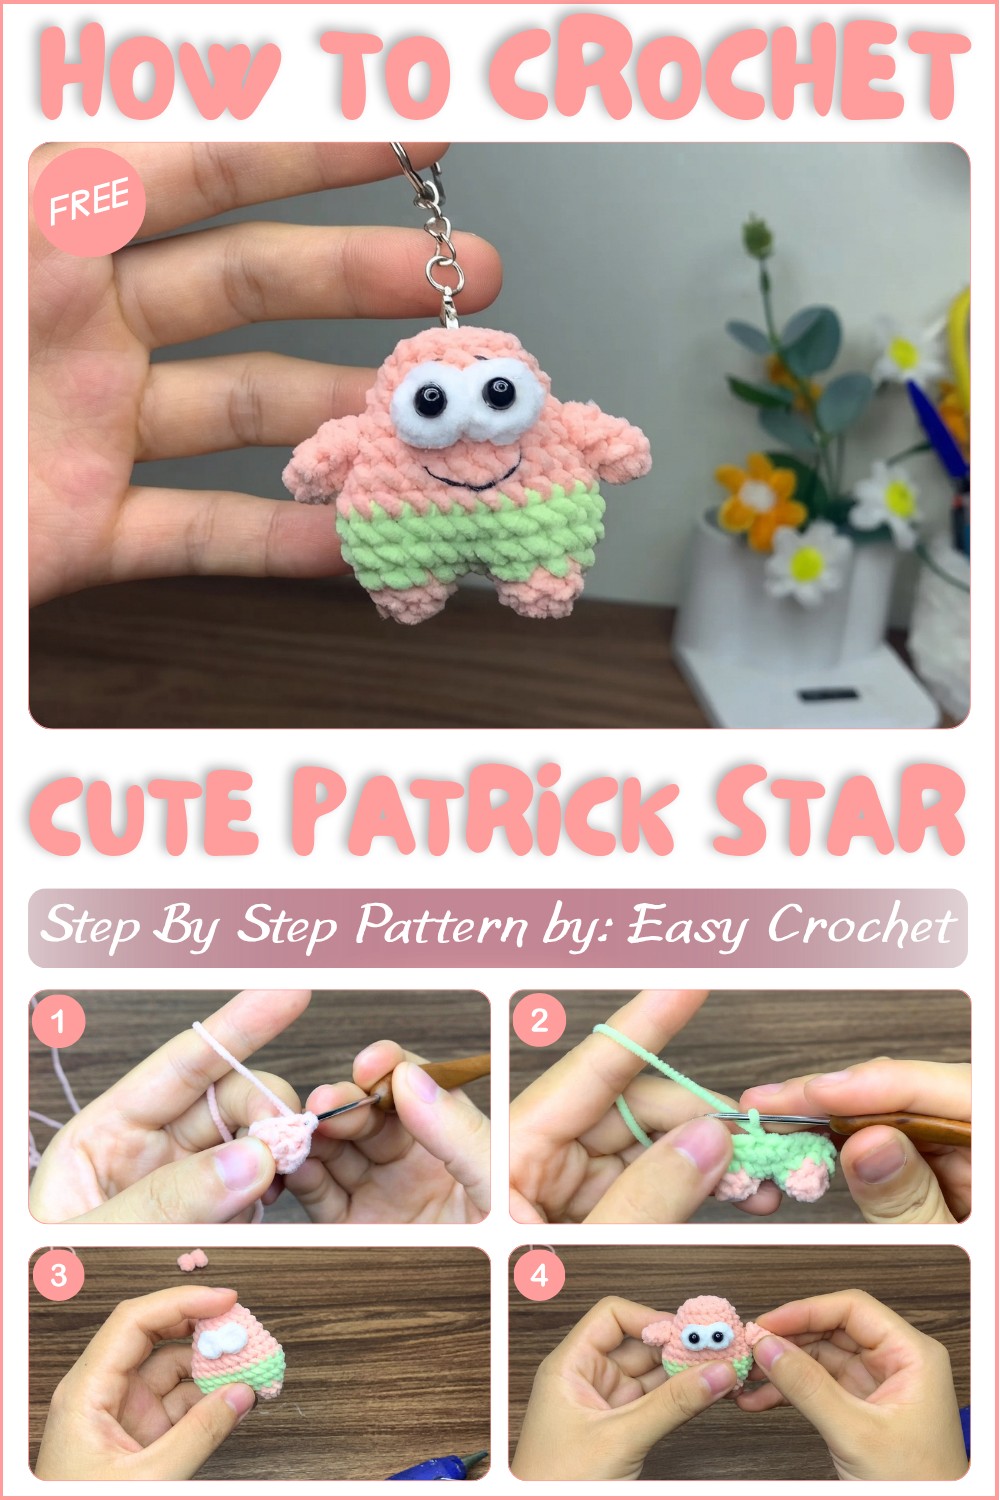
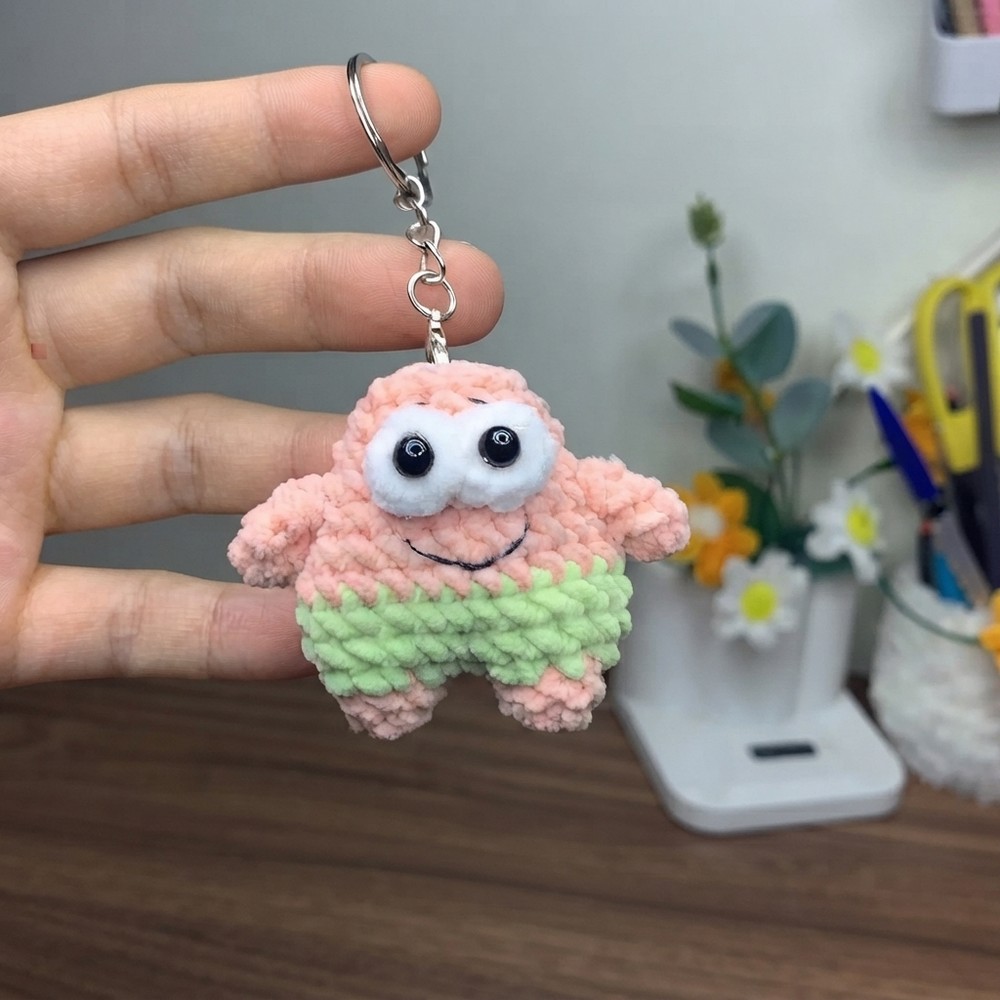
This crochet Patrick Star stands out with its soft texture and plump, rounded shape, capturing all the quirky features of the famous character, like his big eyes, friendly smile, and signature green shorts with purple flowers. The pattern uses basic stitches but creates a well-defined form that feels huggable and sturdy. It’s a fun project that results in a colorful, eye-catching piece that’s perfect to display on shelves, desks, or even as a cute companion for kids.
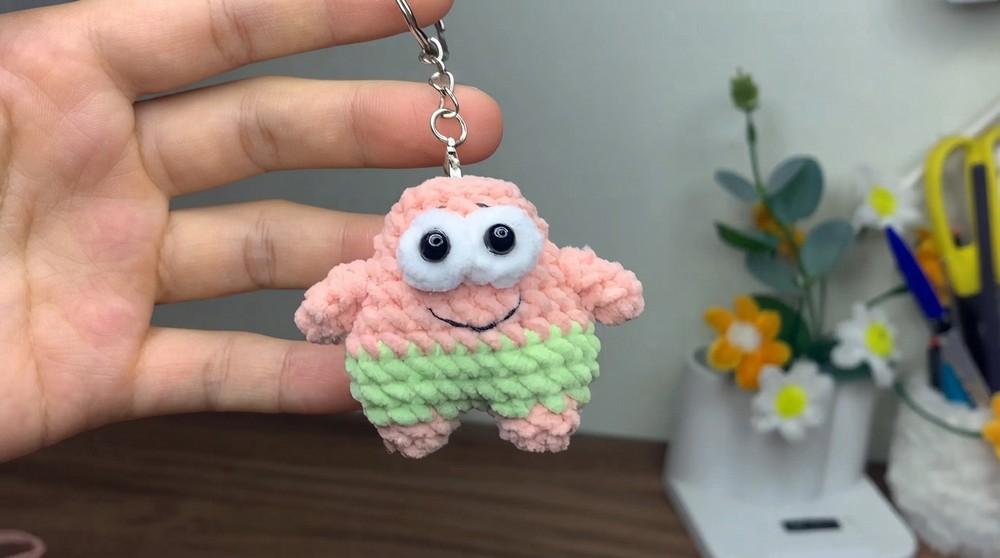
If you’re looking for an enjoyable project that combines creativity with a pop culture twist, this free crochet Patrick Star pattern is a fantastic choice. It’s easy enough to try even if you’re new to crochet, and the lovely finished piece offers endless joy as a gift or collectible.
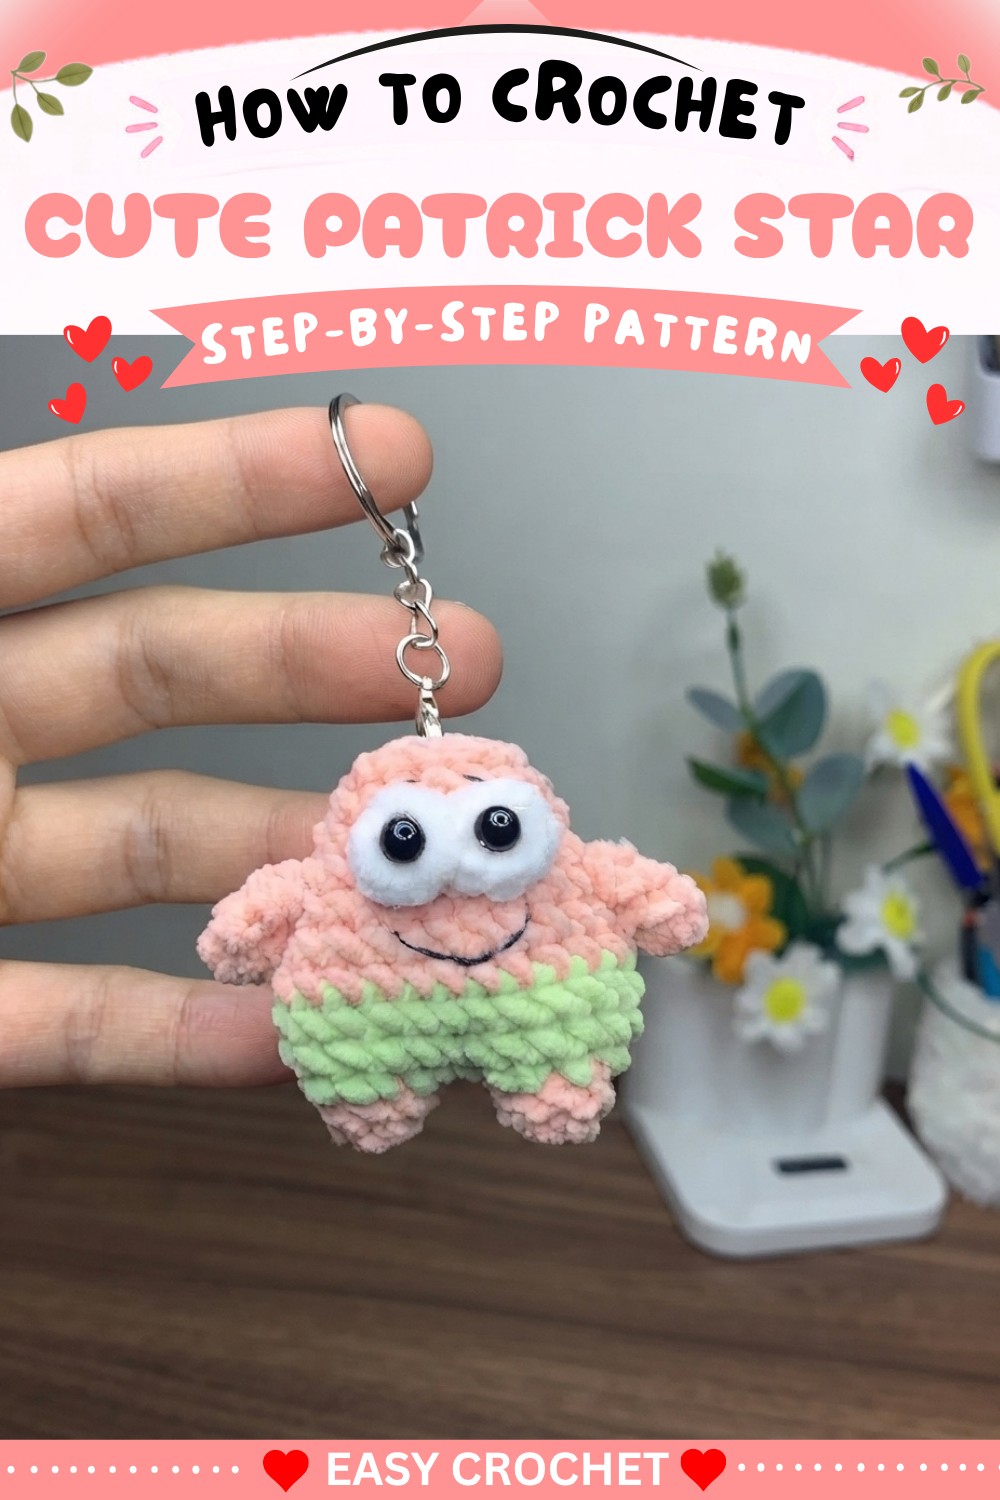
Mini Starfish Crochet Pattern
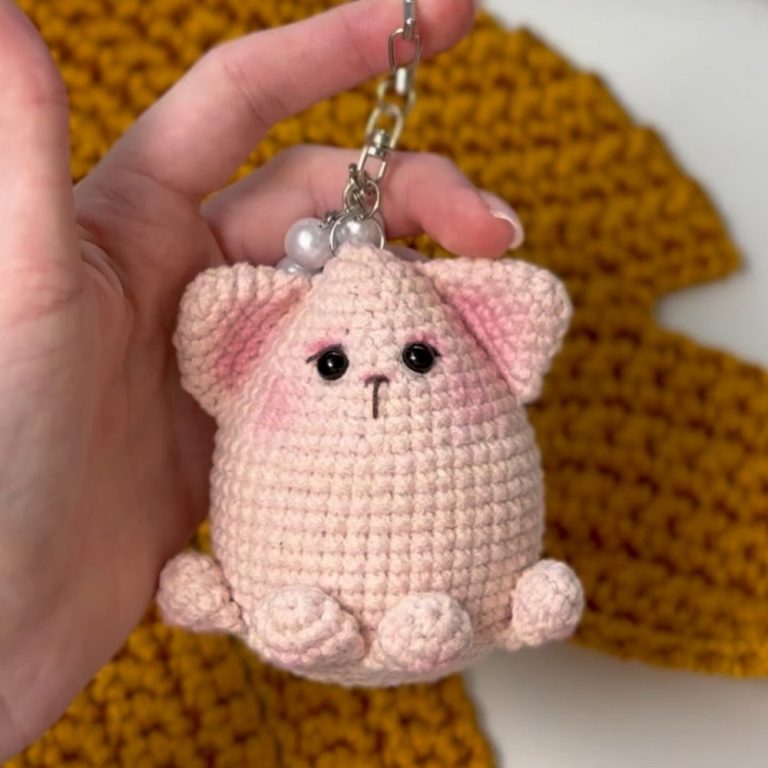
Welcome to this step-by-step pattern for crocheting a mini starfish inspired by “Patrick.” This project is quick, beginner-friendly, and perfect to use as a keychain, charm, or toy. Let’s get started and create a cute plush starfish together!
Quick Overview Of Pattern
- Crochet two starfish pieces (front and back) using rounds and simple color changes.
- The starfish is built leg by leg with subtle increases and joined at the center.
- Add a pair of arms and oval “eye” patches separately.
- The entire shape is stuffed, then closed and embellished with safety/plastic eyes.
Notes
- Use a stitch marker to keep track of round starts, especially for mini amigurumi.
- Color changes are optional and can be done as shown for a two-tone effect.
- Work all rounds continuously unless otherwise noted (do not join; spiral rounds).
- Stuff starfish lightly but firmly for best shape.
- Safety eyes can be glued or sewn on as preferred.
Skill Level
Beginner
This pattern is suitable for those comfortable with magic circles, single crochet, basic increases, working in the round, and simple color changes.
Materials
- Plush or velvet yarn, approx. 2mm thickness (Baby Bear Plush or similar):
- Pink (body main color)
- Blue (contrast for one leg/section)
- Light pink or white (eye patches)
- Crochet hook: 2.5mm
- Fiberfill/polyfill stuffing or yarn scraps
- Scissors
- Yarn needle
- Stitch marker
- 2 small plastic safety eyes (to glue or sew)
- Fabric or craft glue (for eyes, optional)
Measurements / Sizing
- Starfish: approx. 8–9 cm tall and wide
- Arms: approx. 3.5 cm long
- Eye patches: approx. 1.5 cm in diameter
Size may vary slightly based on yarn and hook.
Gauge
Not crucial for this project. Use a hook that gives you tight, even stitches so stuffing does not show.
Stitch Abbreviations
- ch: chain
- sc: single crochet
- sl st: slip stitch
- inc: increase (2 sc in same stitch)
- dec: decrease (single crochet two together)
Special Stitches
- Magic Circle: Form a ring with yarn; work stitches into this ring for a tight starting point.
The Crochet Pattern
A. Starfish Body (Main Piece)
First Leg
- With skin/pink yarn, create magic circle.
- Rnd 1: Work 6 sc into magic circle. (6 sts)
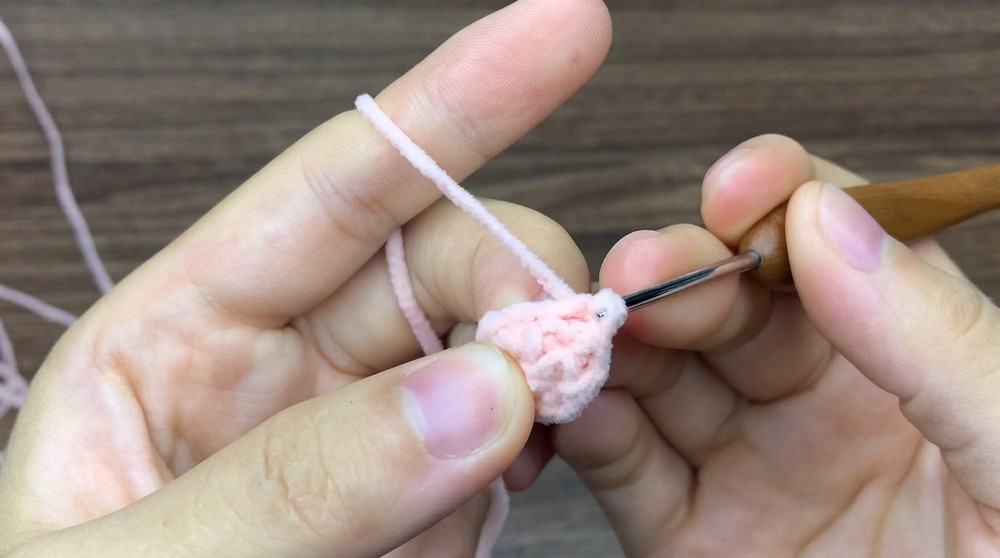
Pull tight, sl st to first stitch to close. - Rnd 2: Ch 1. Work 6 sc (one in each st around). (6 sts)
Sl st to first stitch to join. Fasten off. - Cut yarn and set piece aside.
Repeat First Leg
- Repeat Steps 1–4 above to create a second identical leg.
For the fifth stitch of the second leg, change color to blue by pulling through blue yarn as you finish the stitch. - Continue to sl st to the first stitch to close each time, then fasten off.
Joining Legs (Main Body)
- Place both legs side-by-side. Attach skin/pink/yarn at the base where legs meet.
- Ch 2 (this forms the “bridge” between legs for joining).
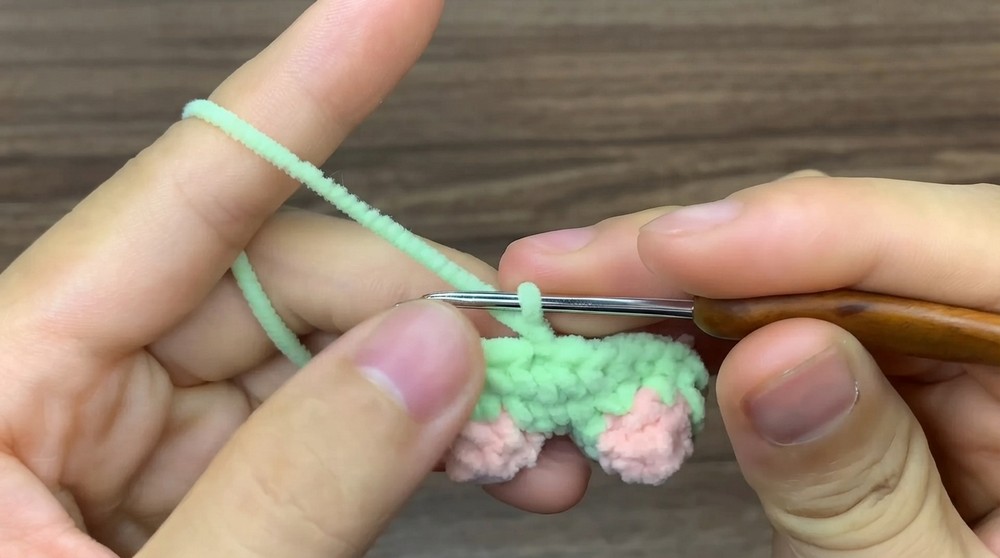
- Insert hook through the first st of both legs, sl st to connect the two.
- Ch 1 to start the next round.
Main Body Rounds
Third Round (joining both legs):
- On first leg:
- [sc 1, inc] (repeat 3 times)
- (1 sc, 2 sc in next – repeat)
- [sc 1, inc] (repeat 3 times)
- On joining chain section and other leg:
- sc 2 along the edge
- On second leg:
- [sc 1, inc] (repeat 3 times)
- sc 2 along the second edge
(Total: 18 sts)
Round 4:
- Ch 1.
On next round, work sc 4, inc (2 sc in next st),
sc 10, inc again, then sc 6 to end the round.
(Follow transcript’s flow: you will work the legs, then around the connecting edge.) - Total: 24 sc
Round 5:
- Ch 1, then sc 24 stitches evenly around.
- No increases/decreases; keep spiral.
Round 6:
- Change color back to pink if desired (pull new color through last stitch of previous round).
- Ch 1, then sc 24 around. (Switch colors as you like or keep all pink.)
Round 7:
- Ch 1
- sc 4, 1 sl st through both layers of the “leg” edge to tighten the point.
- Continue: sc 10, 1 sl st at the next edge, sc 6.
- Total: 24 sts
Round 8:
- Ch 1
- sc 4, 1 dec,
- sc 9, 1 dec,
- sc 5, 1 dec.
- (Reduces the stitch count for tapering points.)
Round 9:
- Ch 1
- sc 3, 1 dec,
- sc 8, 1 dec,
- sc 4, 1 dec.
Round 10:
- Ch 1
- sc 2, 1 dec,
- sc 7, 1 dec,
- sc 3, 1 dec.
Round 11:
- Ch 1
- sc 1, 1 dec,
- sc 6, 1 dec,
- sc 2, 1 dec.
Round 12:
- Ch 1
- sc 1, 1 dec,
- sc 6, 1 dec.
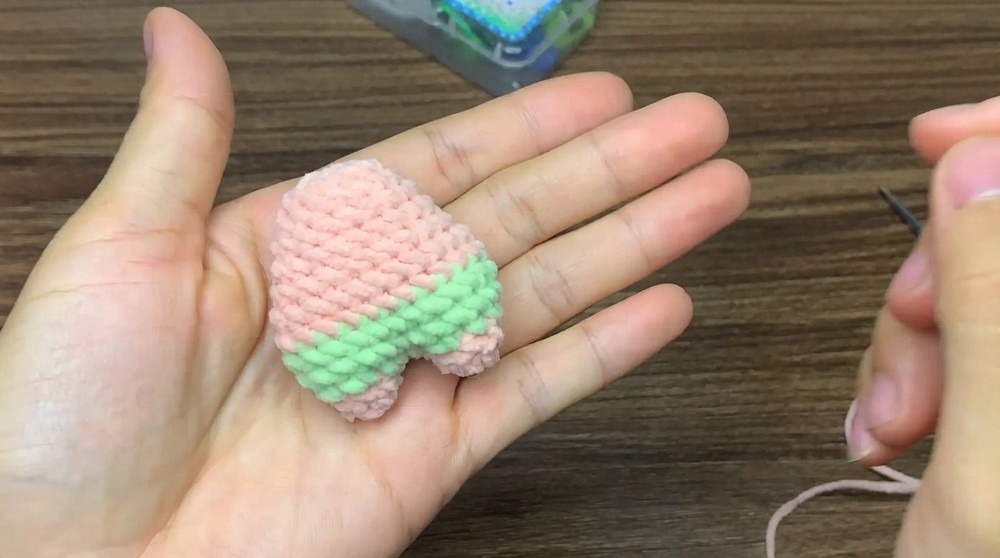
To Finish Body:
- Cut yarn, leaving a long tail.
- Stuff the starfish with polyfill or yarn scraps.
- Sew opening closed with the yarn needle, passing needle through every other outer stitch, pulling taut to close.
B. Arms (Make 2)
- With pink yarn, make a magic circle.
- Rnd 1: Work 5 sc into the circle. (5 sts)
Pull tight, sl st to first stitch to close. - Rnd 2: Ch 1, 5 sc (one in each st).
Sl st to join, fasten off. - Rnd 3: Attach yarn, 5 sc around as before.
- Fasten off, leaving a long tail for sewing.
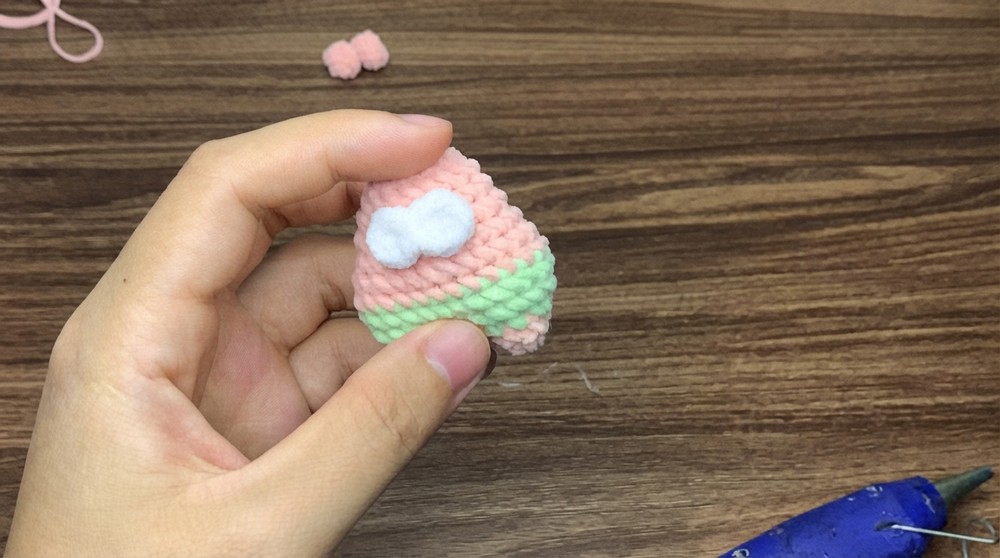
C. Eyes (Make 2)
- With white/light pink yarn, make a magic circle.
- Rnd 1: Work 6 sc into the circle.
Pull tight, sl st to close. - Fasten off, leaving tail to sew onto body.
- Attach/glue plastic eyes to center of each patch.
Assembly & Finished Size
- Place both body pieces with right sides out and stitch all edges together with a whipstitch, stuffing lightly before closing the last opening.
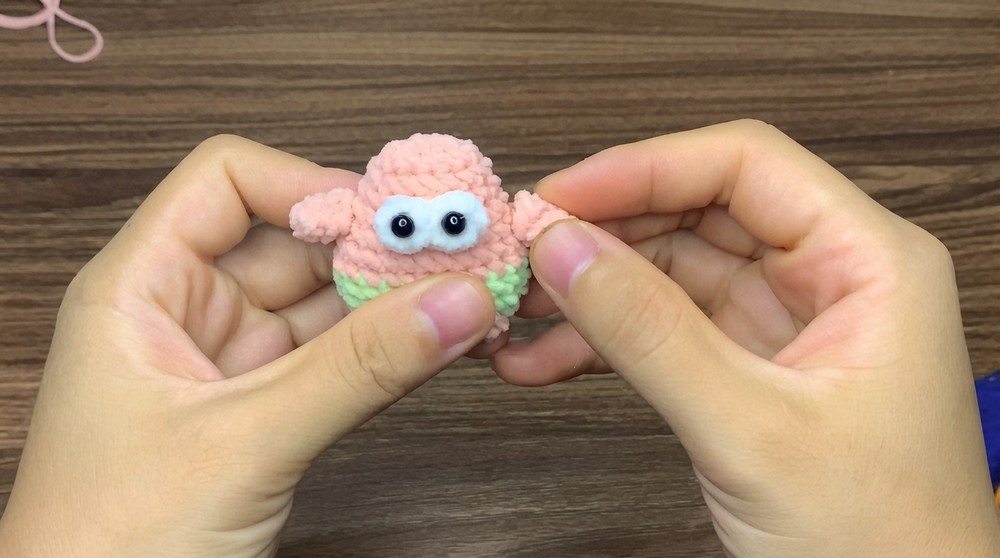
- Sew on the arms symmetrically along the sides, near the top corners.
- Attach the eye patches symmetrically above center, then glue or stitch black plastic eyes onto each patch.
- Weave in all ends neatly.
Finished size:
- Height/width: approx. 8–9 cm
- Arm length: approx. 3.5 cm
- Perfect for keychains, charms, or plushies.
Conclusion
Congratulations! You’ve completed your mini starfish plushie. Practice increases, decreases, smooth color change, and amigurumi assembly, all in a quick project. Display it, give it as a thoughtful handmade gift, or add to your collection.