How to Crochet Fried Chicken Drumstick Pattern | Easy Food Tutorial

Easily stitch a lovable Crochet Fried Chicken Drumstick with this free guide, adding charm to your home décor or gifting something truly unique and heartfelt.
Food lovers come here! If you enjoy quirky and fun crochet projects, creating a crochet fried chicken drumstick is a must-try. This free crochet fried chicken drumstick pattern is a playful and charming piece that adds a tasty twist to your crocheting collection. I started this project with the help of the YouTube channel “Happy Yarny,” where the easy-to-follow tutorial made every step clear and enjoyable, perfect for anyone wanting to try something unique and fun with yarn.
Free Crochet Fried Chicken Drumstick Pattern
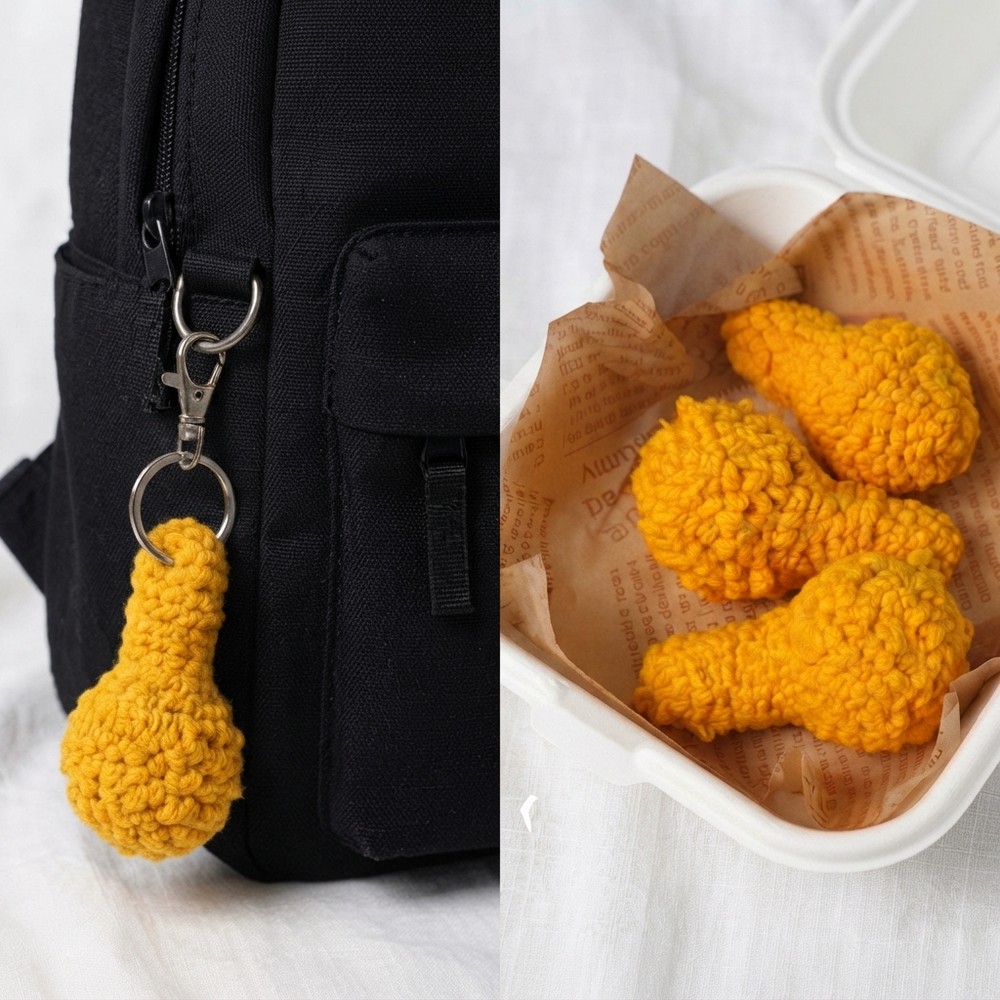
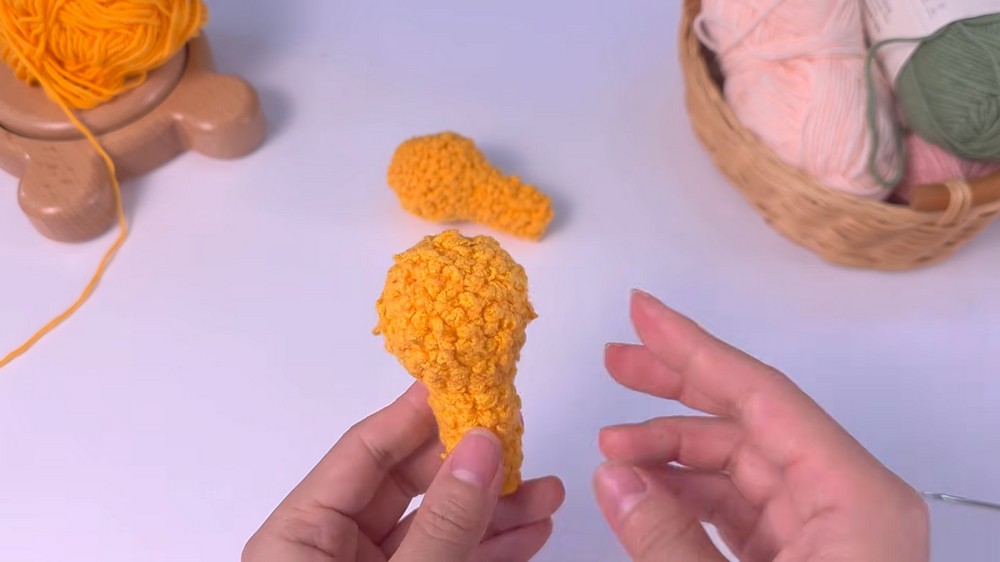
The finished drumstick looks impressively realistic with its rounded, plump shape that resembles a real piece of fried chicken. Its texture is especially eye-catching thanks to the use of special crochet stitches in the front loops, giving it a “crispy skin” effect that feels fun and lively. The warm golden-brown color combined with this textured stitch work creates a cozy and inviting look. This cute crochet food piece works wonderfully as a decoration, a keychain, or even a quirky fridge magnet that will bring smiles and a cozy vibe to your home or gift-giving.
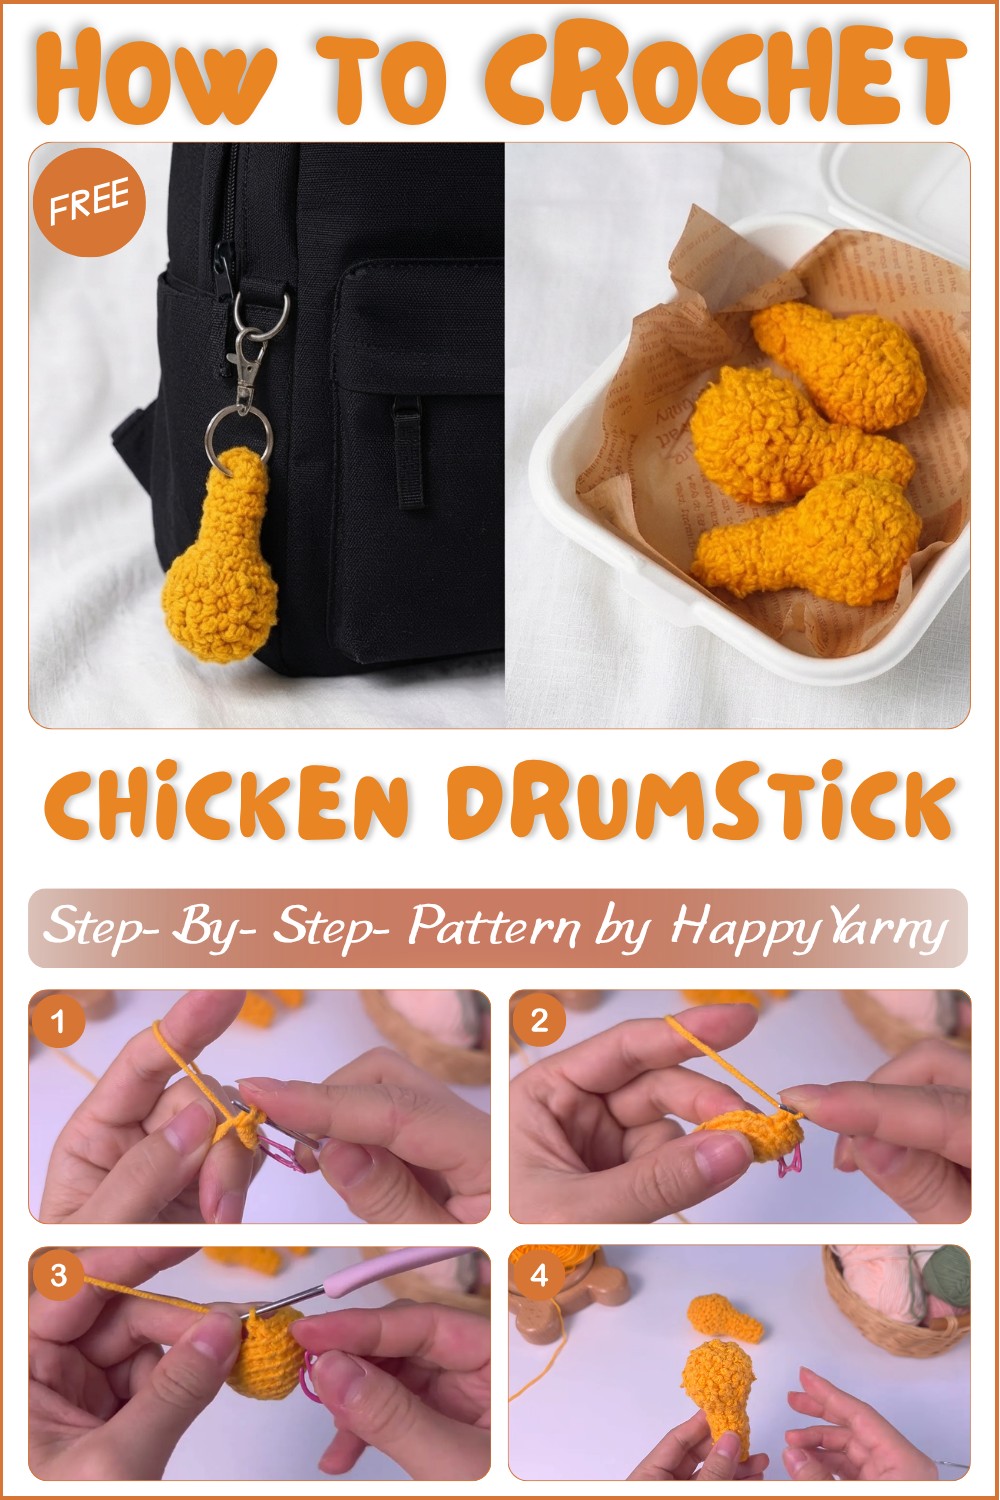
Designed with beginners in mind, this project mainly uses single crochet stitches, along with simple increases and decreases. The front loop stitch technique adds the special crispy texture but is easy enough to learn by following the clear instructions carefully. This makes it both a quick and satisfying project that builds confidence while creating something truly fun.
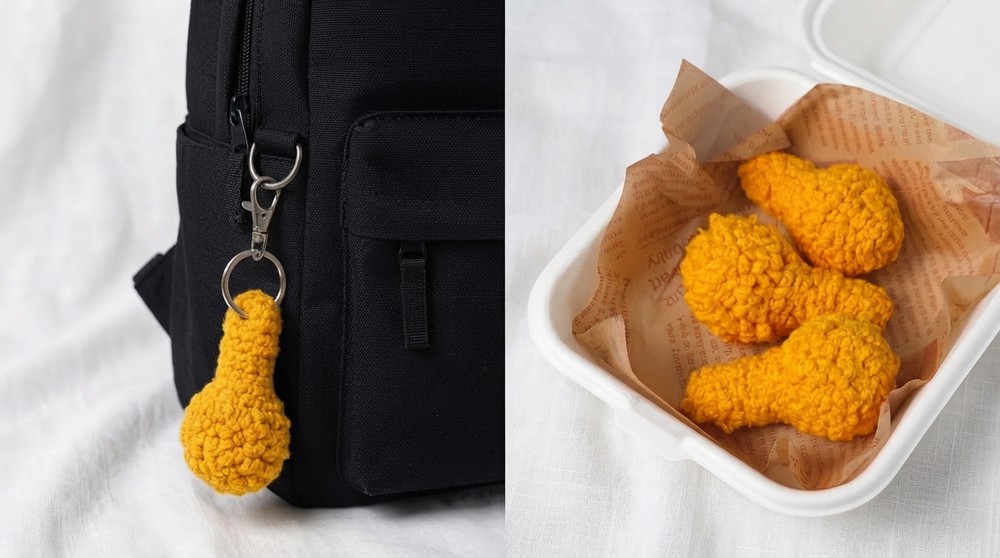
This free crochet fried chicken drumstick pattern is perfect for handmade gifts that are sure to make anyone laugh and feel special. It also makes a charming collectible or a playful addition to your own décor. If you’re looking for a cheerful and easy project that stands out, this pattern is an excellent fit.
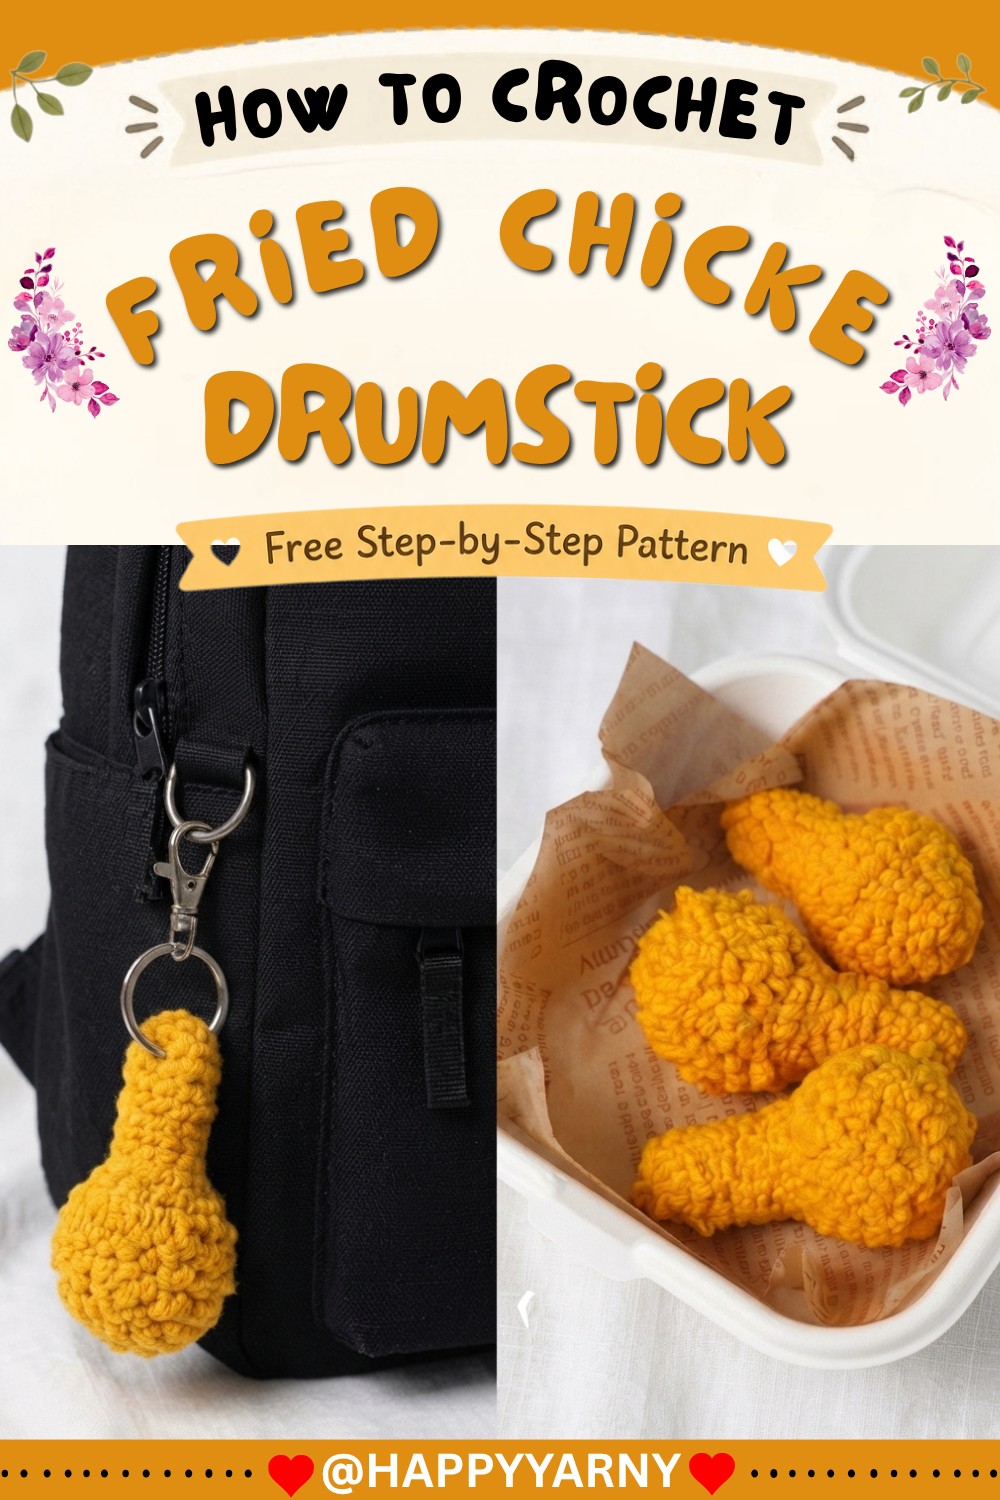
Amigurumi: Crochet Fried Chicken Drumstick
Today, we’re bringing some savory, playful charm to your hooks by making a crocheted fried chicken drumstick. This adorable drumstick is so realistic-looking, it might make you crave a trip to your favorite fried chicken restaurant! The project is quick and satisfying, resulting in a piece that’s both whimsical and attention-grabbing—perfect as a plush for play, display, or even as the center of a quirky keychain.
About the Crocheter & Channel
Happy Yarny is a spirited crochet channel dedicated to helping crocheters of all levels create fun, delicious-looking amigurumi and home decor pieces. The host’s friendly teaching style and clear technical demonstrations have attracted a wide following. In this particular video, viewers are guided through the creation of a fried chicken drumstick amigurumi, complete with textured “crispy skin” for a realistic and mouthwatering finish.
Quick Overview Of Pattern
- Project: Crocheted Fried Chicken Drumstick (amigurumi)
- Techniques Used: Magic ring, single crochet, increases, crocheting in back loops, invisible decreases, slip stitch, crocheting in front loops, basic textured embellishment
- Body Construction: Worked in the round, starting from the meatiest part and decreasing towards the “bone” end
- Decorative Surface: Textured “crispy skin” created by slip stitching and working chains in front loops
- Completion Time: Approximately 1–1.5 hours for most crocheters
- Ideal For: Beginners eager to learn shaping, as well as seasoned amigurumi enthusiasts
Notes
- Begin each round with a magic ring for a closed center.
- Use a stitch marker to mark the first stitch of the round, especially important in amigurumi.
- Rounds 2 onward: Switch to working in the back loops only to create a subtle ridge, adding definition.
- All increases are made by working 2 single crochets into a single stitch.
- Use invisible decreases to minimize gaps, especially when stuffing.
- The “crispy skin” is created after the drumstick is shaped, by working into the front loops of specific stitches.
Skill Level
Beginner to Confident Beginner
If you’re comfortable with single crochet and basic increases/decreases, you’ll find this project approachable and educational.
Materials
- Yarn: Worsted weight acrylic or cotton in two colors:
- Golden brown (main drumstick)
- Cream or white (for optional “bone” at bottom)
- Hook: 3.0mm to 3.5mm (adjust size for tighter or looser stitches)
- Stuffing: Polyester fiberfill
- Notions:
- Stitch marker
- Yarn needle for assembly and weaving in ends
- Scissors
Measurements / Sizing
- Finished Size: Approx. 3.5–4″ (9–10cm) in length, depending on yarn and hook
- Body Diameter (widest): Approx. 1.5″ (3.5cm)
- Bone Diameter: Approx. 1″ (2.5cm)
Gauge
Amigurumi projects do not require strict gauge, but your stitches should be tight enough so stuffing will not peek through the fabric.
A swatch suggestion:
- 6 sc and 7 rows = 1″ x 1″ (2.5cm x 2.5cm) (approx.)
Stitch Abbreviations
- MR – Magic ring
- sc – single crochet
- inc – increase (2 sc in same stitch)
- inv-dec – invisible decrease (see below)
- sl st – slip stitch
- ch – chain
- BLO – back loop only
- FLO – front loop only
Special Stitches
Invisible Decrease (inv-dec):
Insert hook into the front loop only of the next two stitches, yarn over, pull through both loops, yarn over again, pull through both loops on hook. Results in a nearly invisible decrease, perfect for amigurumi.
The Crochet Pattern!
Body of Drumstick
Round 1:
Into a magic ring, work 6 sc. Pull ring closed. Place stitch marker in first stitch.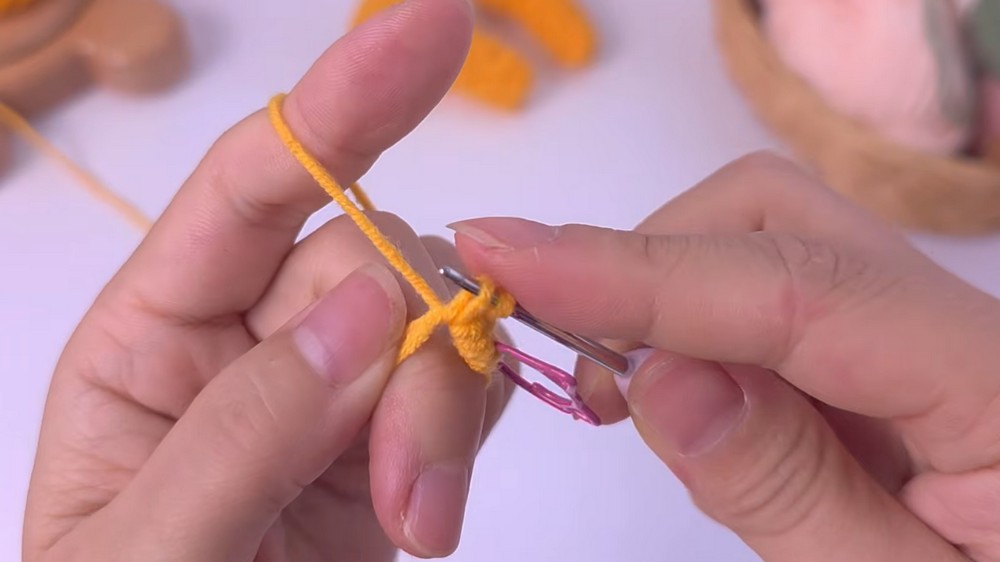
Round 2:
(BLO throughout this round!)
Work 2 sc in each stitch (inc) around (12 sc total).
Round 3:
(BLO)
1 sc, 1 inc—repeat 6 times around (18 sc total).
Round 4:
(BLO)
1 sc, 1 inc, 1 sc—repeat 6 times around (24 sc total).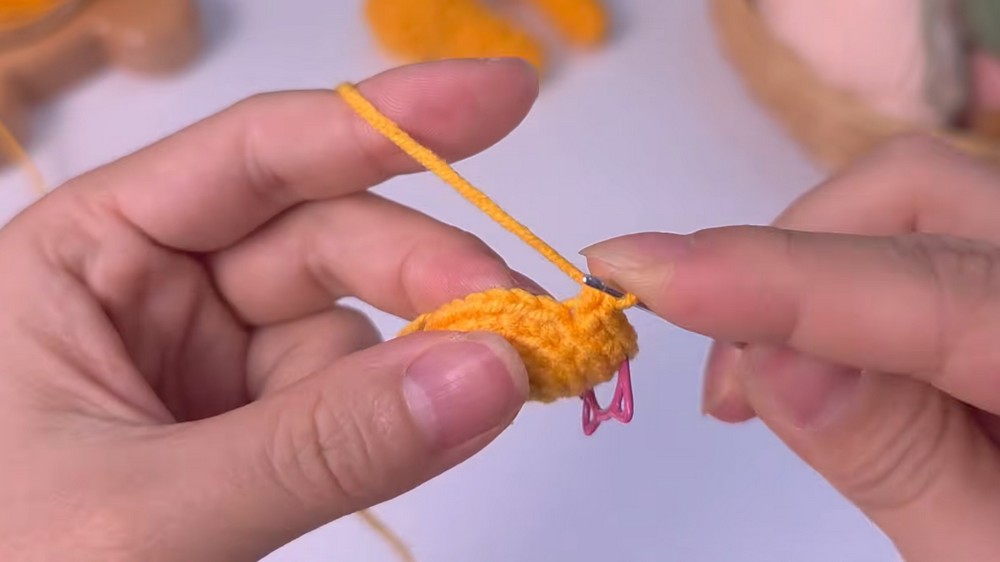
Round 5:
(BLO)
3 sc, 1 inc—repeat 6 times around (30 sc total).
Round 6–8:
(BLO)
Work 1 sc in each stitch around (30 sc per round**; 3 total rounds**).
Round 9:
3 sc, 1 inv-dec—repeat 6 times (24 sc).
Round 10:
1 sc, 1 inv-dec, 1 sc—repeat 6 times (18 sc).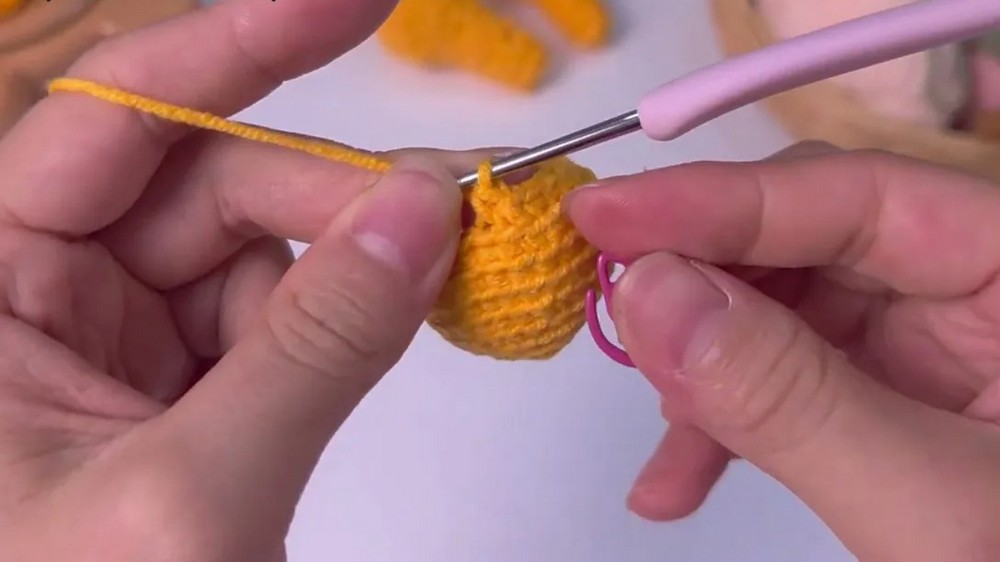
Round 11:
Work 1 sc in each stitch around (18 sc).
Round 12:
1 sc, 1 inv-dec—repeat 6 times (12 sc).
Rounds 13–19:
Work 1 sc in each stitch around (12 sc per round, for 7 rounds**).
Pause here to stuff the drumstick with fiberfill until firm but not overstretched.
Round 20:
Work 6 inv-dec around to close (6 sc). Fasten off, leaving a tail. Draw yarn through last six stitches and pull tight to close hole. Weave in end.
Crispy Skin (Surface Texture)
Working with the same color as the drumstick or a lighter/darker golden shade for contrast.
Step 1:
With yarn attached, slip stitch into any front loop at the top bulge of drumstick.
Step 2:
Chain 4, slip stitch into next front loop, chain 4 again, and repeat around the meatiest part.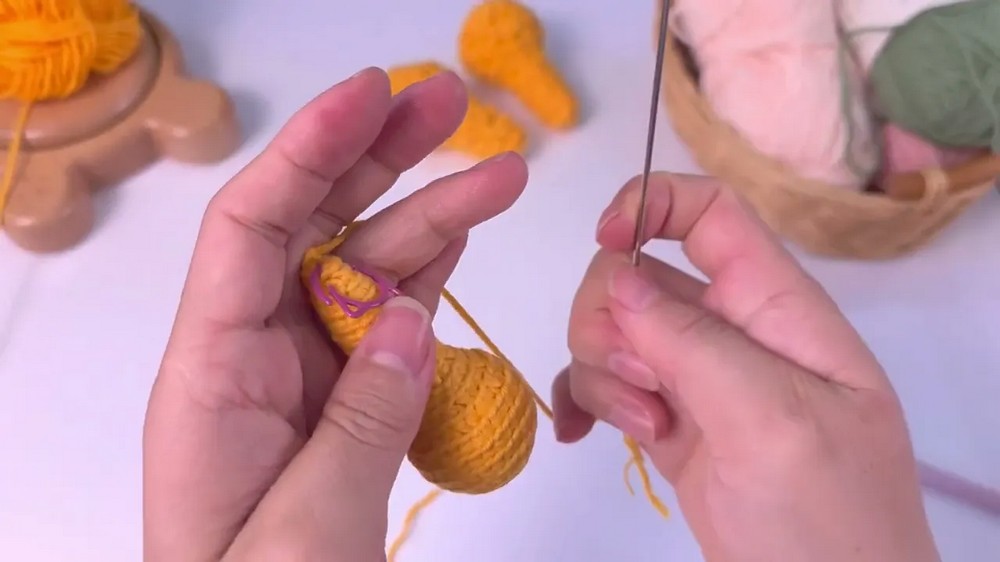
Step 3:
To make it look crispier, split the yarn and work into only one or two strands, and don’t worry about keeping the chain loops perfectly uniform—embrace the messy texture.
Step 4:
Work extra slip stitches and chains into the front loops as desired for a fuller look. Toward the end, decrease chain length to chain 3 for a tidier finish at the narrow, “bone” end. Fasten off and hide ends inside drumstick.
Assembly & Finished Size
- Give your drumstick a final shaping squeeze; the “crispy skin” detail should look uneven and deliciously messy.
- Optional: Use cream yarn to embroider or lightly accentuate a “bone” end at the bottom for extra realism.
- Finished length will be 3.5–4” (9–10cm).
Conclusion and Ending Words
Congratulations! You’ve crocheted a delectable fried chicken drumstick amigurumi, complete with savory-looking crispy skin. This project is a playful way to master back loop shaping, invisible decreases, and textural embellishments, all packaged in a super-quick format. Perfect for playful gifts, pretend food sets, or a fun, conversation-starting accessory.
If you enjoyed this tutorial, don’t forget to visit the Happy Yarny channel for more creative crochet ideas.