Cute & Adorable Mouse Pattern With Easy & Free Motif Tutorial

Stitch a soft and sweet crochet mouse now with this free pattern that will warm hearts and inspire your creativity in no time.
Creating adorable animal-themed projects brings joy and charm to any space. A delightful example is the Free crochet Mouse Pattern, shared by the creative team at yarnish\_love. This design stands out with its cute shapes and versatile use, making it perfect for gifts or home decoration.
Free Crochet Mouse Pattern – Simple Amigurumi Project
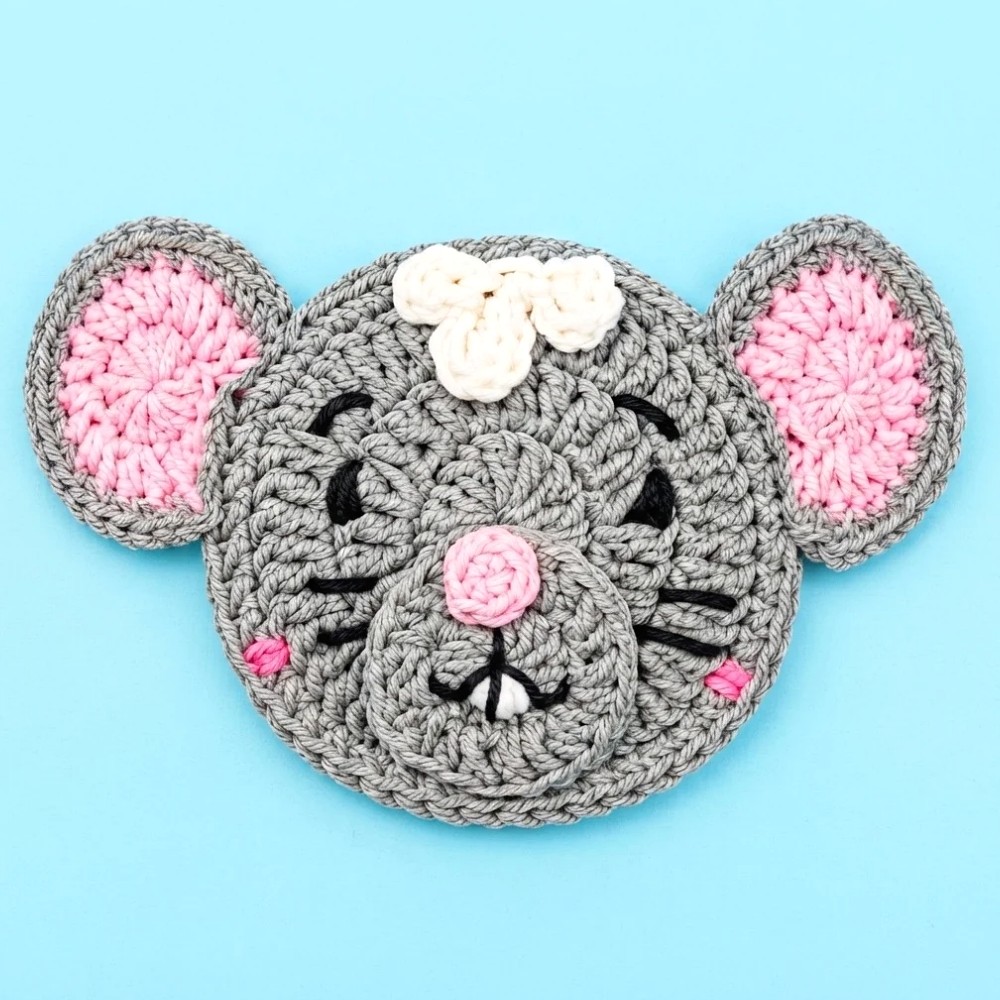
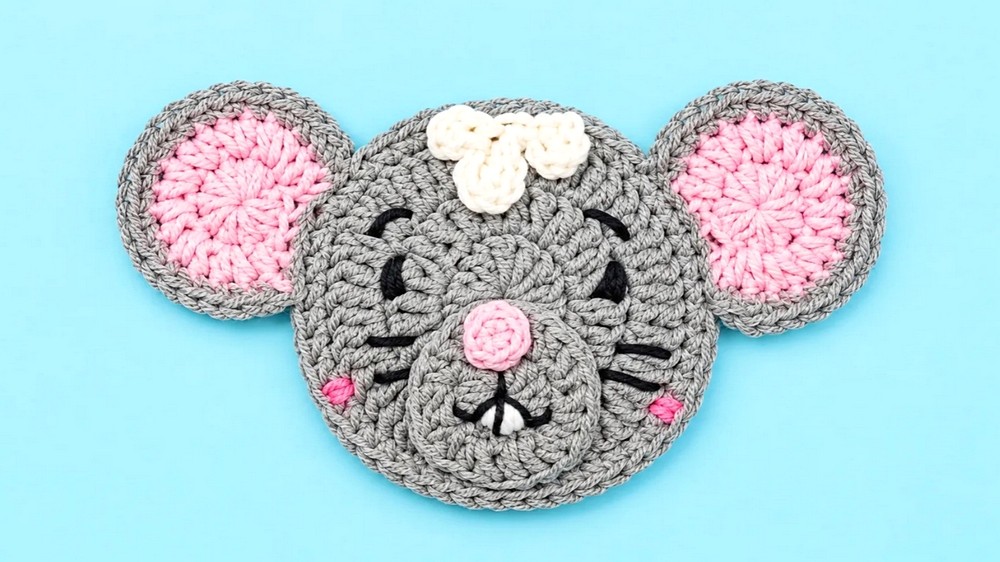
This mouse pattern features a round body with soft, textured stitches that add a cozy feel. Its small size and sweet facial details, like the tiny muzzle and ears, give it a friendly and playful character. The pattern includes clear steps to shape each part, allowing the mouse to be a standalone ornament or part of a larger project like a granny square baby blanket.
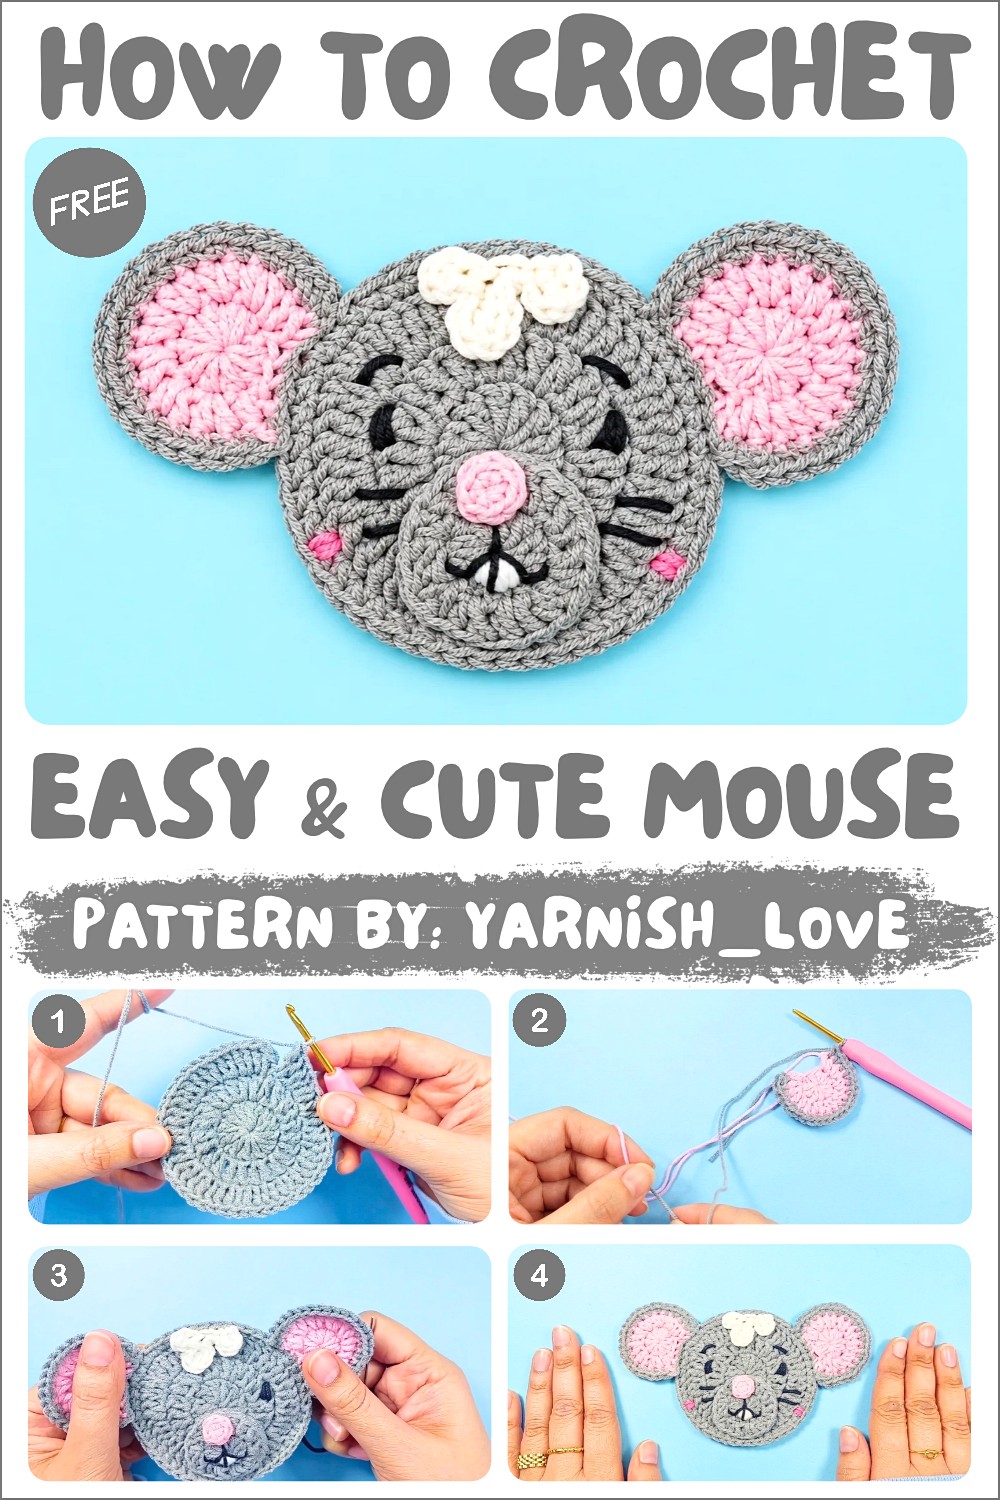
Texturally, the combination of double crochet and half double crochet stitches gives the mouse a smooth yet plush surface. The gentle curves and balanced proportions create a charming figure suitable for nursery decor, toys, or unique apparel accents. Its compact form makes carrying or displaying easy, bringing a touch of warmth wherever it goes.
Designed with special attention to joining techniques, this mouse’s ears and nose can be sewn securely while keeping the back loops free for further embellishments. This thoughtful detail adds to the pattern’s versatility and durability.
Crochet Mouse Applique Pattern
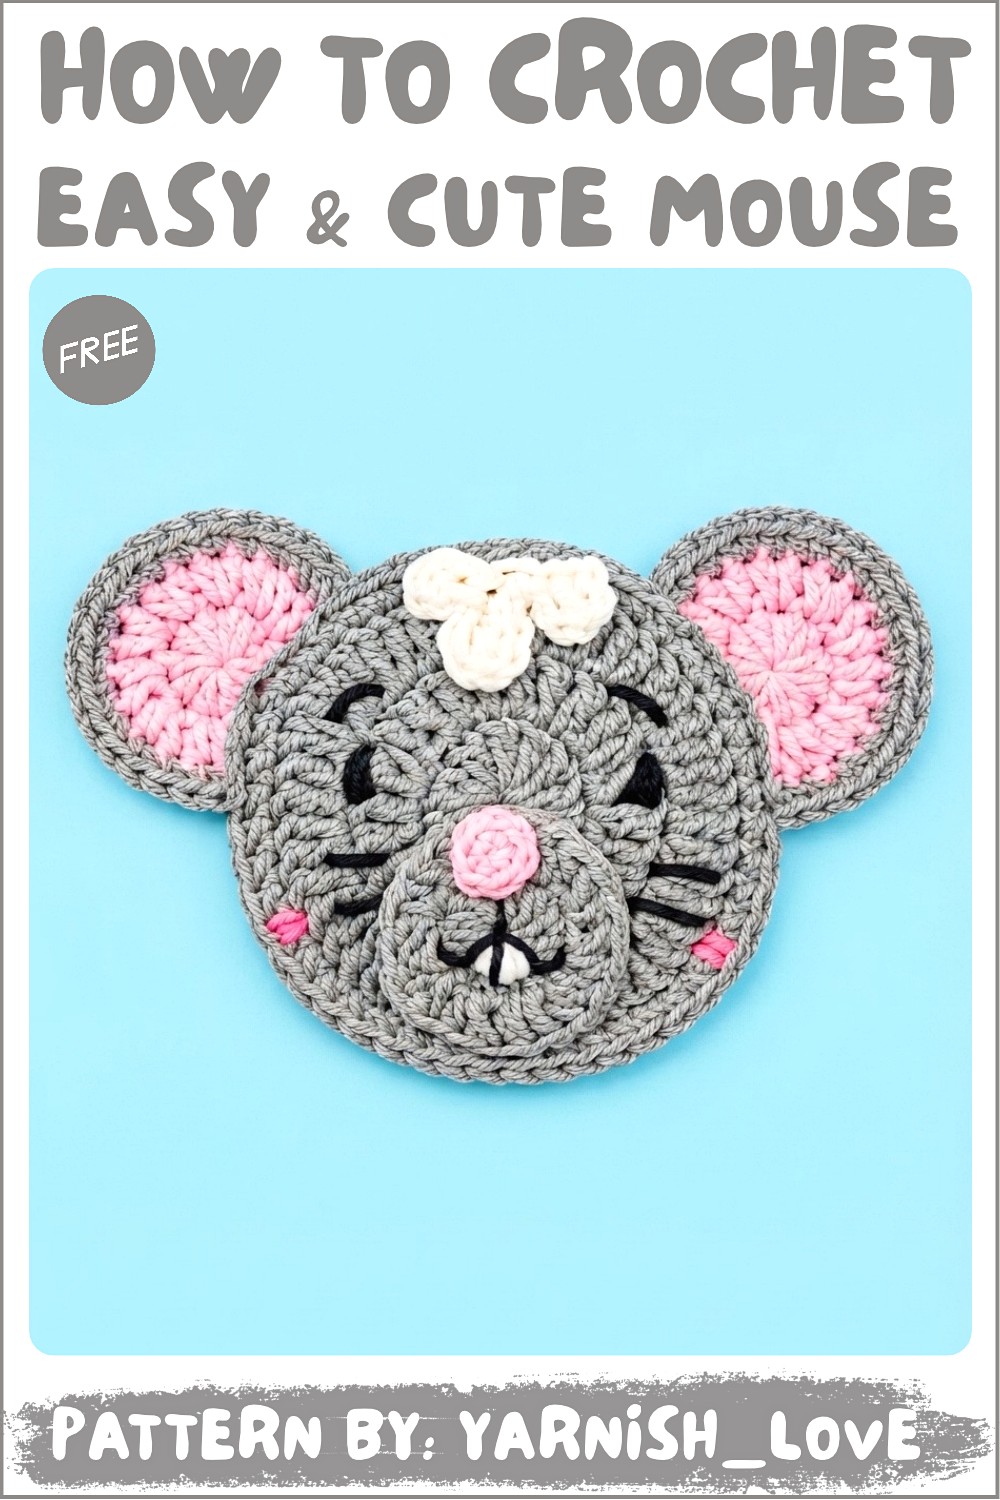
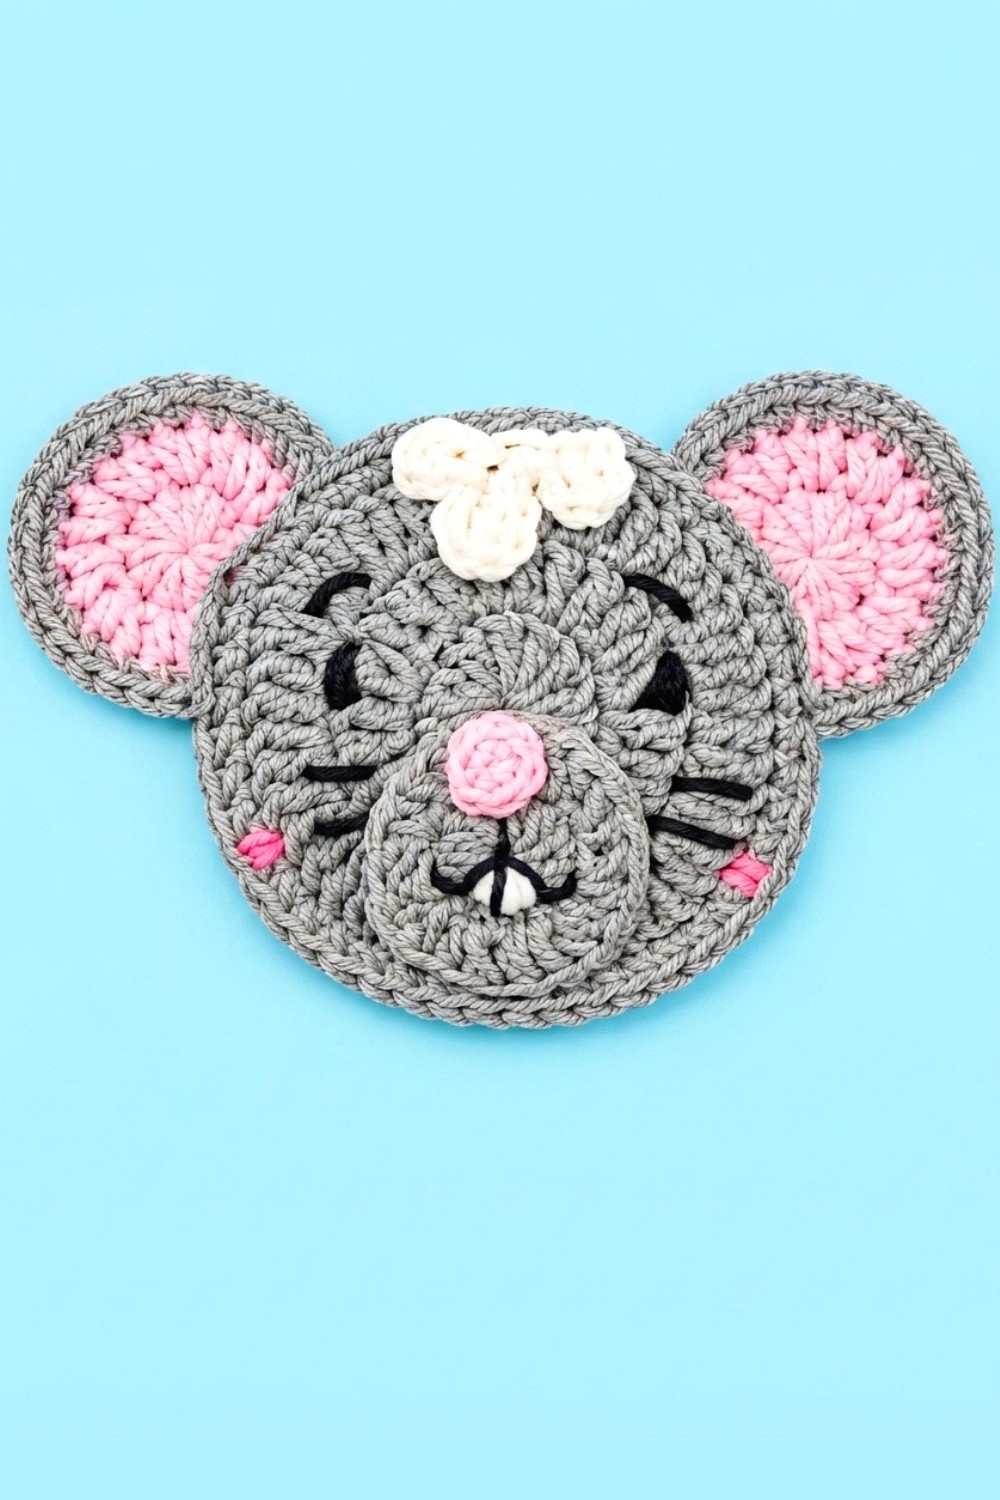
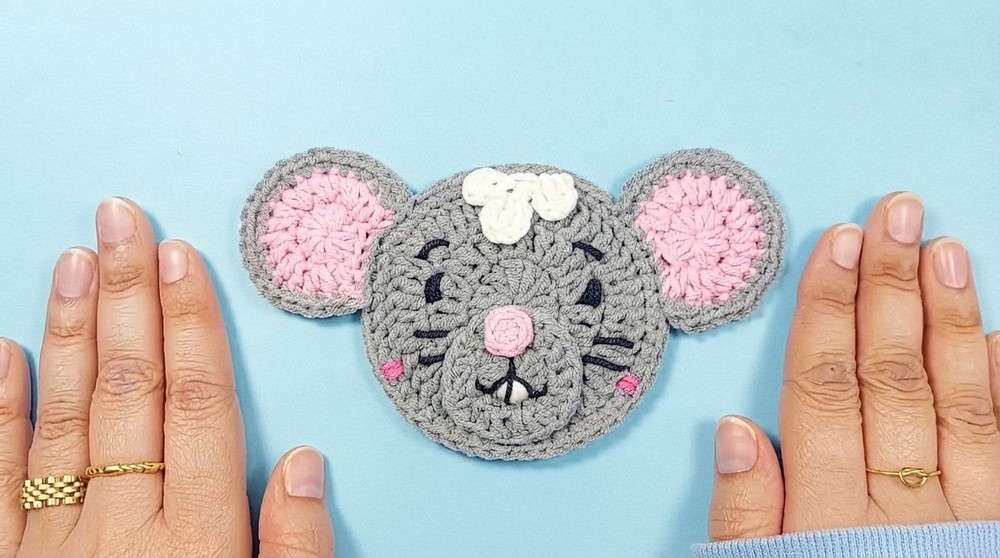
This Crochet Mouse Applique is a charming and versatile design, ideal for baby blankets, nursery decor, clothing embellishments, or standalone decorations. The project uses basic crochet techniques to sculpt the mouse’s head, muzzle, ears, and hair tuft. The optional step to turn the applique into a granny square adds functionality for larger projects like blankets or wall hangings.
Skill Level
Intermediate
Materials
- Yarn: Medium-weight yarn in appropriate colors:
- Main Color: Gray (for head and ears).
- Contrast Color: Pink (for muzzle and ears).
- Accent Color: Black (for embroidery details like eyes, whiskers, and nose).
- Hook: 2.5 mm crochet hook.
- Additional Supplies:
- Tapestry Needle (for sewing and embroidery).
- Scissors (for trimming yarn ends).
Special Stitches
Magic Ring (MR):
Create a loop with the yarn; insert the hook into the loop, yarn over, and pull through. Chain 1 to secure the ring, then crochet directly into the loop. Pull the yarn tail to close it tightly.
Single Crochet (SC):
Insert the hook into the stitch, yarn over, pull up a loop (2 loops on hook), yarn over, and pull through both loops on the hook.
Half Double Crochet (HDC):
Yarn over, insert the hook into the stitch, yarn over again, pull up a loop (3 loops on hook), yarn over and pull through all three loops on the hook.
Double Crochet (DC):
Yarn over, insert the hook into the stitch, yarn over again, pull up a loop (3 loops on hook), yarn over and pull through the first two loops, yarn over and pull through the remaining two loops.
Slip Stitch (SL ST):
Insert the hook into the stitch, yarn over, and pull through both the stitch and the loop on the hook.
Stitch Abbreviations
- ch = Chain
- sc = Single Crochet
- hdc = Half Double Crochet
- dc = Double Crochet
- sl st = Slip Stitch
Useful Tips
- Consistent Tension: Maintain an even tension throughout the project for balanced shapes.
- Starting with the Magic Ring: Secure the ring tightly to avoid gaps in the center of the crochet pieces.
- Assembly with Back Loops for Granny Squares: When joining applique parts, avoid using the back loops if you plan to turn the applique into a granny square later. Keep the back loops intact.
- Embroidery Details: Use a fine tapestry needle and high-quality yarn for clear, detailed embroidery.
- Customization: Adjust colors or add extra embellishments to make the mouse applique unique to your project.
Detailed Pattern Instructions
Crocheting the Head
Round 1:
- Begin with a magic ring.
- Step 1: Chain 3 ch.
- Step 2: Work 12 dc into the ring.
- For dc: Yarn over, insert the hook into the ring, pull up a loop (3 loops on hook), yarn over, pull through the first 2 loops, yarn over, pull through the remaining 2 loops.
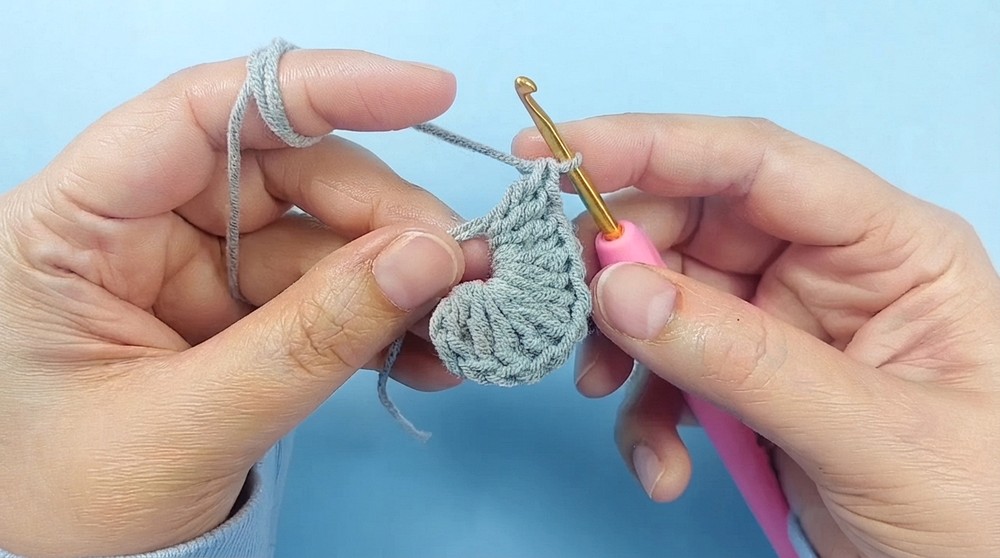
- For dc: Yarn over, insert the hook into the ring, pull up a loop (3 loops on hook), yarn over, pull through the first 2 loops, yarn over, pull through the remaining 2 loops.
- Step 3: Close the ring tightly by pulling the tail.
- Step 4: Skip the chain-3 and slip stitch into the first dc.
Round 2:
- Step 1: Chain 1 ch and work 1 sc into the same stitch.
- Step 2: Chain 1 ch and work 1 dc into the same stitch.
- Step 3: Work 2 dc in each stitch around.
- Step 4: At the end of the round, you will have 24 dc. Slip stitch into the first double crochet to join.
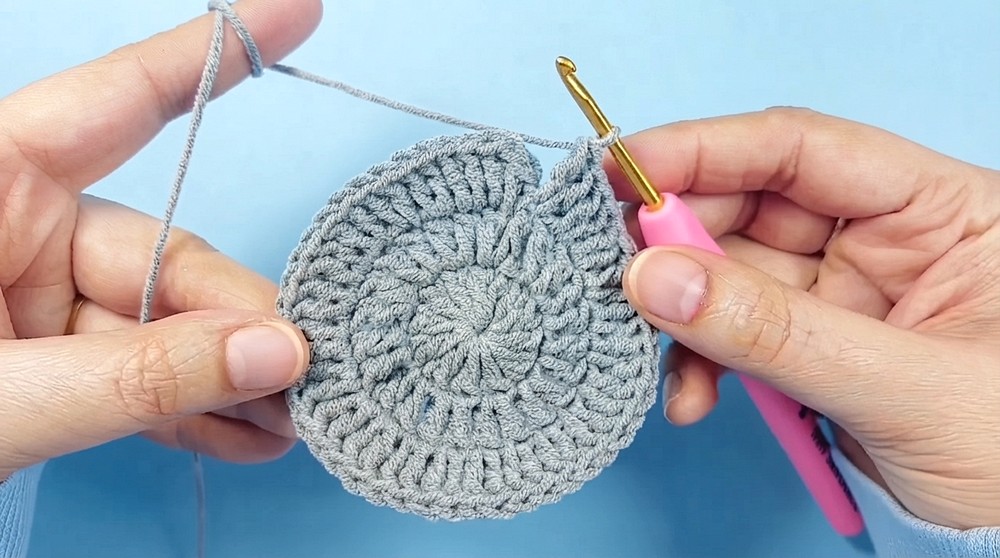
Round 3:
- Step 1: Chain 1 ch and work 1 sc into the same stitch. Chain 1 ch and work 1 dc into the same stitch (counts as 2 dc).
- Step 2: Work 2 dc in each stitch around.
- Step 3: At the end of the round, you will have 48 dc. Slip stitch into the first dc to join.
Round 4:
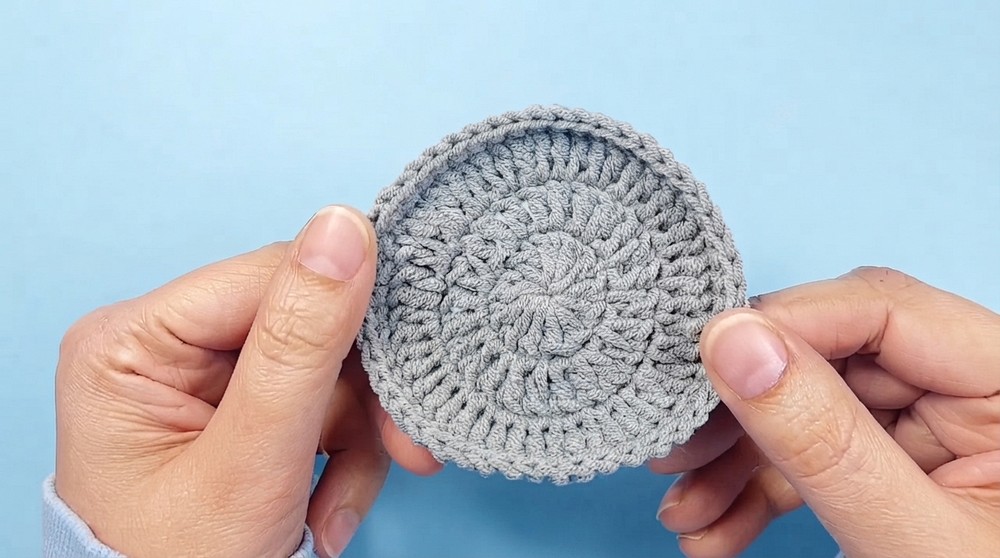
- Step 1: Chain 1 ch and work 1 sc in the same stitch.
- Step 2: Work 1 sc in each stitch around.
- Step 3: You will have 48 sc. Slip stitch into the first sc and fasten off.
Crocheting the Muzzle
- Begin with a magic ring.
Round 1:
- Chain 2 ch, then work 10 hdc into the ring.
- Close the ring tightly and slip stitch into the first hdc to join.
Round 2:
- Chain 1 ch and work 1 sc into the same stitch.
- Work 1 hdc into the same stitch.
- Work 2 hdc into each stitch around.
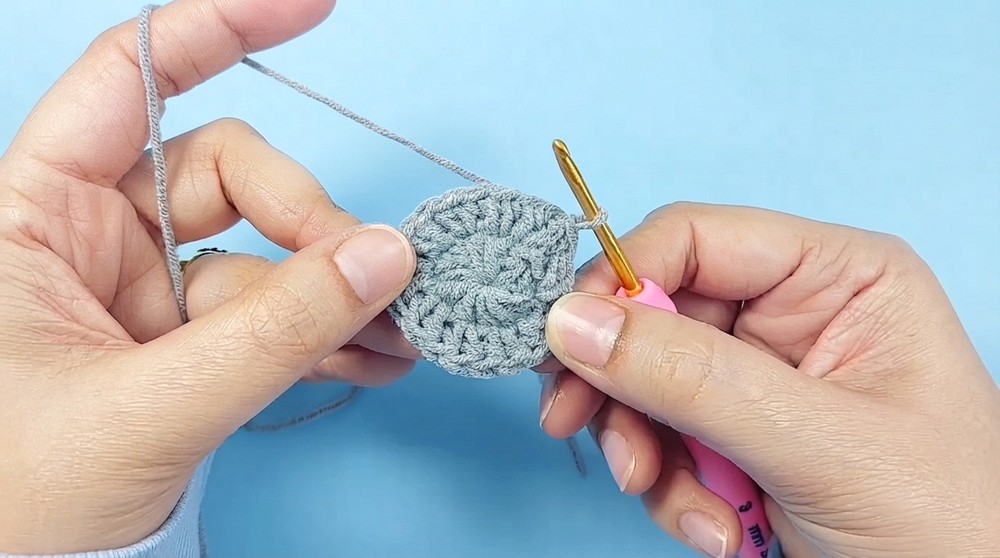
- At the end, you will have 20 hdc. Slip stitch into the first hdc and fasten off.
Crocheting the Ears
Each ear uses similar steps to the muzzle.
Round 1:
- Begin with a magic ring and work 10 hdc into the ring.
- Close the ring tightly and slip stitch into the first hdc to join.
Round 2:
- Chain 1 ch and work 1 sc into the same stitch.
- Work 1 hdc into the same stitch.
- Work 2 hdc into each stitch around, but skip the last stitch (ending with 18 hdc).
- Chain 1 ch and fasten off.
Round 3:
- Attach the main gray yarn to the corner of the ear piece.
- Chain 1 ch and work 1 sc into the same stitch.
- Work the following sequence:
- 1 sc, 2 sc into the next stitch (increase). Repeat this pattern around the edge of the ear.
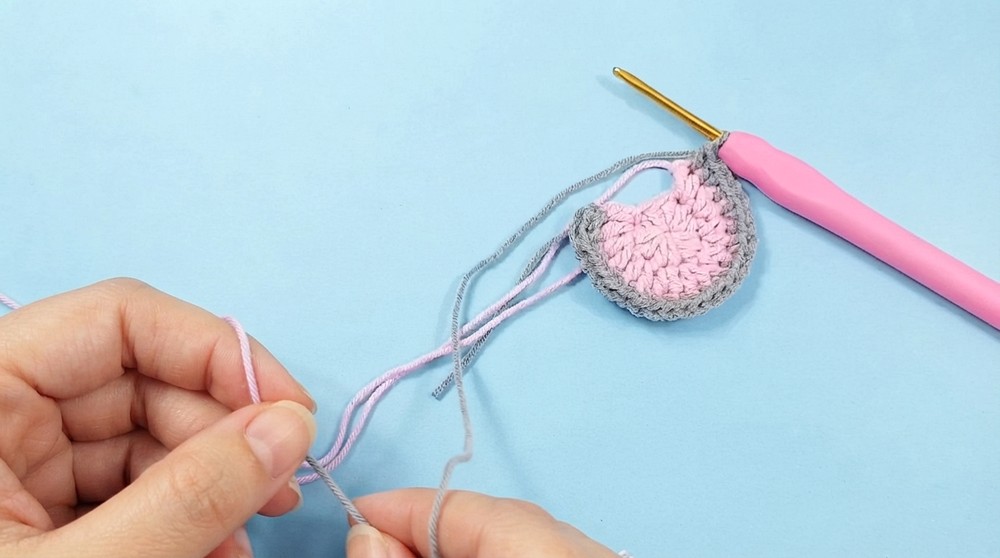
- 1 sc, 2 sc into the next stitch (increase). Repeat this pattern around the edge of the ear.
- Fasten off with a long tail for sewing.
Crocheting the Hair Tuft
- Create a slip knot and chain 5 ch.
Row 1:
- Skip the first chain and work 1 sc into the second chain.
- Chain 1 ch and work sl st into the same chain.
- Work sl st into the next chain.
Row 2:
- Chain 3 ch and work 1 dc into the same chain.
- Chain 3 ch and sl st into the same chain.
Row 3:
- Work sl st into the next chain and into the last chain. Chain 2 ch and work 1 hdc into the same chain.
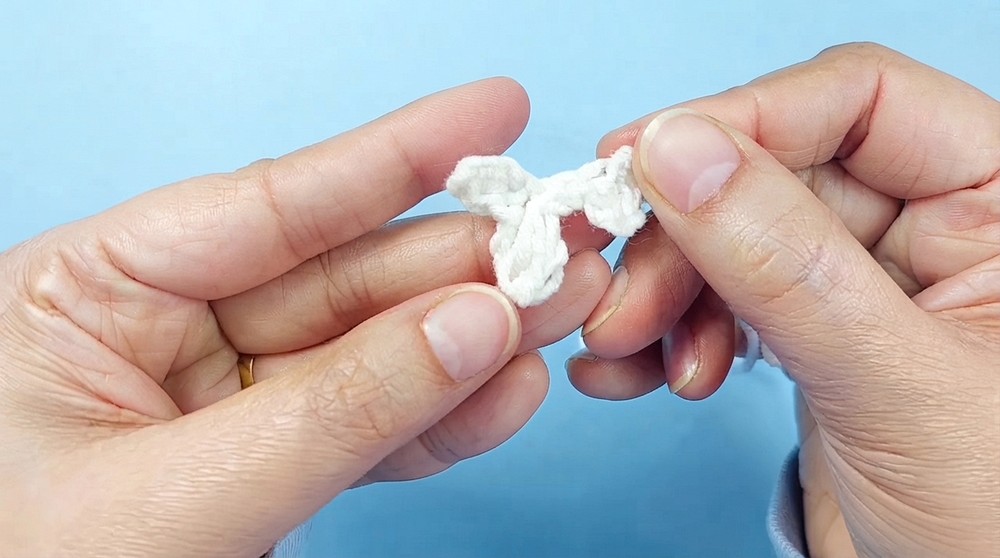
- Chain 2 ch and sl st into the same chain. Fasten off with a tail for sewing.
Assembly
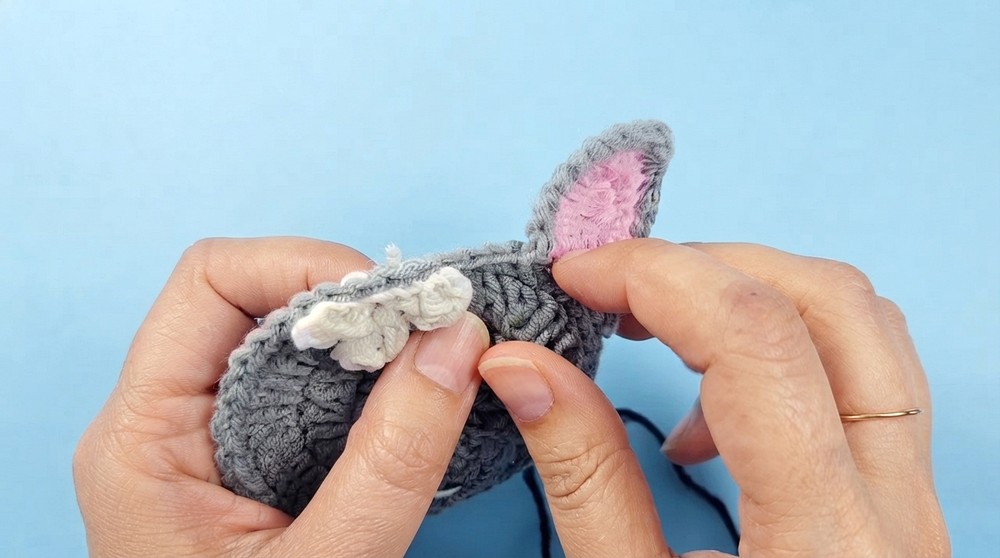
- Joining Parts Together: Align the ears, muzzle, and hair tuft on the head.
- Use a needle and the respective yarn tails to sew each piece securely.
- Embroider Details: With black yarn, embroider the mouse’s eyes, whiskers, and a nose onto the muzzle. Position the embroidery neatly for a balanced design.
Turning the Mouse Applique into a Granny Square
To create a granny square base, leave the back loops intact during assembly. Attach yarn to any back loop in the head and begin working traditional granny square rounds, as follows:
- Round 1: Start with a corner (3 dc, ch 2, 3 dc), followed by 3 dc in each back loop space around. Add corners in every fourth space.
- Continue working with granny square rounds until the desired size using established techniques.
Conclusion
This Crochet Mouse Applique is a sweet addition to any handmade project, providing opportunities for personalization and creativity. You can use it as a standalone piece, sew it onto fabric, or transform it into a granny square for a delightful baby blanket or decorative piece. With practice, this pattern can serve as a foundation for other animal-themed applique designs. Enjoy the process as you bring this adorable mouse to life!