
Adorable & Easy Crochet Mouse Amigurumi Pattern + Full Tutorial

Learn the steps to make a delightful mouse amigurumi with our free crochet pattern perfect for anyone wanting a cozy creative challenge.
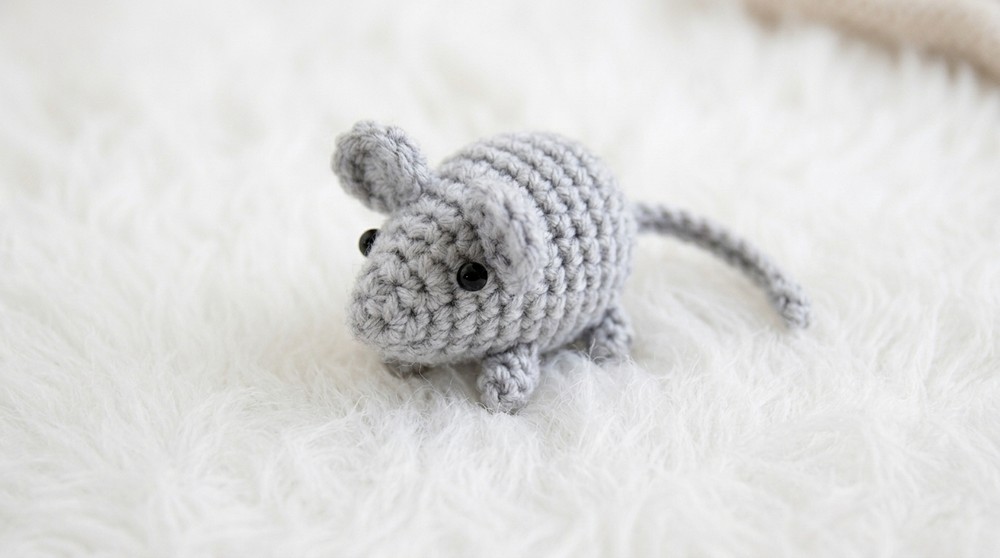
A charming and whimsical creation, the Free Crochet Mouse Amigurumi pattern is a perfect way to add a touch of cuteness to your projects. This miniature mouse is designed with intricate details that make it both visually appealing and fun to create. Its soft, snug shape, expressive little features like rounded ears and a curvy tail, make it a delightful addition to your handmade collection. Whether displayed as a decorative piece or given as a thoughtful gift, this mouse brings cheer and personality wherever it goes.
Best Free Crochet Mouse Amigurumi Pattern for Beginners
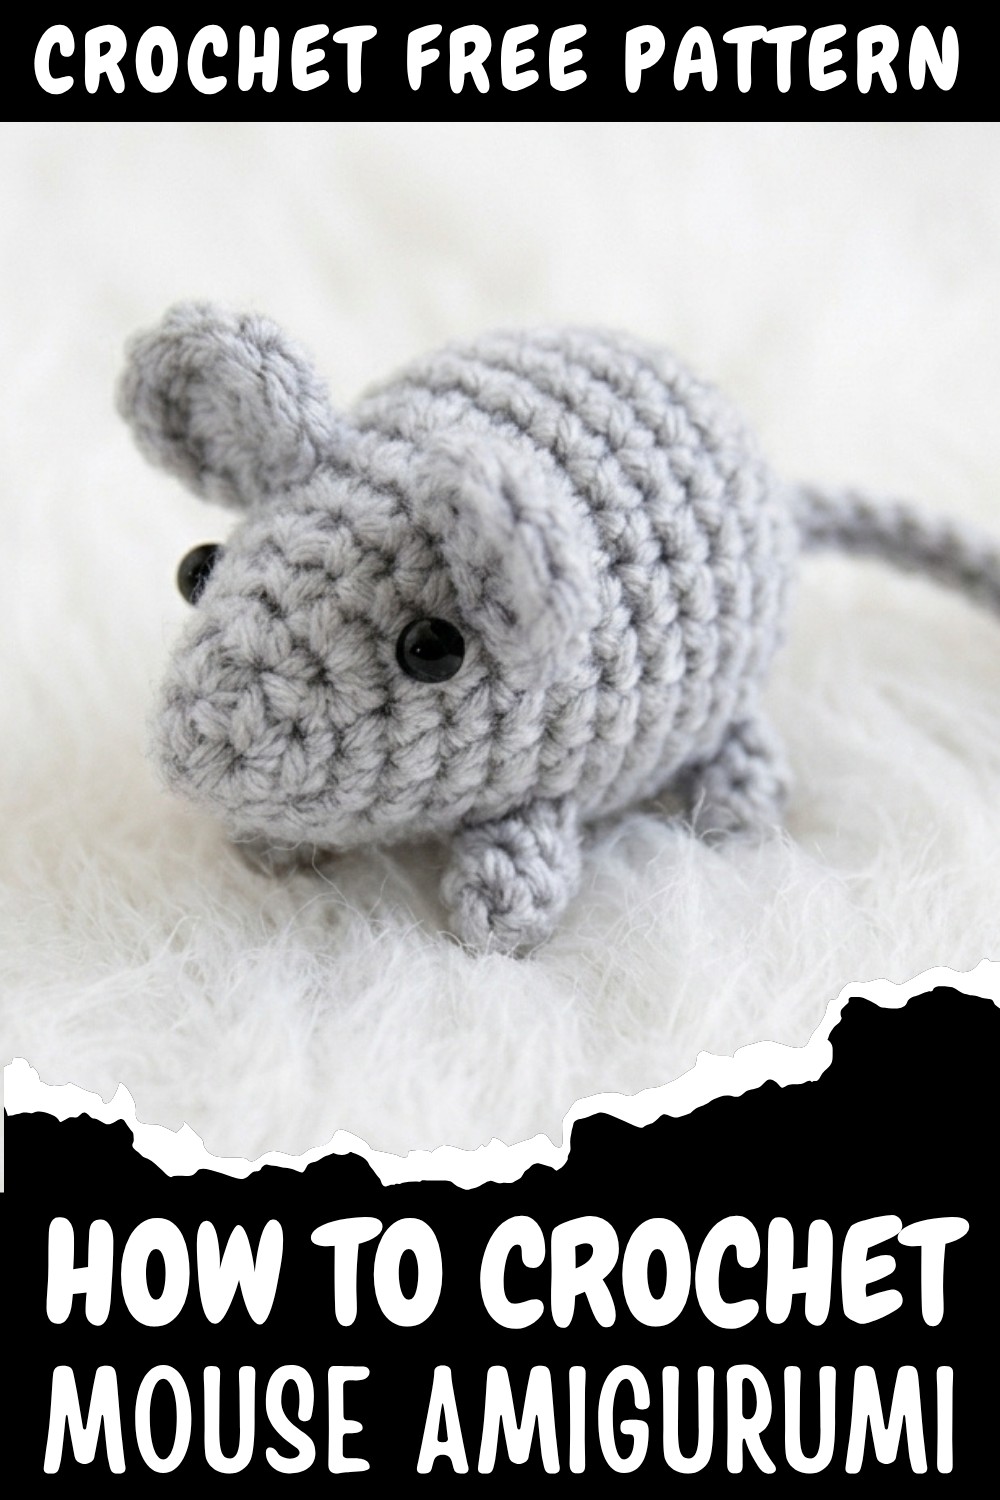
Crocheted to be versatile, this pattern is ideal for making toys, keychains, or even themed seasonal décor. Its compact size allows it to pair beautifully with other small amigurumi characters, forming an adorable group. This design’s portability also makes it easy to carry or display, whether tucked into a gift box or perched atop a shelf. Perfect for birthdays, holidays, or everyday surprises, the mouse’s lively charm is sure to appeal to children and adults alike.
What truly stands out about this pattern is the texture. Created with consistent stitching, the result is soft yet durable, ensuring it holds its shape over time. Thoughtful features like the intricate ear curves and detailed paws add depth and character to the design without overwhelming the overall simplicity.
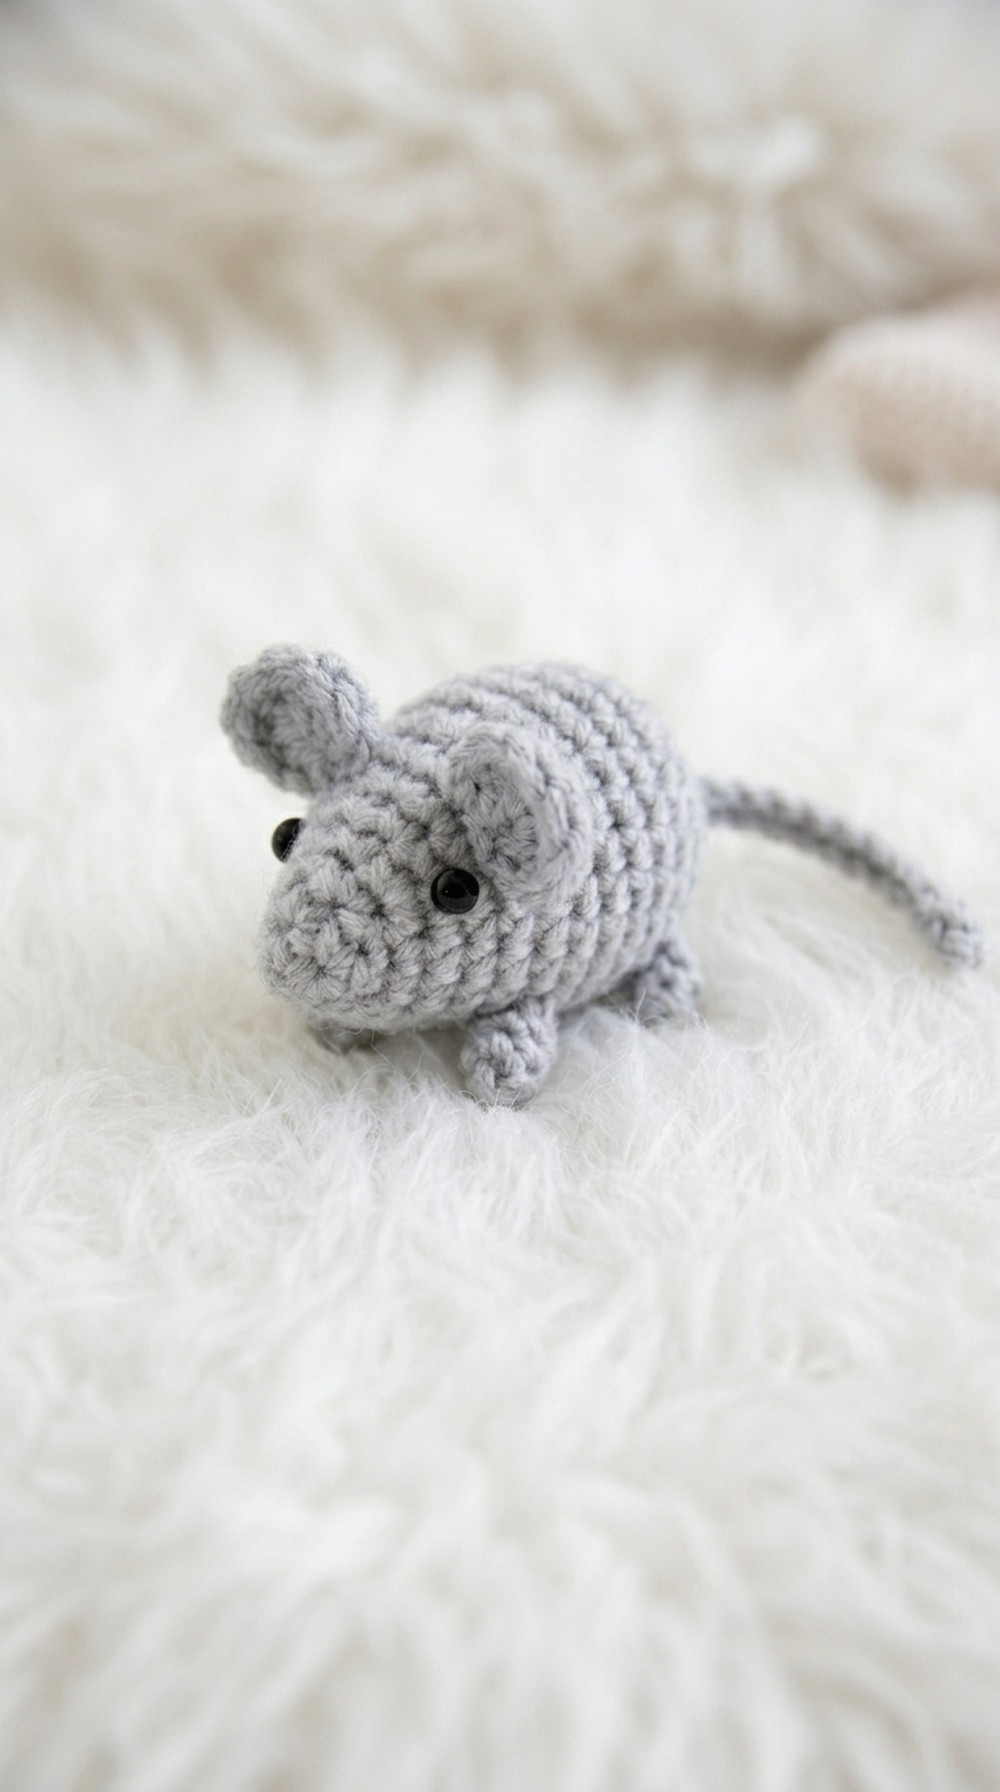
Crochet Mouse Toy Pattern
This crochet mouse toy pattern is a playful and charming project, ideal for beginners and intermediate crocheters alike. The design features a rounded body, floppy ears, and a long tail, making it suitable as a children’s toy or even as a pet toy. To personalize the mouse, you can use beads for the eyes and add a small bell inside for added appeal.
Skill Level
This pattern is suitable for beginners, although some basic crochet knowledge such as working in rounds and creating simple shapes with increases and decreases is necessary.
Materials
To complete this project, you will need the following items:
- Yarn: One color of yarn of your choice. Choose a durable, machine-washable yarn for toys.
- Crochet Hook: 3.5mm or a size appropriate for your chosen yarn.
- Fiberfill/Stuffing: To fill the body of the mouse and give it shape.
- Needle and Scissors: For sewing and trimming yarn ends.
- Eyes: Beads or black embroidery thread for the eyes.
- Optional: A small bell for the inside of the toy for added fun.
Special Stitches
- Magic Ring (MR): A loop used to begin crocheting in the round, which allows you to pull the tail to tighten the center of your stitches.
- Single Crochet (sc): Insert the hook into the stitch, yarn over, pull up a loop, yarn over again, and pull through both loops.
- Double Crochet (dc): Yarn over, insert hook into stitch, yarn over again, pull up a loop, yarn over, pull through two loops, yarn over again, pull through remaining two loops.
- Decrease (dec): Crochet two stitches together by inserting the hook into the first stitch, pulling up a loop, inserting the hook into the next stitch, pulling up another loop, yarn over, and pulling through all loops on the hook.
- Chain Stitch (ch): Yarn over, pull through the loop on the hook to create a chain.
Stitch Abbreviations
- MR: Magic Ring
- sc: Single Crochet
- dc: Double Crochet
- dec: Decrease
- ch: Chain
- sl st: Slip Stitch
Useful Tips
- Tension Control: Keep the stitches tight and consistent to ensure the toy retains its shape and prevents fiberfill from leaking through.
- Stuff Gradually: Fill the mouse’s body as you crochet; pushing all the stuffing in at once can create uneven sections.
- Bell Placement (Optional): If you opt to place a small bell inside, ensure it is securely embedded within the fiberfill, so it does not move around loosely.
- Ears Placement: Position the ears symmetrically on the top of the mouse’s head for a cohesive look.
- Tail Length: The tail length is adjustable; simply create more or fewer chain stitches according to your desired look.
Pattern Instructions
Body
- Rnd 1: Begin with a MR and crochet 4 sc into the ring (4 sc).
- Rnd 2: Crochet 2 sc in each stitch around (8 sc).
- Rnd 3: Work 1 sc in each stitch around (8 sc).
- Rnd 4: Alternate [2 sc in one stitch, 1 sc in the next stitch] around (12 sc).
- Rnd 5: Work 1 sc in each stitch around (12 sc).
- Rnd 6: Alternate [2 sc in one stitch, 1 sc in the next 2 stitches] around (16 sc).
- Rnd 7: Work 1 sc in each stitch around (16 sc).
- Rnd 8: Alternate [2 sc in one stitch, 1 sc in the next 3 stitches] around (20 sc).
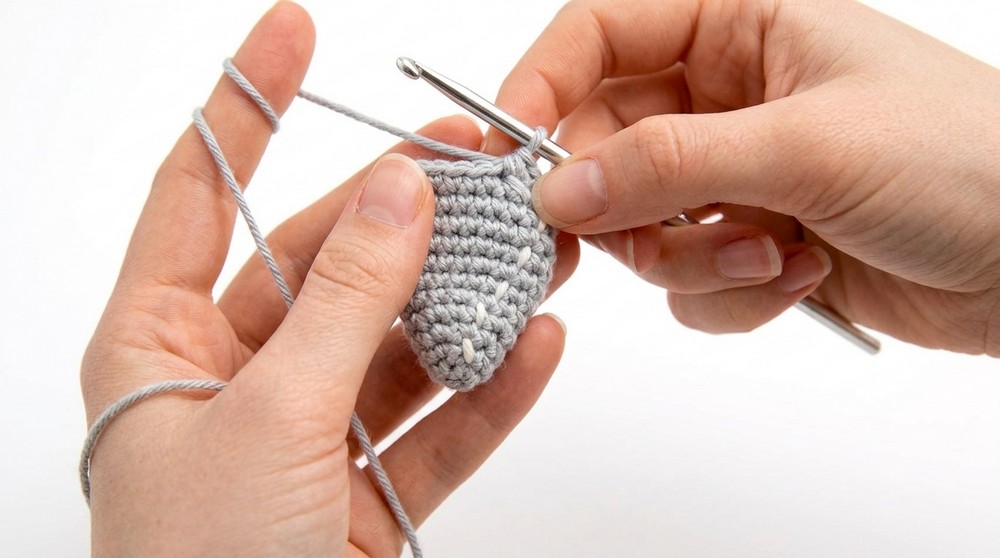
- Rnds 9–11: Work 1 sc in each stitch around for 3 consecutive rounds (20 sc each round).
- Rnd 12: Alternate [dec, 1 sc in the next 3 stitches] around (16 sc).
- Rnd 13: Alternate [dec, 1 sc in the next 2 stitches] around (12 sc). At this point, stuff the body firmly with fiberfill.
- Rnd 14: Work 1 sc in each stitch around (12 sc). Close the opening by sewing the edges together using a needle.
Tail
- Using the remaining yarn tail, crochet a chain stitch tail directly from the mouse’s body.
- Chain 25–30 stitches, or adjust the tail length to your preference.
- Fasten off and weave in the ends securely.
Ears
(Make 2 ears)
- Rnd 1: Create a MR and crochet 4 dc into the ring.
- Chain 2, then work sl st into the base of the MR to complete the ear. Fasten off, leaving a long tail for sewing.
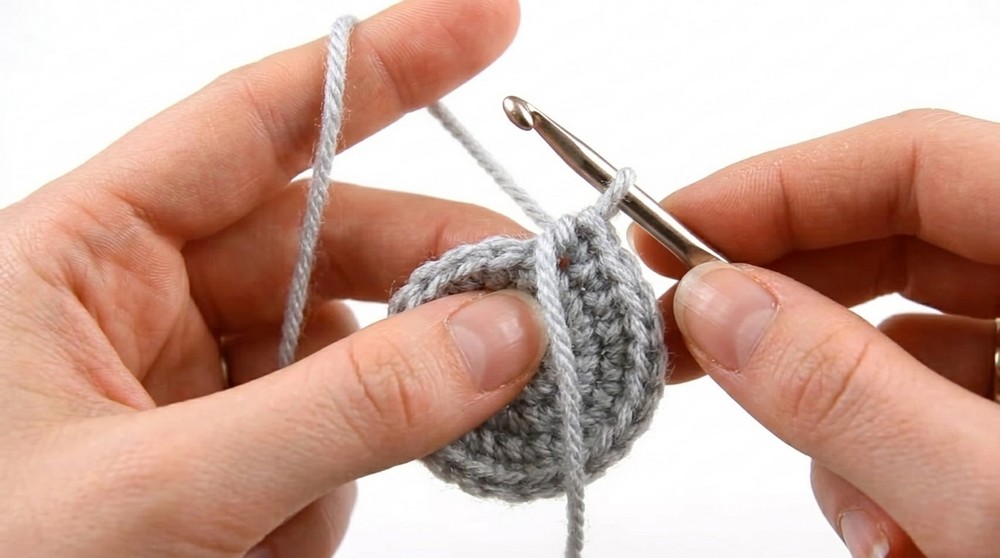
Attach the ears symmetrically to the sides or top of the mouse’s head using a needle and yarn. Position them carefully for an accurate look.
Eyes
Use beads or black thread to sew the mouse’s eyes onto the face. Position them evenly on either side of the head. For embroidered eyes, use black yarn or thread to create small, uniform oval shapes.
Assembly and Sizing
- Body Completion: Sew the body closed neatly, ensuring no filling escapes. Use the leftover yarn tail to crochet the tail.
- Ears and Eyes: Sew the ears and beads/thread eyes onto the head. Be mindful of positioning, ensuring a balanced and lifelike appearance.
- Optional Bell Placement: If using a bell, securely place it inside the fiberfill stuffing in the chick’s body as you work.
- Size of Completed Toy: The mouse should measure approximately 10-12 cm long, including the tail.
Conclusion
This crochet mouse toy pattern is both practical and engaging, allowing you to create a whimsical handmade piece that is perfect for pets, children, or decorative purposes. Its simple shape and design elements make it an excellent beginner project, while still leaving room for creativity with color choices and optional features (such as bells or differently styled eyes). Personalize it to make the mouse truly unique, and create cherished gifts for loved ones or yourself.

![[NO-SEW] Mini Crochet Duck Keychain Easy Amigurumi Tutorial (9)](https://claireabellemakes.com/wp-content/uploads/2026/07/NO-SEW-Mini-Crochet-Duck-Keychain-Easy-Amigurumi-Tutorial-9-768x768.jpg)
![How to Crochet Eleven (Stranger Things) Amigurumi Tutorial [EN, ES, DE Sub] 13](https://claireabellemakes.com/wp-content/uploads/2026/07/How-to-Crochet-Eleven-Stranger-Things-Amigurumi-Tutorial-EN-ES-DE-Sub-13-768x768.jpg)