Adorable Free Crochet Bee Amigurumi Pattern + Tutorial

Create a charming little bee with this free crochet amigurumi pattern perfect for giving thoughtful handmade gifts or adding warmth to your space.
Who doesn’t love a friendly little bee that can sit snugly in the palm of your hand? The adorable creation from Crochet with Mamta, using the Free Crochet Bee Amigurumi Pattern, brings the charm of nature into your home in the cutest way possible. Perfect for decorations, thoughtful gifts, or even imaginative playtime, this tiny bee is an irresistible addition. You can find the easy-to-follow design on channel, offering a simple way to make this lovable character come to life.
Fun Free Crochet Bee Amigurumi Pattern for All Levels
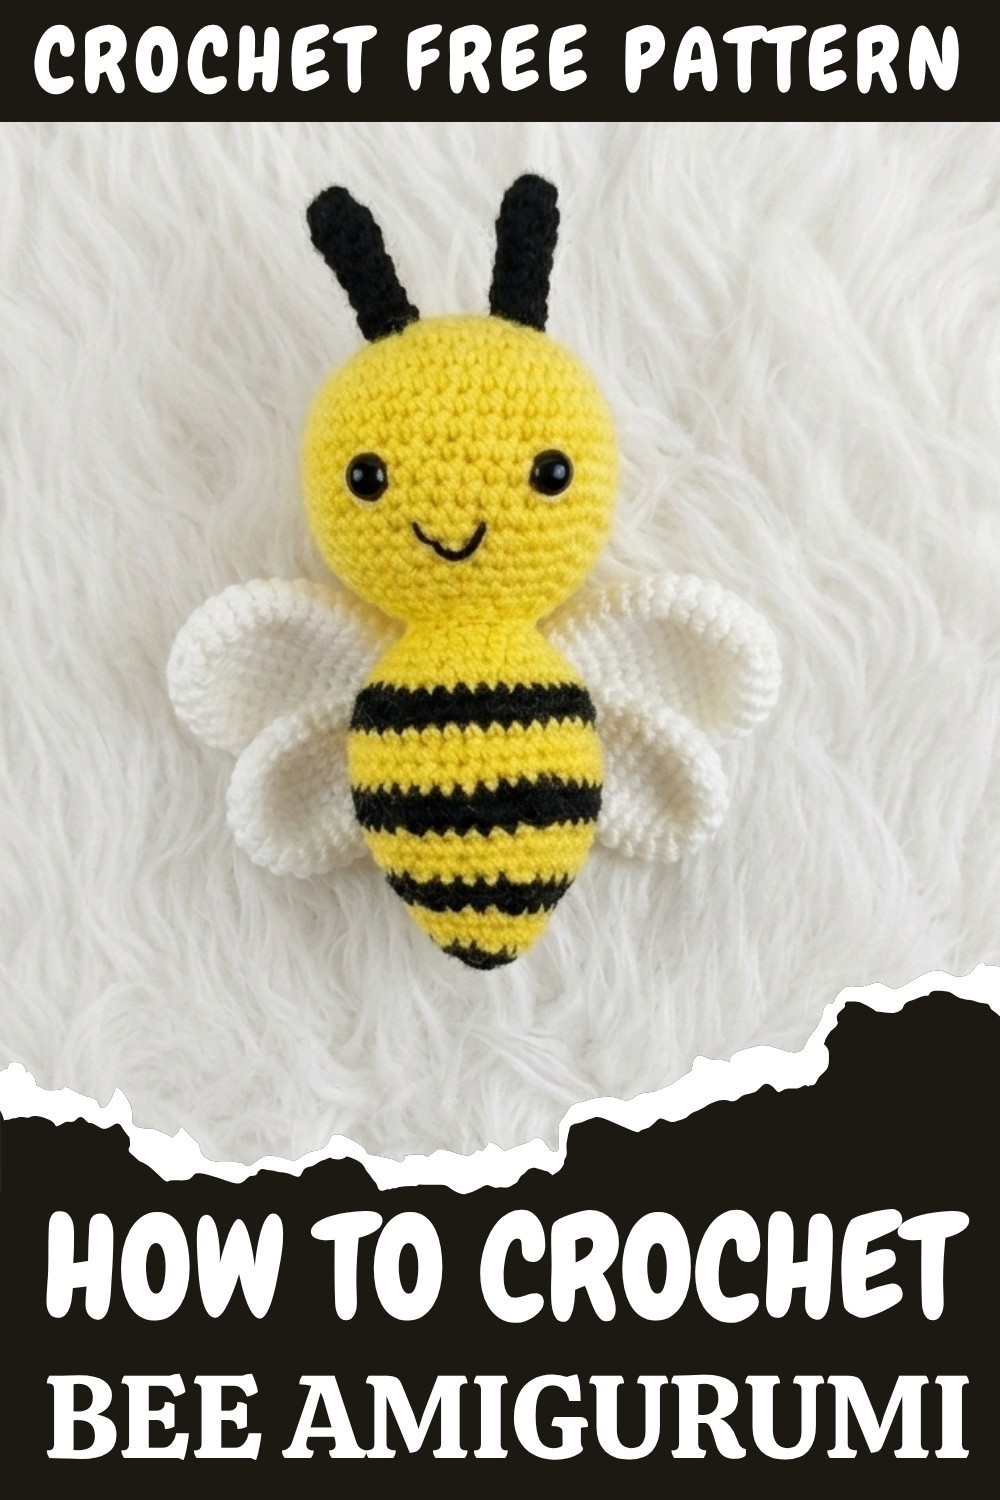
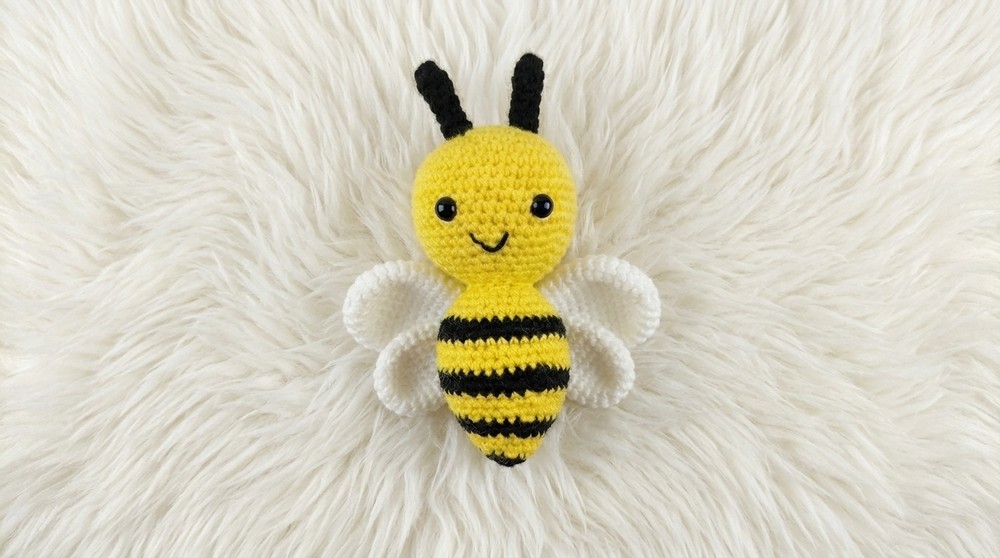
This bee’s round shape and bright yellow-and-black stripes instantly grab attention, while its delicate wings and sweet smile make it even more appealing. Its small size is ideal for versatile uses, you can turn it into a keychain, add it to a gift box, or display it as part of a themed area in your home. The soft body and expressive details make it feel like it’s buzzing with personality, making it a favorite for kids and adults alike.
What makes this pattern a winner is its simplicity combined with its beauty. Using smooth, basic stitches, the bee maintains a soft but sturdy form that lasts over time. Its proportions are beautifully balanced, and the wings and stripes are designed with just the right amount of detail to keep it charming yet uncomplicated.
Honey Bee Crochet Pattern
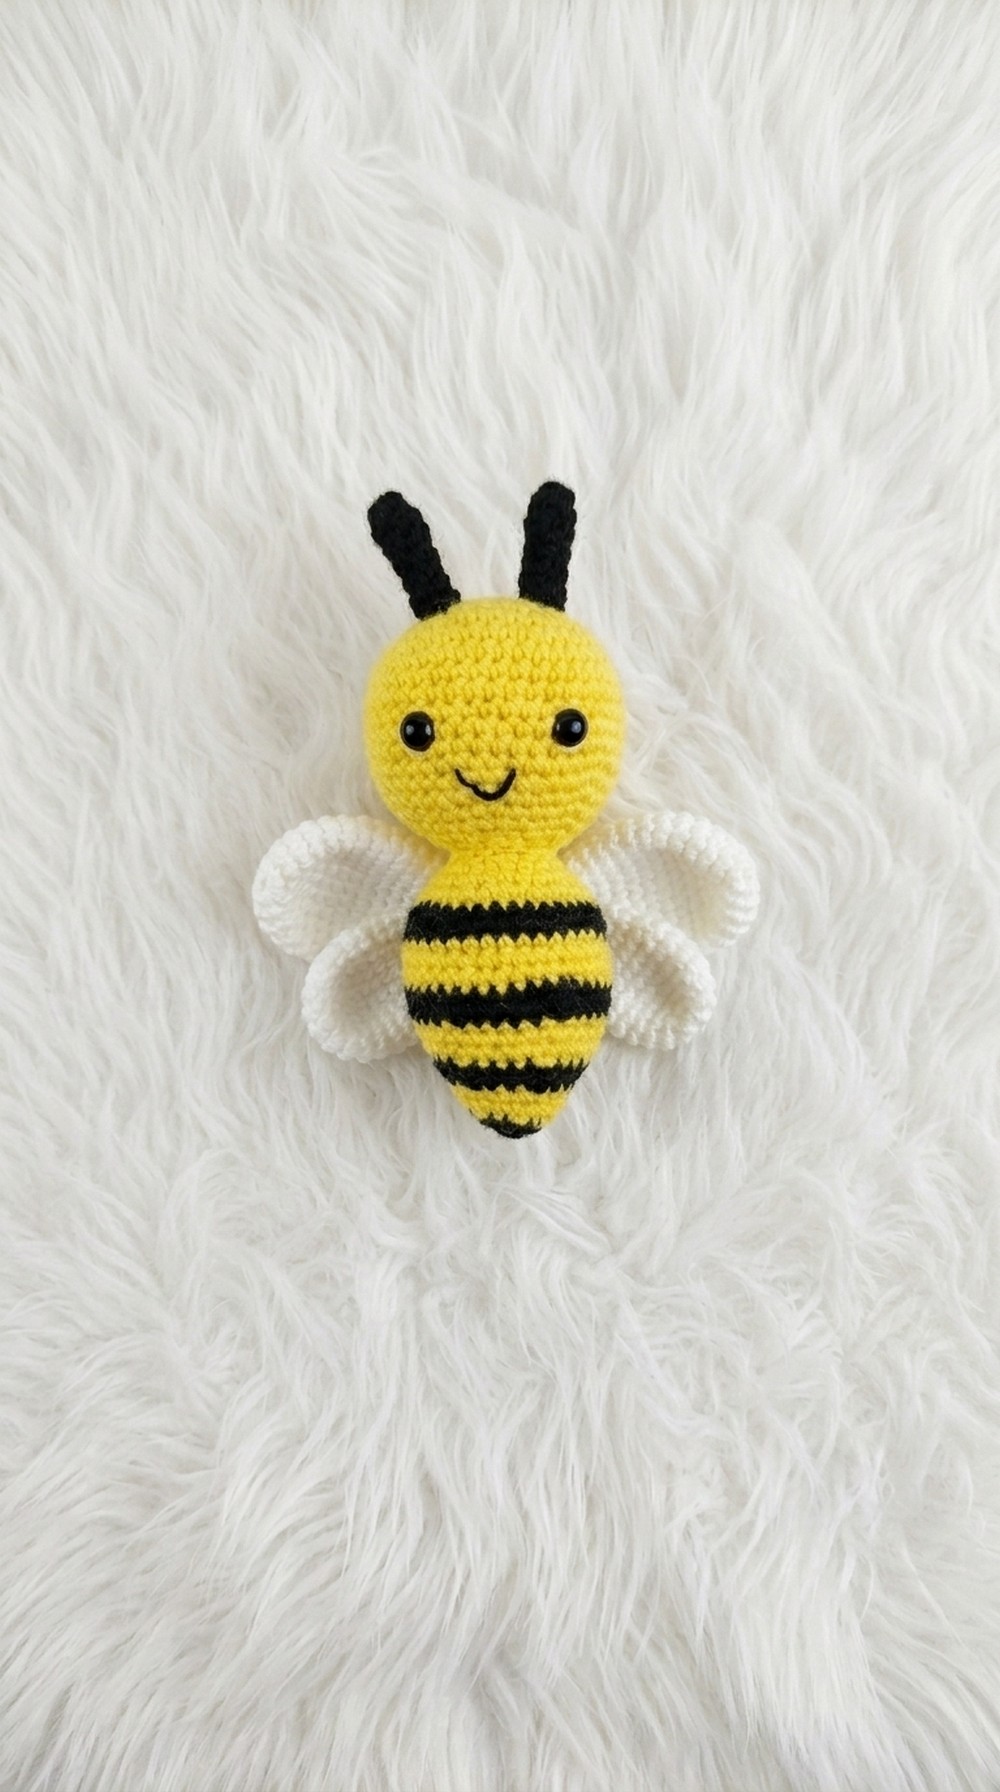
This honey bee crochet pattern is an adorable and cheerful project that doubles as a fun decor item or toy. Featuring a striped body, wings, antennae, and a charming embroidered smile, this pattern allows for creative color combinations and embellishments while practicing essential crochet techniques.
Skill Level
This pattern is designed for intermediate crocheters. It includes techniques such as working in continuous rounds, shaping through increases and decreases, color changes, and assembling multiple parts.
Materials
To complete this honey bee crochet project, you will need:
- Yarn: 4-ply acrylic yarn in yellow, black, and white.
- Crochet Hook: 3 mm hook.
- Fiberfill: For stuffing the body and antennae.
- Scissors: To trim yarn ends.
- Yarn Needle: For sewing parts together and embroidering details.
Special Stitches
- Magic Ring (MR): A circular starting technique to work stitches into an adjustable loop.
- Single Crochet (SC): Insert the hook into the stitch, yarn over, pull up a loop, yarn over again, and pull through both loops.
- Increase (inc): Crochet two single crochets into the same stitch to add stitches to the round.
- Decrease (dec): Crochet two stitches together invisibly by inserting the hook into the front loops of two consecutive stitches, yarn over, and pull through all loops on the hook.
Stitch Abbreviations
- MR: Magic Ring
- SC: Single Crochet
- inc: Increase (two SC in the same stitch)
- dec: Decrease (crochet two stitches together invisibly)
Useful Tips
- Stuff Gradually: Add fiberfill gradually as you work, but avoid overstuffing, especially for smaller sections like the antennae.
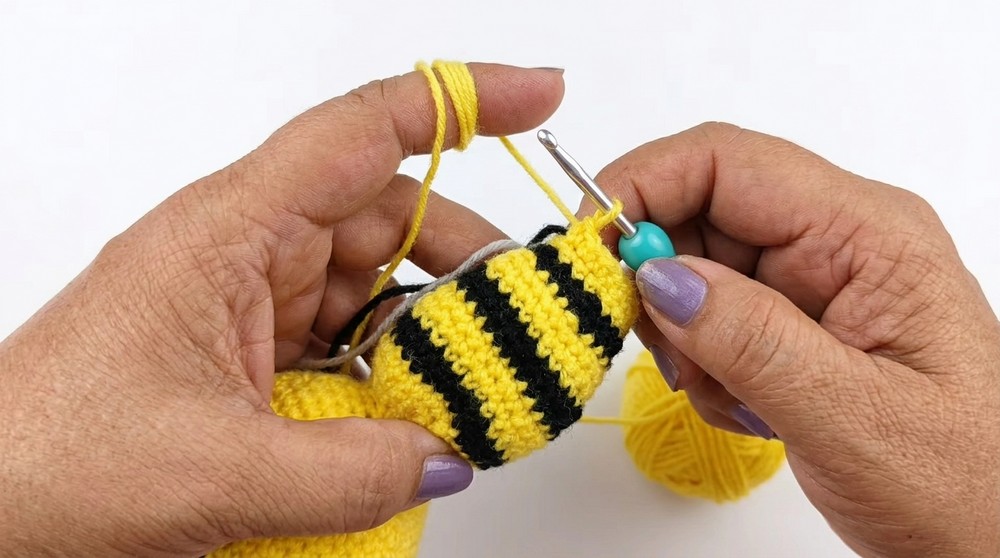
- Color Transition: When switching colors, carry the unused yarn along the inside to maintain a neat and seamless look.
- Placement Precision: Use pins during assembly to ensure the wings and antennae are evenly and symmetrically aligned.
- Tension Consistency: Keep an even tension throughout, especially when alternating between colors, to avoid visible gaps.
Pattern Instructions
1. Body
Start
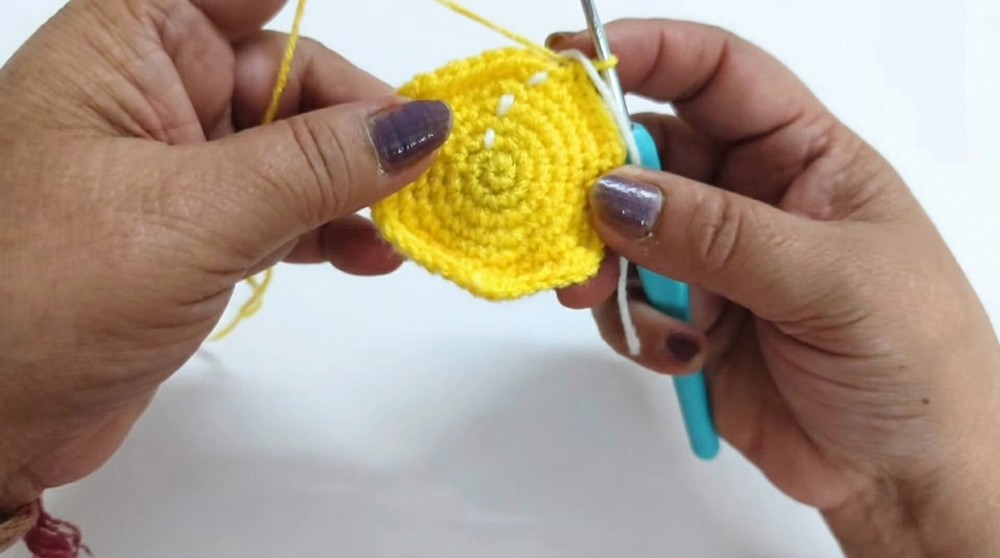
- Rnd 1: Create a MR and work 6 SC into the ring (6 SC).
Increases (Rounds 2-7)
- Rnd 2: Work 2 SC in each stitch (12 SC).
- Rnd 3: Alternate [2 SC in one stitch, 1 SC in the next] around (18 SC).
- Rnd 4: Alternate [2 SC in one stitch, 1 SC in the next 2 stitches] (24 SC).
- Rnd 5: Alternate [2 SC in one stitch, 1 SC in the next 3 stitches] (30 SC).
- Rnd 6: Alternate [2 SC in one stitch, 1 SC in the next 4 stitches] (36 SC).
- Rnd 7: Alternate [2 SC in one stitch, 1 SC in the next 5 stitches] (42 SC).
Even Rows (Rounds 8-15)
- Rnds 8–15: Work 1 SC in each stitch around for 8 rounds (42 SC per round).
Decreases (Rounds 16-21)
- Rnd 16: Alternate [dec, 1 SC in the next 5 stitches] (36 SC).
- Rnd 17: Alternate [dec, 1 SC in the next 4 stitches] (30 SC).
- Rnd 18: Alternate [dec, 1 SC in the next 3 stitches] (24 SC).
- Rnd 19: Alternate [dec, 1 SC in the next 2 stitches] (18 SC).
- Rnd 20: Alternate [dec, 1 SC in the next 1 stitch] (12 SC).
Firmly stuff the body with fiberfill as you work. - Rnd 21: Work dec in every stitch (6 SC).
Front Section (Rounds 22-25)
- Rnd 22: Work 6 inc evenly around (12 SC).
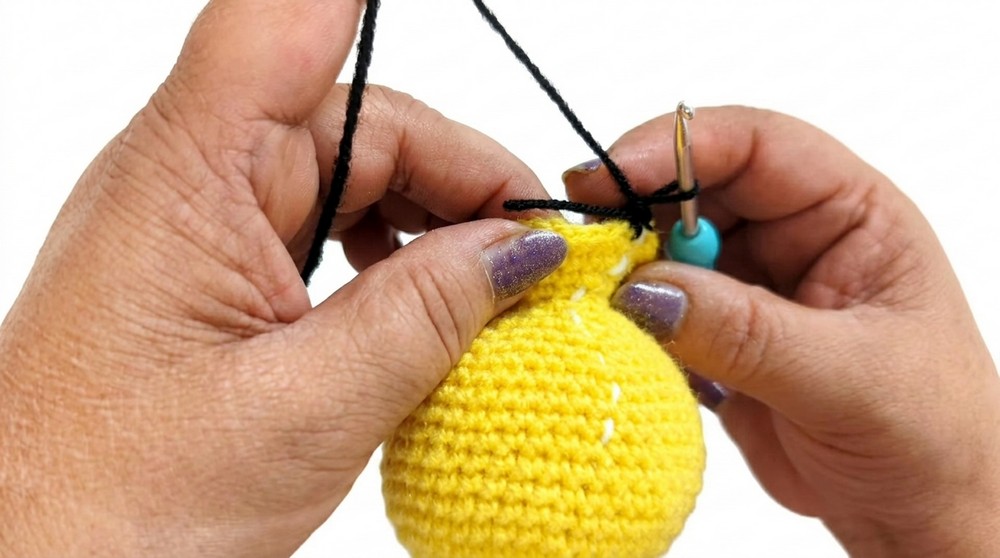
- Rnd 23: Alternate [2 SC in one stitch, 1 SC in the next 1 stitch] (18 SC).
- Rnd 24: Alternate [2 SC in one stitch, 1 SC in the next 3 stitches] (24 SC).
- Rnd 25: Alternate [2 SC in one stitch, 1 SC in the next 5 stitches] (36 SC).
Color Patterning
Switch colors between yellow and black every 2–3 rounds consistently to create the bee’s stripes.
Final Decreases
- Decrease 6 stitches per round following the same pattern as R16–R21 until the opening is closed. Fasten off and weave in the ends.
2. Antennae
(Make 2 antennae)
- Rnd 1: Create a MR and crochet 6 SC into the ring (6 SC).
- Rnds 2–6: Work 1 SC in each stitch around for 5 rounds (6 SC per round).
- Fasten off, leaving a long tail for sewing.
3. Wings
Start with White Yarn
- Rnd 1: Create a MR and work 6 SC into the ring (6 SC).
Increases (Rows 2–6)
- Row 2: Work 2 SC in each stitch (12 SC).
- Row 3: Alternate [2 SC in one stitch, 1 SC in the next] (18 SC).
- Row 4: Alternate [2 SC in one stitch, 1 SC in the next 2 stitches] (24 SC).
- Row 5: Alternate [2 SC in one stitch, 1 SC in the next 3 stitches] (30 SC).
- Row 6: Alternate [2 SC in one stitch, 1 SC in the next 4 stitches] (36 SC).
Even Rows (Rows 7–12)
- Rows 7–12: Work 1 SC in each stitch for 6 rows (36 SC per row).
Decreases (Rows 13–20)
- Follow the inverse of Rows 2–6 for decreases, finishing with 12 SC. Fasten off and leave a long tail for sewing.
Assembly and Finishing
- Placement: Use pins to position the antennae at the top of the bee’s head and wings on the back. Ensure symmetry before sewing.
- Sewing: Use the yarn needle to securely attach the antennae and wings to the body, weaving in any loose ends for a clean finish.
- Embroidery: Use black yarn to embroider the eyes and a smiley face onto the front of the bee’s head. For a more whimsical look, you can add blush spots using pale pink thread or yarn.
Sizing
The completed honey bee should measure approximately 10–12 cm in length and include proportional detailing with the wings and antennae.
Conclusion
This honey bee crochet pattern offers a satisfying and creative way to create a cheerful handmade toy or decoration. With detailed and balanced steps, it showcases techniques for both construction and assembly, allowing for customization in colors and embellishments. Ideal for both personal creations or gifts, this bee adds fun and charm to any setting.