Crochet Octopus Amigurumi Pattern for Sea Life Adventure

Solve your gift dilemmas with a free crochet octopus amigurumi pattern, bringing smiles and cuddles for ocean-loving friends.
Have you ever wanted to create something that’s not only adorable but also incredibly beginner-friendly? This free crochet pattern will guide you through making a delightful little octopus that’s perfect as a handmade gift, nursery décor, stress reliever, or a desk companion. With its charming round head, delicately curled tentacles, and customizable features, this pattern lets your creativity shine. Imagine it in soft pastels for a baby gift, bright neon colors for a fun keychain, or even two-tone hues to match your home décor—endless possibilities await!
a Delightful Crochet Octopus with This Amigurumi Pattern Guide
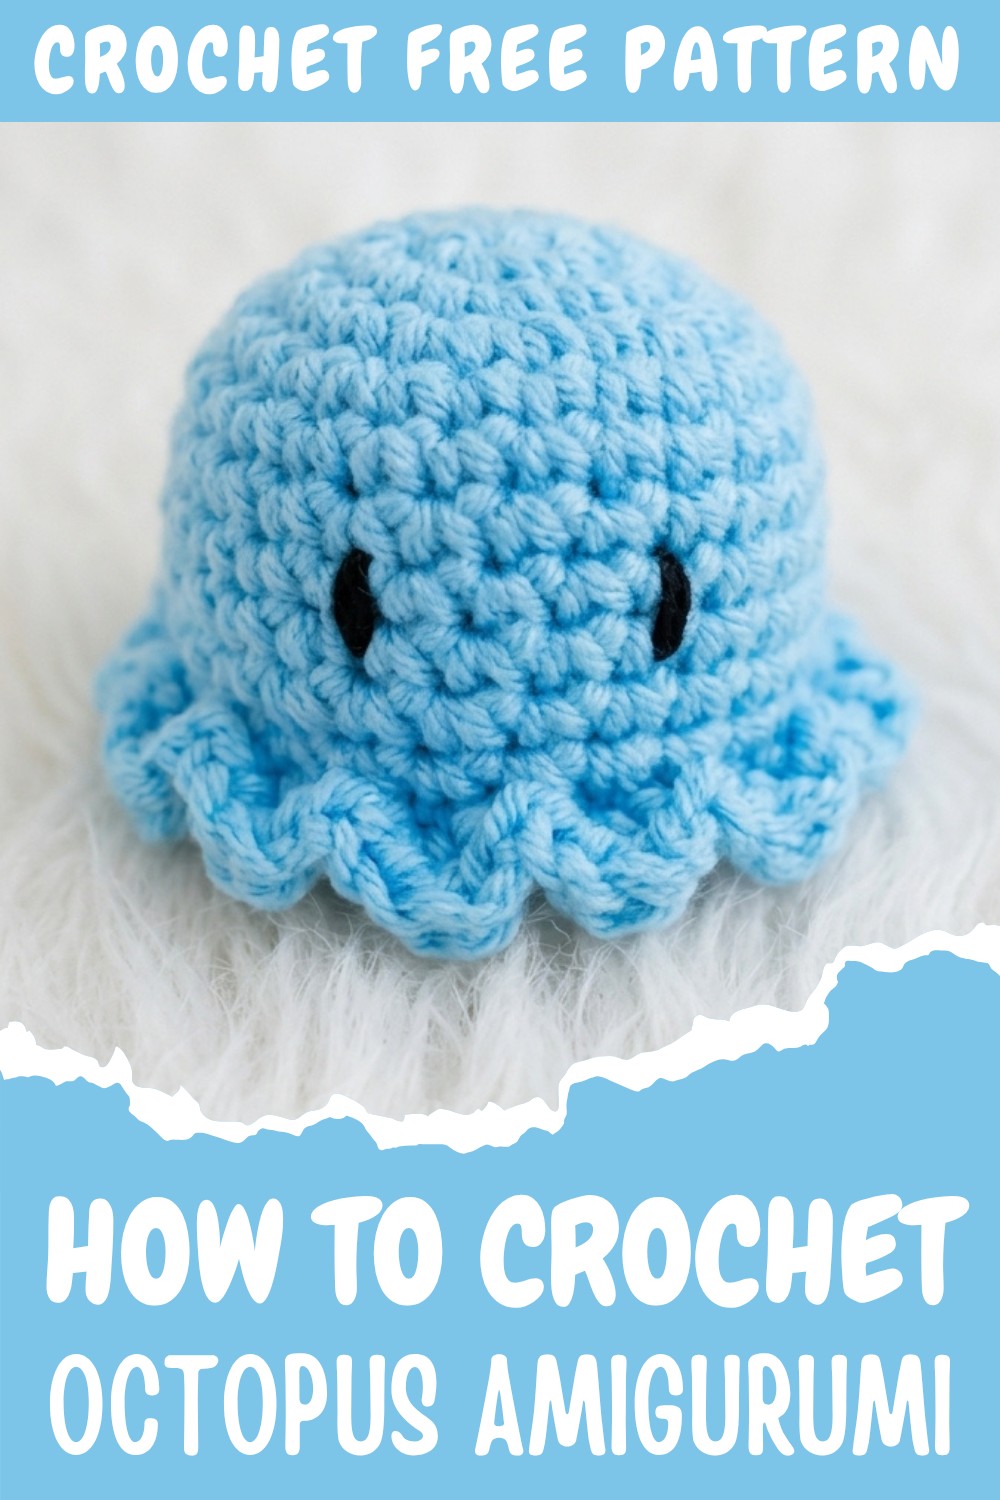
This pattern incorporates simple stitches like single crochet (sc), double crochet (dc), and increases and decreases, which also introduce you to techniques used in countless crochet projects. You’ll start with a magic ring for a seamless center (perfect for many amigurumi or beginner-friendly soft toy projects), shape the body with ease, and finish off with curled tentacles and embroidered eyes. These skills are essential if you plan to crochet more detailed amigurumi, plush toys, or even circular mats.
Through this pattern, you’ll learn fundamental amigurumi techniques, such as:
- Crocheting a magic ring for seamless rounds.
- Shaping with increases (to grow your project) and decreases (to close it off).
- Adding texture by working into front and back loops to create detailed tentacles.
- Finishing touches such as securely embroidering eyes and closing gaps neatly.
What Else Can You Create With These Techniques
This octopus pattern equips you with versatile skills that can be applied to numerous projects!
- Stuffed animals & Amigurumi: Whales, jellyfish, or teddy bears.
- Home décor: Crochet seasonal ornaments, coasters, or keychains.
- Gift Ideas: Customize small toys or bag charms for loved ones.
Why You’ll Love This Pattern:
- Beginner-friendly: No prior amigurumi experience is required.
- Customizable: Use any yarn color or size.
- Versatile Skills: Foundational stitches for other crochet patterns.
By completing this pattern, you’ll walk away not only with a cute octopus but also the confidence to dive into more advanced crochet projects. Get your favorite yarn and hook, and let’s make magic together!
Crochet Pattern: Cute and Easy Octopus
Welcome to this step-by-step guide for crocheting a cute and easy octopus. This pattern is perfect for beginners looking to create a fun, handmade plushie. The octopus is worked in rounds using basic stitches like single crochet and double crochet, with simple increases and decreases to shape the body and legs.
Skill Level & Terminology
- Skill Level: Beginner
- Terminology: US crochet terms
Materials & Tools
To create your adorable octopus, you will need the following:
- Yarn: Five-ply milk cotton yarn in sky blue or (colors of your choice)
- Crochet Hook: 3.5 mm
- Scissors
- Darning Needle
- Stitch Marker
- Polyester Stuffing
Gauge
Gauge is not critical for this project, but you should aim for tight stitches to avoid gaps after stuffing.
Abbreviations
Here are the abbreviations used in this pattern:
- sc: Single Crochet
- dc: Double Crochet
- sl st: Slip Stitch
- ch: Chain
- inc: Increase (2 sc in one stitch)
- dec: Decrease (work two stitches together)
Special Stitch Instructions
- Magic Ring: A method of starting crochet in the round to create a tightly closed center. Wrap yarn around your fingers, insert the hook, and pull up a loop to begin working stitches into the ring.
- Decrease (dec): Insert hook into the front loop of the next two stitches, yarn over, pull through two loops, yarn over again, pull through the remaining loops.
Finished Size
- Approx. 2.5–3 inches tall, depending on the amount of stuffing used and your tension.
Pattern Instructions
Body of the Octopus
Rounds 1–4: Shaping the Base
- Magic Ring Start:
- Make a magic ring.
- Round 1: Work 6 sc into the magic ring. Pull the ring tight to close. Place a stitch marker on the first stitch to mark the beginning of the round.
- Round 2 (Increase round):
- Work 2 sc into each stitch around (12 sc total).
- Round 3:
- Repeat the pattern: 1 sc, inc (2 sc in next stitch). (18 sc total)
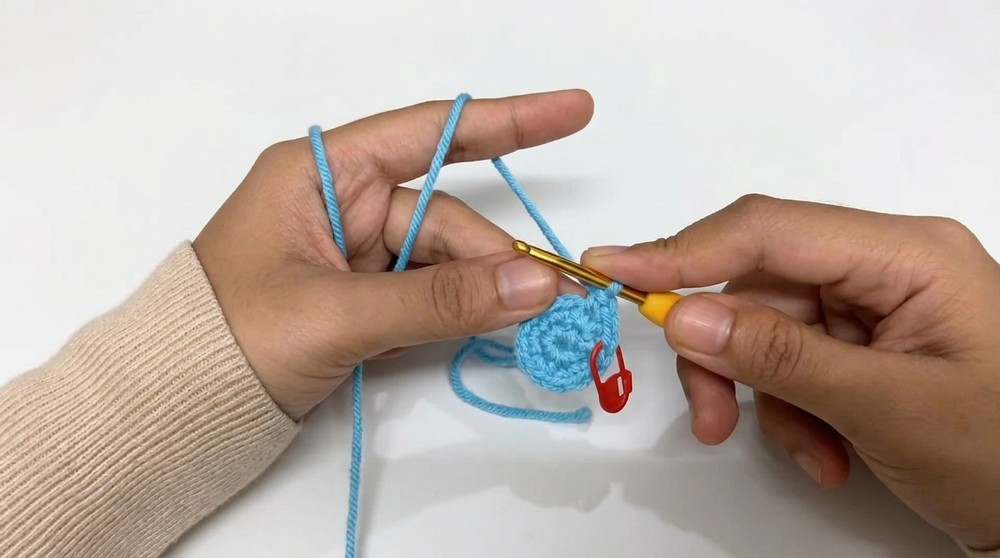
- Repeat the pattern: 1 sc, inc (2 sc in next stitch). (18 sc total)
- Round 4:
- Repeat the pattern: 2 sc, inc. (24 sc total)
At the end of Round 4, your octopus body is shaped like a small bowl.
If you are new to crochet: Each stitch builds upon the one next to it, and increases help widen the base.
Rounds 5–11: Building the Body
- Round 5 to Round 11: 1 sc in every stitch around for each round. Keep marking the first stitch of every round with a stitch marker.
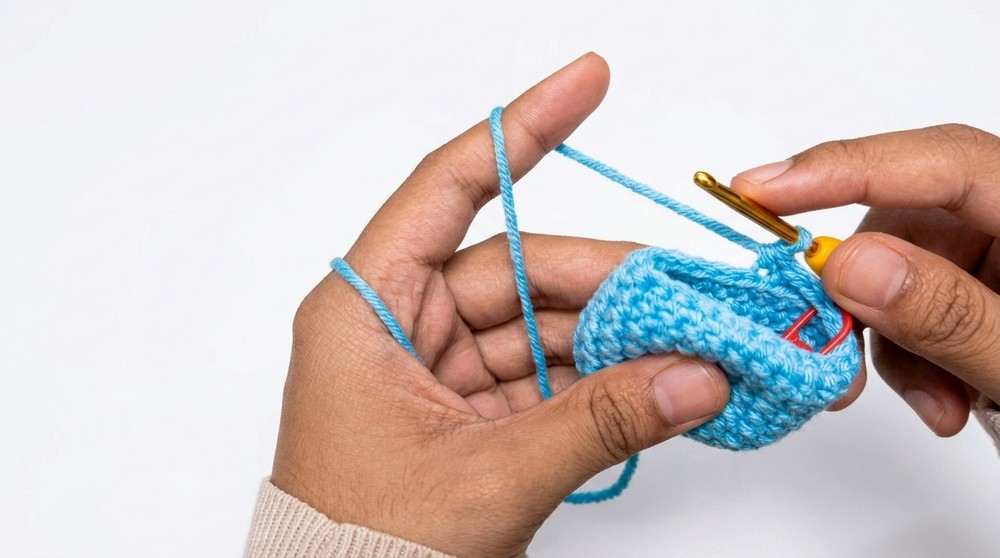
This section creates the height of the octopus body. Take your time to ensure the stitches stay even.
Round 12: Creating the Base for the Legs
- Round 12: Work 1 sc in each stitch, but only into the back loop of each stitch. This creates a ridge for the legs later.
Turn the octopus inside out at the end of this round.
Hint: Working into the back loop creates a line for attaching the legs later.
Shaping the Octopus Head
Round 13–15: Decreasing
- Round 13:
- Repeat the pattern: 2 sc, dec (decrease over the next 2 stitches). (18 sc total)
- Stuffing:
- Before continuing, fill the octopus body with stuffing. Make sure it feels firm but not overfilled, as that will make later stitches harder to work.
- Round 14:
- Repeat the pattern: 1 sc, dec. (12 sc total).
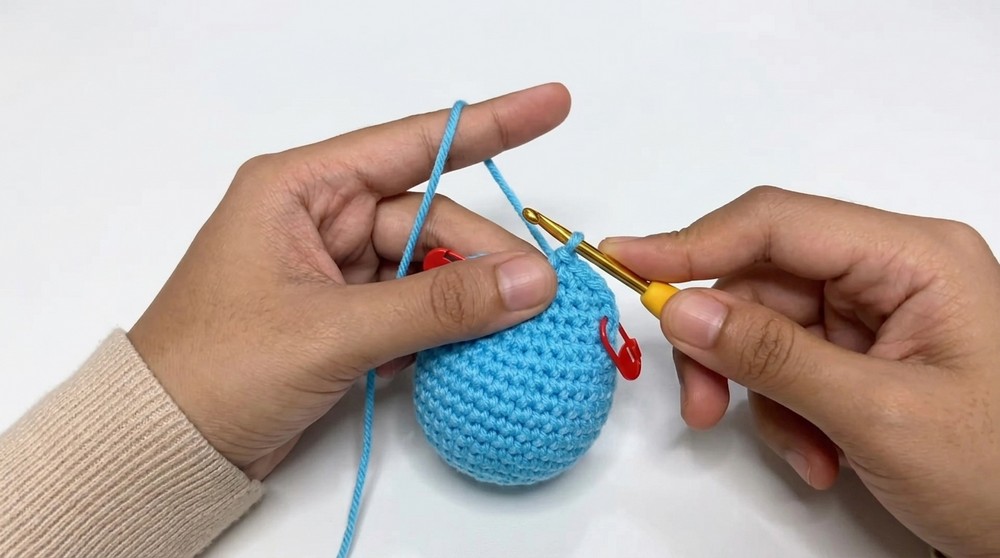
- Repeat the pattern: 1 sc, dec. (12 sc total).
- Round 15:
- Work dec in every stitch around (6 sc total).
At the end of Round 15, fasten off the yarn and use a darning needle to weave through the remaining front loops of the last round. Pull tight to close the gap, tie a knot, and secure the end inside the body.
Tip for beginners: Decreasing reduces the stitch count, pulling the edges inward to close the body.
Legs
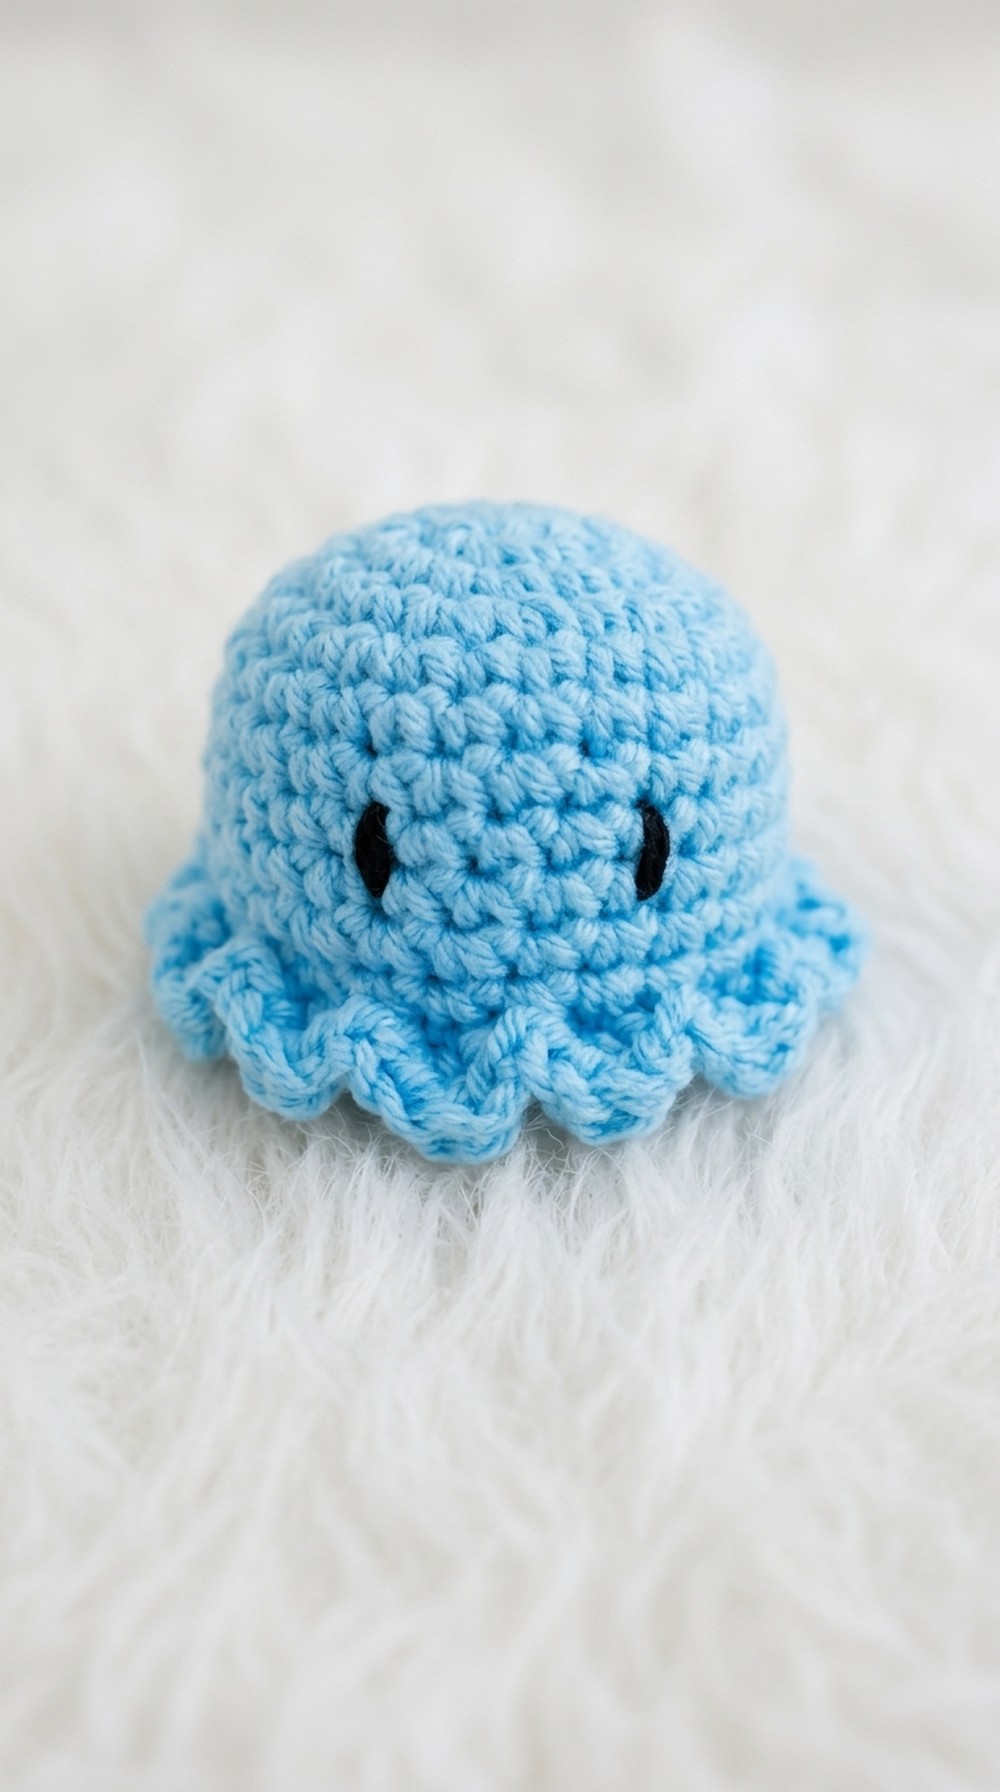
The legs are worked into the front loops left visible in Round 12.
- Start Anywhere: Insert your hook into one of the front loops along the ridge from Round 12.
- Slip Stitch into the loop.
- Chain 1.
- Leg Pattern:
- In the same stitch: Work 1 sc, 1 dc, 1 sc.
- Slip Stitch into the next stitch.
Repeat this leg pattern around the ridge to create eight tentacles.
At the end, fasten off and weave in your ends with the darning needle.
Understanding stitches for legs: The combination of single and double crochet adds texture and curl to the tentacles.
Eyes
- Thread black yarn through the darning needle. Count to the fourth row from the top of the octopus body.
- Work small stitches to form an oval shape for each eye—leaving a gap of about 3–4 stitches between each eye.
- Secure and weave the ends inside the body.
Quick Tip: Keep the eyes small and symmetrical for a cute look.
Assembly & Finishing
Give your octopus a final shape and smooth out any bulges. Ensure all yarn tails are tucked securely inside. Stretch the tentacles slightly to balance the appearance.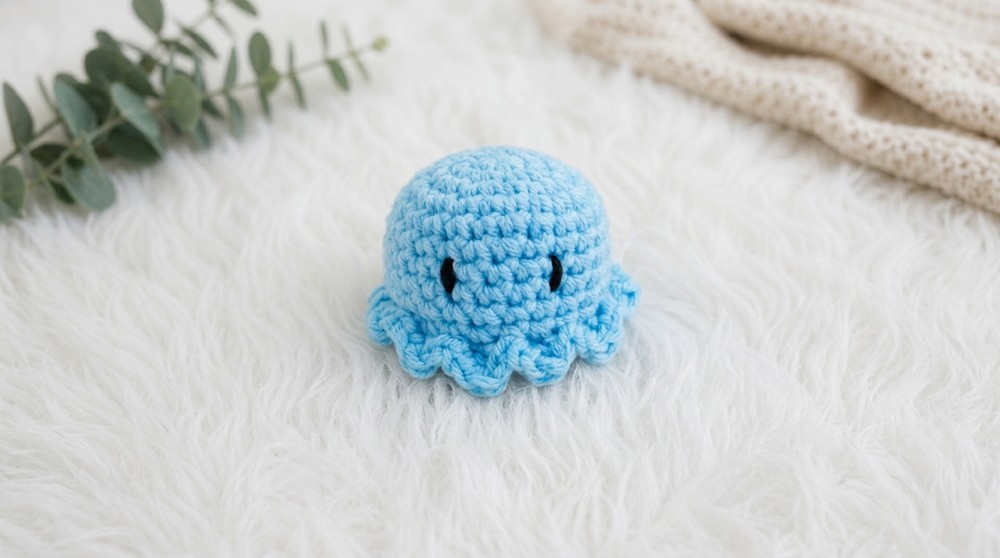
Pattern Overview
This crochet pattern is worked primarily in single crochet, starting with a magic ring, followed by increases to widen the base, and decreases to shape the head. The tentacles are textured with a mix of single and double crochet, while the cute finishing touches include embroidery for the eyes.
Highlights
- Beginner-friendly stitches (sc, dc, dec).
- Simple assembly and finishing steps.
- Perfect for small gifts!