How to Crochet a Frankenstein Monster Free Pattern & Guide

Stitch up spooky joy with a Free Crochet Frankenstein Monster Pattern that blends frightful fun and creativity for all skill levels.
Crocheting little characters has always brought me joy, especially when they carry a playful and festive charm. That’s why the Free crochet Frankenstein Monster pattern immediately grabbed my attention. This adorable amigurumi figure is a perfect blend of spooky and cute, making it an ideal project for Halloween or anytime you want to add a quirky touch to your handmade collection. I found this fun design on Enchanted Yarn Works, where the creator walks through the process with enthusiasm and easy-to-follow steps.
Easy Frankenstein Crochet Pattern Free Halloween Idea
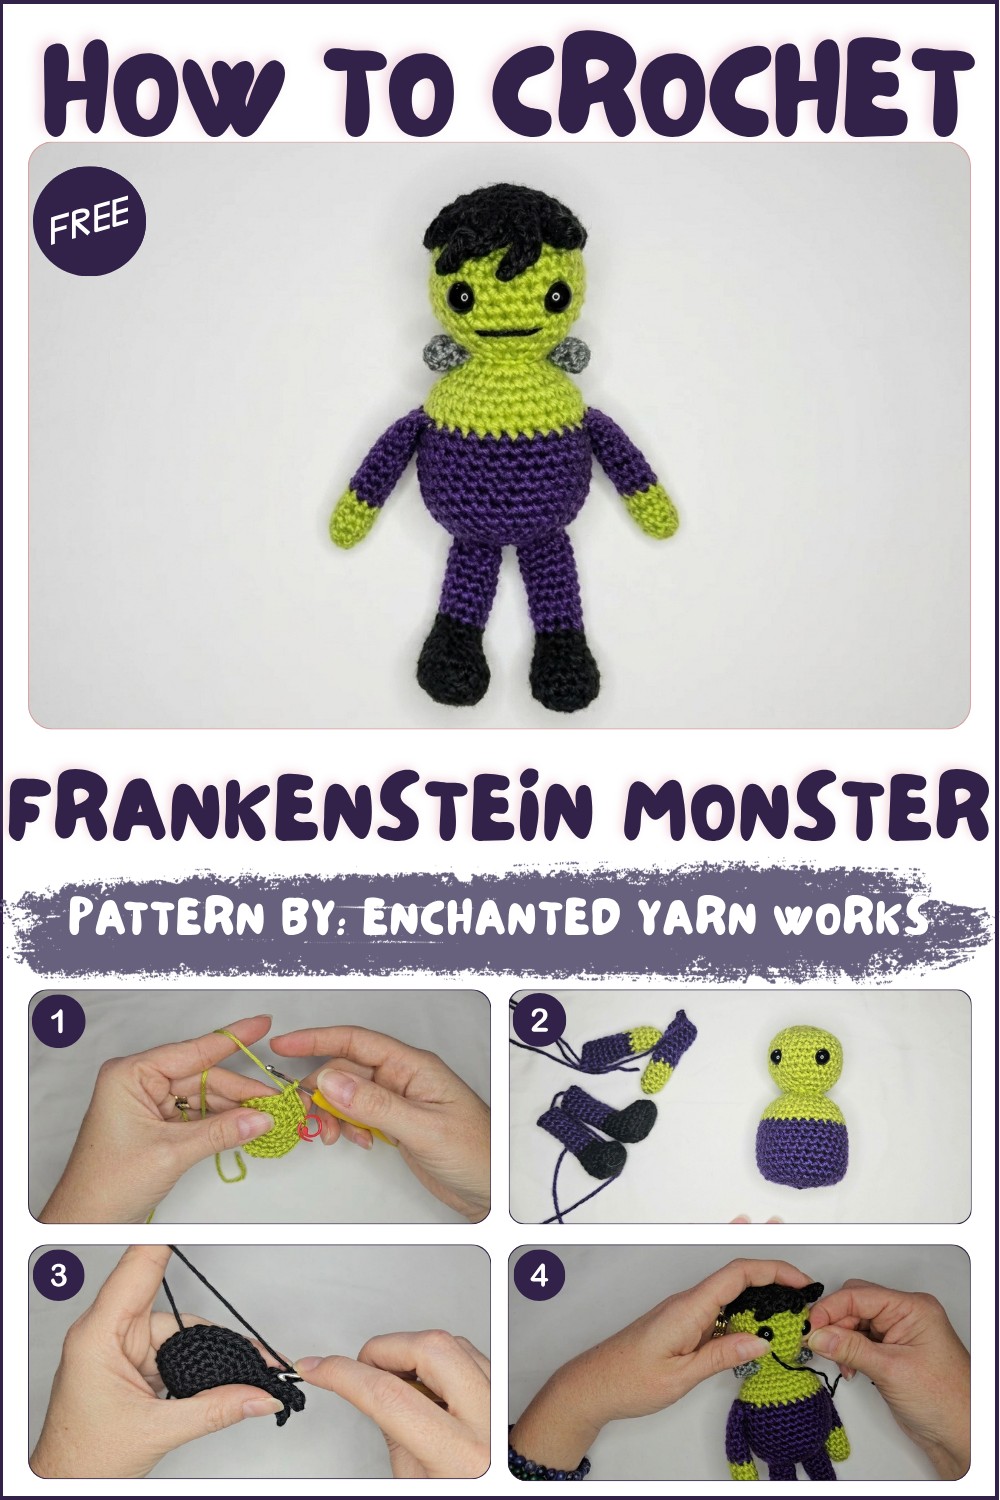
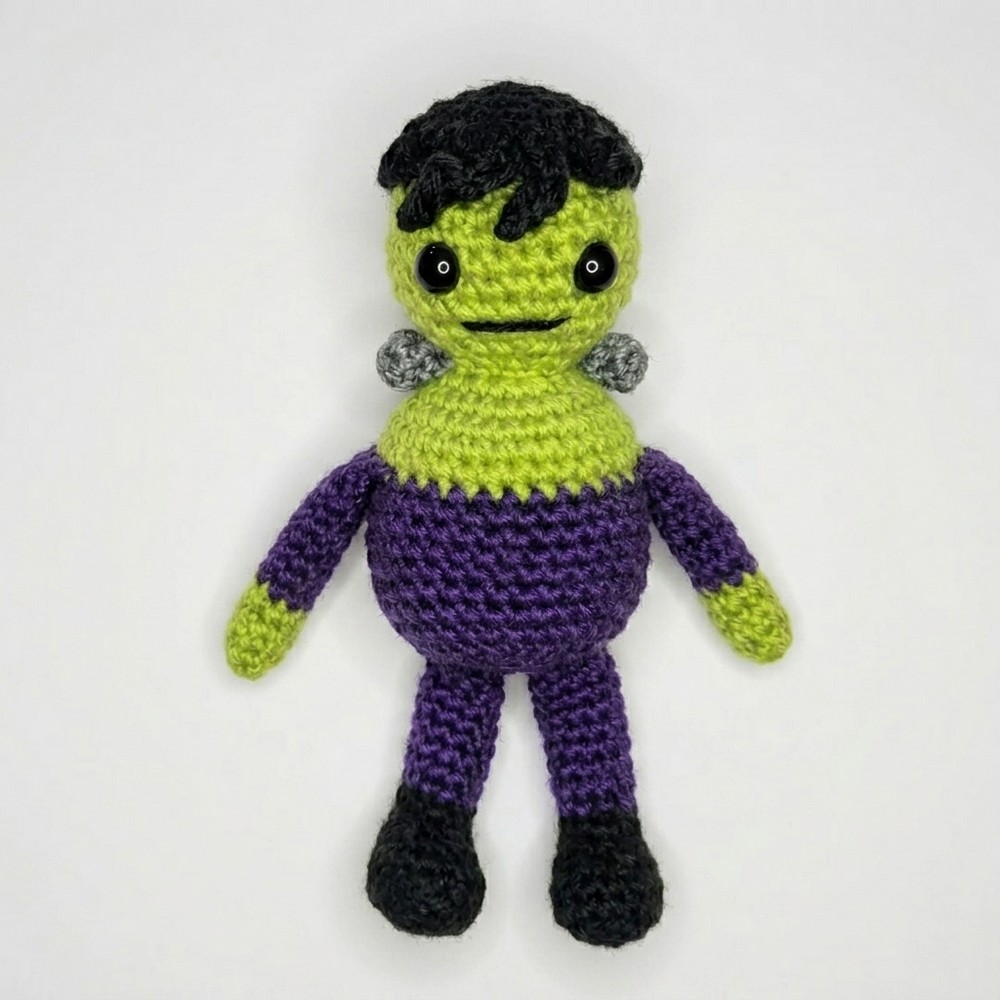
What I love about this Frankenstein monster is its delightful style, from the tiny bolts on the neck to the playful hair “cap,” every detail adds personality to this mini crochet buddy. The shape is compact and charming, making it perfect for shelf décor, Halloween table settings, or even as a playful gift for friends and family who appreciate quirky crafts. It’s the kind of project that brings smiles, either as a thoughtful homemade gift or a cute accent to your seasonal decorations.
The overall vibe of this pattern is warm and inviting, despite its monstrous inspiration. It strikes a great balance between the spooky season’s theme and the cozy feeling that handmade items always deliver. I especially enjoyed the assembly part, where the pieces come together and the character truly comes to life. It’s a satisfying experience that’s sure to inspire your creativity and bring a new kind of charm to your crochet projects.
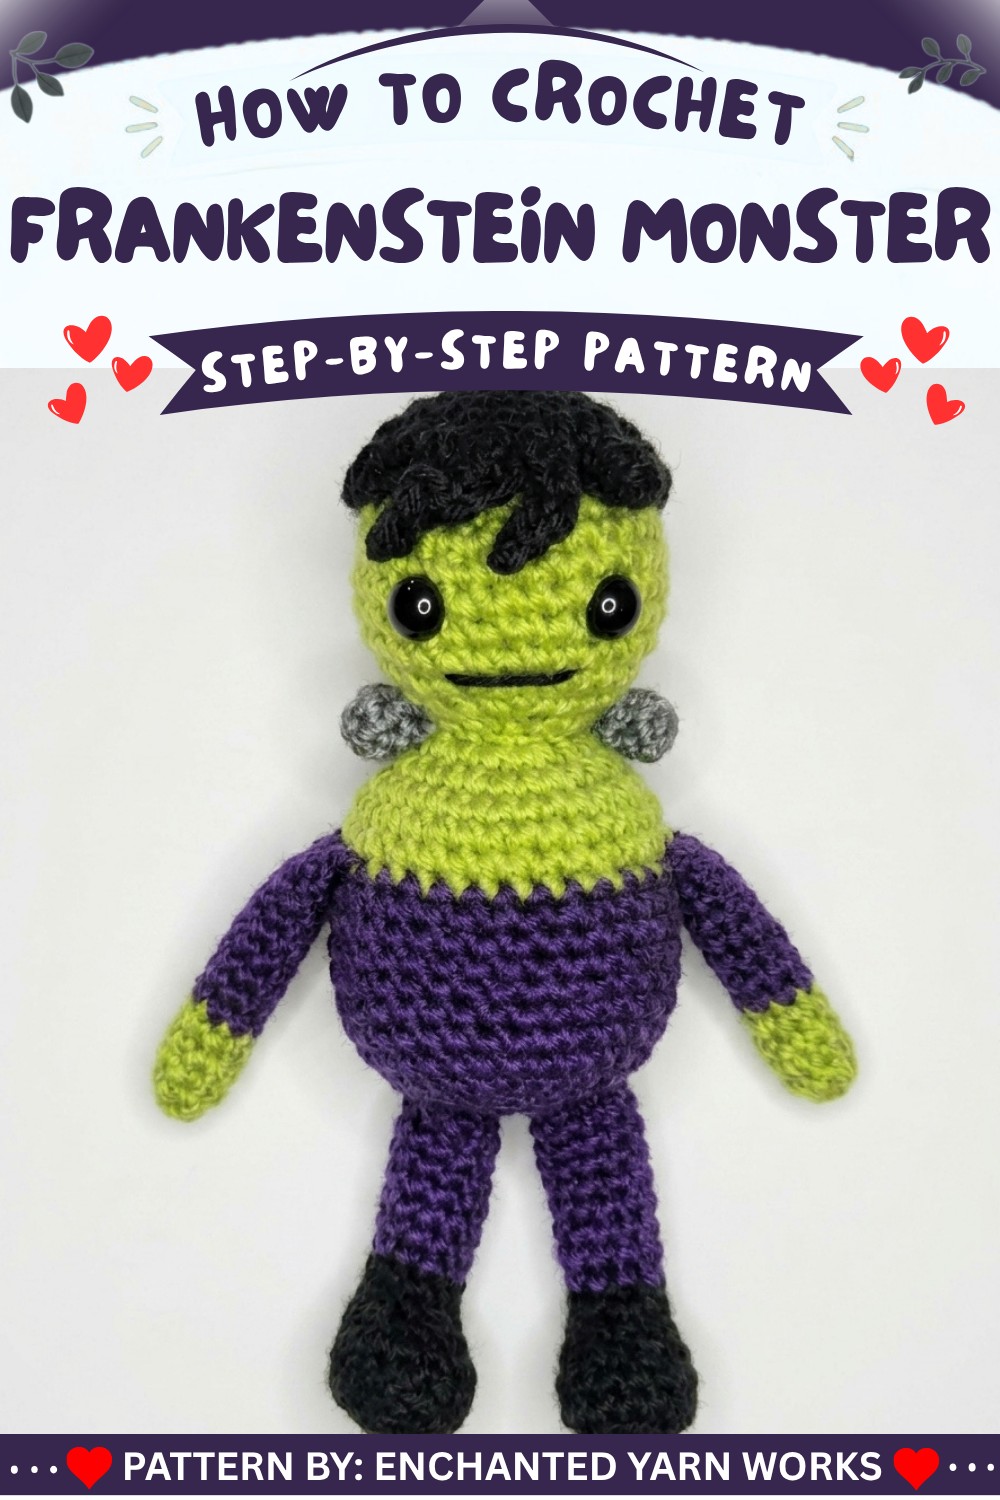
Frankenstein’s Monster Amigurumi Crochet Pattern
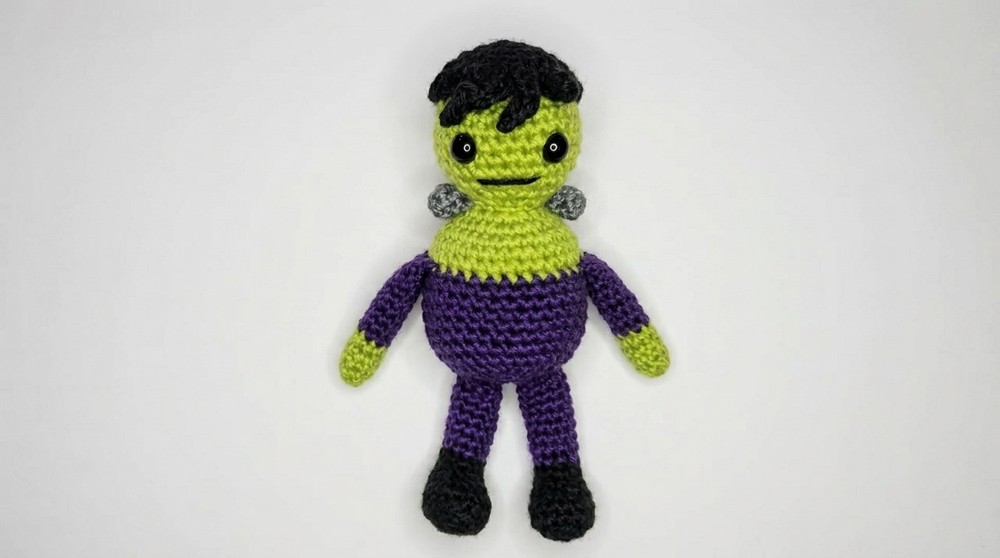
This amigurumi captures the iconic features of Frankenstein’s monster—square head, bold brows, neck bolts, and contrasting “stitched” limbs—through a seamless blend of simple shapes and bold Halloween colors. Durable and playful, the toy is safe for gifting and perfect as a seasonal décor accent.
Pattern Basic Points
- Three-dimensional Construction: Head, body, arms, and legs are crocheted separately and assembled for a classic plush look.
- Color Transitions: The limbs and body feature contrasting color changes, enhancing the costume effect.
- Details Matter: Hair flaps, neck bolts, and a simple embroidered mouth evoke Frankenstein’s unmistakable character.
- Consistent Rounds: All pieces are worked in seamless, continuous spirals to avoid awkward joins.
- Secure Embellishments: All parts are firmly stitched for safety and durability.
Special Notes
- Place safety eyes before the head’s opening becomes too narrow for comfortable positioning.
- Stuff parts lightly but firmly for best shape and cuddly texture.
- Use stitch markers to track rounds, particularly as increases/decreases may shift your starting point.
- When making limbs, keep the “foot” and “hand” curves aligned with sew-on points to assure the monster sits or stands steadily.
- Adjust lengths of hair flaps or neck bolts to personalize your creation’s character.
Skill Level
Confident Beginner—Intermediate
The pattern focuses on basic amigurumi techniques, color changes, and attachment of small parts. Skills required include crocheting in the round, increasing and decreasing, color changes, whip stitch seaming, and simple embroidery.
Materials
- Yarn (Worsted weight acrylic):
- Green (suggested: Chartreuse)
- Black
- Purple
- Grey
- Crochet Hook: 3.5 mm (E-4)
- 9–10 mm Safety Eyes (installed during head construction)
- Polyester Fiberfill Stuffing
- Yarn Needle
- Scissors
- Stitch Markers
Measurements / Sizing
- Finished height: Approximately 6–7 inches (15–17.5 cm)
- Width: About 3 inches (7.5 cm) across the head
- Proportions may vary based on yarn, hook, and stuffing
Gauge & Stitch Pattern
- Gauge: Not critical for toys, but stitches should be tight enough to prevent stuffing from showing through.
- All pieces use single crochet stitches in the round except where noted.
- Most rounds are worked in a spiral—do not join unless instructed.
Stitch Abbreviations (US Terms)
- MR: Magic ring
- ch: chain
- sc: single crochet
- inc: increase (2 sc in same stitch)
- dec: invisible decrease (single crochet 2 together)
- sl st: slip stitch
Special Stitches
- Invisible Decrease: Insert hook into front loops of next two stitches, yarn over, pull through, yarn over, pull through both loops.
- Color Change: Insert hook to start last stitch of old color, yarn over with new color to pull through and finish stitch.
Pattern Instructions
Head & Body
In Green yarn:
- Round 1: MR, 6 sc (6)
- Round 2: Inc in each stitch (12)
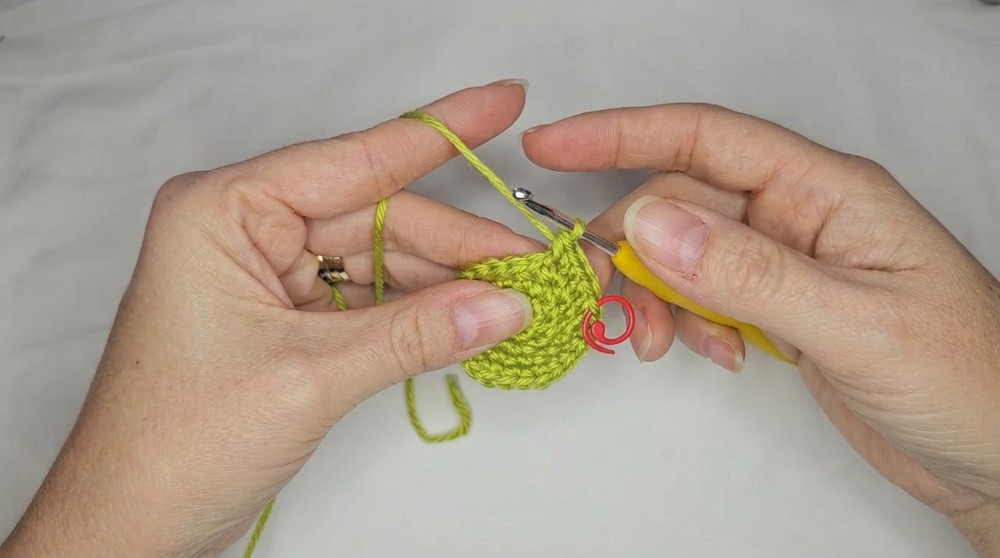
- Round 3: [1 sc, inc] around (18)
- Round 4: [2 sc, inc] around (24)
- Round 5: [3 sc, inc] around (30)
- Rounds 6–10: 1 sc in each st (30) for 5 rounds
Start shaping:
- Round 11: [3 sc, 1 invisible dec] around (24)
- Insert safety eyes between Rounds 8 and 9 (space appropriately for expression)
- Round 12: [2 sc, dec] around (18)
- Round 13: [1 sc, dec] around (12)
Neck/Base of Head:
- Round 14: 1 sc in each st (12)
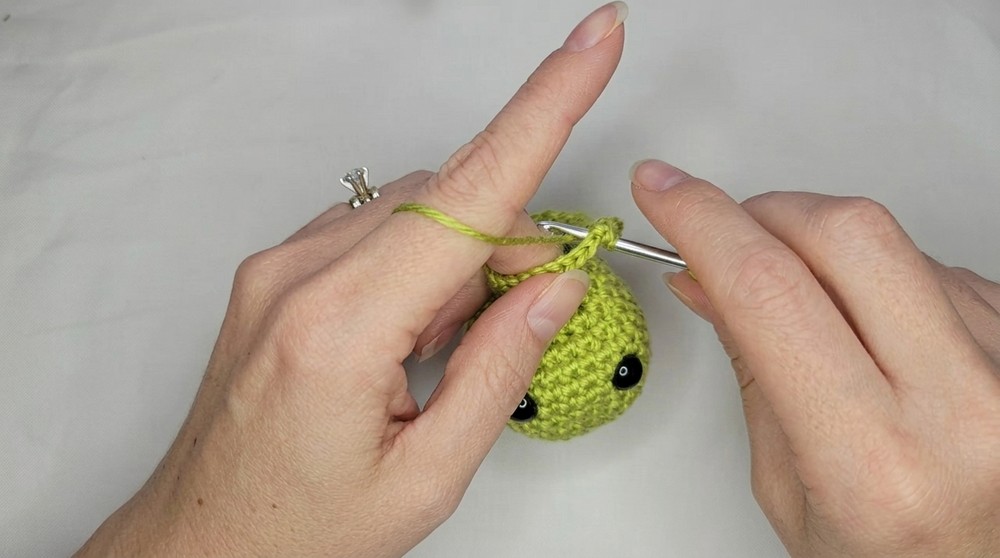
- Round 15: Inc in each st (24)
- Round 16: [3 sc, inc] around (30)
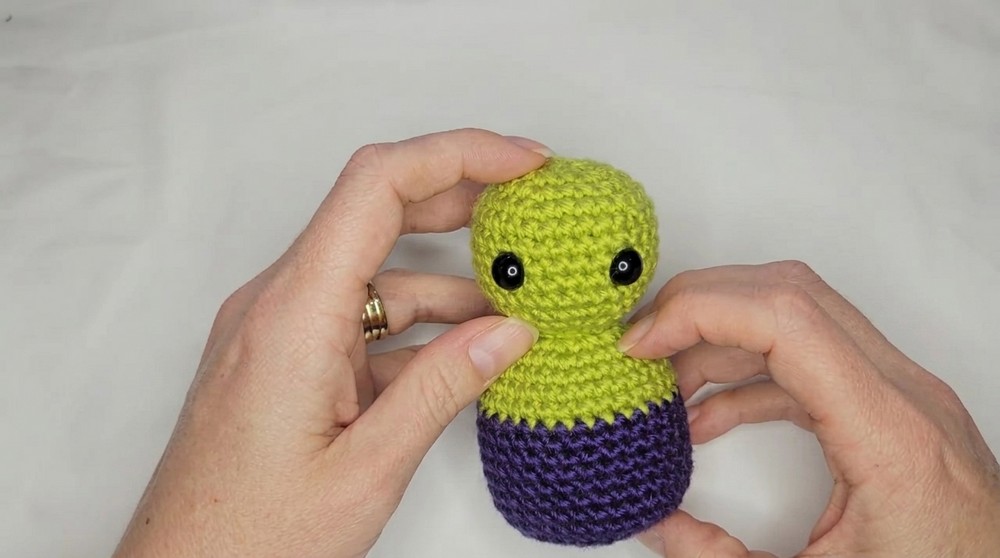
Body in Green, transition to Purple:
- Rounds 17–18: 1 sc in each st (30)
- Switch to Purple on last stitch of Round 18
- Rounds 19–26: 1 sc in each st (30) for 8 rounds
Body shaping/decrease:
- Round 27: [3 sc, dec] around (24)
- Round 28: [2 sc, dec] around (18)
- Round 29: [1 sc, dec] around (12)
- Round 30: Dec around (6)
- Finish: Fasten off, leaving long tail. Stuff firmly before closing opening.
Arms (Make 2 — Green then Purple)
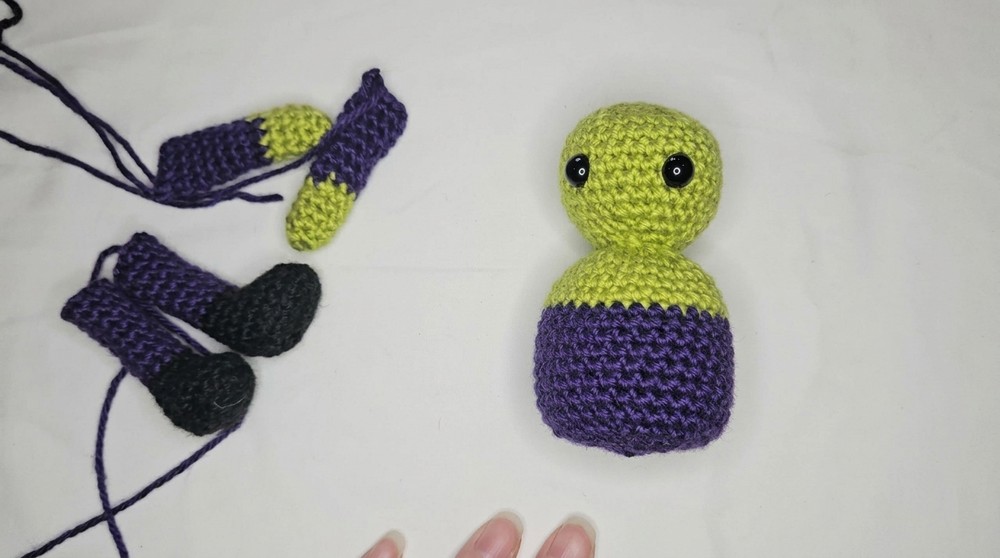
- Round 1: MR, 6 sc (6)
- Round 2: [1 sc, inc] around (9)
- Rounds 3–4: 1 sc in each st (9)
- Round 5: 1 sc in each st, switch to Purple on last stitch (9)
- Rounds 6–12: 1 sc in each st (9) for 7 rounds
- Finish: Flatten the arm and sc across the opening through both sides (4 sc). Leave tail for sewing. Lightly stuff.
Legs (Make 2 — Black then Purple)
- Using Black:
- Chain 5, join to form loop
- Round 1: Work in rounds, increasing to 16 sts (adjust increases as needed for an oval foot)
- Round 2: Working in back loops only, 1 sc in each st (16)
- Rounds 3–4: 1 sc in each st (16 for 2 rounds)
- Round 5: [4 sc, dec] four times (12)
- Round 6: [4 sc, dec] twice (10)
- Switch to Purple
- Rounds 7–14: 1 sc in each st (10) for 8 rounds
- Finish: Flatten, lightly stuff, leave long tail for sewing. Weave in ends if needed.
Hair Cap (Black)
- Round 1: MR, 6 sc (6)
- Round 2: Inc in each st (12)
- Round 3: [1 sc, inc] around (18)
- Round 4: [2 sc, inc] around (24)
- Round 5: [3 sc, inc] around (30)
- Round 6: 1 sc in each st around (30)
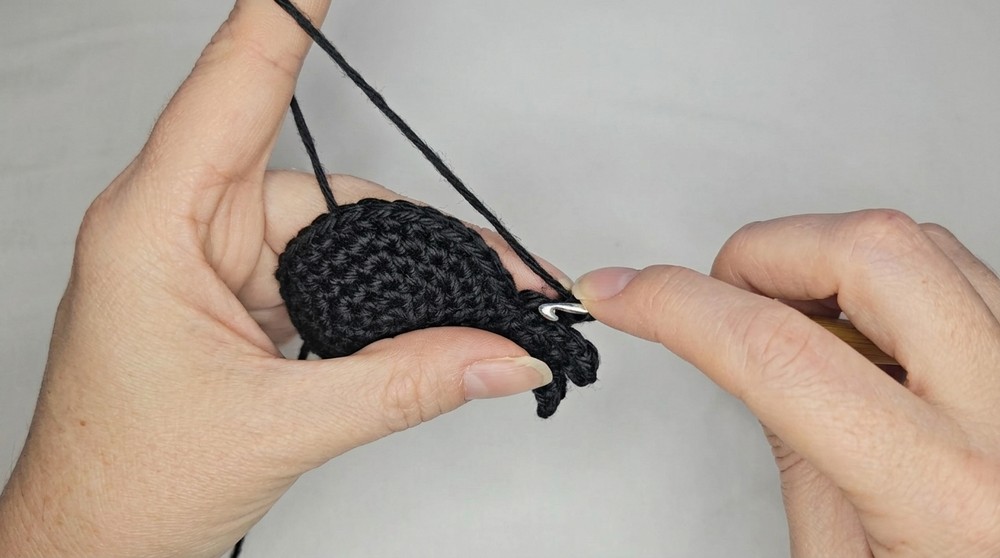
Flaps: Make 4 evenly around edge
- Chain 5, sc in each of next 4 ch back, sl st to base. Repeat for 3 more flaps.
Neck Bolts (Grey, Make 2)
- Round 1: MR, 6 sc (6)
- Rounds 2–3: 1 sc in each st (6) for 2 rounds
- Fasten off, leave long tail for sewing
Assembly
- Hair Cap:
Place the cap on top of the monster’s head with hair flaps at the front. Pin and whip stitch around the edge for a neat finish. - Arms:
Sew arms to the sides of the body, just below the neck area, using tail and yarn needle. - Legs:
Attach legs to the bottom corners of the body, oriented for sitting or standing balance. - Bolts:
Position each bolt on either side of the “neck” (just below the head), securing them with a firm stitch. - Mouth:
Use black yarn to embroider a simple horizontal line below the eyes for a classic monster expression. - Finishing:
Double-check all pieces for secure attachment. Hide yarn ends inside and shape for character.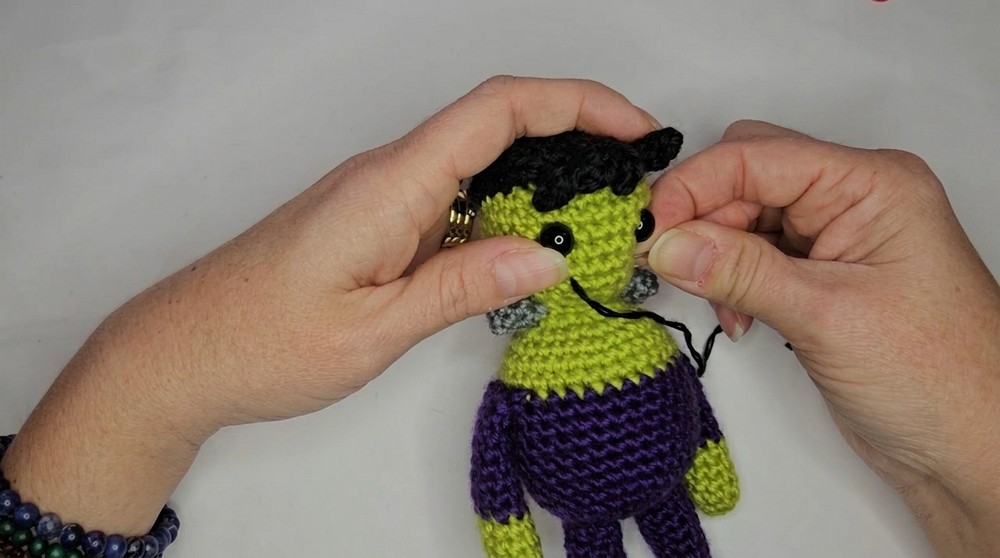
Conclusion
This Frankenstein’s monster amigurumi unites bold color blocks, sturdy construction, and iconic features for a festive and endearing holiday companion. The puzzle-like assembly enables creative customization—adjust color, stitch count, or accessories to reflect your own take on this famous creature. The seamless shaping and thoughtful detailing ensure a plush that delights both children and the young at heart, ready to haunt or charm any Halloween display.