How to crochet CHICKEN WITH OMELETTE Pattern + Free Tutorial

Make something fun with this Free Crochet Chicken with Omelette Pattern, perfect for cute, handmade decor or unique gifts everyone will love.
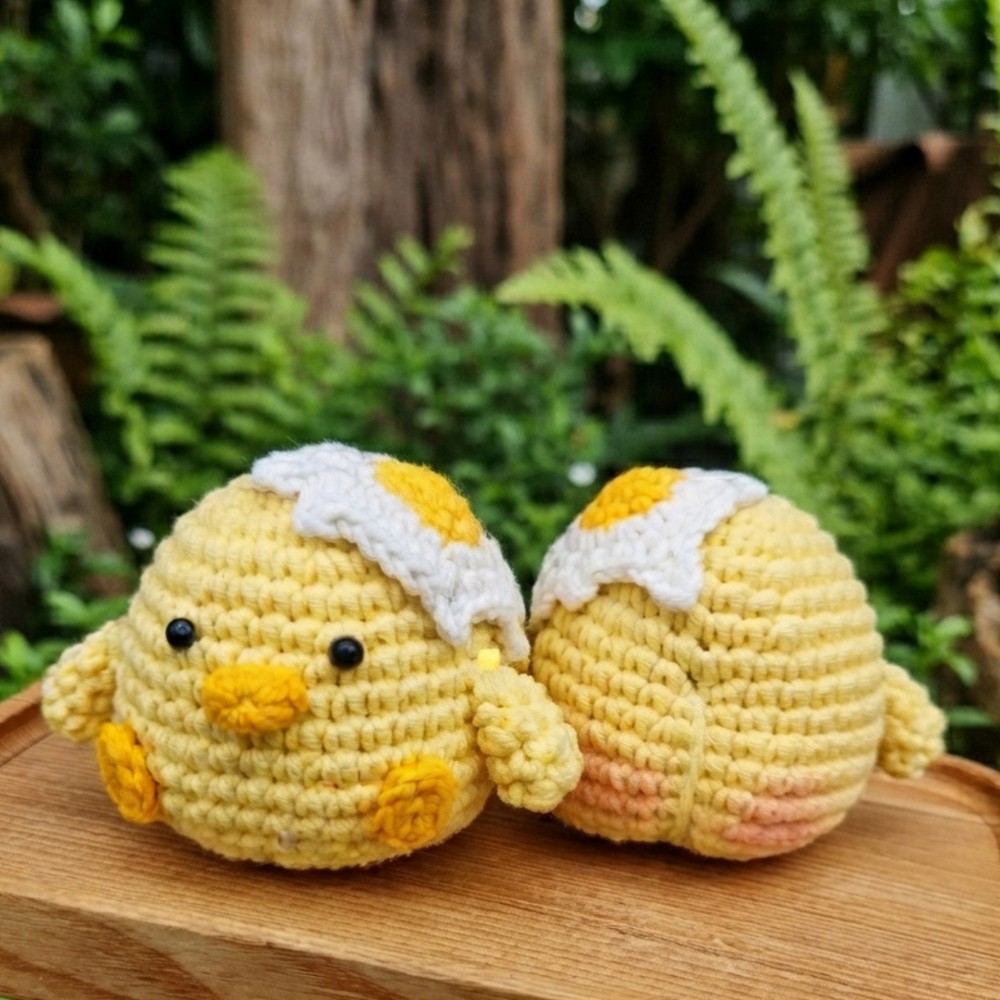
Looking for a fun and quick crochet project that really stands out? Recently, I decided to try making a charming little chicken wearing an omelette hat, and it turned out to be such a delightful experience. This cute amigurumi piece isn’t just a toy, it’s a perfect handmade gift, a sweet decoration, or even a collectible that brings personality to any space. If you love easy and playful crochet projects, then the Free crochet CHICKEN WITH OMELETTE Pattern is definitely worth checking out.
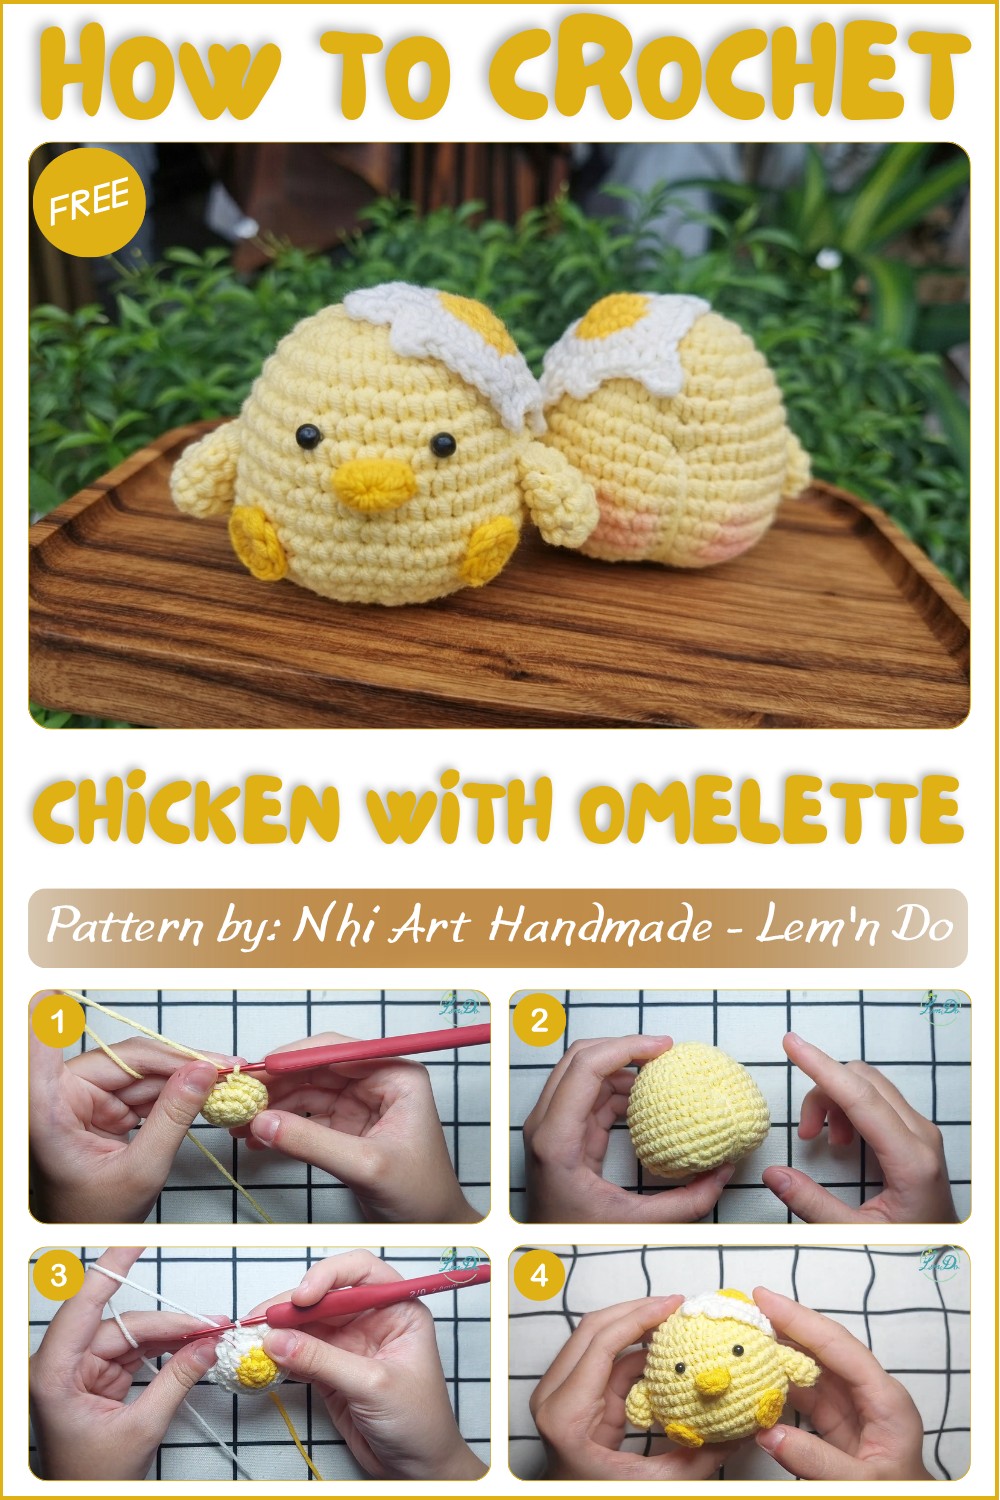
I started following a fantastic YouTube channel “Nhi Art Handmade – Lem’n Do” that makes learning to crochet super simple and enjoyable. The tutorial breaks down each step clearly, making it easy for beginners and experienced crocheters alike. The instructions feel friendly, like a helpful friend guiding you through every stitch to create this cute chicken with its funny omelette “hat.”
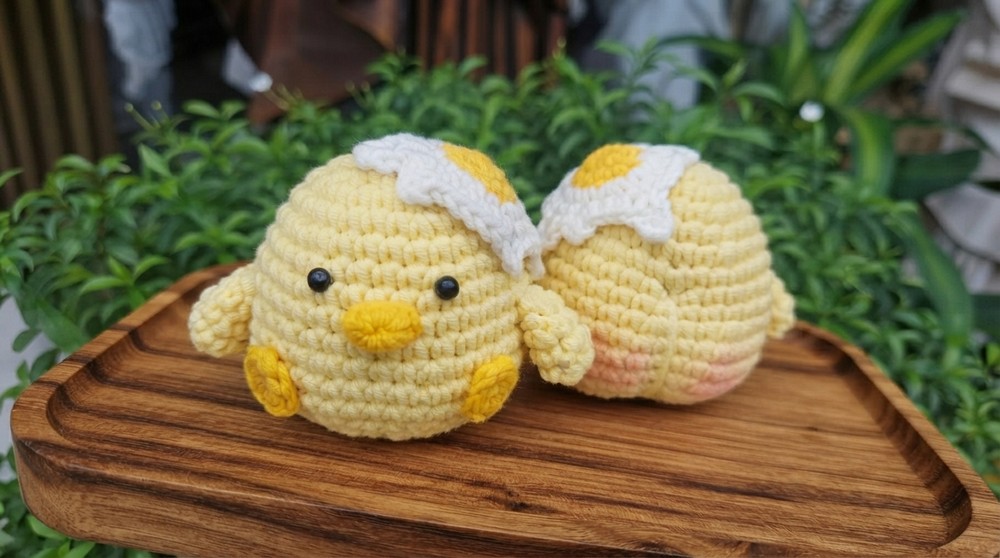
The beauty of this project lies in its unique design, the plump, round chicken has a soft, fluffy texture that’s inviting to touch, while the bright omelette adds a pop of color and humor. Its shape is perfectly balanced, with little wings and tiny feet that give it personality and charm. Beyond being adorable, this piece can brighten up your shelves, add a quirky accent to your room, or make a thoughtful handmade gift for friends and family.
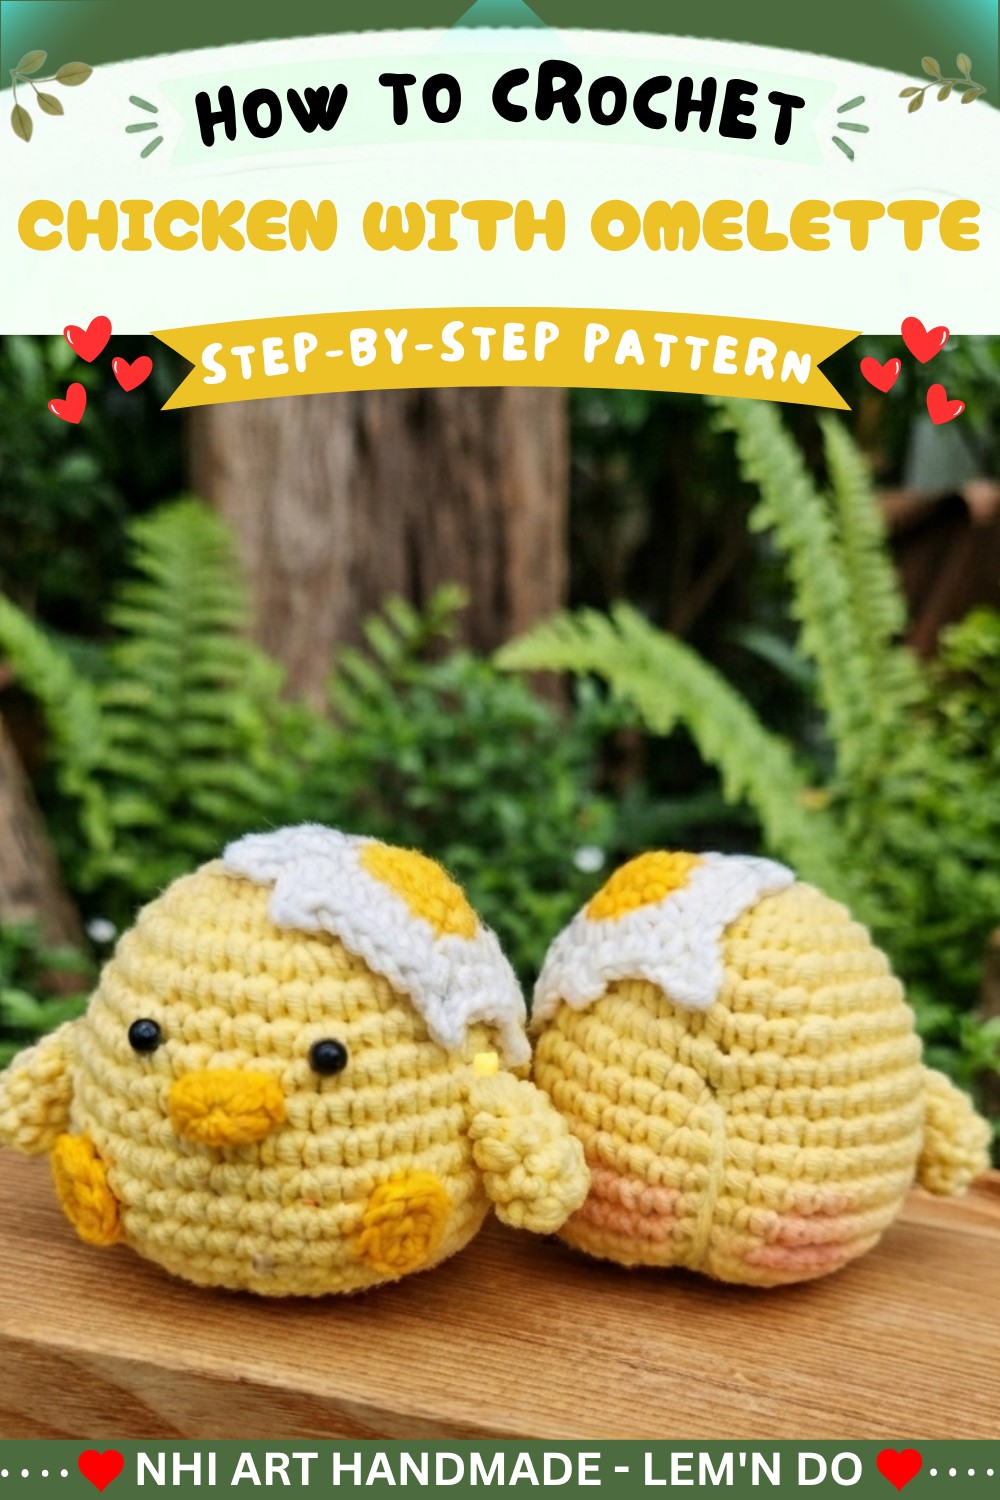
How to crochet CHICKEN WITH OMELETTE
This project brings to life an endearing amigurumi plushie: a delightful chicken wearing an omelette hat. This unique, whimsical design blends culinary inspiration with soft toy aesthetics, resulting in a charming figure that serves as both a playful decorative piece and a comforting companion. The following pattern provides a structured guide to constructing the chicken body, the distinctive omelette hat, and the essential anatomical details like the beak, feet, and arms, ensuring a cohesive and professional finished result.
Quick Overview Of Pattern
-
Design: A round-bodied chicken character adorned with an egg-inspired “omelette” hat.
-
Technique: Primarily worked in the round using single crochet stitches.
-
Components: The project is composed of five distinct parts: the main body, the omelette accessory, the beak, the wings, and the feet.
-
Complexity: Suitable for those with a foundational understanding of amigurumi and circular crochet.
-
Aesthetic: Whimsical, miniature, and highly stylized.
Notes
To achieve the best results for this amigurumi project, maintain a consistent and relatively tight tension. Since the piece is stuffed, any looseness in the stitching will allow the polyester fiberfill to show through. It is highly recommended to use a stitch marker at the beginning of each round to keep track of your place, as amigurumi is worked in a continuous spiral rather than joined rounds. When increasing or decreasing, ensure you are pulling the yarn firmly to prevent gaps in the fabric.
Skill Level
Intermediate. The pattern requires basic knowledge of working in a magic ring, increasing, and decreasing, as well as the ability to manage small-scale, three-dimensional construction.
Materials
-
Yarn: Medium weight yarn in white (body), yellow (omelette/beak), and orange (feet/beak accents).
-
Hook: A crochet hook sized appropriately for your yarn (usually 2.5mm to 3.0mm for a standard amigurumi tight-stitch finish).
-
Stuffing: High-quality polyester fiberfill.
-
Tools: Yarn needle for assembly, stitch markers, and scissors.
-
Eyes: Safety eyes or black yarn for embroidery.
Measurements / Sizing
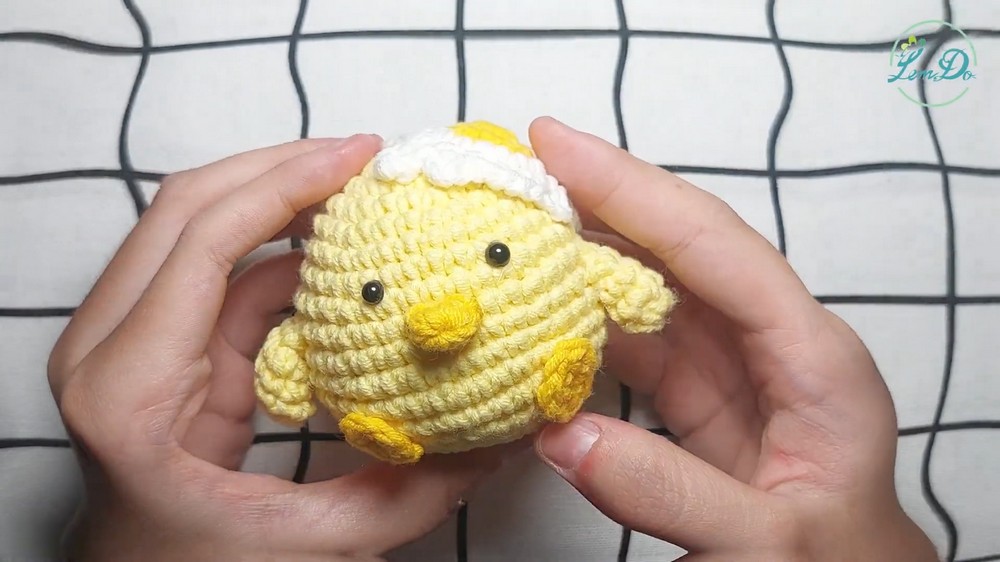
The finished chicken plushie stands approximately 3 to 4 inches in height, depending on yarn weight and individual tension. The “omelette” hat covers the upper portion of the head, adding slightly to the width and overall bulk of the design.
Gauge
Gauge is not strictly critical for this project; however, it is essential to ensure that your stitches are tight enough so that the stuffing does not show. Aim for a fabric that is dense and uniform throughout the body.
Stitch Abbreviations
-
MR: Magic Ring (also known as Magic Circle)
-
SC: Single Crochet
-
INC: Increase (work two single crochet stitches into the same stitch)
-
DEC: Decrease (work two single crochet stitches together to reduce the stitch count)
-
SL ST: Slip Stitch
-
CH: Chain
Special Stitches
-
Magic Ring (MR): This is the foundation for almost all amigurumi parts. It creates an adjustable loop that allows you to close the center completely, preventing a hole in the top of your work.
-
Invisible Decrease: For a cleaner look, use the invisible decrease method by inserting your hook only into the front loops of the next two stitches, yarn over, pull through, yarn over, and pull through both loops
The Crochet Pattern
-
Body
-
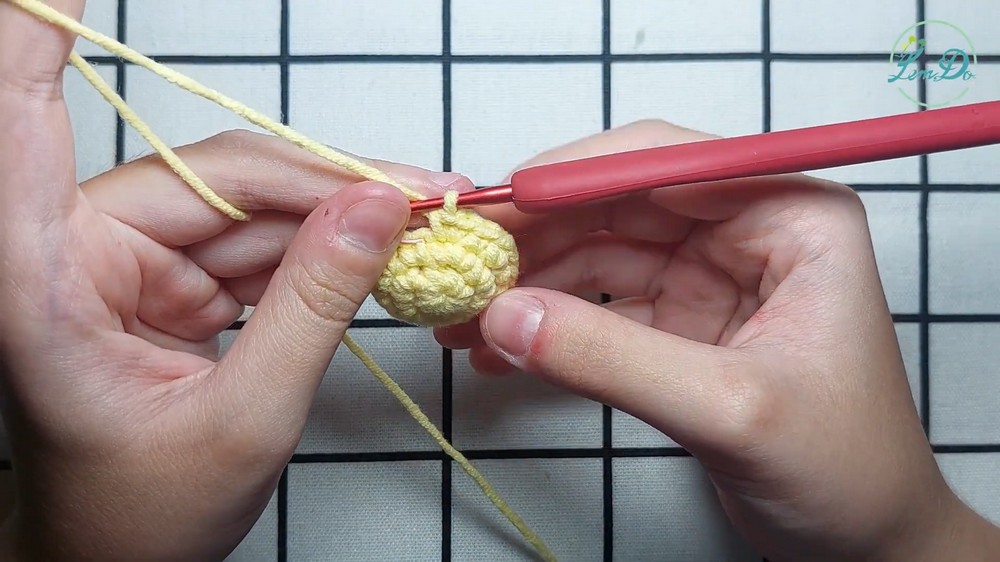
Row 1: Use a magic ring (MR) with 6 single crochet (SC) stitches [00:24].
-
Row 2: Double the number of stitches, resulting in 12 SC [00:00:70].
-
Row 3: Crochet with a 1:1 ratio (1 SC, 1 increase) to reach 18 SC [01:07].
-
Row 4: Crochet with a 2:1 ratio (2 SC, 1 increase) to reach 24 SC [01:34].
-
Row 5: Crochet with a 3:1 ratio (3 SC, 1 increase) to reach 30 SC [02:00].
-
Row 6: Maintain 30 SC [00:01:91].
-
Row 7: Crochet with a 4:1 ratio (4 SC, 1 increase) to reach 36 SC [02:18].
-
Row 8-9: Maintain 36 SC [02:54].
-
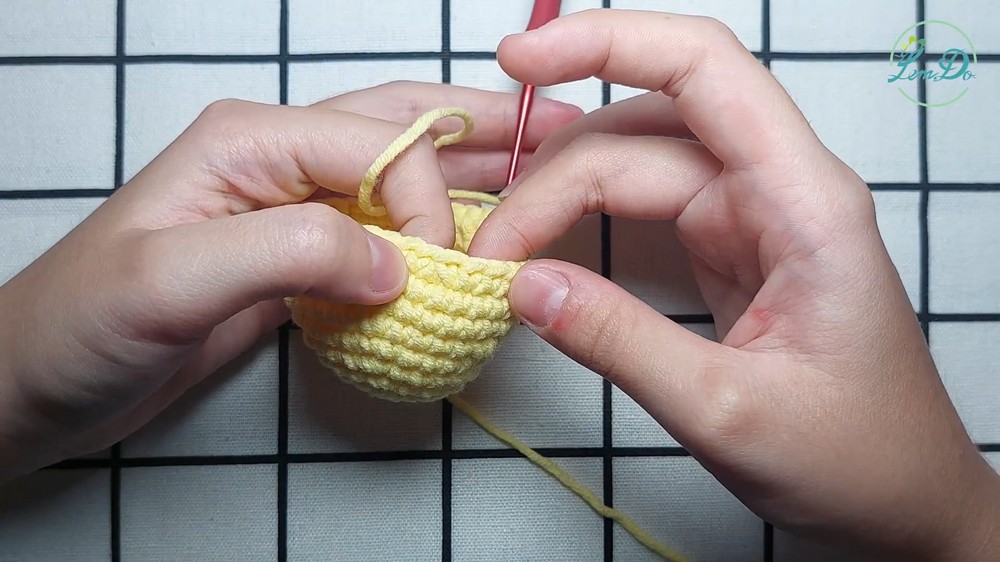
Row 10: Crochet to maintain 34 SC [00:02:80].
-
Row 11: Increase to 44 SC following a specific pattern of 2 SC and 1 increase repeated 3 times, followed by 3 SC and 1 increase repeated 4 times, then 2 SC and 1 increase repeated 3 times [03:56].
-
Row 12-13: Maintain 44 SC [04:34].
-
Row 14: Reduce to 36 SC using a 4 SC and 1 decrease pattern [00:04:62].
-
Row 15: Reduce to 30 SC using a 4 SC and 1 decrease pattern [05:44].
-
Row 16: Reduce to 24 SC using a 3 SC and 1 decrease pattern [00:05:91].
-
Row 17: Reduce to 18 SC using a 2 SC and 1 decrease pattern [06:29].
-
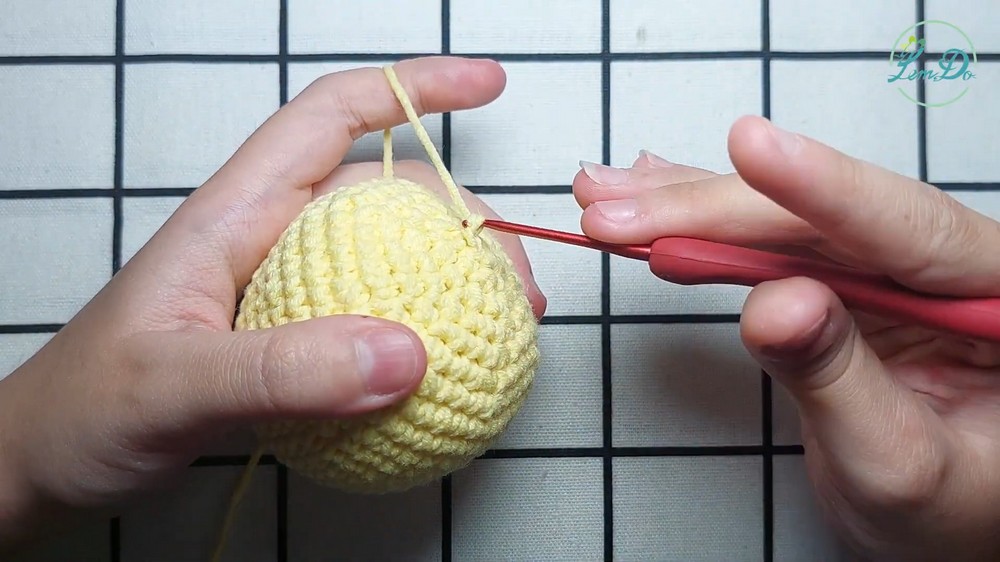
Row 18: Reduce to 12 SC using a 1 SC and 1 decrease pattern [07:00].
-
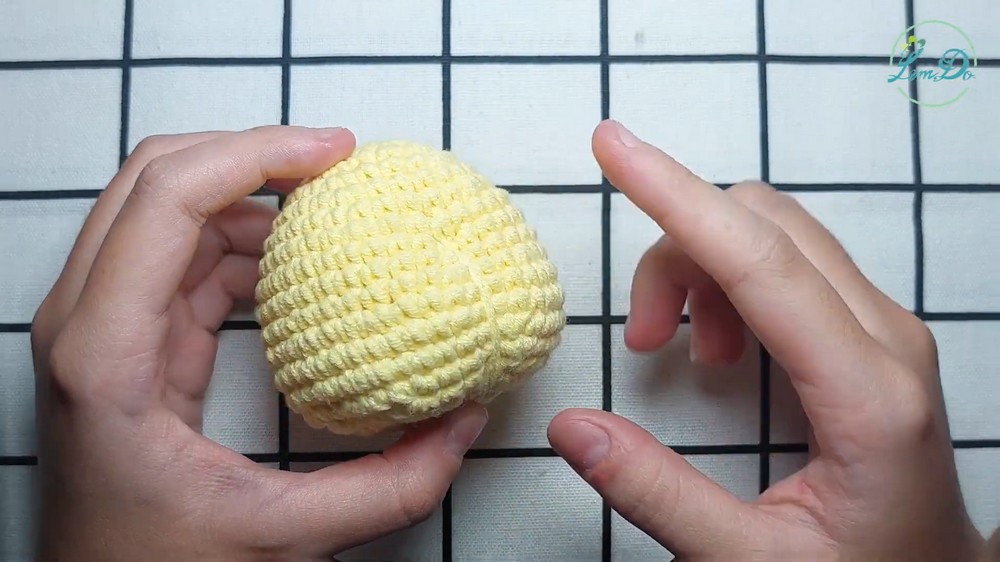
Row 19: Complete the reduction to 6 decrease stitches and close [00:06:95].
-
-
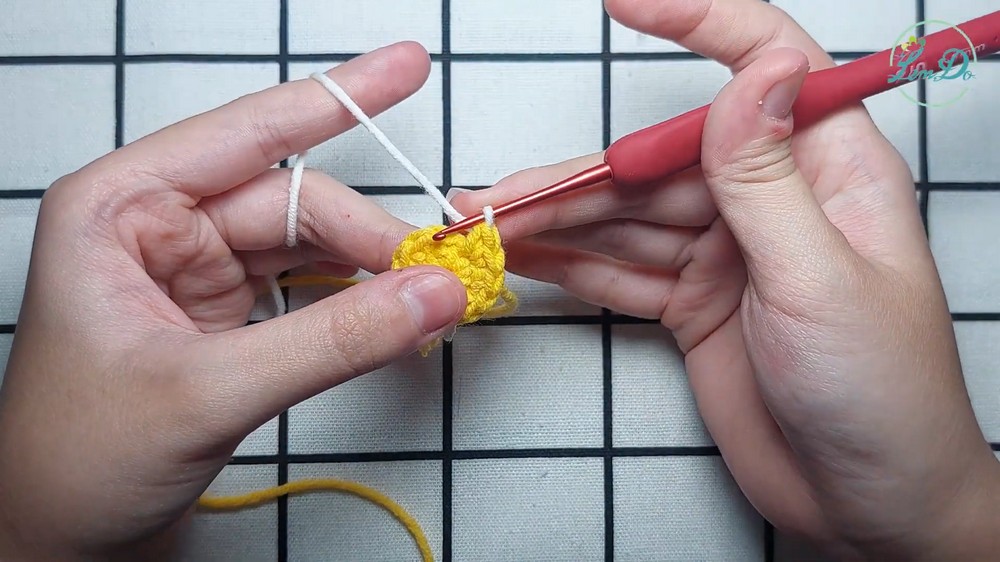
Yolk
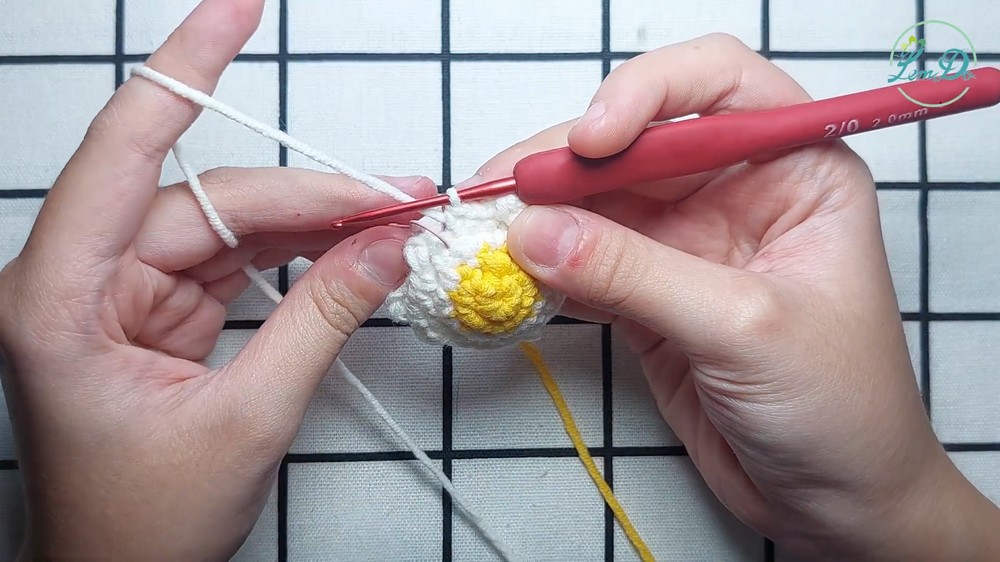
- Egg-White
-
Row 3: Crochet 18 SC [00:08:66].
- Row 4: 1 sc, 2ch-inc, 2sc, 3ch-2sc, 1sc, 2ch-1sc, 2ch-1inc-1sc, 2ch-1sc,
- 3sc, 3ch-2sc, 1sc, 2ch-1sc,
- 3sc, 3ch-2sc, 3sc,
- 1slst,
-
-
Beak
-
Row 1: MR 6 stitches [00:10:76].
-
-
Feet
-
Chain 3, 1 SC, then 4 SC into the same base stitch, 1 SC, then 1 slip stitch for a total of 6 stitches [00:10:96].
-
-
Hand
Assembly & Finished Size
To assemble the plushie, position the “yolk” onto the top center of the head, ensuring it is centered. Use a tapestry needle to sew it securely into place. Attach the feet to the bottom of the spherical body.
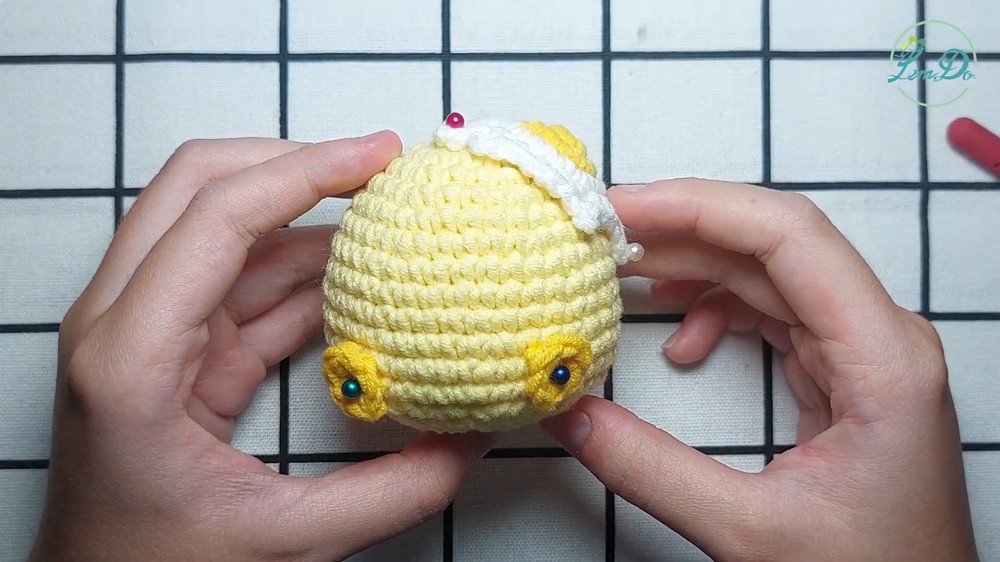
Position the beak just below the omelette hat and secure it firmly. Attach the wings on either side of the body at the mid-section, ensuring they are symmetrical. The final size is compact and fits comfortably in the palm of your hand, standing approximately 3 to 4 inches tall.
About This Project
This pattern results in a whimsical and compact plushie, perfect for gifts or decoration. The technique combines simple rounds to build the main spherical body, with specialized smaller rounds to add the whimsical “omelette” hat detail, giving it a playful, culinary-themed aesthetic.
Find Out a fresh approach to amigurumi projects with this adorable avian accessory pattern. Unleash your artistic flair while stitching this delightful companion. Boost your needlework skills by trying this unique and charming project that adds a touch of personality to any collection.
Conclusion and ending words
This whimsical chicken with an omelette hat is a fantastic project for anyone looking to practice their amigurumi skills or create a unique, handmade gift. By following these rounds carefully, you ensure the proportions remain correct and the character retains its intended shape. This piece is a wonderful demonstration of how simple geometry, circles and spheres, can be transformed into something fun and full of personality. We hope this pattern inspires you to explore further creative projects with your yarn and hook.
For More Help Please Click on this Video Link.