Simple Free Crochet Mini Cowboy Hat Pattern & Video for Beginners
Add some wild west charm to your collection with this free crochet Mini Cowboy Hat Pattern, designed to help you create cute tiny hats easily.
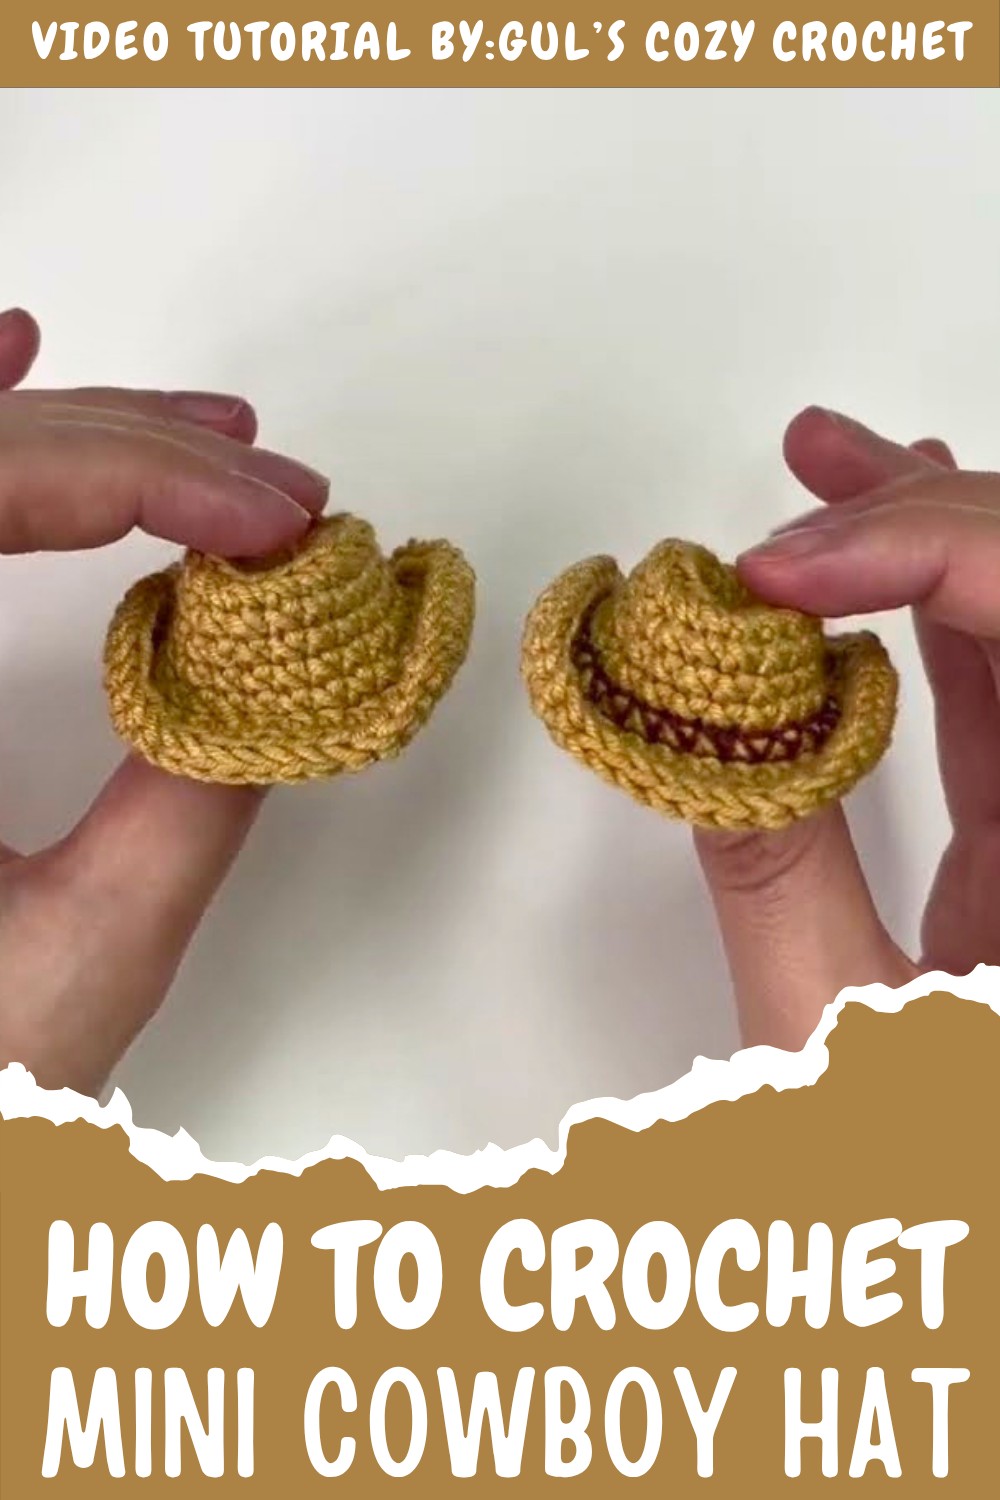
This free crochet mini cowboy hat pattern is inspired by a fantastic tutorial from the YouTube channel Gul’s Cozy Crochet. You can watch the full step-by-step video here. The video clearly guides you on making a tiny adorable cowboy hat that you can turn into a keychain or a cute accessory for your amigurumi toys.
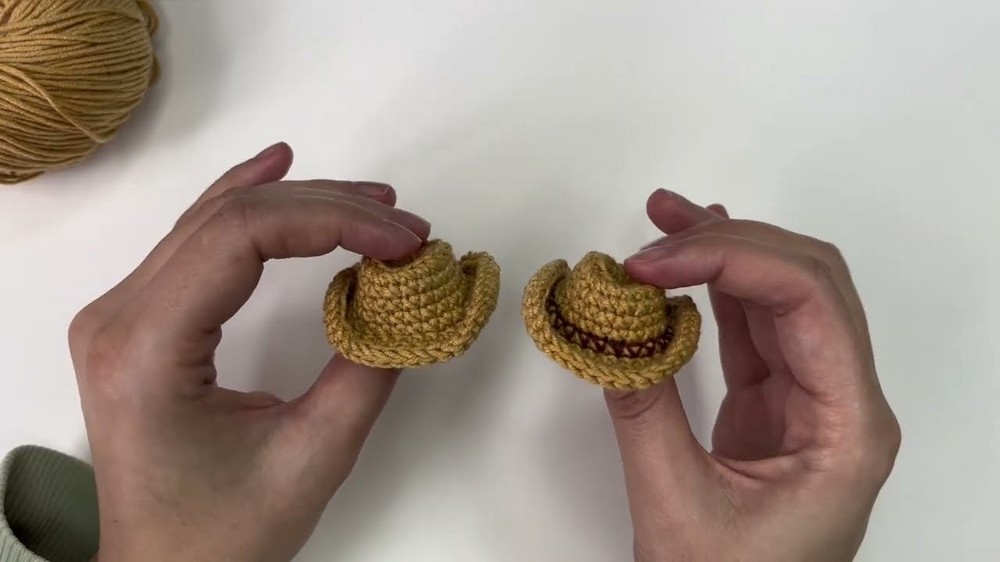
This tiny cowboy hat is surprisingly simple but looks charming and realistic. Its small crown and gently curved brim create that classic western style. Adding a tiny embroidered hat band at the base gives it an extra special touch. Whether you hang it on your keys, decorate your crochet space, or outfit a little doll, this miniature hat brings a warm and rustic charm wherever it goes.
Easy Tutorial To Crochet a Mini Cowboy Hat Pattern
Important and Unique Techniques
The pattern mainly uses the single crochet stitch, making it beginner-friendly. But what makes it special are some unique details:
- Working back loops only on one round shapes the top edge.
- Working front loops only on another round begins forming the brim.
- Using slip stitches strategically creates the subtle western curve on the brim.
- Finishing touches include pinching and bending the brim to give it that lively cowboy hat look.
A Few Instructions to Inspire You
- Start with a magic ring and 6 single crochets inside.
- Increase in every stitch next round, doubling stitches.
- Alternate rounds of single crochets with rounds including increases.
- Work back loops only to form the crown’s top edge.
- Work front loops only when starting the brim.
- Use slip stitches in the final rounds to shape the brim curve.
- Fasten off and shape the hat by bending the brim up on the sides.
- Add a small embroidered hat band with contrast yarn as a finishing detail.
This tiny cowboy hat is perfect for adding a unique, handmade touch to your craft projects. You can easily turn it into a keychain, gift topper, or decoration for dolls and stuffed toys. Since it uses only a small amount of yarn and basic stitches, it’s quick to make and fun for beginners and advanced crocheters alike. Its charming design and little details bring life and personality to any space or item.
Overall, this free crochet cowboy hat pattern is a delightful project that is easy to follow, results in a beautiful miniature accessory, and offers endless creative uses. Be sure to check out Gul’s Cozy Crochet video tutorial for a full step-by-step demonstration! Let me know if you’d like me to help with the exact video link or more details.
Mini Crochet Cowboy Hat Pattern
This adorable mini crochet cowboy hat is a perfect accessory for amigurumi dolls, a fun keychain project, or a decorative party favor. The hat is worked seamlessly in the round, using simple increases, and is shaped with back loop/front loop techniques to create a classic Western silhouette.
At the end, you’ll add a tiny embroidered band to elevate its look. The finished piece is small but packed with charm, and the step-by-step instructions ensure even beginners can achieve a great result.
Skill Level
Beginner–Intermediate
- Basic single crochet, increases and decreases, working in BLO/FLO, slip stitches, and simple embroidery.
Materials
- Worsted weight cotton or acrylic yarn in hat color (10g or less)
- Small amount of contrasting yarn for hat band
- 2.5–3 mm crochet hook
- Yarn needle
- Stitch marker
- Scissors
Measurements / Sizing
- Hat dimensions: Approx. 4 cm diameter brim, 2 cm tall crown
- Finished size is ideal for a keychain or doll accessory
Gauge
- Gauge is not critical for this project, but sample:
10 sc x 10 rows = 4 cm x 4 cm (1.5 in x 1.5 in) with 2.5–3 mm hook. - Tight tension is helpful to keep the hat’s shape.
Stitch Abbreviations
- MR = magic ring
- sc = single crochet
- inc = increase (2 sc in one stitch)
- sl st = slip stitch
- BLO = back loop only
- FLO = front loop only
- st(s) = stitch(es)
- FO = fasten off
Special Stitches
- Increase (inc): Work two single crochet in the same stitch.
- BLO/FLO: Work stitch only into the back (BLO) or front loop (FLO) as indicated.
- Magic Ring (MR): Adjustable ring for amigurumi start.
- Slip Stitch (sl st): Insert hook, yarn over, pull through both loops.
The Crochet Pattern
Hat Crown
Round 1:
MR, 6 sc in ring. (6)
Pull ring tight and place stitch marker in last stitch.
Round 2:
Inc in each stitch around. (12)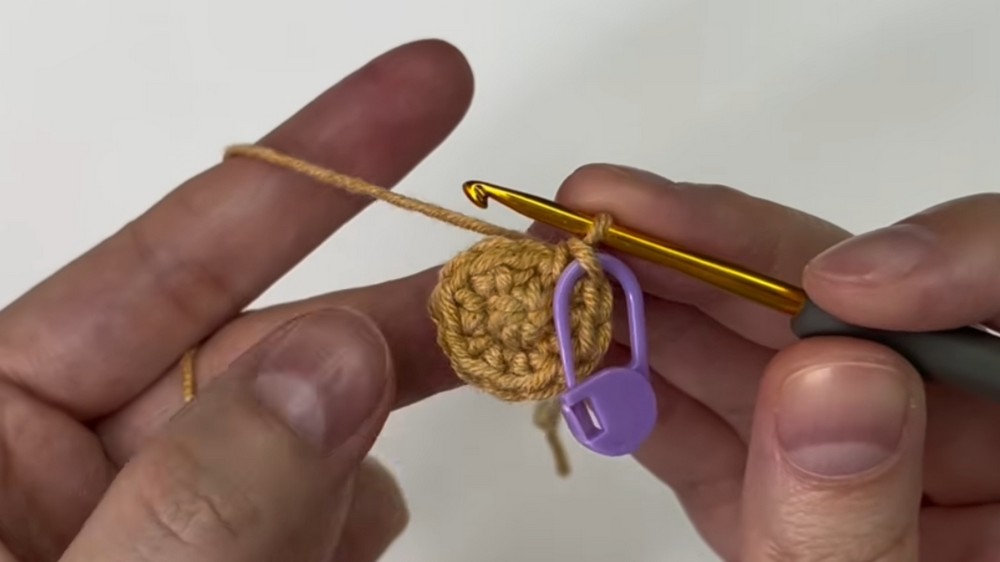
Round 3:
(Inc, sc in next) repeat around (6 times). (18)
Round 4 (BLO):
Sc in each stitch around (18)
(Work into back loops only; this forms the defined “top” of the crown.)
Round 5:
Inc in first stitch, sc in next 5 stitches.
Repeat sequence [inc, 5 sc] two more times. (21)
Round 6:
Sc in each stitch around (21)
Round 7:
Inc in first stitch, sc in next 6 stitches.
Repeat sequence [inc, 6 sc] two more times. (24)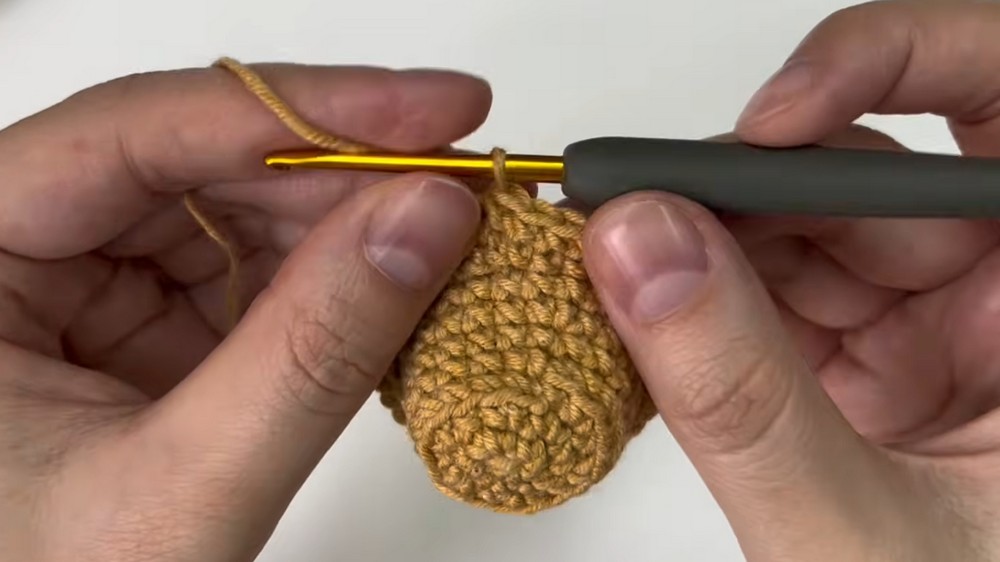
Round 8:
Sc in each stitch around (24)
Hat Brim
Round 9 (FLO):
(Inc, sc in next) repeat around (12 times). (36)
(Work into front loops only. This begins flare of the brim.)
Round 10:
Sc in each stitch around (36)
Round 11 (Brim shaping):
3 sl st, (inc, sc in next) repeat 6 times.
(You will alternate increases and sc for 6 groups after working the first 3 sl st.)
Total: After increases—more shaping, continue as instructed.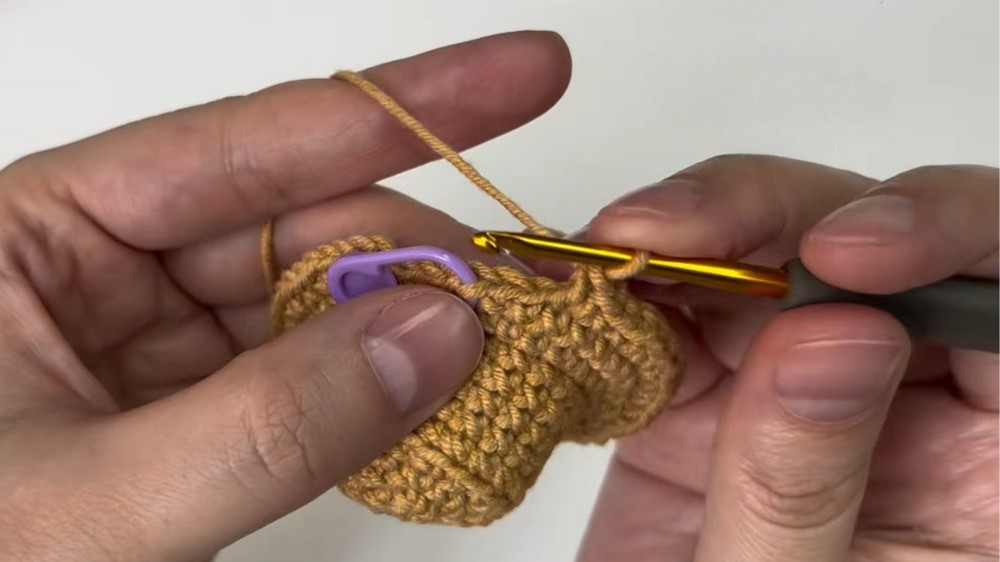
Next:
6 sl st
Now: (sc, inc) repeat 6 times.
Finish round with 3 sl st.
Finishing
Fasten off and use yarn needle to neatly weave in the yarn tail on the brim.
Shape the Hat
- Pinch crown gently to create crease in the top center.
- Bend brim sides upward for Western “curve”.
- Make sure brim is flatter at the front and back, bent up at each side.
Hat Band
- Thread a yarn needle with contrasting color.
- Embroider simple running stitches just above the brim, around the base of the crown.
- Secure ends inside the hat.
Assembly & Finished Size
- Finished hat: 4 cm diameter, 2 cm height.
- Brim shaped with slip stitches and curves.
- Add hat band after shaping.
- Optionally add a keyring or sew to doll head.
Pattern Notes
- All rounds are worked in a continuous spiral; do not join or turn at the end of each round unless stated. Use a stitch marker to keep track of the last stitch in each round.
- Back loop only (BLO) and front loop only (FLO) techniques are used to create structural elements, like the crown and brim.
- Pay attention to shaping instructions in the final section for an authentic cowboy hat look.
- You may use any yarn weight—but lighter yarn and a small hook produce a doll-sized mini hat.
- This pattern is designed for a seamless finish; all increases are evenly spaced.
Quick Overview for Beginners
- Start with magic ring, work single crochet and increases to form crown.
- Use back loops only for crown top, front loops only for brim.
- Shape brim with slip stitches and increases.
- Fasten off, shape the hat, add embroidered band.
- Use for dolls, keychains, or small decor.
For a detailed, easy-to-follow guide on this pattern, I highly recommend the tutorial by the YouTube channel Gul’s Cozy Crochet. You can watch their full video titled “Crochet Cowboy Hat Tutorial“. This tutorial walks you through every step, from starting the magic ring to adding the embroidered hat band at the end, making the whole process smooth and enjoyable.