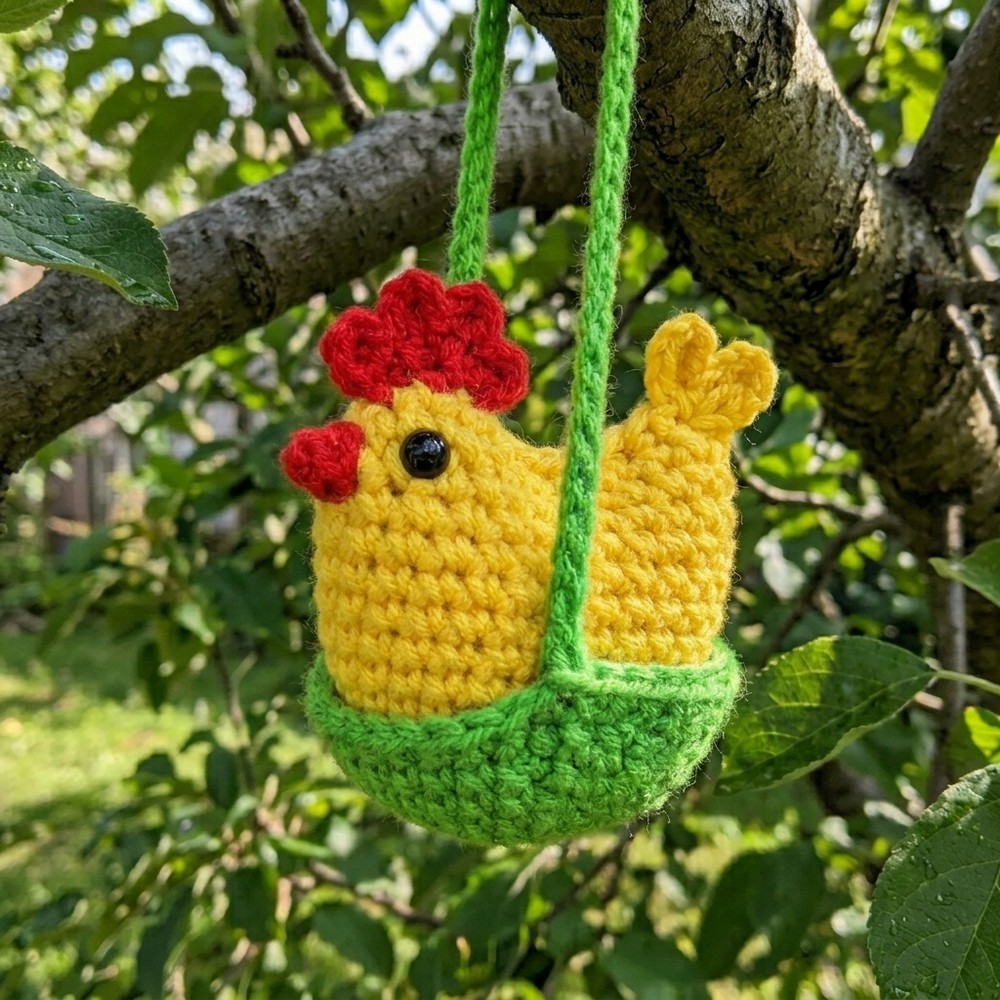
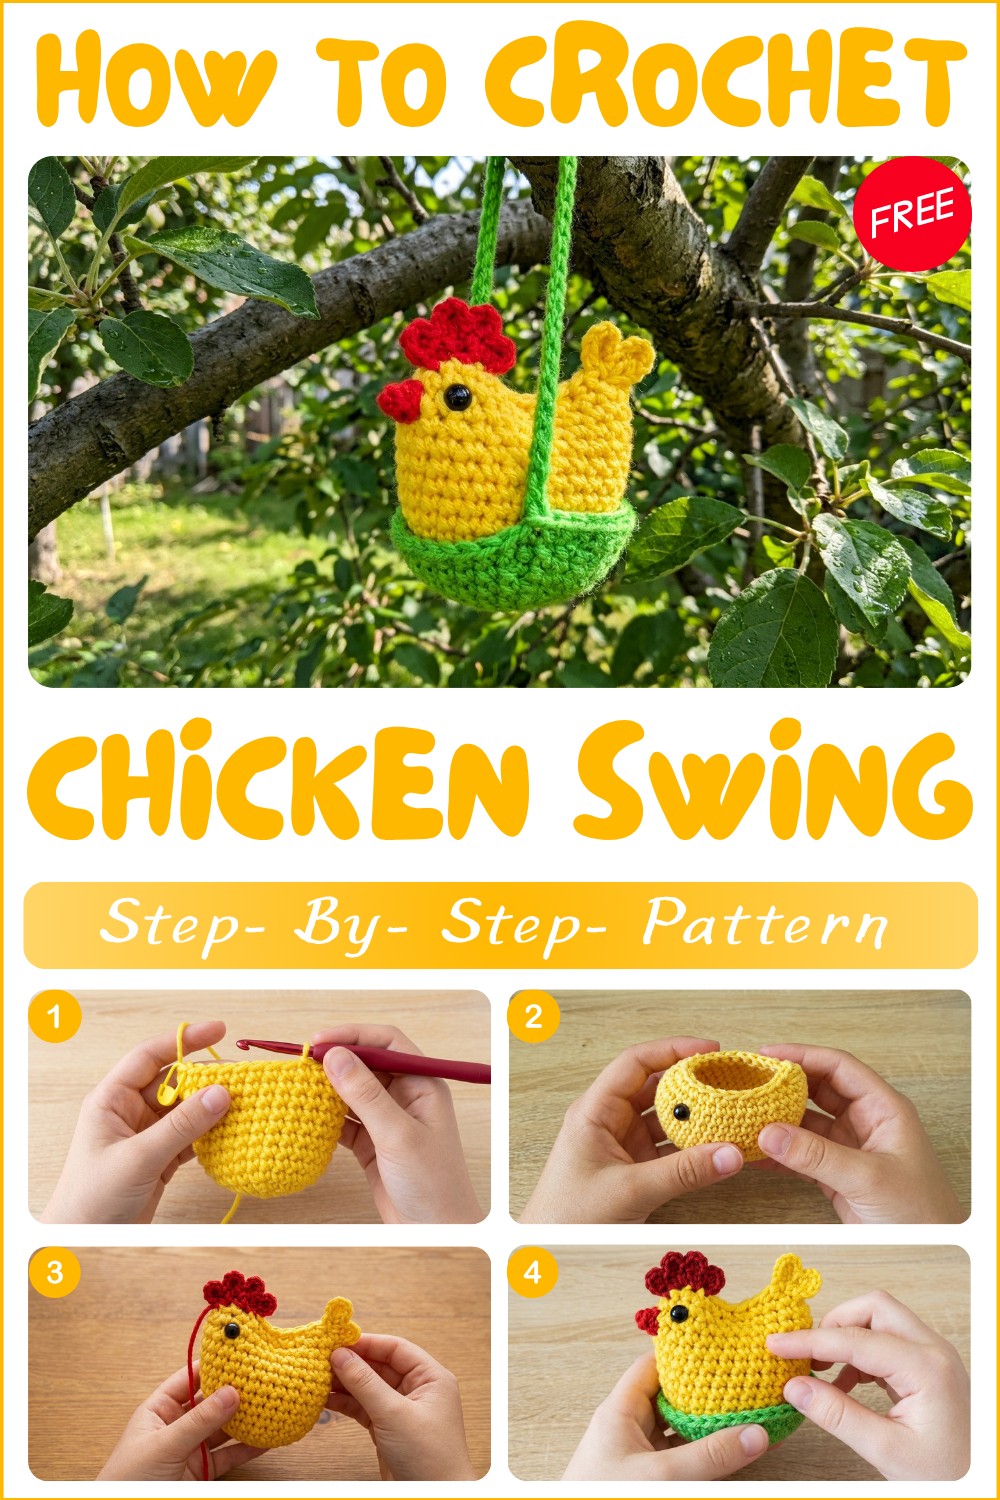
Free Crochet Chicken Swing Pattern For Charming Rustic Decor
Spark happiness with Free Crochet Chicken Swing Pattern that makes a delightful little ornament perfect for gifting or adding fun to any room.
A simple and lovely swing can turn your chicken’s world into a happier place, and make your garden look brighter too. Chickens can sit and relax on the swing while they gently move from side to side, which makes their day more fun. This swing is easy to make at home, and needs only soft yarn and a little time. When you use the Crochet Chicken Swing pattern, you can create a special seat just for your chickens.
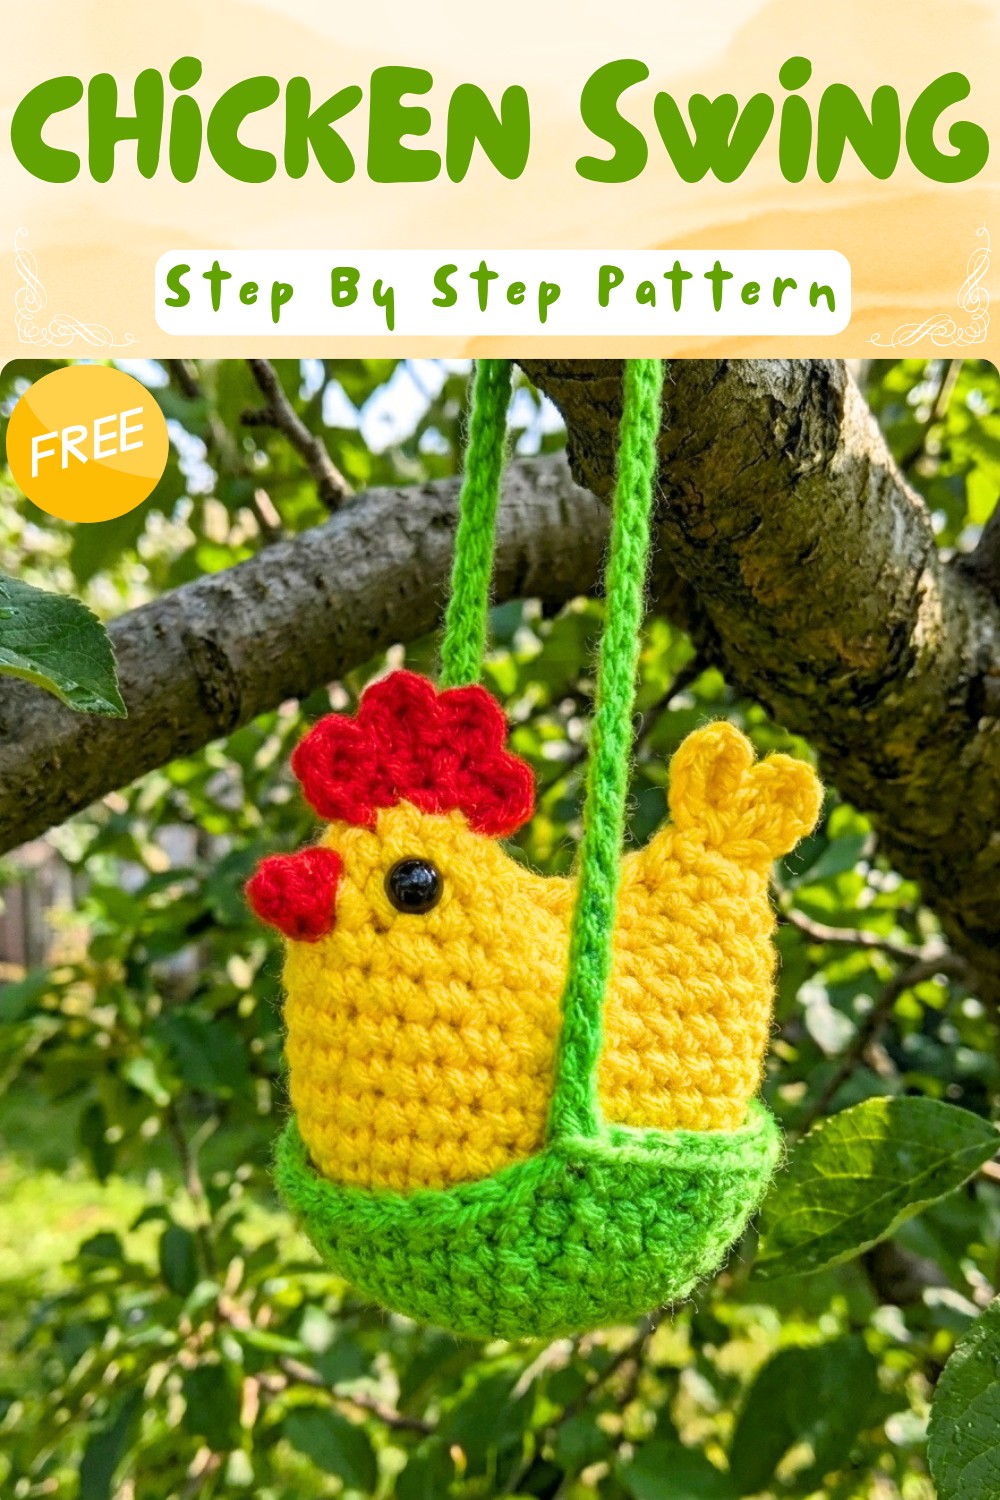
Adorable free crochet chicken swing pattern to make your own cozy decor
The swing is small but strong, and you can make it with pretty colors to make it even more beautiful. It gives your chickens a nice place to rest, and helps keep them calm and happy. The soft yarn feels good for their feet, and the shape of the swing makes it easy for any chicken to use. You can hang it inside their coop, or outside in the yard, and it will bring smiles to everyone who sees it.
Colorful Crochet Hen in Basket Swing
Overview
Create a delightful hanging hen inside a mini basket swing, perfect for car mirrors, door handles, or as a unique gift. Featuring simple color play by holding two thin yarns, this amigurumi project is brought to life with a plump hen, a basket base, and playful embellishments such as a comb and beak. A swing chain serves as both construction and display element.
Pattern Notes
- Work in continuous rounds unless otherwise directed; use a stitch marker to track the start of each round.
- Hold two strands of thin yarn together for a colorful effect, or substitute with one strand of medium (#4) weight yarn.
- Add fiberfill only after completing most of the body to maintain good shape.
- For best results, use small, smooth stitches and adjust hook size for tightness.
- This amigurumi pattern uses basic increases and decreases; beginners may use written stitch markers or contrasting yarn at round beginnings.
Gauge (and Stitch Pattern)
- Gauge is not critical. Aim for tight single crochet stitches so stuffing doesn’t show.
- Main stitch: single crochet (sc) worked in a spiral.
- Optional: 12 sc around in 3 rounds should measure about 2 cm across if using two strands of fingering held together and a 3.75 mm hook.
Materials
- Two colors of thin yarn, or one strand of worsted weight in your color choice (for body and basket)
- Additional color (for crest and beak)
- Crochet hook: 3.5–3.75 mm (US E–F)
- Embroidery needle or yarn needle
- Stuffing: polyester fiberfill
- 2 safety eyes (6–8 mm size) or black beads, or black yarn for embroidery
- Scissors
- Stitch marker
- Optional: thread/needle to secure parts; glue if preferred for eyes
- Optional: jump ring/split ring or thread for hanging loop
Skill Level
Beginner to Confident Beginner – Works mainly in single crochet with basic increases and decreases, plus simple shaping and basic sewing.
Measurements / Sizing
- Finished hen with basket: about 7–8 cm tall (3 inches) plus hanging chain.
- Basket diameter: about 4–5 cm (1.5–2 inches).
- Chain for hanging: customizable, ~60 ch fits car mirrors or doorknobs.
Stitch Abbreviations
- MR – Magic ring
- sc – single crochet
- inc – increase (2 sc in same st)
- dec – decrease (single crochet 2 together, invisible method)
- sl st – slip stitch
- ch – chain
- st(s) – stitch(es)
Special Stitches
- Invisible Decrease: Insert hook into front loop only of next 2 stitches, yarn over, pull up a loop, yarn over, pull through both loops.
- Magic Ring: Create an adjustable starting loop to work the first round of stitches, pull tail to close.
The Crochet Pattern!
Hen Body
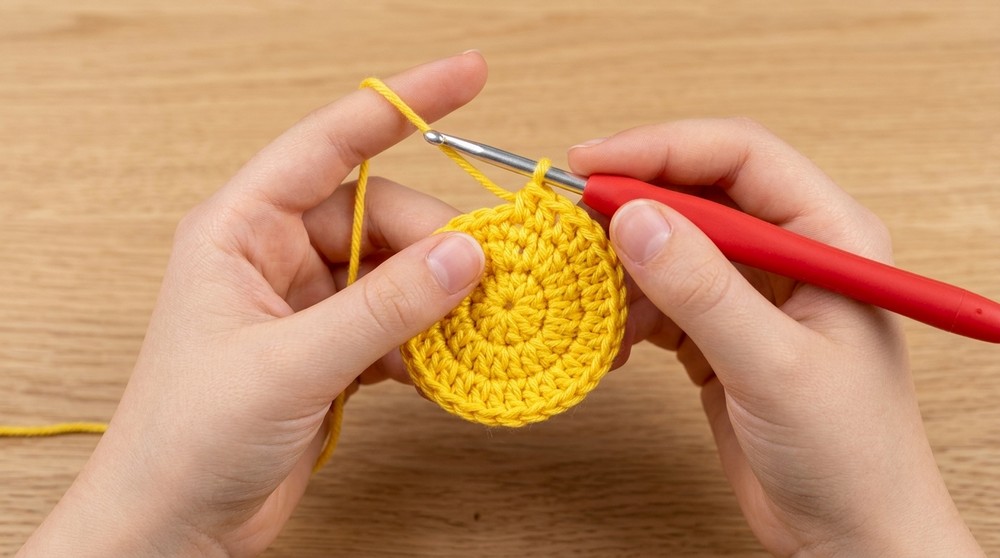
- Magic Ring & Basic Shaping:
- MR, ch 1, work 6 sc in ring. Tighten ring, sl st to first sc.
- Round 2:
- Ch 1, [2 sc in each st] around (12). Place stitch marker.
- Round 3:
- (2 sc in first st = inc, 1 sc in next st) repeat around: (Inc, sc) x 6 (18)
- (2 sc in first st = inc, 1 sc in next st) repeat around: (Inc, sc) x 6 (18)
- Round 4:
- (1 sc in next 2 sts, inc) repeat around: (Sc, sc, inc) x 6 (24)
- Rounds 5–14:
- Sc in each st around (24).
- Continue in spiral without increases. End at round 14.
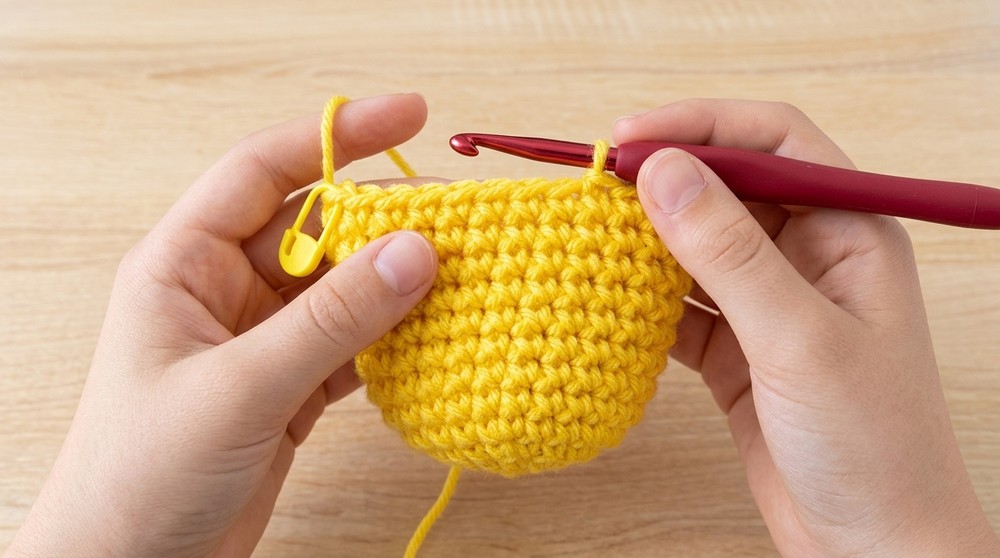
Your hen’s basic form should now be done. Adjust rounds if you want a taller or shorter body.
Shaping the Head & Finishing the Body
- Round 15 (Decrease):
- (dec over 2 sts, 1 sc in next st) repeat around to stitch marker (16)
- Stuff body with filling before closing completely. Do not overstuff or hen will lose shape.
- Finish Off:
- Sl st in next st, ch 1, break yarn with longer tail for sewing.
- Sew up the opening at the top. Use the yarn tail and needle to close hole and securely weave in end.
Features & Embellishments
Eyes:
- Fold piece in half; between rounds 2 and 3 from top, place safety eyes (or glue/sew beads). Space evenly.

Comb (Crest) and Feathers:
- Insert yarn with needle at top. For crest: ch 4, sl st in same spot, repeat 2 more times for a 3-point comb. Fasten off, weave in ends.
- Optional back feathers: ch 6 from back of head, return with sl st in same base, repeat or vary length for extra “tail” detail.
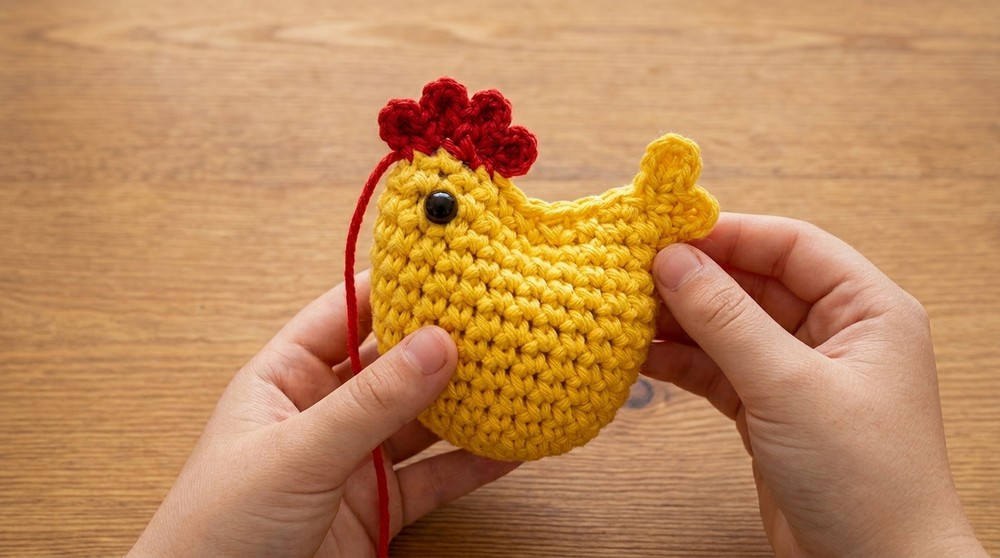
Beak (Pico/Piqu):
- With yellow/orange: insert yarn at midline below eyes, ch 3, sl st in same base, fasten off, hide ends.
Basket Base
- MR, ch 1, 6 sc in ring. Close with sl st to first st.
- Round 2: [2 sc in each st] around (12)
- Round 3: (Inc, sc) x 6 (18)
- Round 4: (Inc, sc, sc) x 6 (24)
- Round 5: Sc in each st around (24)
- Round 6: Sc in each st around (24)
- Round 7: (Inc, sc, sc) x 6 (30)
- Round 8: Sc in each st around. (30)
Make sure your basket is slightly wider than the hen’s base.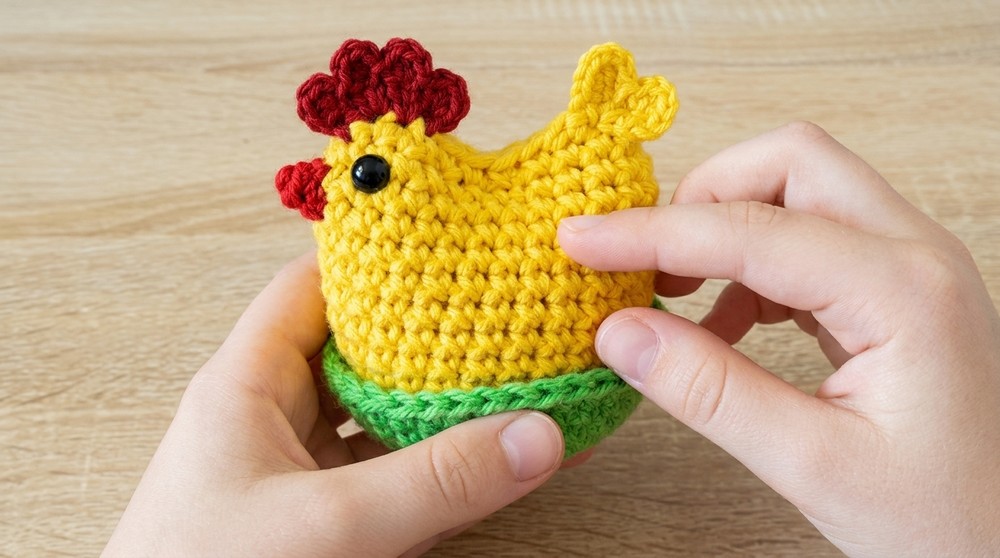
- Sl st to finish. (Add or subtract a round to fit hen.)
Hanging Chain & Assembly
- Hanging Chain:
- Ch 60 (or as long as desired for hanging). Fold basket in half, join both basket “sides” with sl st. Pull up long loop.
- Optionally, knot both ends for extra security.
- Sew Hen to Basket:
- Use remaining yarn tail or a new strand, sew base of hen securely into basket center. A few anchoring stitches are enough.
- Hide All Ends:
- Weave in any remaining yarn tails for a neat look.
Assembly & Finished Size
- Hen is crocheted in one piece, eyes and features attached before closing.
- Comb, feathers, and beak are made with simple chain/single crochet, sewn/knotted on top or back.
- Basket is crocheted to fit, then sewn or glued at base to hen.
- Hanging chain worked directly from basket; length is adjustable.
- Finished piece is approximately 7–8 cm tall from base to head.
- Suitable for hanging on car mirror, door handle, children’s room, or as a fun ornament.

For You!
Your adorable amigurumi hen swing is complete. Bright, chubby, and full of cheer, this playful creation is a joy to make. Vary your colors, basket style, or size for custom gifts and decorations.