Free Crochet Button Cowl Pattern for Kids That Stays Snug
Keep little ones cozy with this free crochet button cowl for kids pattern that’s offer soft warmth adds playful charm and fits comfortably.
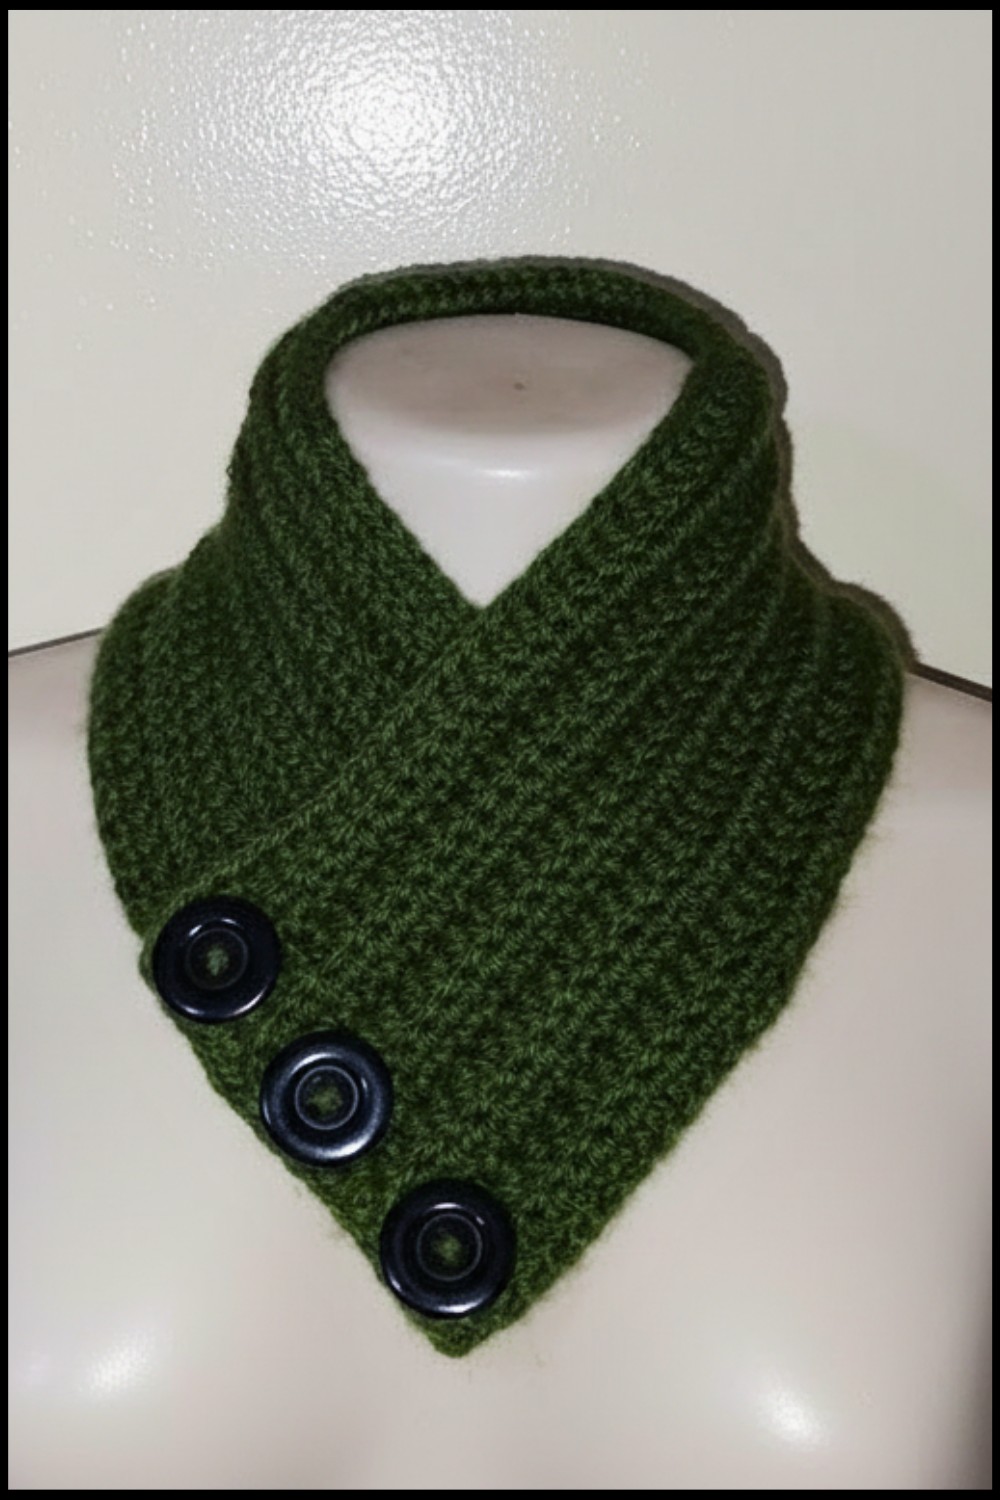
A little accessory can make children feel warm and cheerful while looking playful and cute. The Crochet Button Cowl For Kids pattern turns simple yarn into a charming neck piece that fits snugly and stays in place with easy-to-use buttons. Its cozy texture and flexible design make it perfect for chilly days, school outings, or casual playtime while adding a handmade touch to children’s outfits.
Easy Crochet Button Cowl for Kids Free Pattern for Beginners
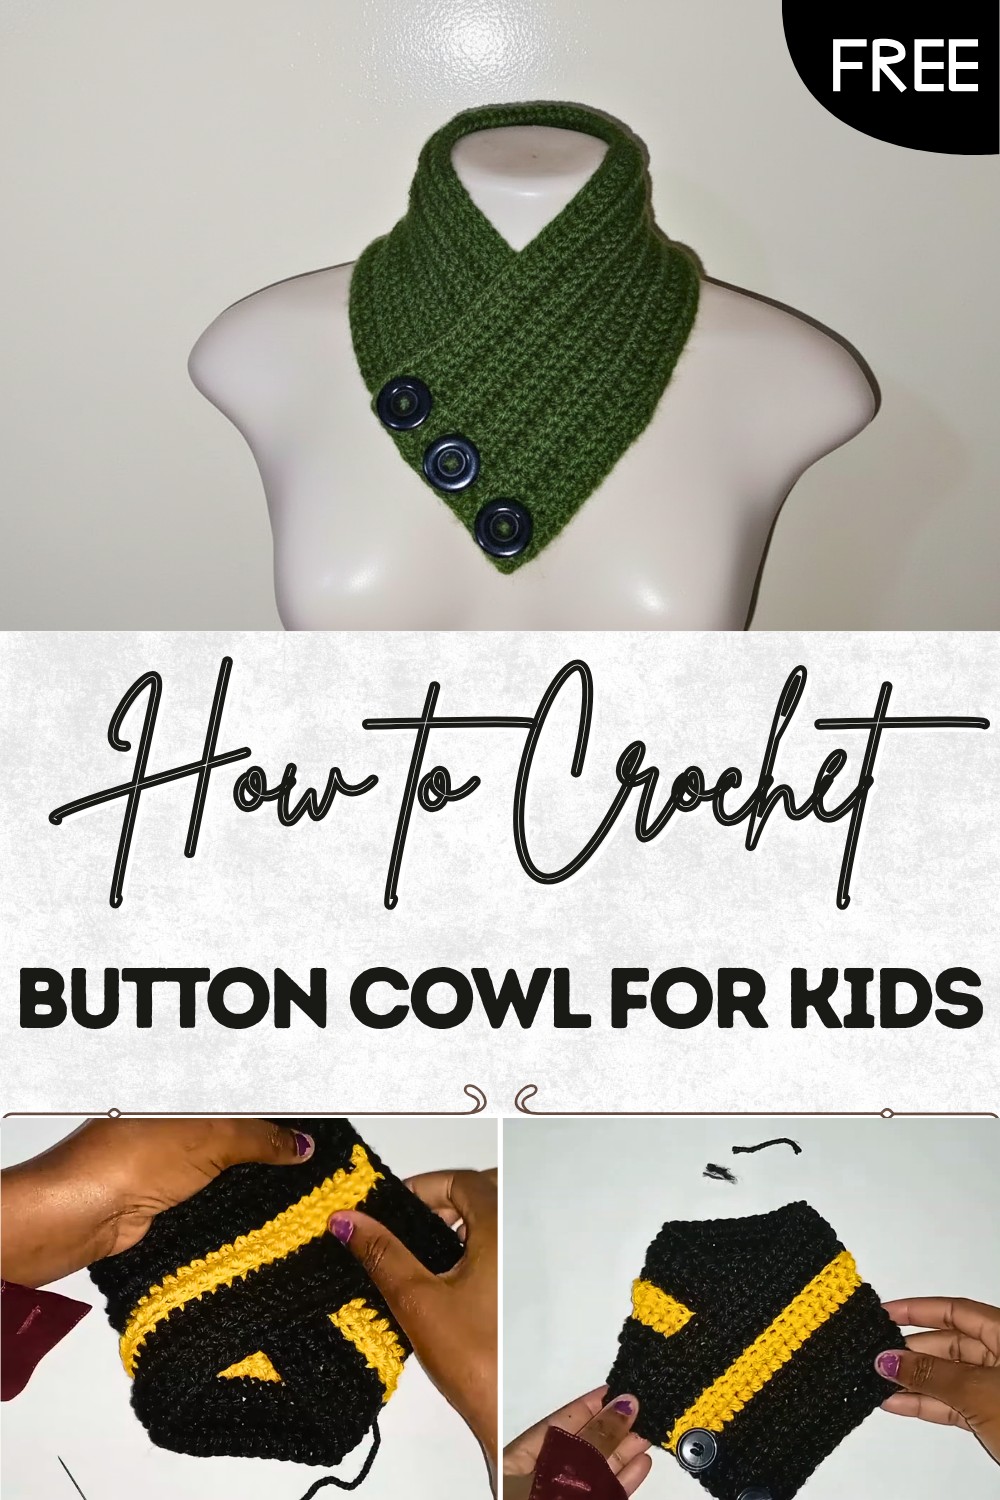
Bright colors and fun button designs bring joy and personality to each piece, making it both functional and delightful to wear. The pattern is simple to follow, so even beginners can complete a beautiful, practical item with ease. Each stitch builds comfort, durability, and charm, resulting in a cowl that children will love. This small but thoughtful accessory combines warmth, style, and creativity, giving every child a cheerful and cozy addition that is as attractive as it is useful.

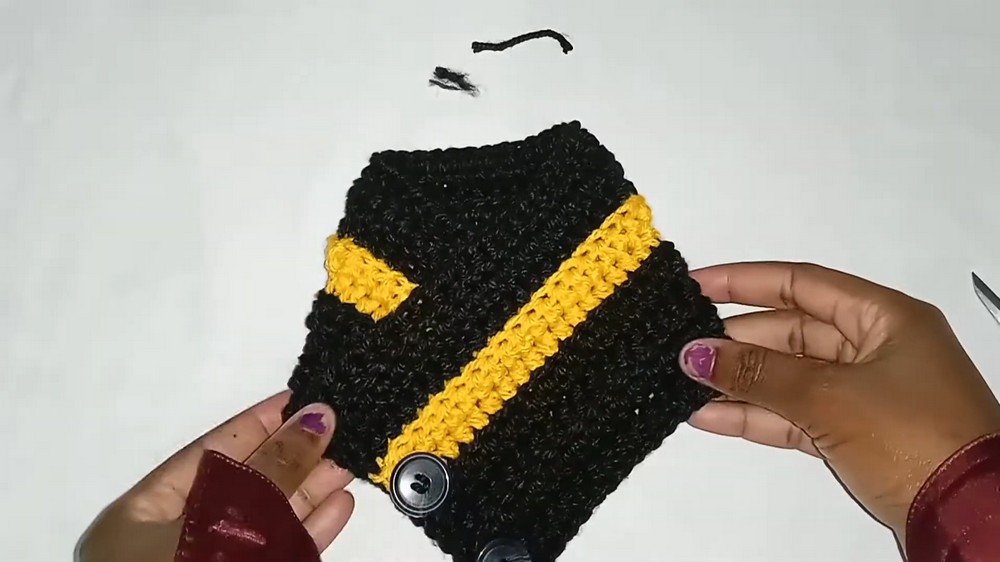
Crochet Baby Cowl with Buttons
Materials
- Yarn: Chunky (bulky) weight yarn (main color), plus leftover yarn if desired for color changes.
- Hook: 5.5 mm crochet hook.
- Buttons: 3 medium-large buttons.
- Sewing needle & thread (for sewing on buttons).
- Yarn needle (for weaving in ends).
- Scissors.
- Measuring tape (optional, for checking finished size).
Key Abbreviations
| Abbreviation | Stitch |
|---|---|
| ch | chain |
| st(s) | stitch(es) |
| hdc | half double crochet |
| sl st | slip stitch |
| sc | single crochet |
| BLO | back loop only |
| rep | repeat |
Special Notes
- The cowl is worked flat in rows, then finished with buttonholes and buttons.
- Back loop only (BLO) half double crochet is used after the first row for extra stretch and ribbing effect.
- Color changes are optional; instructions included for handling yarn changes.
- Buttonholes are made on designated rows; buttons are sewn on the opposite edge.
- The written pattern is designed for roughly a 3-year-old, but size is adjustable by changing foundation chain length.
- The cowl is reversible.
Pattern Instructions
1. Foundation & First Row
- Make a slip knot.
- Ch 56 (Adjust as needed for desired starting length; 56 ch measures ~18.5″ unstretched for a 3-year-old).
- Row 1:
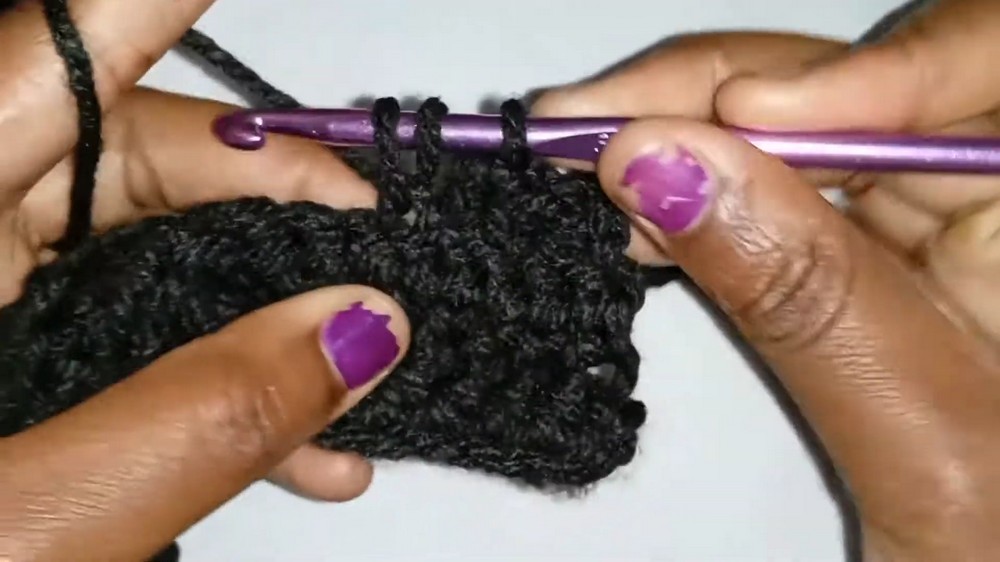
- Yarn over, hdc in the 3rd ch from hook, and in every ch across.
- Turn work.
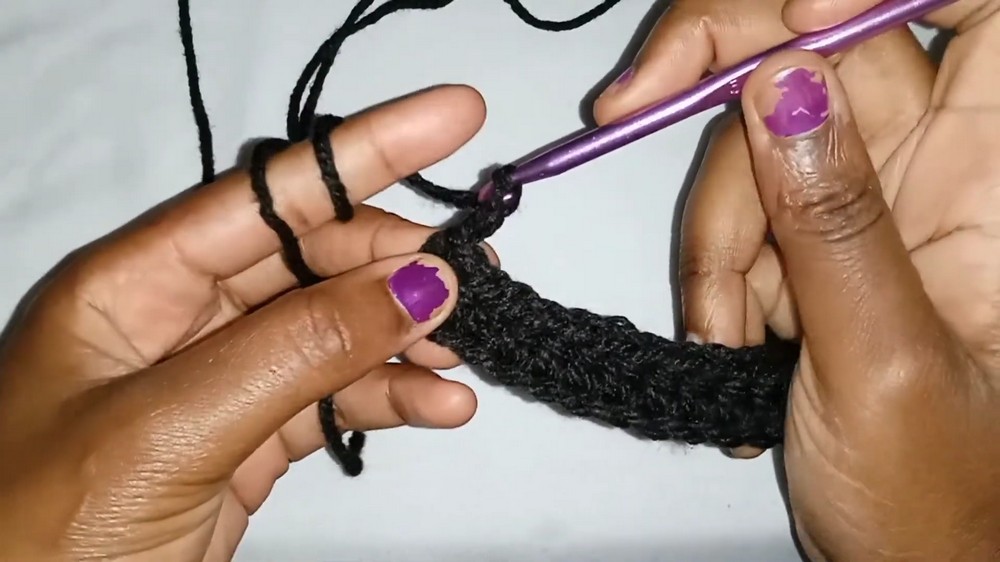
2. Begin Ribbing
- Row 2:
- Ch 2 (counts as first hdc throughout).
- Yarn over, hdc in BLO of the second st from hook and each st to end.
- Turn.
- Row 3:
- Ch 2, skip first st, hdc in BLO in each st to end.
- Turn.
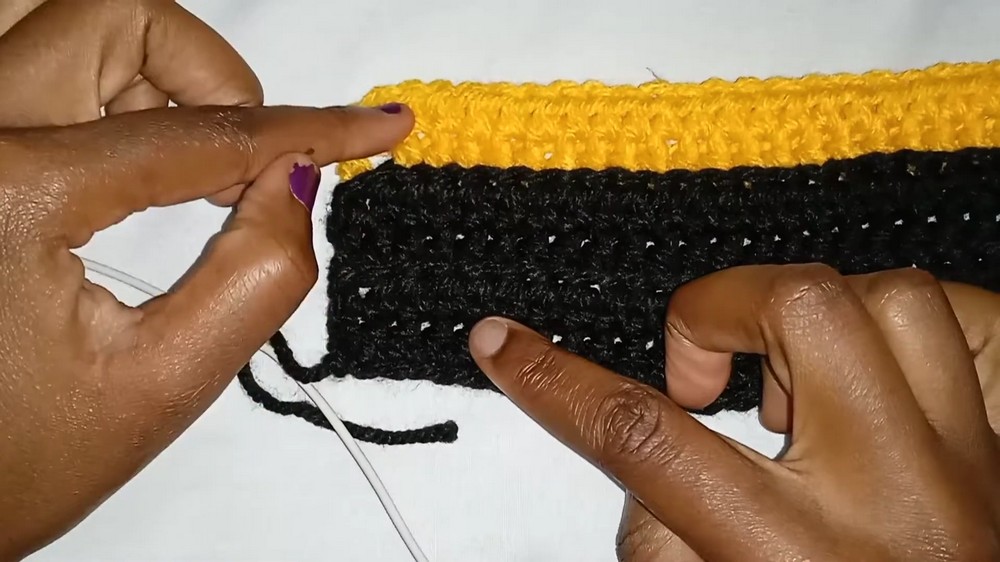
3. Color Changes (Optional)
- To change color:
- On the very last hdc of the row, insert hook into BLO, yarn over with old color, pull up a loop.
- Drop old color, make a slip knot with new yarn, insert on hook, pull new color through all loops.
- Continue with new color.
- Secure and weave in loose ends as you go.
4. Buttonhole Row
- Buttonhole Row:
- Ch 2, turn.
- Hdc in BLO until 2 sts remain at row end.
- Ch 1, skip next st, hdc BLO in last st.
- This makes a hole for your button.
5. More Rows and Second Buttonhole
- Work next row as follows:
- Ch 2, turn.
- Skip first st, hdc BLO across, making sure to hdc in the ch-1 space (from buttonhole) to keep the edge even.
- Continue until end of row.
- Continue ribbing rows (as in Rows 3–4), changing color as desired.
- After 3 more rows, work another buttonhole row as in Step 6.
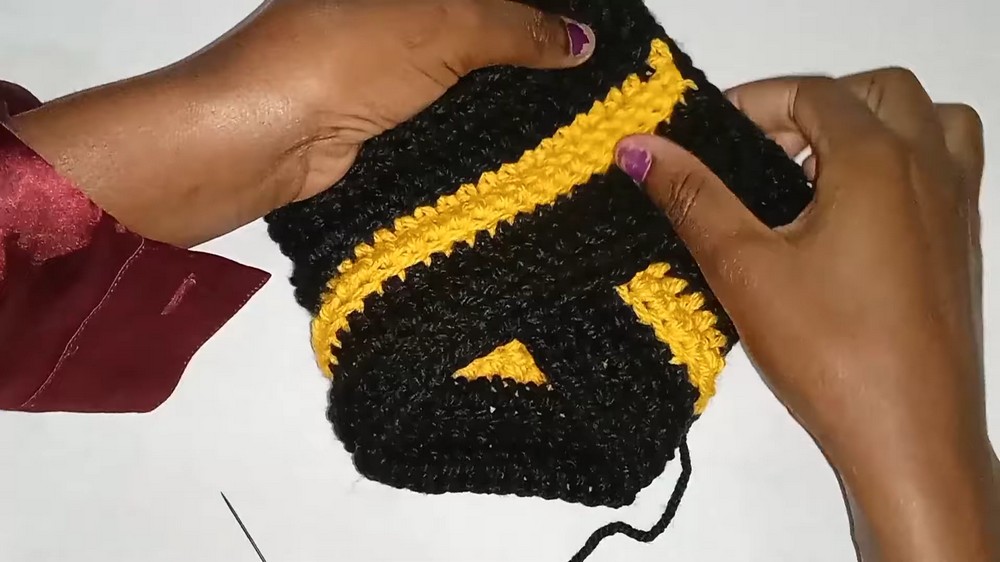
- Continue in ribbing until you have a size that fits as a snug cowl around the child’s neck (about 17″ after slight shrinkage and blocking for a 3-year-old).
- The cowl sample shown is approximately 4″ wide and 17″ long after finishing.
6. Fasten Off and Seam
- Ch 1, cut yarn and fasten off.
- Weave in all loose ends with yarn needle.
7. Edge Tidy-Up (Optional)
- To neaten an edge with many yarn ends:
- Attach yarn at one end with a slip knot.
- Insert hook into edge, yarn over, pull through, ch 1.
- Sc evenly along the edge, working over and hiding all the yarn ends as you go.
- Continue to end; ch 1, fasten off, and weave in tail.
8. Button Placement & Sewing
- Lay cowl flat.
- On the edge opposite the buttonholes, align buttons directly below buttonhole spaces.
- Sew buttons securely to the cowl with needle and thread.
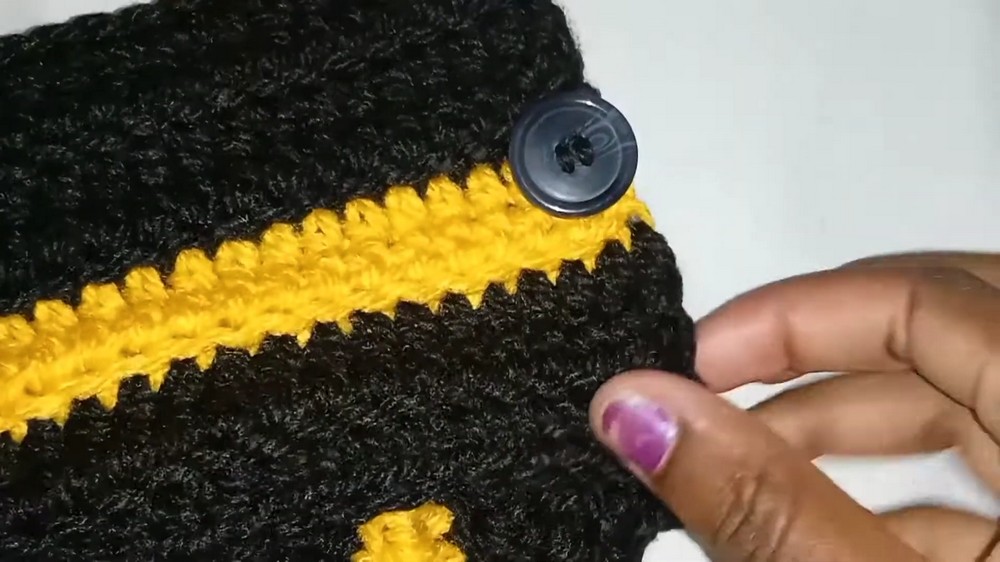
- Sew through both yarn and buttonholes.
- Pass needle under stitches twice for durability before fastening off.
Conclusion
You have now completed a soft, ribbed baby cowl with button closure—ideal for children and easy to customize with color combinations or yarn thickness. The buttons provide a secure but easy-on/easy-off closure for little ones.
Pattern Corrections & Tips
- Correction: Remember to make the first buttonhole at the end of the FIRST row if you want all buttonholes equally spaced.
- Tip: Use larger buttons for easier fastening by small hands; test buttonhole size before finishing.
- Tip: The ribbed stitch (BLO hdc) creates stretchiness and allows for a snug or loose fit.
- Tip: You can make the cowl wider (add rows) or longer (add chains at start) for other age groups.
- Tip: Weave in ends thoroughly, especially if using many color changes.