Easy Free Crochet Crop Cardigan Pattern – Adjustable Mesh Squares

Refresh your wardrobe with this free crochet crop cardigan pattern, a stylish and versatile design perfect for layering throughout the seasons.
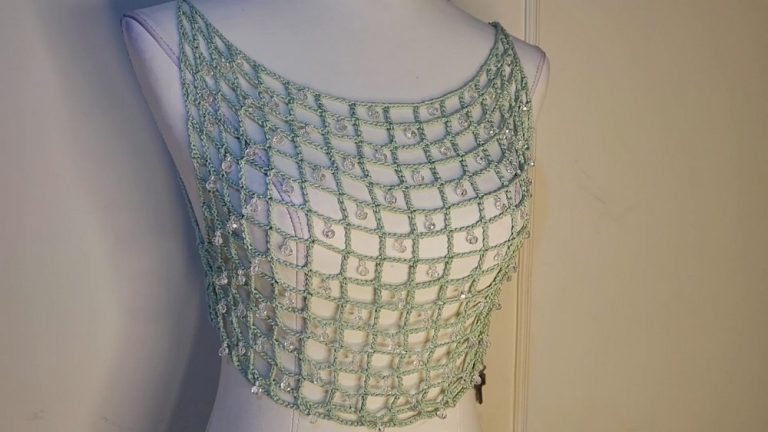
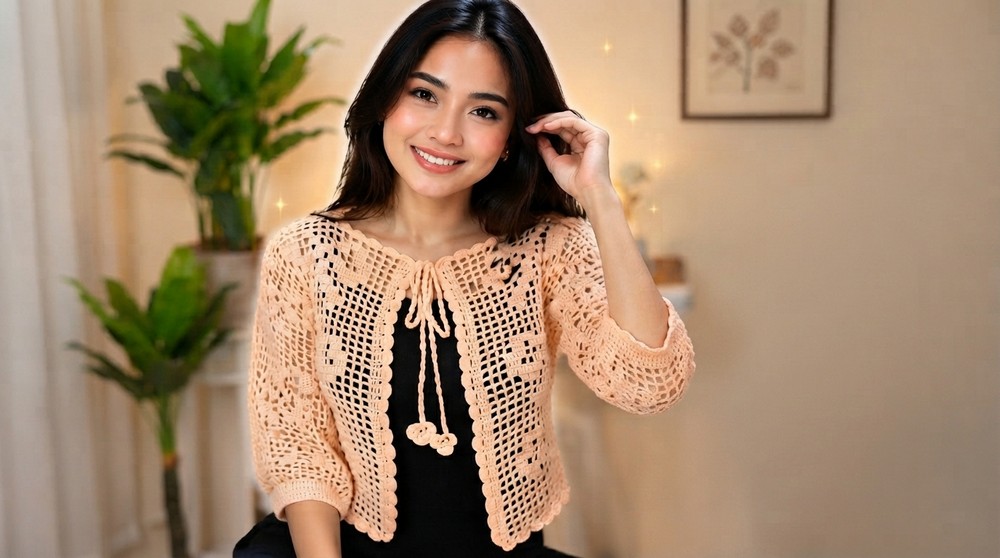
Many people love wearing stylish and comfortable clothing, especially pieces that are light and perfect for warmer days. The free crochet crop cardigan pattern from Ler Crochet is a wonderful example of this. This cardigan has a fresh and modern look, making it a great addition to any wardrobe. It’s made with delicate mesh squares and double crochet stitches, giving it a breathable texture that keeps you cool while looking elegant.
Adorable Free Crochet Crop Cardigan Pattern | Eyelet Design
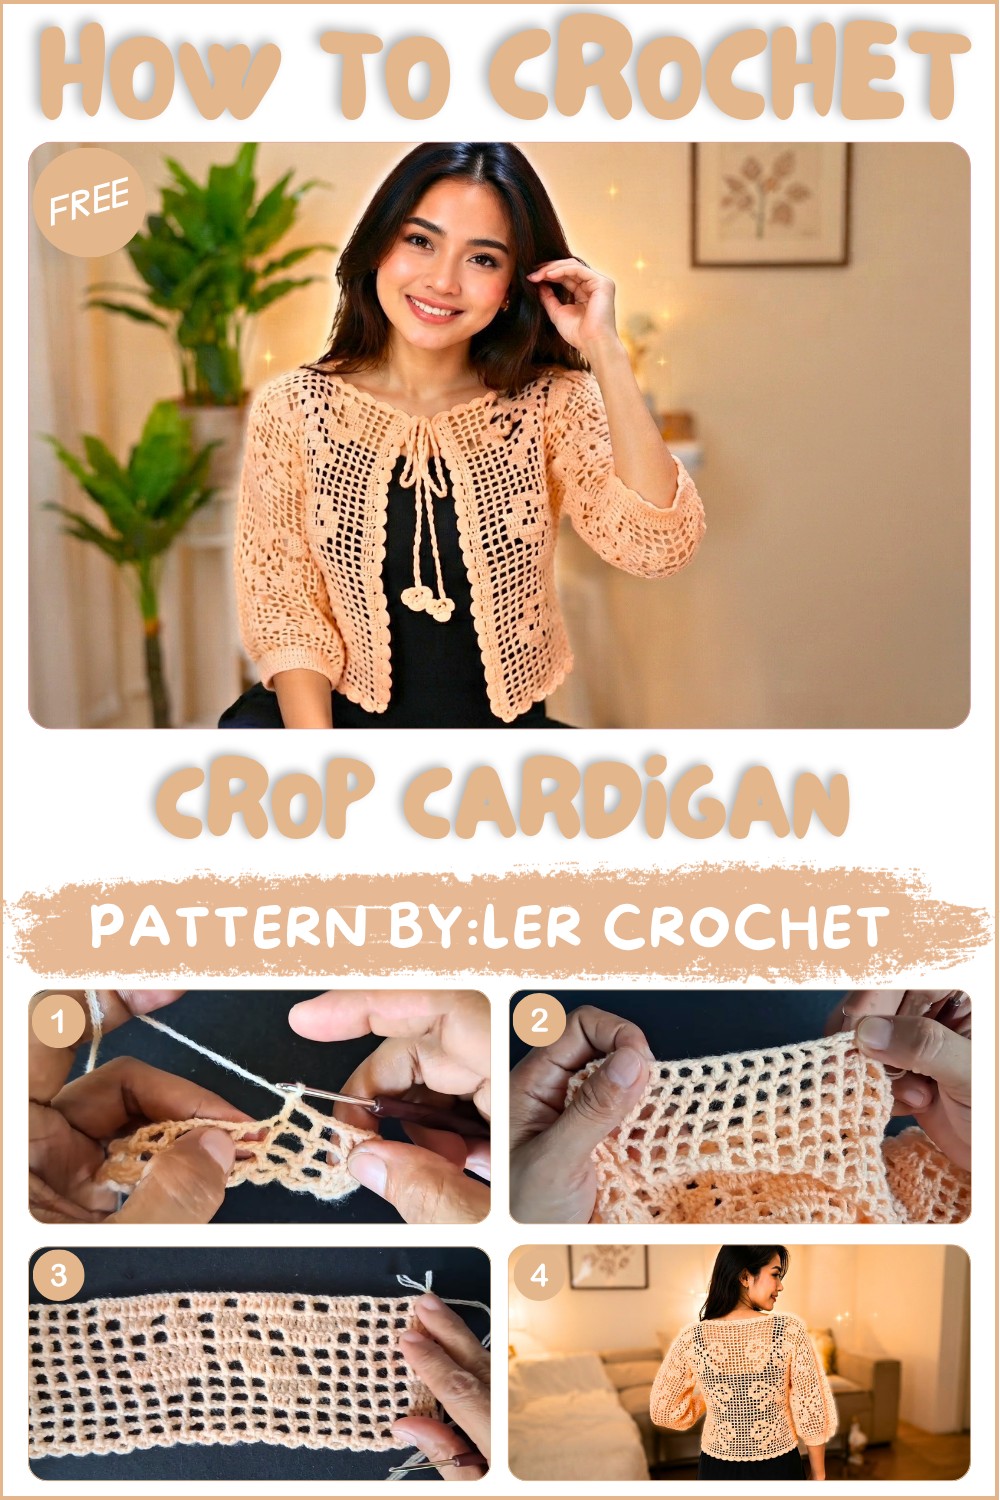
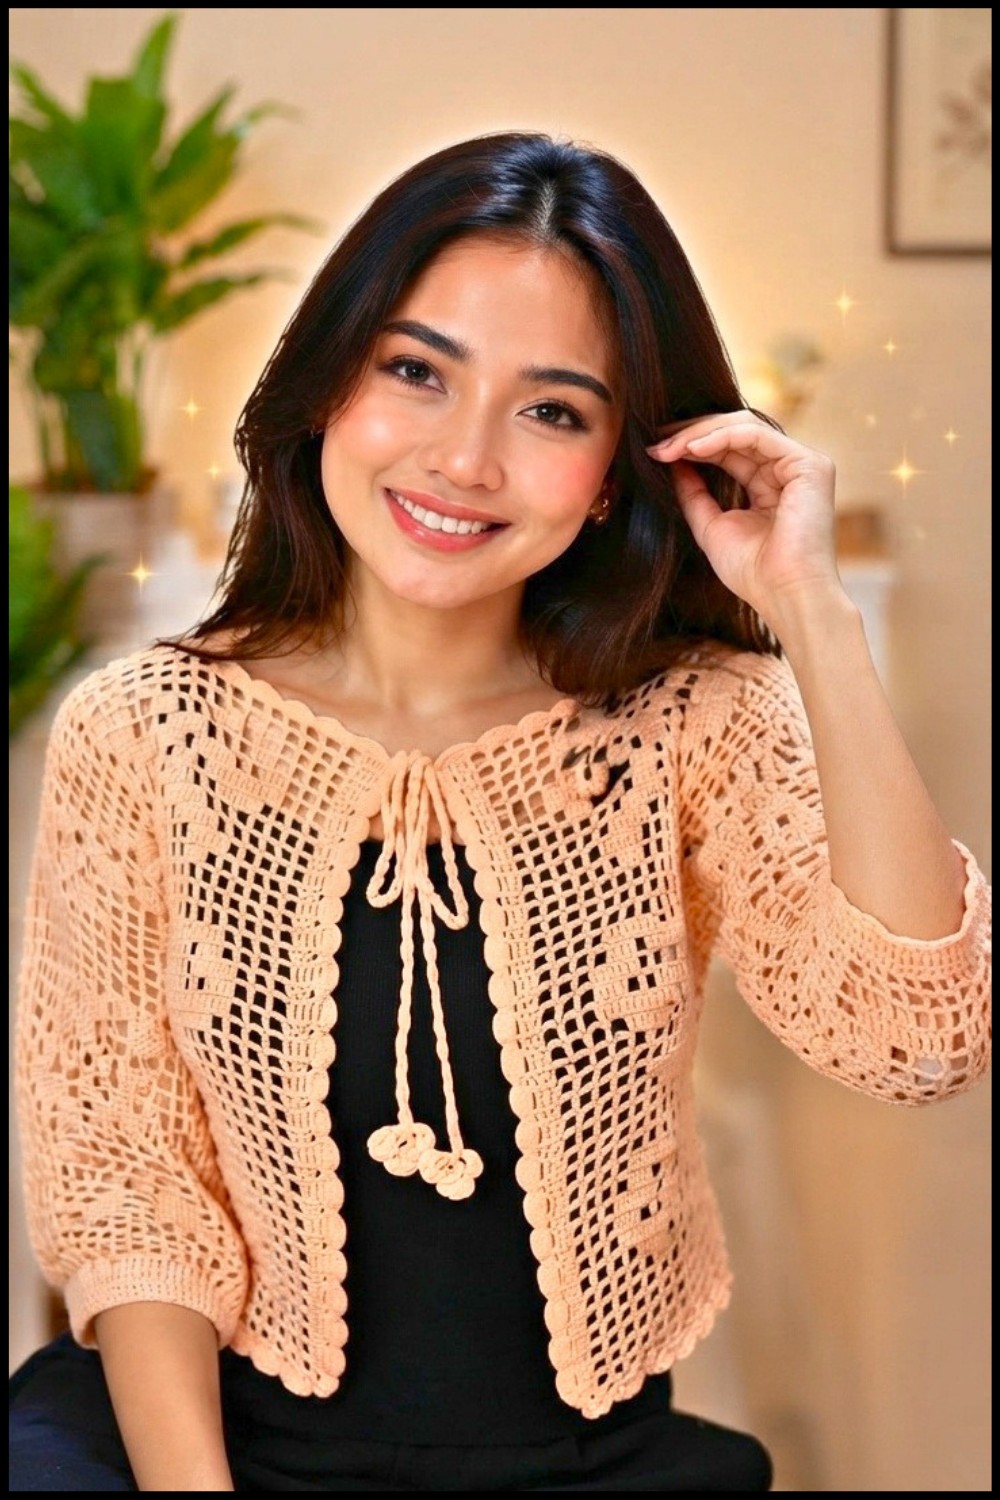
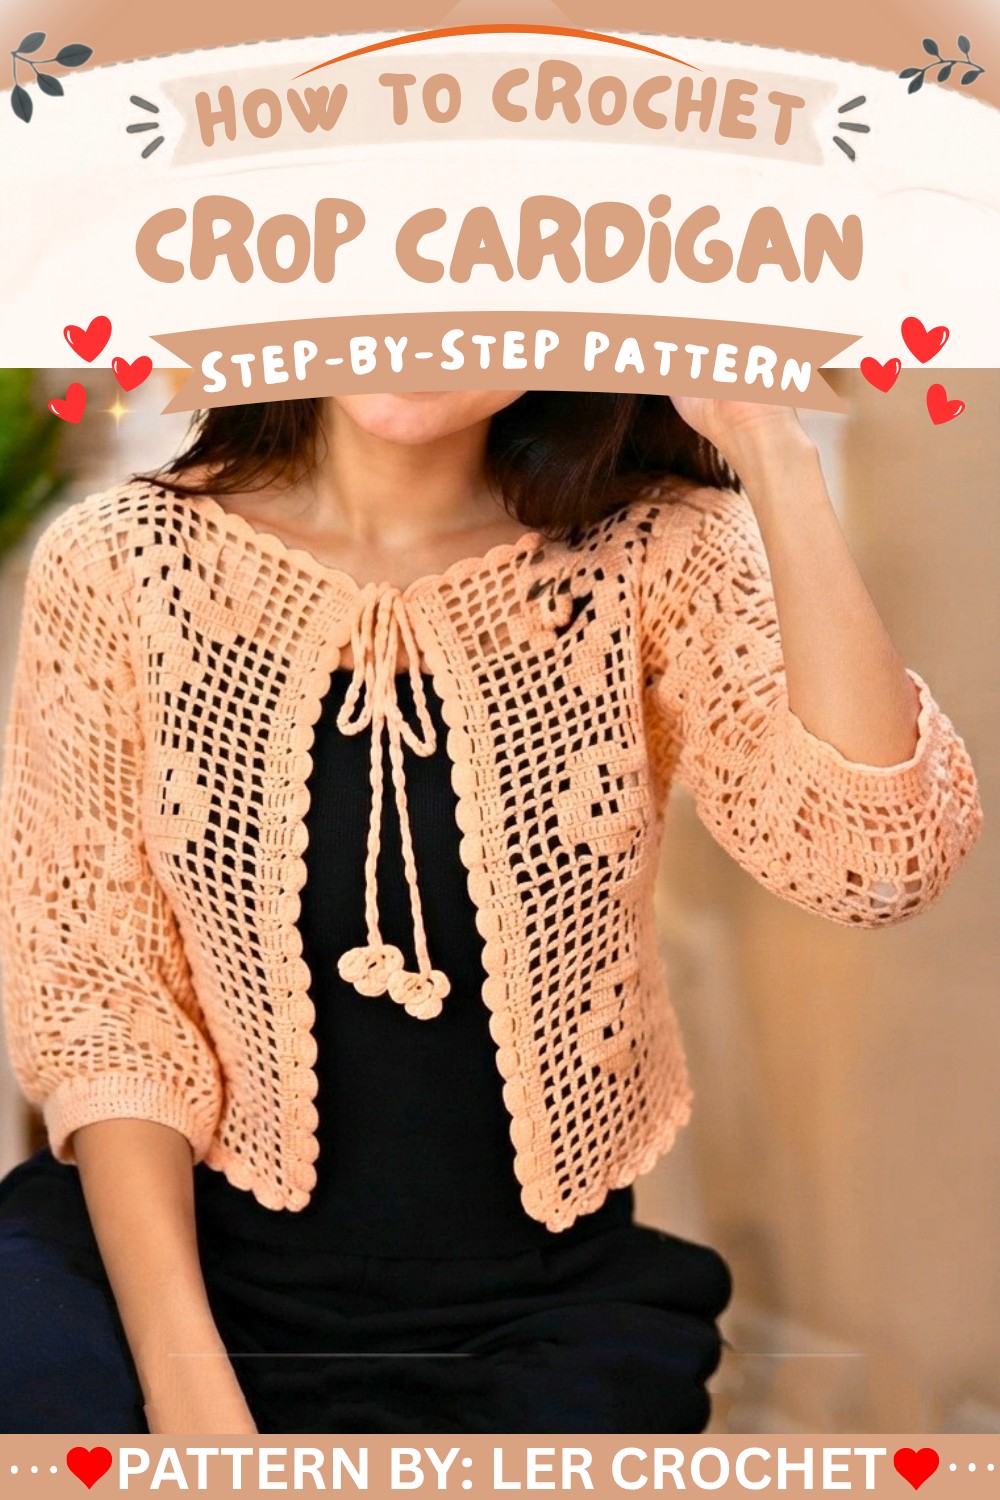
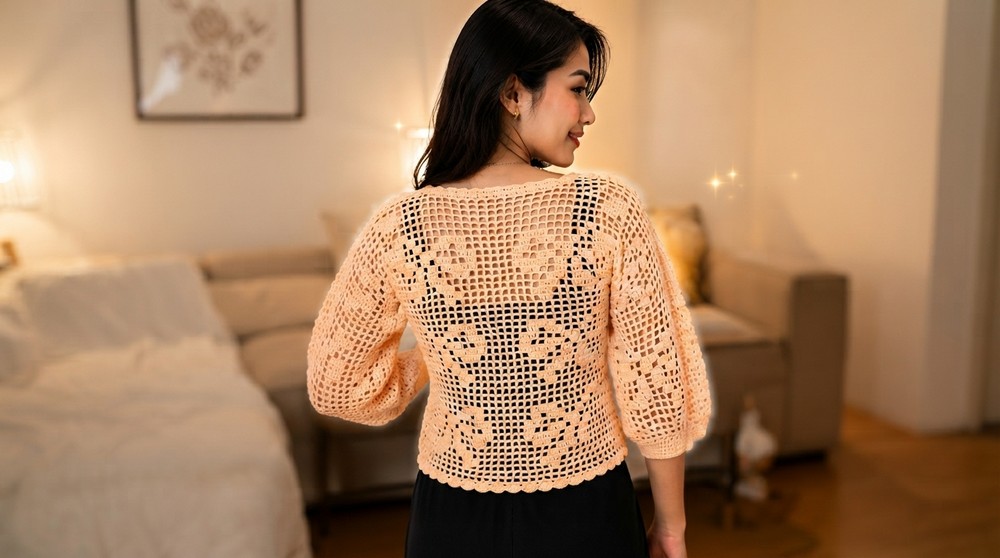
The design features a cropped shape that falls just above the waist, flattering different body types. The open mesh pattern creates a lacy, airy feel that’s perfect for layering over tank tops, dresses, or t-shirts. Its lightweight yarn and medium stitch tension make the cardigan comfortable to wear without feeling bulky. Beautiful details like the scalloped border and decorative ties add charm and grace to the overall look.
This cardigan is very versatile and can be worn in many ways. You can dress it up for a casual outing or wear it at home as a cozy cover-up. It’s perfect for spring and summer when you want something light but still stylish. You can also choose your favorite yarn colors to match your style or mix shades for a unique look.
Ideal for crocheters who know basic stitches such as chains, double crochet, and mesh patterns, this project requires some experience but is still beginner-friendly thanks to clear instructions. It’s great for those who want to create fashionable, wearable pieces that are both easy and satisfying to make.
Crochet Cardigan Pattern
This cardigan is constructed in panels with mesh (eyelet) repeating patterns and classic filet crochet techniques. Armholes and sleeves are shaped and joined to provide structure, while decorative borders and tie closures add elegant finishing touches. The project is adaptable and can be made to fit larger sizes simply by increasing the foundation eyelets and extending pattern repeats.
Pattern Basic Points
Key Construction Elements
- Worked in modular panels for front and back, joined at the armholes
- Mesh square (eyelet) pattern used for breathable, lightweight fabric
- Border and tie closure for added detail and finish
- Sizing easily adjustable with multiples of eyelets
Sizing & Adjustments
- Foundation chain: multiples of 32 plus 4 eyelets
- Add multiples of 32 eyelets for each size increase
Structural Details
- Panels connected to form armholes
- Sleeves formed in rounds from armhole openings
- Finished with decorative border and tie
Special Notes
- Use stitch markers for accurate panel, armhole, and join placement
- Maintain consistent tension to ensure mesh squares are uniform
- For larger sizing, simply repeat mesh square rows/stitches as pattern notes
Skill Level
Beginner to Intermediate
Materials
- Yarn: 200 grams, three-ply indiful yarn
- Hook: 2.5 mm crochet hook
- Tools: Scissors, tapestry needle, stitch markers
Measurements / Sizing
- Finished cardigan: 85 cm length, 40 cm width, 37 cm shoulder width
- Adjustable by eyelet increments
Gauge & Stitch Pattern
- Mesh square: [ch 2, dc], repeat
- 10 mesh squares ≈ 15 cm (exact gauge may vary)
Stitch Abbreviations
- ch – chain
- dc – double crochet
- sc – single crochet
- slst – slip stitch
- sp – space
- st(s) – stitch(es)
Special Stitches
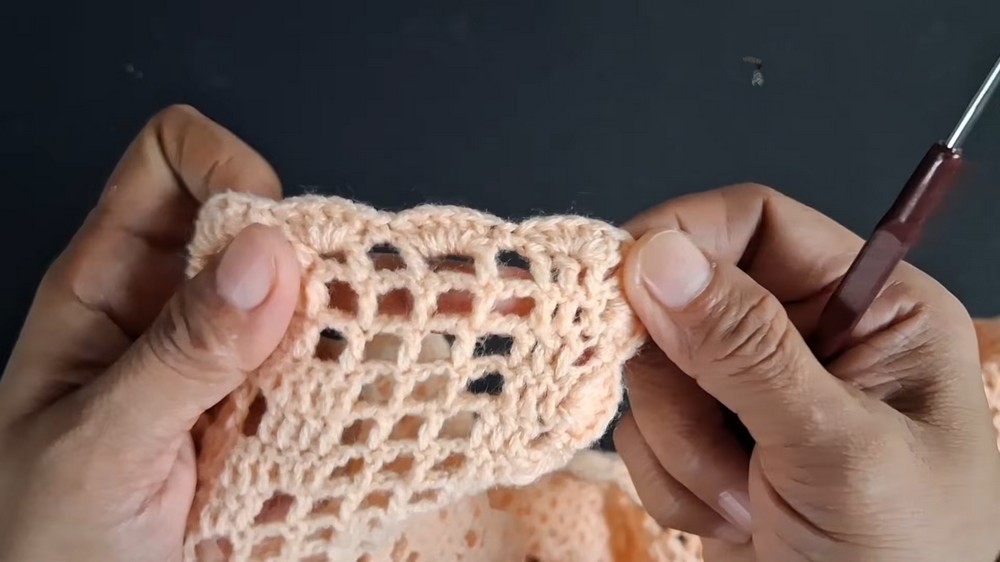
- Mesh Square (Eyelet): [ch 2, dc in next space]
- Cluster: Series of dc, worked in edges and border
- Border Decor: [5 dc in eyelet, sc in next]
Assembly & Finished Size
- Panels joined at armholes and sides
- Sleeves worked from armholes in rounds
- Border and ties added for professional finish
- Fits most standard sizes; easily adjustable for larger fits
Pattern Instructions
Foundation Eyelets
- Chain 3, 1 dc. Chain 3, 1 dc.
- Repeat: Continue chaining 3, 1 dc to create 68 eyelets for standard size.
- For larger sizes: Add multiples of 32 eyelets.
Main Panel
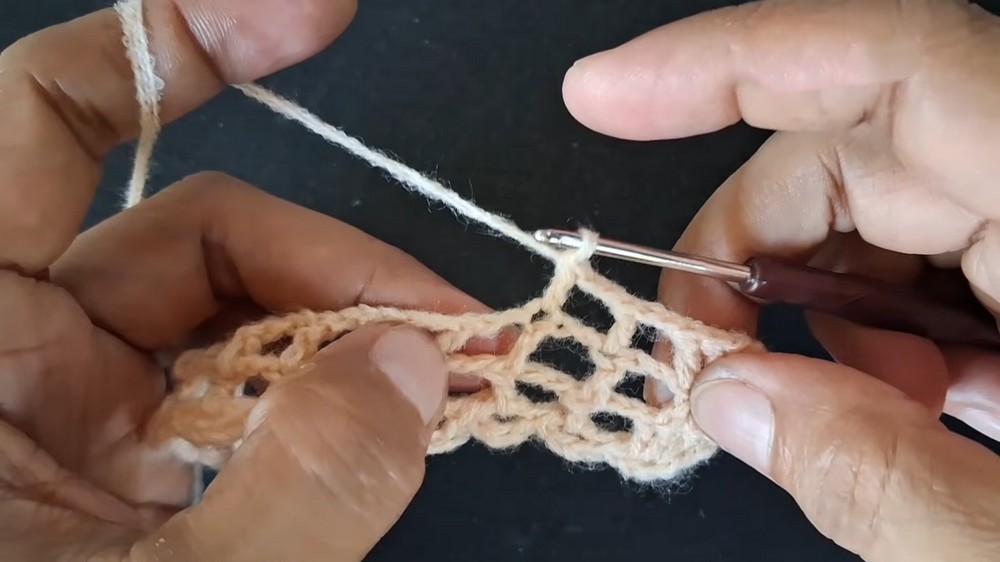
Row 1
- Ch 3
- 3 dc
- [Ch 2, 1 dc], repeat across each eyelet
- 3 dc at row end
Row 2
- Ch 3, turn
- 3 dc
- [Ch 2, 1 dc], repeat until row end
- 4 dc to finish
Rows 3–6
- Repeat Row 2: Creating mesh squares throughout
- Make 6 mesh rows
Panel Structure Sequences:
- Next Row: 20 mesh squares, 3 dc
- Next Row: 11 mesh squares, 3 dc
- Next Row: 20 mesh squares, 3 dc
- Next Row: 6 mesh squares, 3 dc
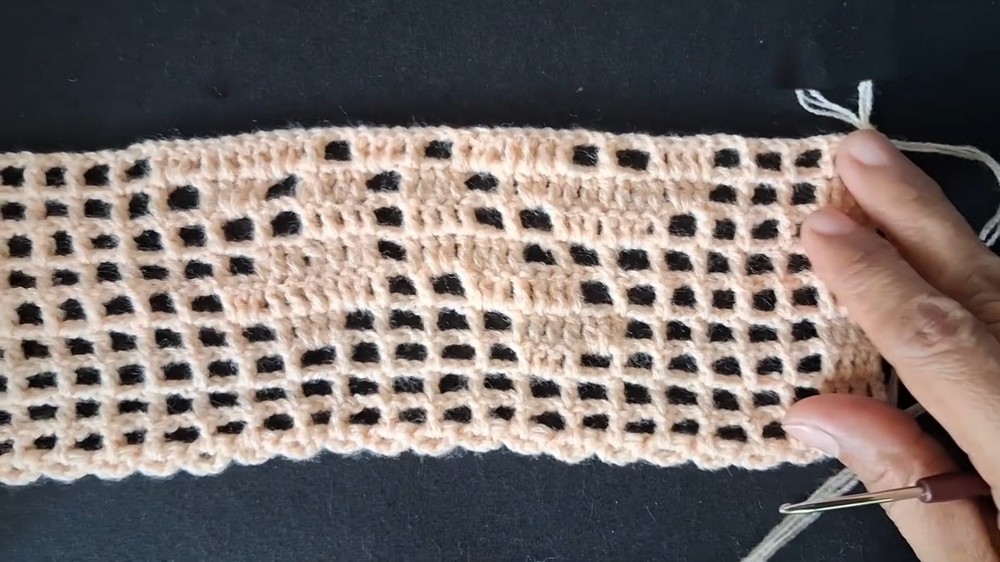
Both sides: Ensure match in stitch count for symmetry
Successive Mesh & Shaping Rows
- Repeat mesh square sequences: [ch 2, dc], maintaining clusters at ends
- Rows 14 & 15: Work 2 mesh rows each
Armhole & Marker Placement
- Place stitch markers for shaping as described
- Continue mesh rows up to marker and stop
- Chain 3 plus 2, turn at armhole edge
Work 11 rows mesh pattern for armhole section
- Place markers after last mesh row
Next:
- Make 8 mesh squares each row
- Work 6 rows for armhole
- For larger armholes, repeat mesh rows
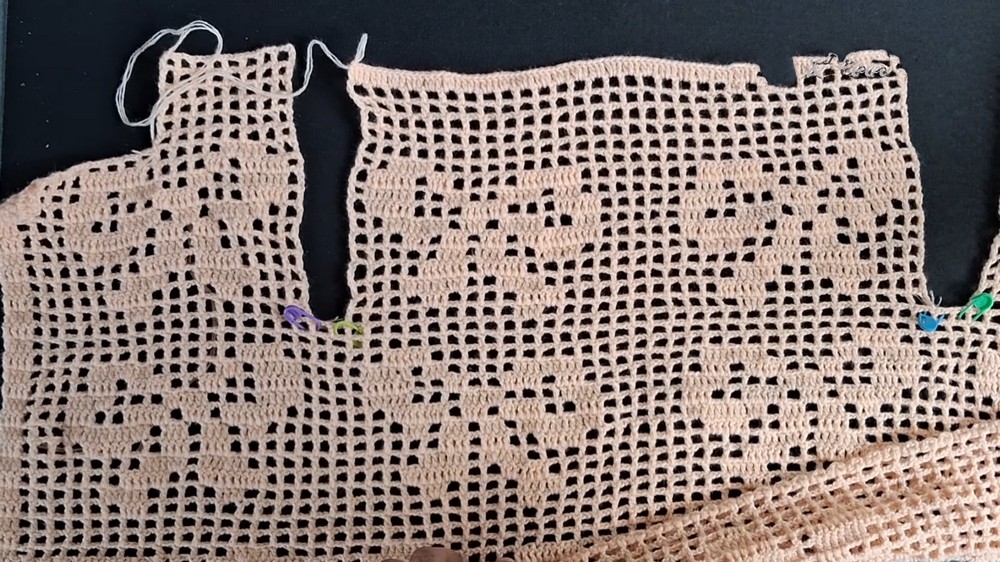
Repeat process on both sides
Back Panel
From marker to marker:
- Repeat mesh square pattern
- Make 5 rows mesh squares
After 5 rows:
- 1 dc in each stitch
For larger sizes: Repeat mesh rows as needed
Joining Armholes
- Ch 3, turn
- Insert hook in third chain
- Join with slst
- 1 dc in next stitch, join with slst
- Repeat for full armhole
After joining: Work 1 dc in each stitch along edge
Second Armhole
- Count 8 eyelets from left, place marker
- Join two sections for second armhole
- 1 dc in each st to marker
- Slst to join; repeat for all stitches
Sleeves
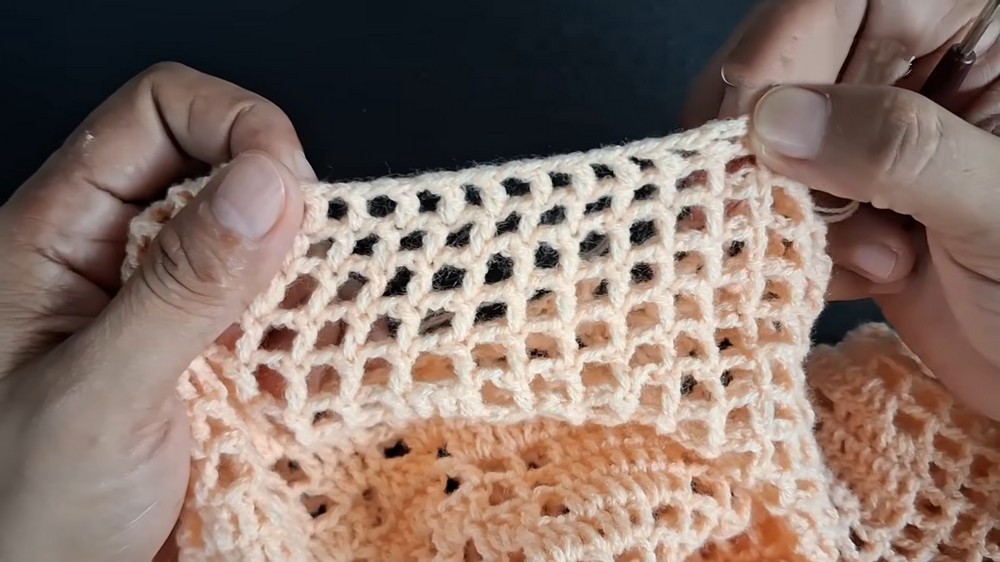
- Insert hook at armhole, ch 3 plus 2
- Make mesh squares in rounds
- Ch 2, slst in third chain to close round
- Repeat for next round
Sleeve Sequence:
- 4 mesh squares
- 6 dc
- 16 mesh squares
- 6 dc
- 11 mesh squares
Ch 2, slst in third chain
From top to bottom: Work 2 mesh square rounds
For sleeve finishing:
- Ch 3 plus 1
- 1 dc, ch 1, 1 dc, repeat for round
- Ch 1, slst in third chain
- Work 3 rounds dc/mesh
- Final round: 1 sc in each st
Border
- Insert hook at starting edge, ch 1
- 5 dc in each eyelet
- 1 sc in next eyelet
- Repeat across row
- Continue with 5 dc, 1 sc for all sides
Tie Closure
- Insert hook where desired
- Ch 3, 1 dc in same space
- Work eyelets for length needed
- 1 sc in third eyelet, turn
- 7 dc in next eyelet
- 1 sc in next eyelet
- 7 dc, 1 sc, repeat for tie length
- Ch 2, cut yarn
Conclusion
This mesh-stitch cardigan combines simplicity and elegance, with clear panels, easy sizing adjustment, and refined finishing that suits both casual and formal wear. Adapt the pattern for any size, and enjoy the structured yet airy feel of filet crochet, highlighted by bold borders and beautiful tie closures. The result is a versatile garment, ready to enhance your handmade wardrobe with texture and flair.