Collared Top Free Crochet Pattern for Everyday Wear

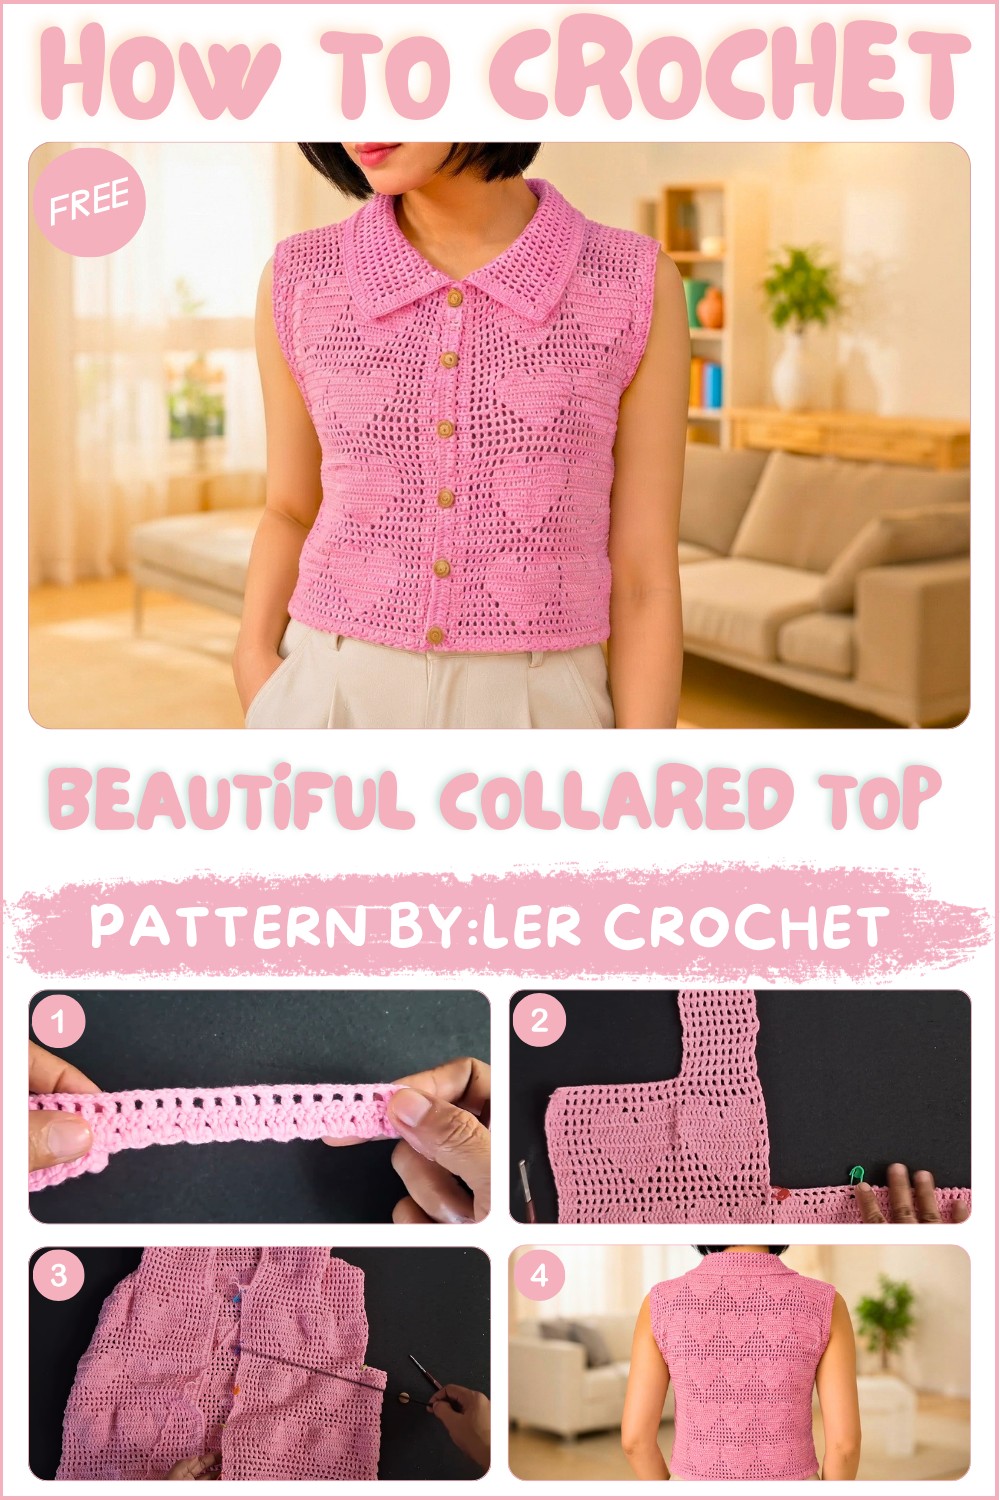
I can easily see this top becoming one of those pieces you reach for again and again. It can go with jeans on a normal day, a skirt for a cute outfit, or loose pants for a more relaxed look. It can also work as a light layer over another top. The simple style makes it easy to change the look with shoes, a bag, or a favorite necklace.
The project is also a nice chance to turn crochet time into something useful. Instead of making an item that stays on a shelf, you finish with clothing that can become part of your regular wardrobe. A beginner who feels ready to try a wearable project can enjoy the experience, while an experienced crocheter can change the length, color, or small details.
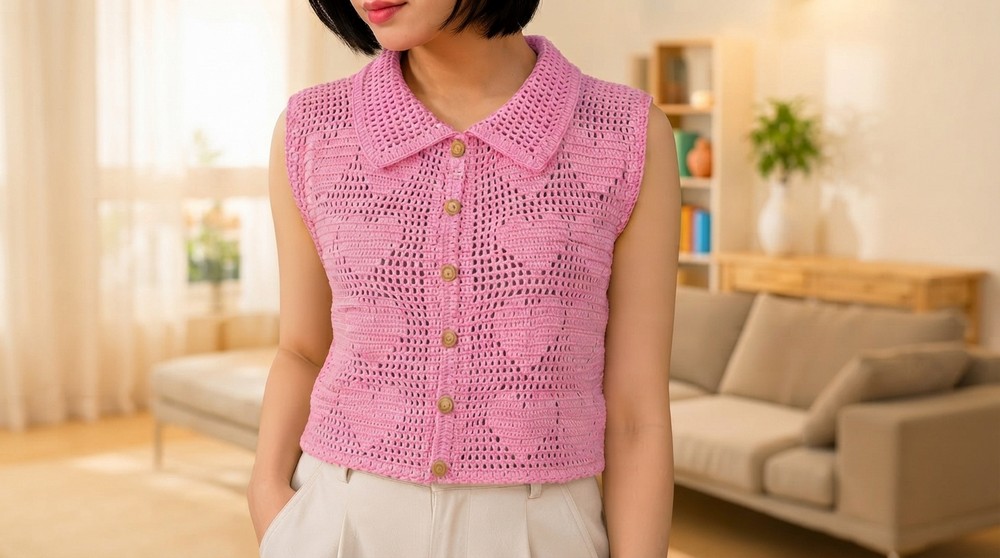
A handmade collared top would also be a thoughtful present for someone who loves unique clothing. It can feel more personal because it was made especially for them. If comfortable clothes, simple style, and handmade details are what you enjoy, the Free crochet Collared Top Pattern could be a beautiful project to work on.
Crochet Collared Top Pattern
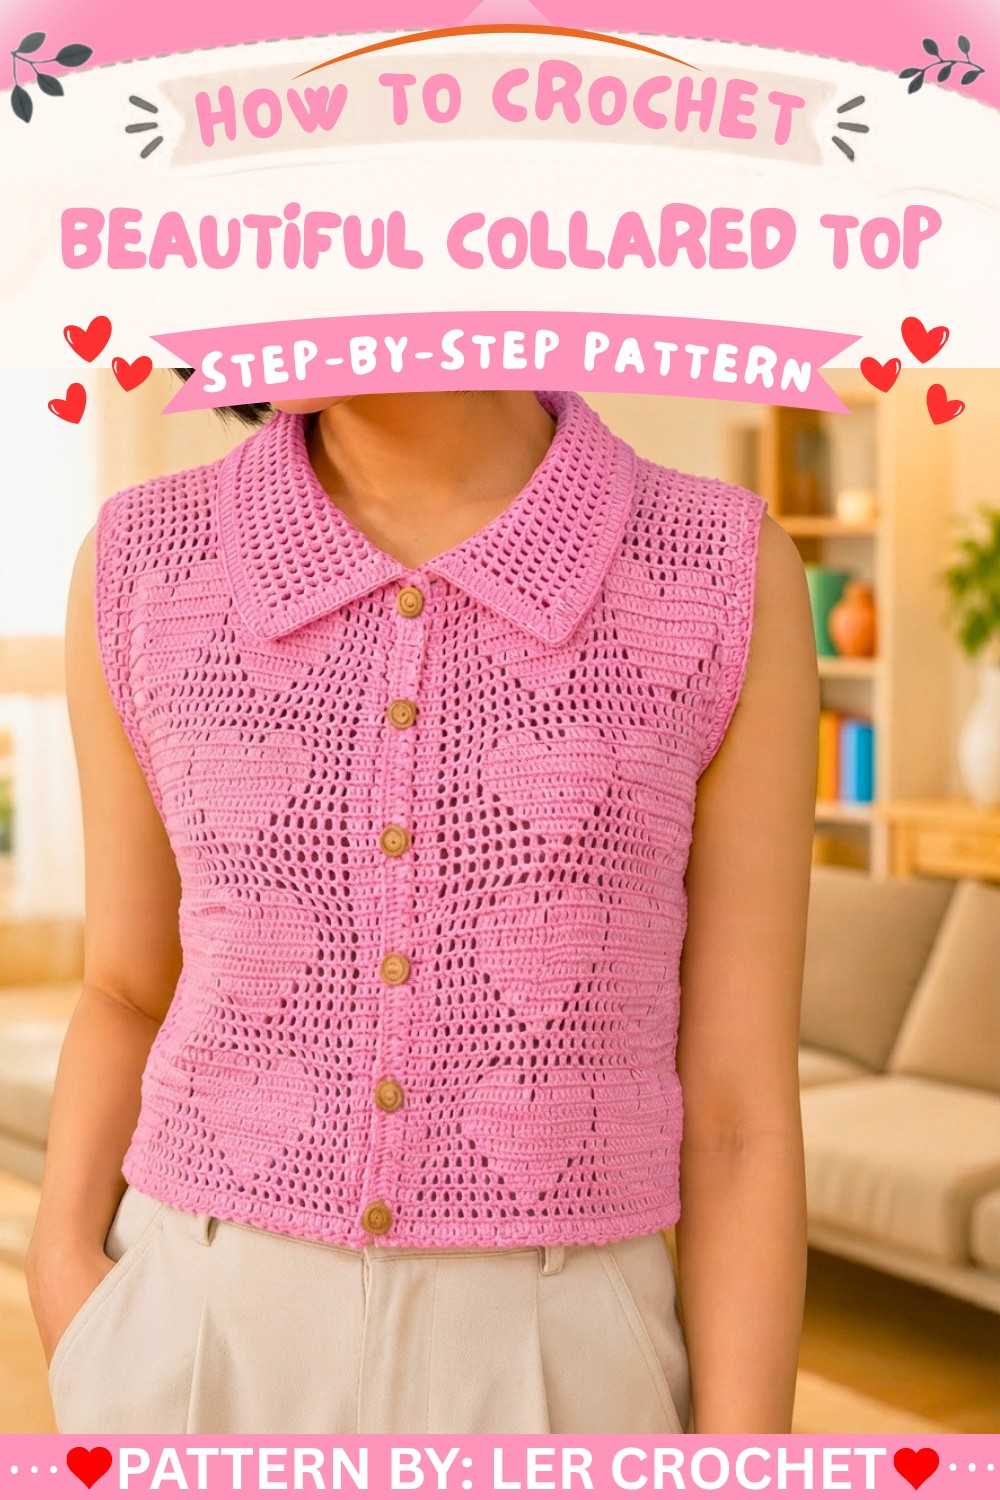
This beautiful crochet collared top is crafted using 4-ply cotton yarn and a 2.5 mm crochet hook, producing a lightweight and breathable garment perfect for warmer weather. The design incorporates a classic mesh or filet crochet pattern enhanced with a heart motif, gradual shaping, a stylish collar, buttonholes, and a finishing edging for a polished look. This detailed step-by-step pattern provides clear instructions from foundation rows through final assembly.
Pattern Highlights
- Foundation: Make a base chain and first rows with 80 eyelets using chains and double crochets.
- Filet Crochet Mesh: Build a delicate open mesh pattern alternating chain 1 spaces and double crochets, maintaining 8 mesh squares at each end for balance.
- Shaping: Reduce or increase mesh squares and double crochet groups over successive rows to form a fitted shape and incorporate a decorative heart motif.
- Body Completion: Work multiple rows to create three visible heart shapes on the fabric, separate sections using stitch markers, join sides with slip stitches.
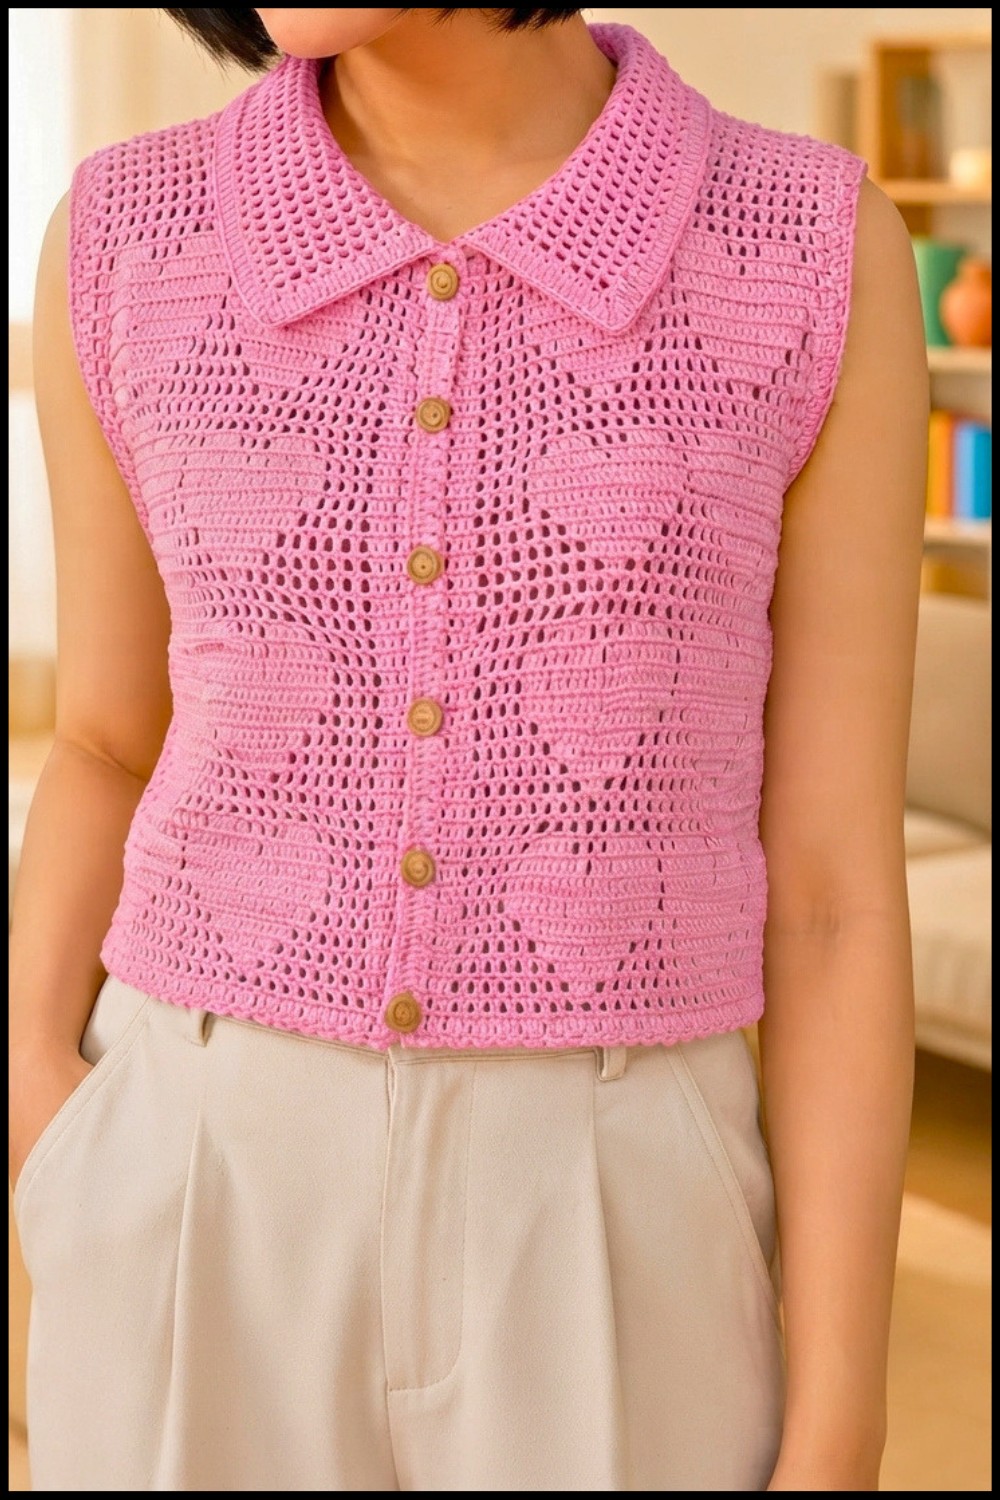
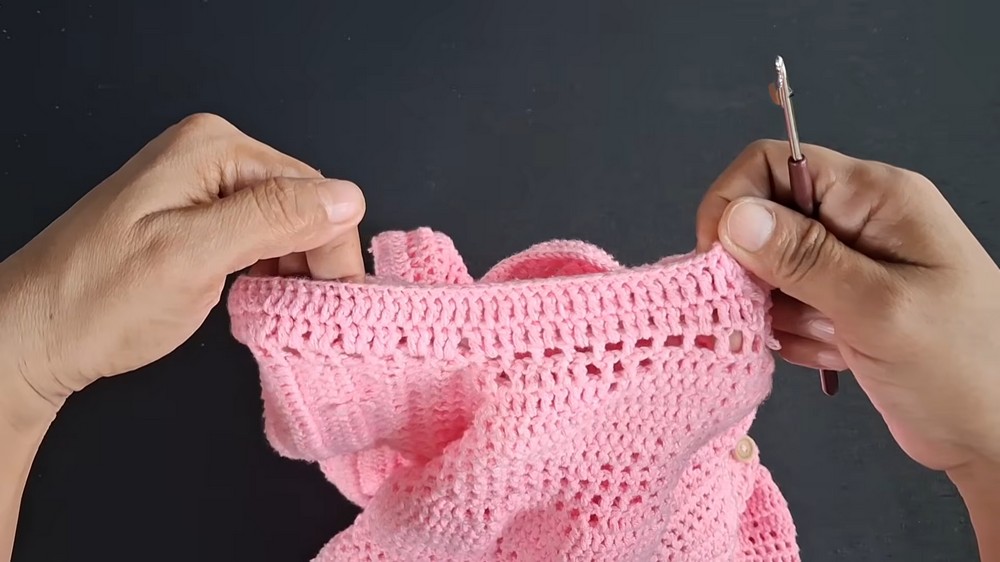
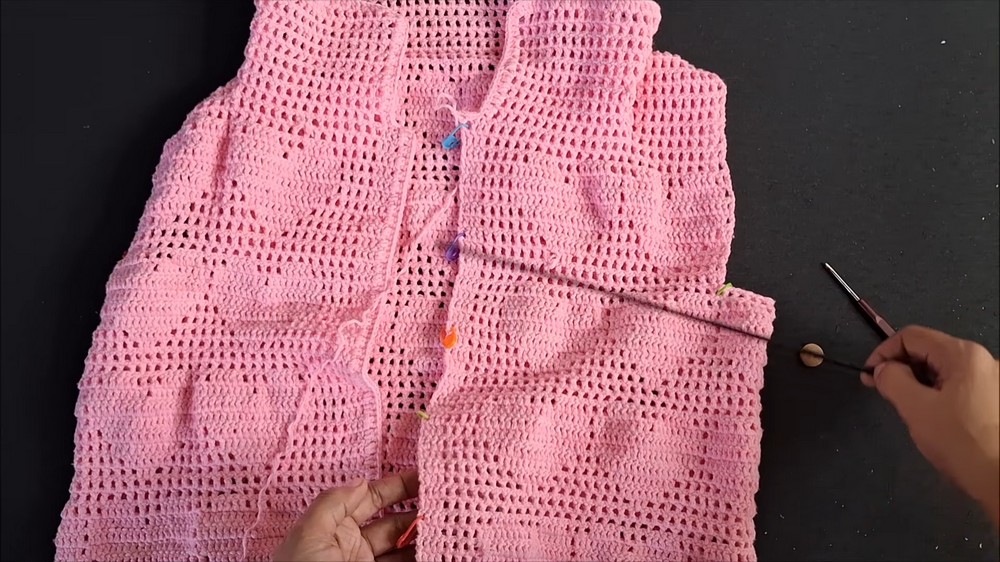
- Collar and Buttonholes: Add a mesh collar along the neckline; establish buttonhole positions every 8th space with stitch markers, and add edges with rounds of double and single crochets.
- Finishing Touch: Sew on buttons at marked positions to complete the look.
Notes
- This pattern uses US crochet terms.
- Maintain consistent tension to preserve the mesh pattern’s openness and overall shape.
- Stitch markers will aid in section delineation and buttonhole positioning.
- The pattern focuses on creating an attractive textured heart motif through mesh squares and dc blocks.
- Adjustment of mesh square counts allows for shape customization.
- The collar is worked separately and added along the neckline for a neat finish.
Skill Level
Intermediate
Comfort with the following is recommended:
- Chain (ch), double crochet (dc), single crochet (sc), slip stitch (sl st).
- Filet crochet mesh work using chain 1 spaces and dc clusters.
- Shaping via stitch count increases and decreases in mesh patterns.
- Working decorative motifs within mesh crochet.
- Joining panels with slip stitches and creating buttonholes.
Materials
- 4-ply cotton yarn (approximate amount as per sizing and preference).
- 2.5 mm crochet hook.
- Stitch markers.
- Yarn needle for weaving in ends.
- Scissors.
- Buttons (as required; number correlates with buttonhole count).
Measurements / Sizing (Optional)
- Base chain with 80 eyelets suitable for a medium/standard size top.
- Adjust sizing by modifying foundation chain and mesh squares proportionally.
- Approximate finished bust and length depend on tension and number of rows worked.
Gauge (and Stitch Pattern)
- Gauge is approximate and depends on individual tension; consistent tension critical to maintain mesh openness.
- Typical gauge in mesh pattern: about 18–20 dc clusters across 10 cm (4 inches).
- The stitch pattern primarily alternates clusters of double crochets and open mesh squares made by chain 1 spaces.
Stitch Abbreviations
| Abbreviation | Meaning |
|---|---|
| ch | chain |
| dc | double crochet |
| sc | single crochet |
| sl st | slip stitch |
Special Stitches
- Mesh Square: Created in the filet crochet style using either:
- Filled square: groups of double crochets, or
- Open square: spaces made by chain 1, skipping a stitch, then a dc in the next.
- Heart Motif: Constructed by varying the number of mesh squares and blocks of double crochets in rows to create a heart shape visually within the mesh pattern.
- Buttonhole: Made by skipping a space or stitch at regular intervals, marked using stitch markers for precision.
The Crochet Pattern
1. Foundation and Base Rows
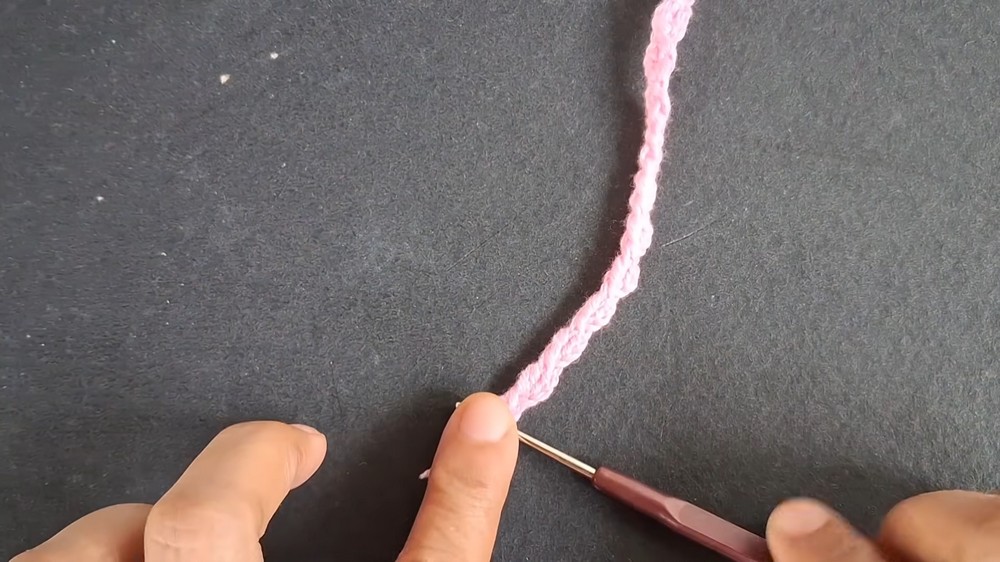
- Chain 3, work 1 double crochet (dc).
- Repeat this sequence across the foundation, forming a total of 80 eyelets. This establishes the base row.
- For the next row, chain 3, then work 2 double crochets into each eyelet space. Work this across the entire row, building a solid and even foundation.
2. Filet Crochet Foundation
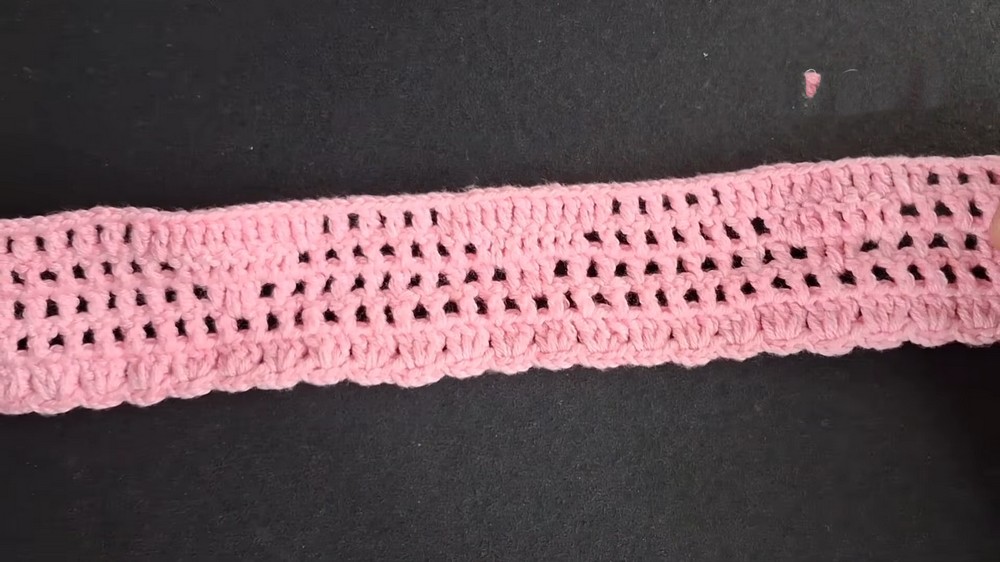
- Begin forming the mesh pattern:
- Chain 3, then work 2 double crochets.
- Chain 1, skip 1 stitch, then 1 double crochet in the next stitch.
- Repeat this opening pattern to create a series of mesh squares.
- Ensure 8 mesh squares are symmetrically placed on each end of the work to maintain structural balance.
3. Shaping the Top
- Shape the body gradually by modifying mesh squares and solid dc blocks:
- Work a row with 7 mesh squares and 6 double crochets to reduce width subtly.
- Continue with rows containing 6 and 5 mesh squares, and increase the count of double crochets to 10, 14, and 18 in other areas, which increases fabric density.
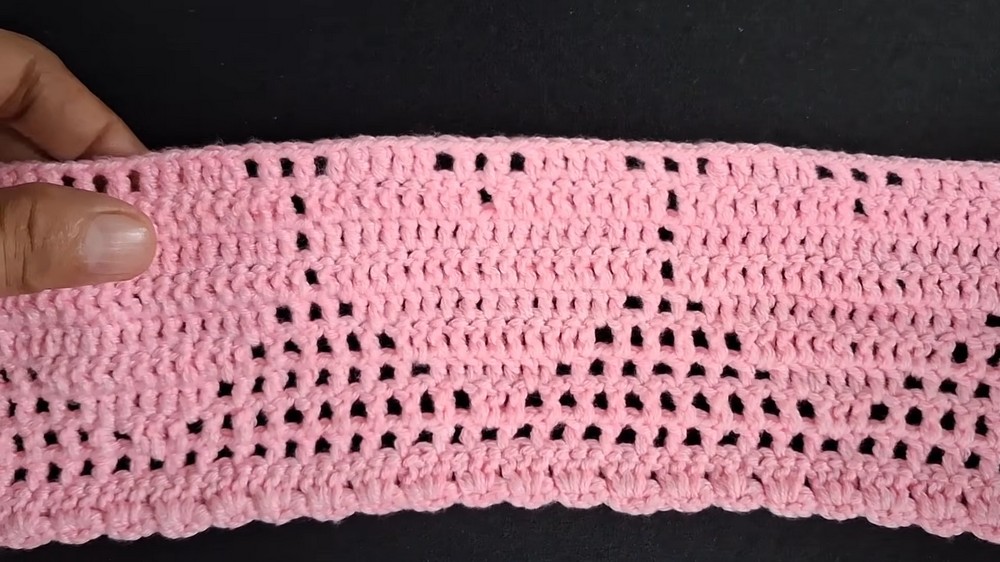
- Begin constructing the heart motif by working rows that start with 8 to 9 double crochet blocks. These blocks form the fill areas of the hearts inside the mesh design.
4. Finalizing Body and Joining
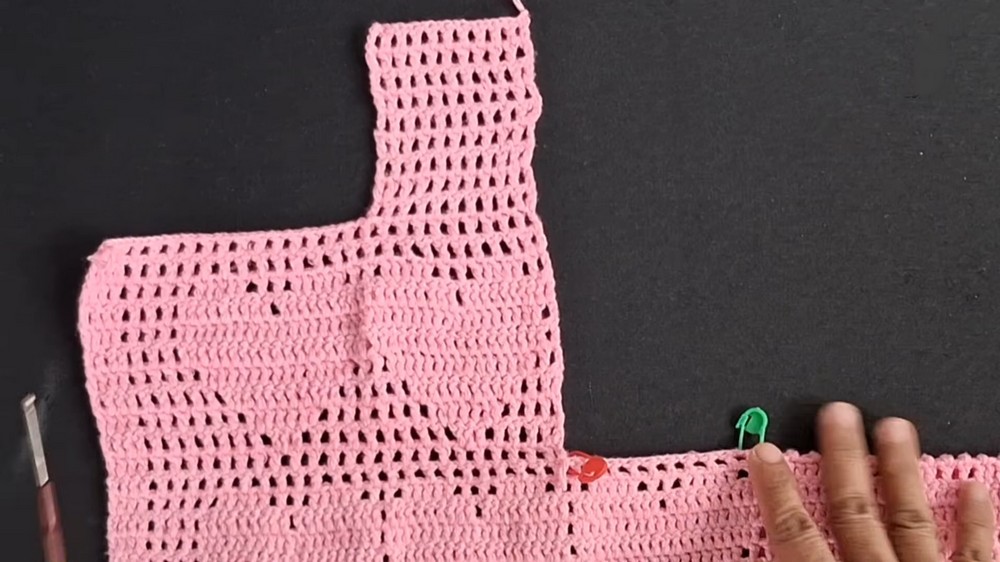
- Continue working rows to complete three heart shapes visually visible on the fabric.
- Place stitch markers to mark sections and maintain row and stitch count consistency.
- Crochet 9 rows each for the front and back panels.
- Join the sides neatly using slip stitches (sl st) for a clean seam.
5. Collar and Buttonholes
- Collar:
- Work mesh squares back and forth along the neckline, applying the filet crochet technique to create a lightweight, airy collar.
- Buttonholes:
- Use stitch markers to mark every 8th space along the collar or front placket to precisely position buttonholes.
- Create the buttonholes by skipping the corresponding chain spaces during the edging rounds.
- Edging:
- Finalize the garment edges with one round of double crochet (dc) to add subtle thickness and strength.
- Follow with one round of single crochet (sc) for a neat finish.
6. Final Touches
- Attach buttons on the opposite side of the buttonholes at the marked positions to complete the front closure.
- Weave in all loose yarn ends securely.
Assembly & Finished Size
- After joining the sides with slip stitches, block the top gently to even out stitches and optimize shape.
- The collar should lie flat with slight openwork, and the hearts should be clearly defined within the mesh structure.
- Finished size depends on yarn tension and foundation chain but fits a medium adult size with the 80 eyelet base row used.
- Adjust foundation chain length and row count proportionally to customize sizing.
Conclusion
This crochet collared top pattern merges practical filet mesh techniques with delicate shaping and decorative heart motifs to produce a unique and wearable garment. The detailed step-by-step construction—starting from foundation chains and base rows, progressing through distinctive mesh and shaping patterns, and concluding with a stylish collar and secure button closures—offers a satisfying project for intermediate crocheters. With attention to tension, stitch markers, and careful finishing, the final result is a beautifully crafted top perfect for layering or standalone wear.