Adorable Crochet Baby Shoes Free Pattern

Making baby shoes with a free crochet pattern is a fantastic way to start learning crochet. These small projects let you practice basic stitches while making something adorable and useful. Baby shoes are fun and quick to finish, so you can enjoy fast results and grow your confidence with each pair. They make thoughtful, handmade gifts for newborns, and putting in your own effort gives every pair a special meaning. Even as a beginner, you’ll only need some simple yarn, a hook, and basic supplies you might already have.
Adorable Crochet Baby Shoes Pattern for Beginners
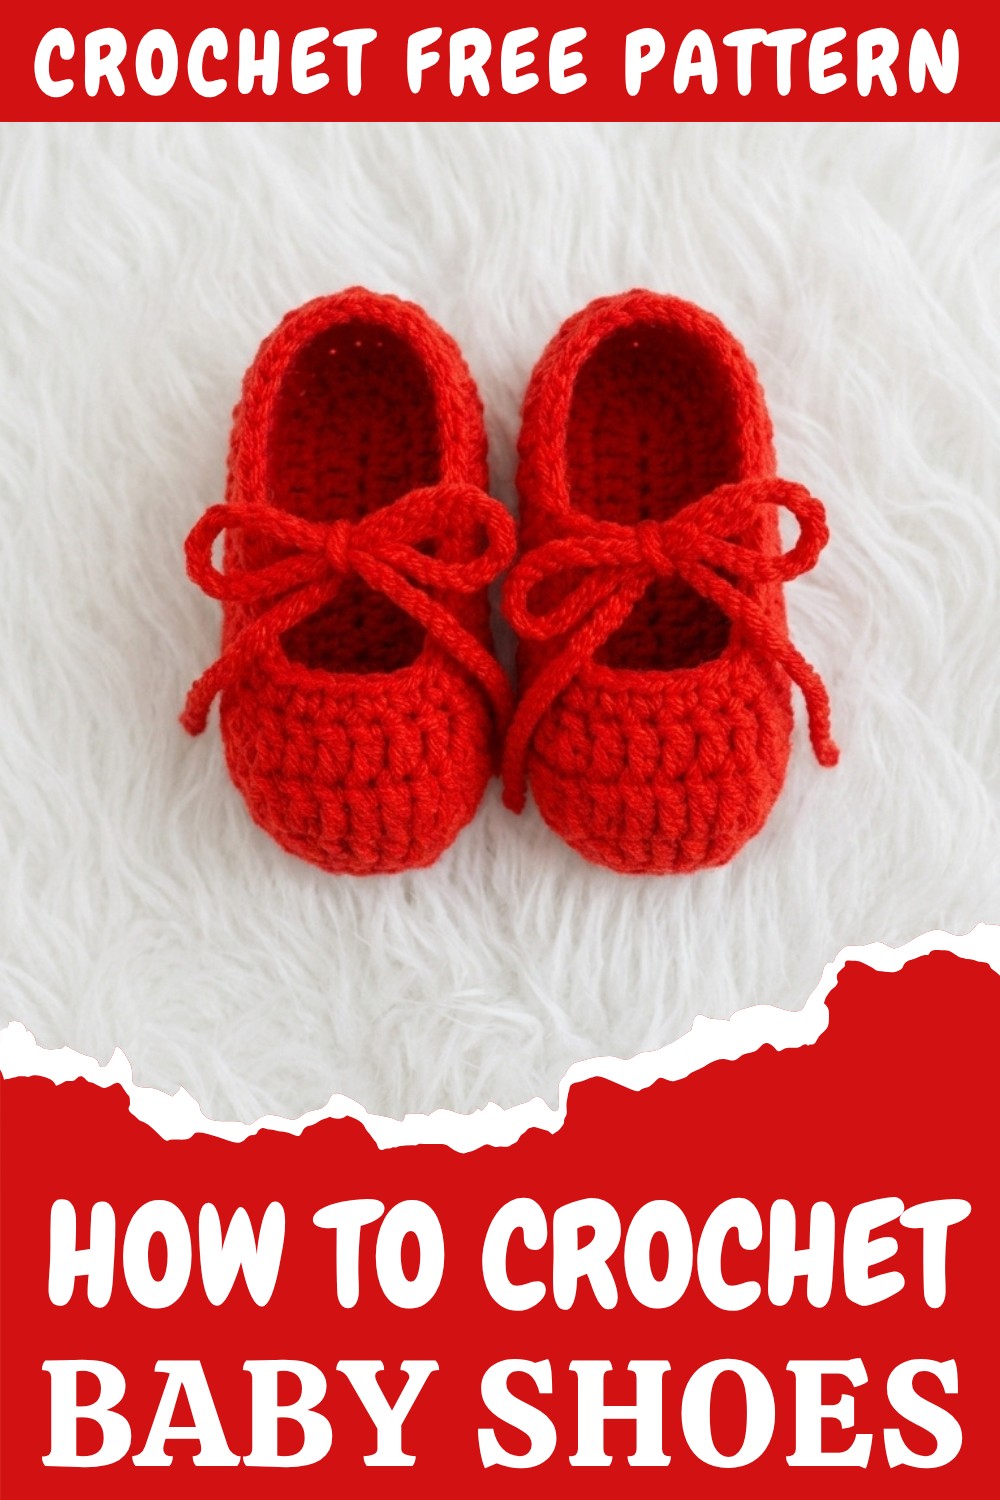
These tiny shoes look really cute—think soft, rounded shapes and cozy styles that keep baby feet warm. Choose gentle pastel colors like pink, blue, or mint, lively brights, or classic neutral tones. Simple stitches like single crochet or double crochet keep the steps easy. By changing the strap or skipping it, these shoes can quickly become baby slippers or even cute sandals. Once you understand this basic design, it’s easy to make matching hats or baby mittens by following a similar stitch count and shape.
Keep these important tips in mind for great-looking baby shoes:
- Start with a solid, even foundation chain; this shapes the sole.
- Always count your stitches each row so both shoes match in size.
- Maintain even tension—avoid pulling too tightly or leaving the yarn too loose.
- Sew straps, buttons, or embellishments securely for safety.
- Weave in all yarn ends neatly to prevent loose threads.
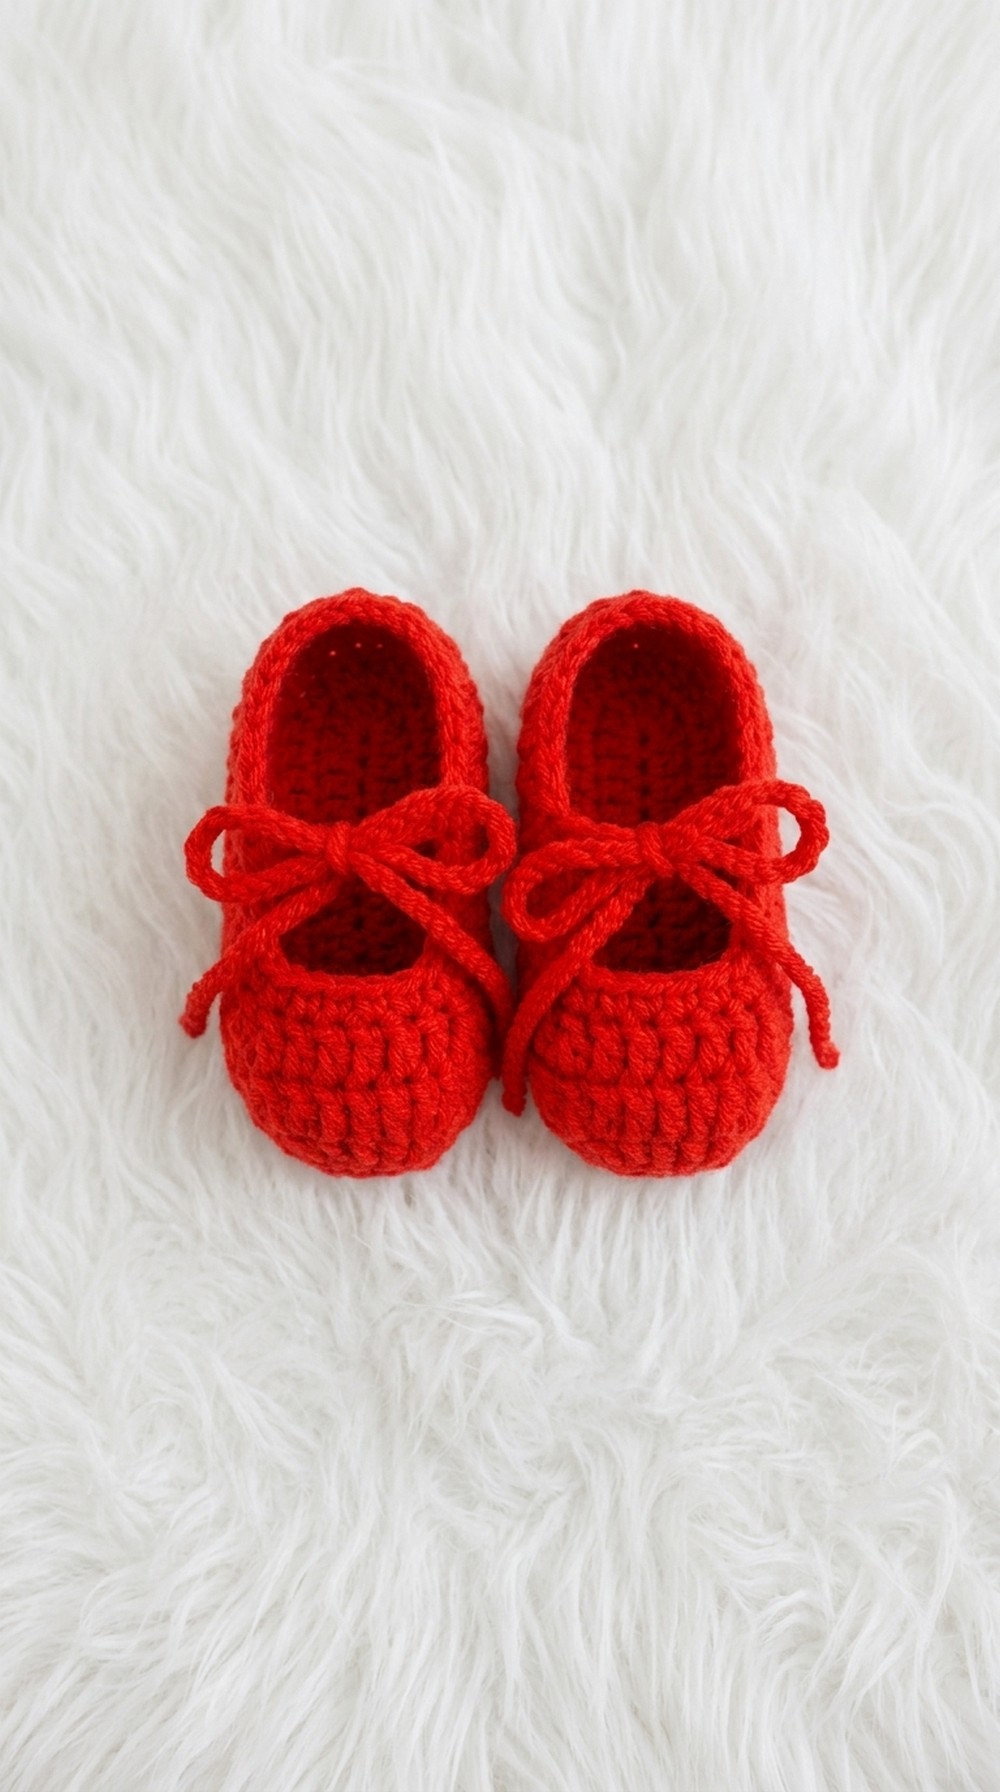
Common problems include shoes coming out different sizes this usually means your tension has changed or the stitch count is off, so double-check frequently. If the shoes seem too floppy, switch to a smaller hook or use denser yarn for a snugger fit. Mixing up left and right shoes is easy; mark the first shoe and complete it before starting the next.
The project fits babies from newborn to three months. You can change the size by adjusting the number of rows or using different yarn weights and hook sizes. Following each step carefully results in a comfy, cute pair of shoes that are perfect for little feet or gifting. This project’s clear steps and versatility make it a top pick for anyone new to crochet.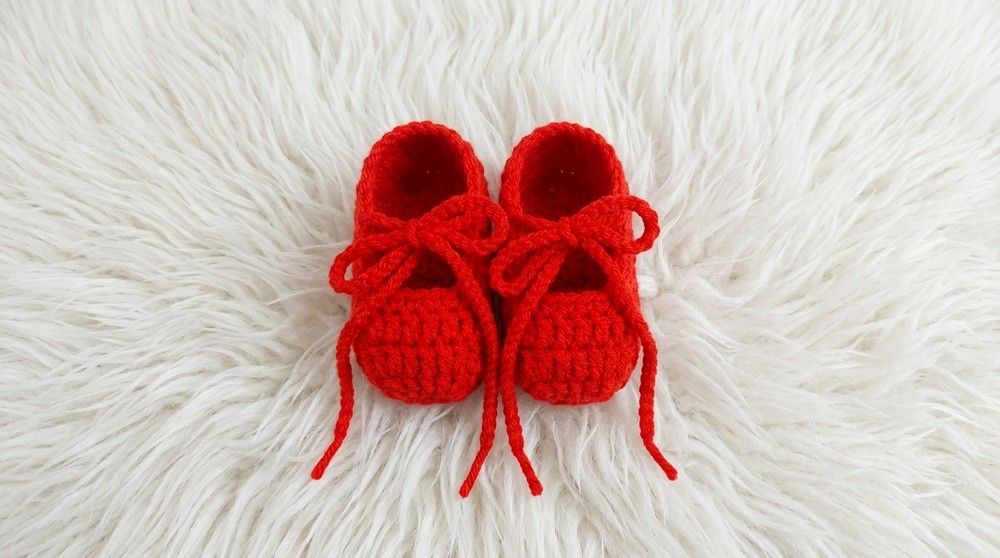
Baby Ballet Shoes (Newborn Size, 9cm) Crochet Pattern
Skill Level
Beginner to Intermediate
Requires basic experience with working in the round and simple shaping.
Materials
- Milk cotton yarn, 5-ply (light red recommended)
- 3 mm crochet hook
- Tapestry needle or yarn needle for sewing and weaving in ends
- Scissors
- Optional: Ribbon for decorative ties
Abbreviations (US Terms)
- ch = chain
- dc = double crochet
- sc = single crochet
- sl st = slip stitch
Special Notes
- The shoe sole measures approximately 9cm for newborn size.
- Each shoe consists of 10 main rows.
- The shoes are worked flat and sewn at the end.
- Work with a slightly tight tension at the foundation for neater edges.
Pattern
Step 1: Shoe Sole Foundation
- Make a slip knot.
- Ch 3 (make these 3 chains slightly tighter).
- Ch 2 more (total 5 chains).
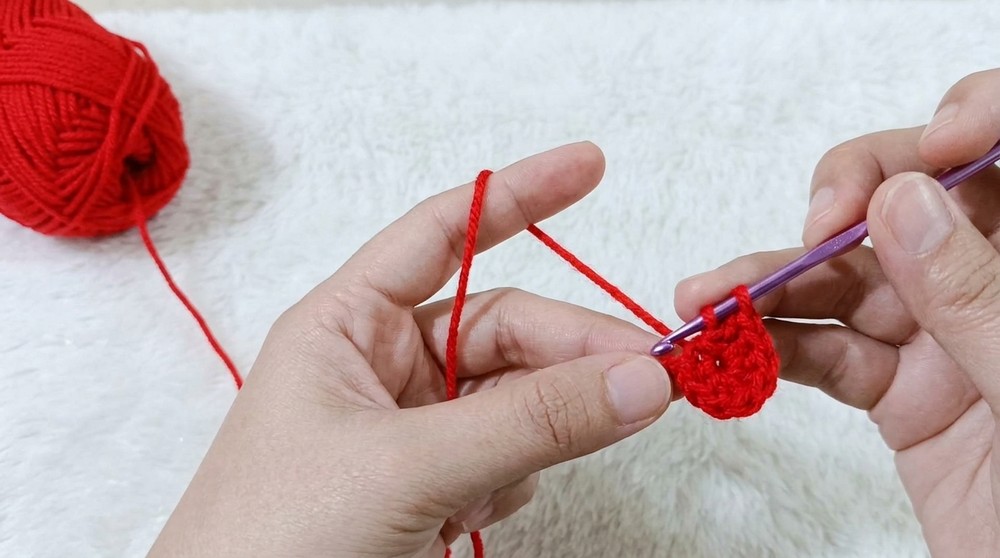
Starting with tighter chains prevents loose holes at the shoe tip. The extra chains create the foundation for the sole.
Step 2: Toe Shaping
- 2 dc in third ch from hook.
- 1 dc in each of the next 2 chains.
- 5 dc in last chain (to turn the work).
The double crochets grouped at the end help shape the toe and turn your work for the other side of the sole.
Step 3: Complete Sole Foundation
- 1 dc in next chain (heading back along the foundation).
- 2 dc in next chain.
- Sl st to join to the beginning.
This completes the sole, forming both ends. You will see a rounded oval forming. The slip stitch closes the round.
Step 4: Second Row (Increase for Width)
- Ch 2 (counts as first dc).
- 2 dc in next st.
- 2 dc in next st.
- 2 dc in next st.
- 2 dc in next st.
- 2 dc in next st.
- 2 dc in next st.
- 2 dc in next st.
- 2 dc in next st.
- 1 dc in next st.
- 1 dc in next st.
- 2 dc in next st.
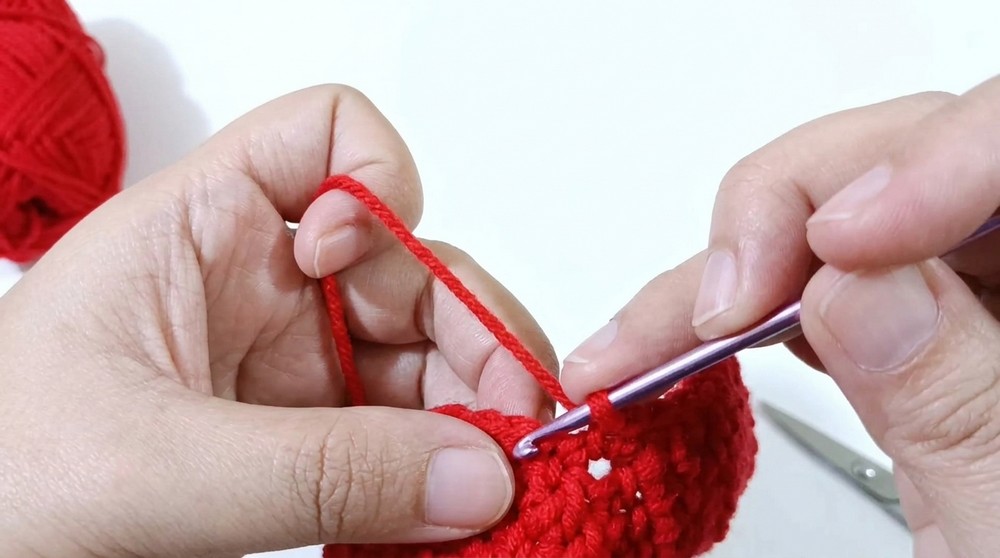
- 1 dc in the last/starting st (next to ch 2).
- Sl st to join.
You’re increasing around the oval to make the shoe wide enough to fit baby’s foot. Most stitches are doubled for more room, except two stitches.
Step 5: Third Row (Body Base)
- Ch 2 (counts as first dc).
- 1 dc in each st around (including ch 2 as first dc).
- Sl st to join.
No increases this row. This creates the shoe’s base, resulting in 22 dc including the starting chain.
Step 6: Fourth Row (Start Body Side)
- Cut and start new yarn at the back of shoe.
- Ch 1.
- 1 dc in same st.
- 1 dc in each of the next 14 sts (total 15 dc).
- Ch 1, turn.
Start this row at the back for a seamless look. You’re working 15 dc flat for the shoe sides.
Step 7: Rows 5–8 (Sides)
- Repeat for each row:
- Ch 1, turn.
- 1 dc in each of 15 sts.
Work flat for 4 rows to build up the side wall. Each row should have 15 dc.
Step 8: Row 9 (Shaping Instep)
- Ch 1, turn.
- 1 dc in each of first 4 sts.
- Dc2tog (double crochet two together, decrease—see tip below).
- 1 dc in next 3 sts.
- Dc2tog (decrease).
- 1 dc in last 4 sts.
- Ch 1, turn.
This row shapes the top to fit baby’s foot snugly. The decreases help with instep contour.
Step 9: Row 10 (Shaping and Finish)
- Ch 1, turn.
- 1 dc in first 4 sts.
- Hdc2tog (half double crochet two together, decrease).
- 1 hdc in next st.
- Hdc2tog.
- 1 dc in last 4 sts.
This finishes the upper shoe shape. The decreases continue to form the instep and toe box.
Step 10: Sewing and Finishing
- Cut yarn, leaving a long tail for sewing.
- Thread tapestry needle.
- Fold shoe and sew side seam neatly.
- Weave in all ends.
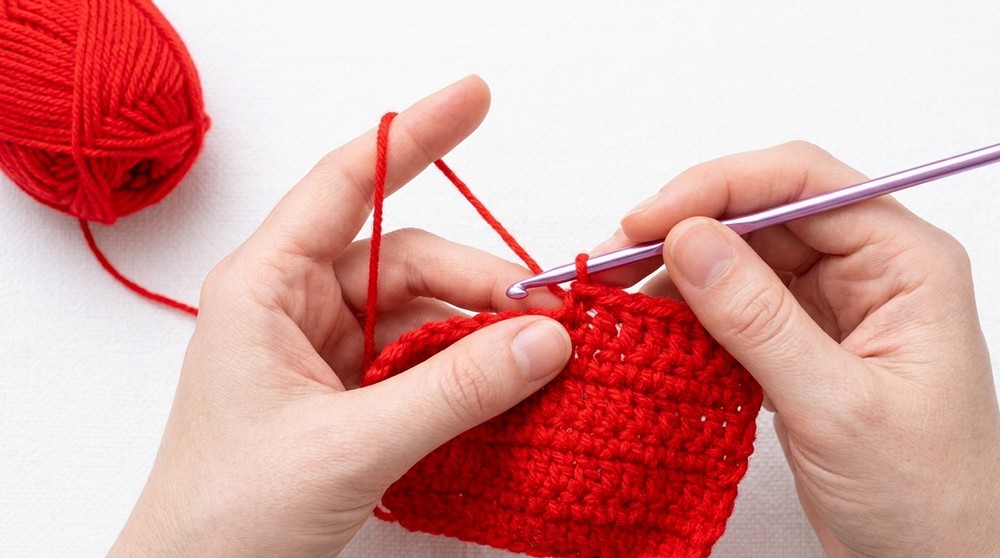
Use mattress or whip stitch to join sides. Make sure left and right shoes are sewn symmetrically.
Step 11: Edging (Optional for Neater Look)
- Join yarn at heel.
- Ch 1.
- Sc in same st.
- [Sc2tog between seam stitches].
- Sc in each st around the opening (approx. 9 sc per side).
- Sl st to join at strap base.
- Cut yarn, weave in ends.
This step creates a neat edge around the shoe opening for a professional finish.
Step 12: Straps
- Attach yarn to heel or side.
- Ch 50 (or desired length).
- Cut yarn, fasten off, weave in end.
- Repeat for second strap on the opposite side.
These long chains make the ballet tie. You can use ribbon or shorter chains if preferred. Tie in bows or criss-cross for cute finishing.
Pattern Correction & Tips
- Dc2tog: Yarn over, insert hook in next st, pull up a loop, yarn over, pull through 2 loops (repeat once in next stitch), then yarn over, pull through all loops.
- Hdc2tog: Yarn over, insert hook in next st, pull up loop, yarn over, insert hook in next st, pull up loop, yarn over, pull through all loops.
- If shoe looks loose at toe, make foundation chains tighter or adjust tension.
- To make for bigger/smaller size, add/subtract chains in foundation and in length of repeats.
Conclusion
You have now completed a pair of simple, elegant baby ballet shoes! The pattern builds from sole to sides, uses quick shaping, and finishes with decorative straps. Use your creativity for colors or ribbons, and enjoy gifting or dressing up your newborn with these adorable handmade shoes.