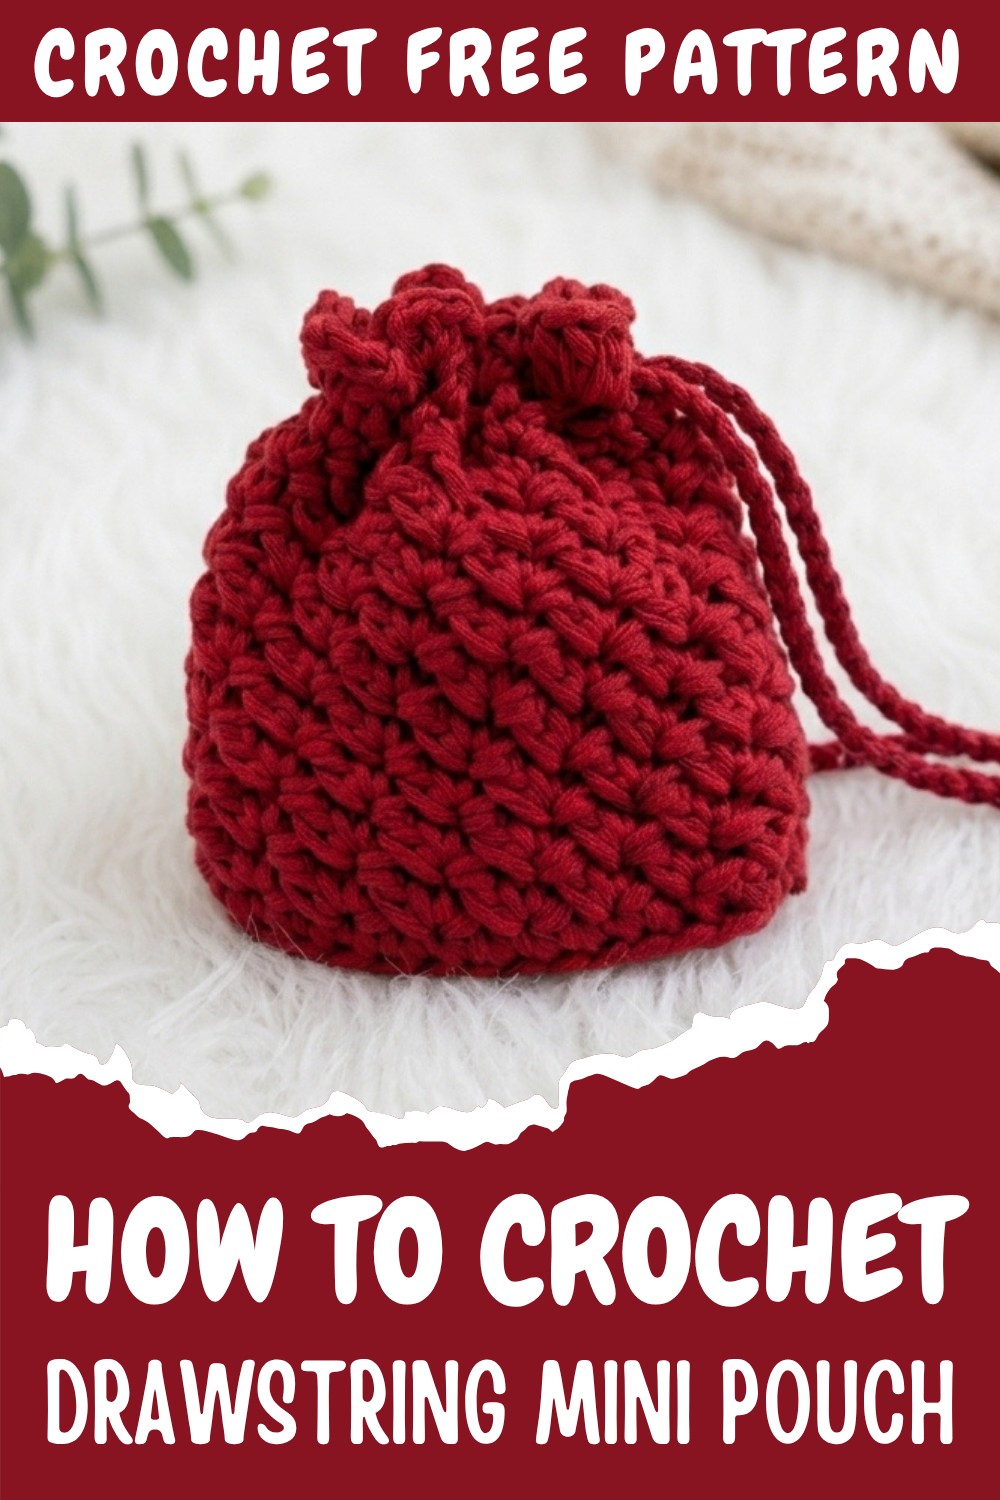
Crochet Drawstring Pouch Pattern With Step-by-Step Guide
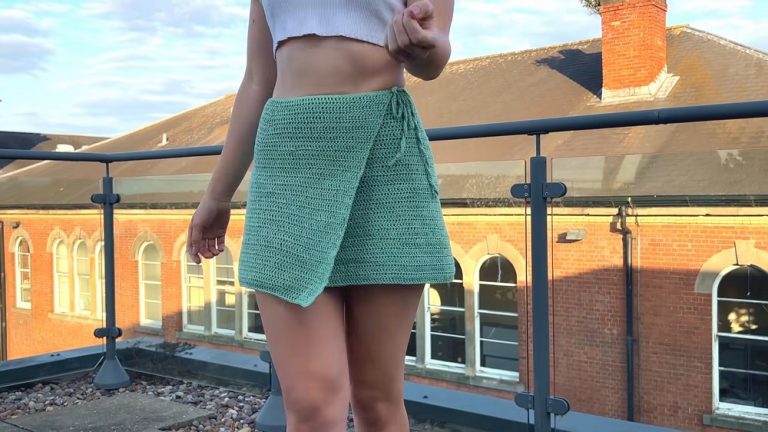
Create a beautiful crochet drawstring mini pouch with this easy pattern, perfect for girls and ideal for storing small essentials stylishly.
I never thought I would find making a small bag interesting, but this free crochet drawstring pouch pattern completely changed my mind. What started as a simple project ended up being not only useful but also pretty fun. The pouch has a unique charm, with its soft round base and simple drawstring that you pull to keep your things safe. I love that it holds coins, headphones, tiny tools, or keys without any fuss.
Free Crochet Drawstring Pouch Pattern for Girls
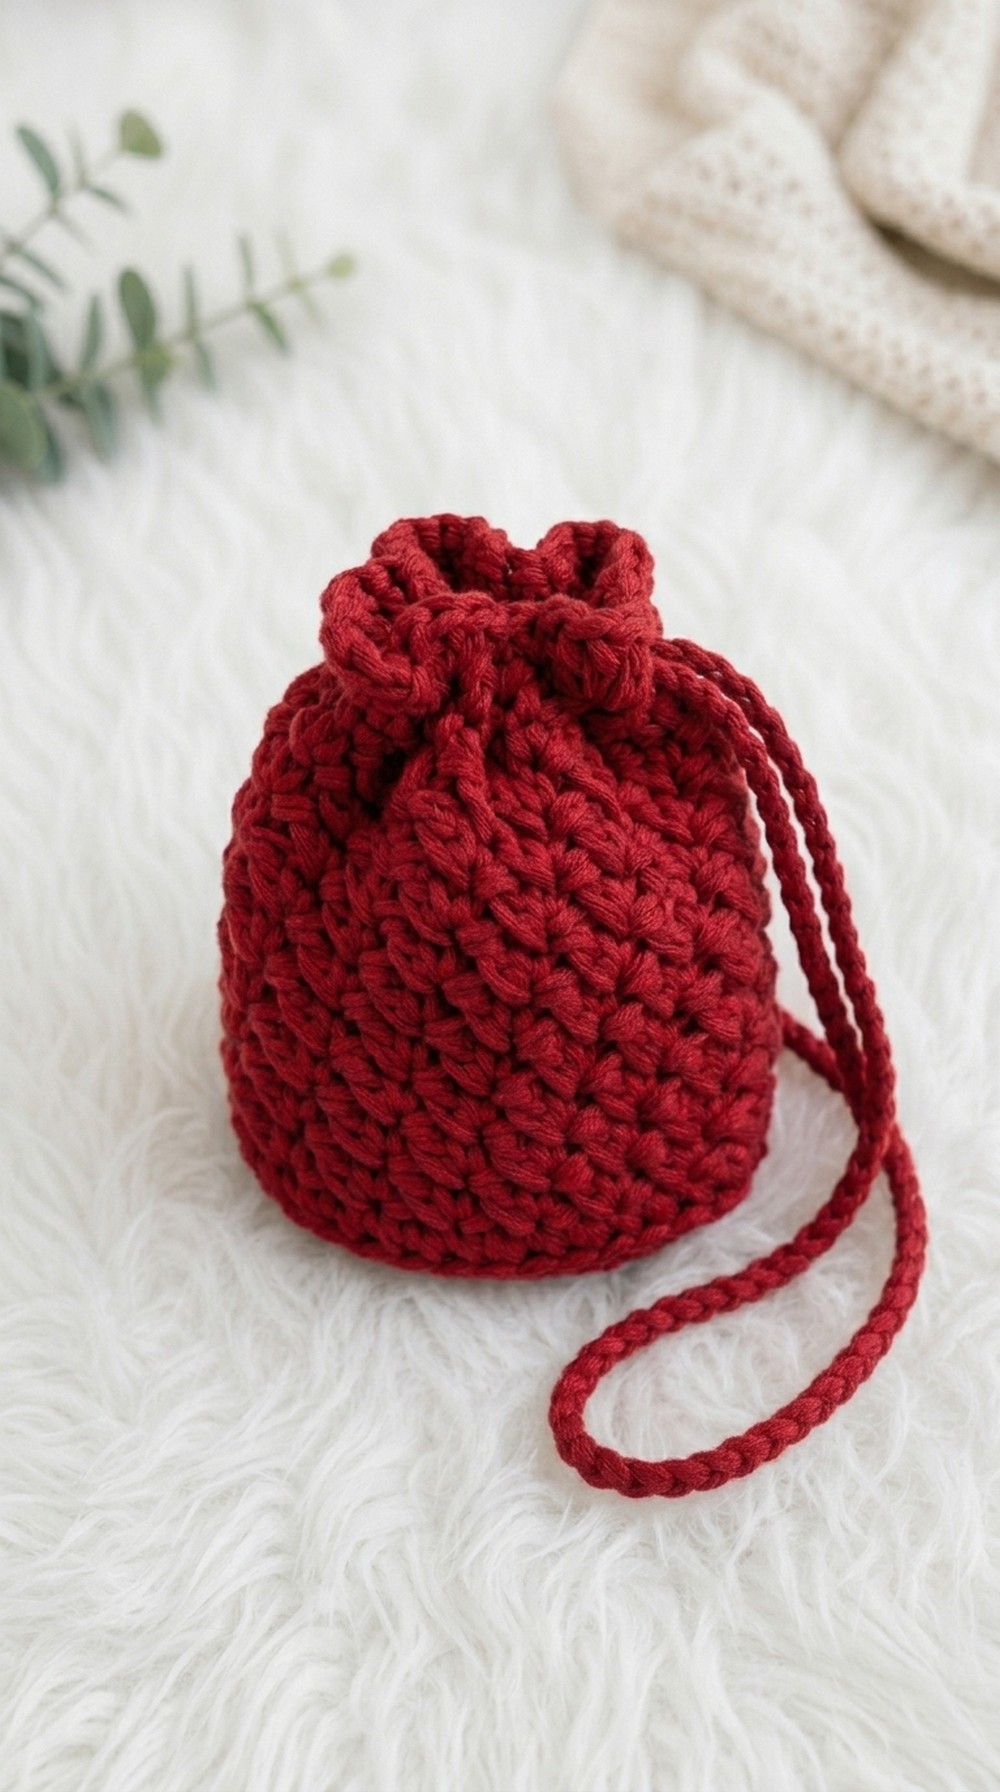
It doesn’t take much to get started, just some yarn and a 3.5 mm crochet hook, making it friendly for anyone, especially when you use 100% cotton yarn for that crisp but flexible feel. The finished result feels sturdy in your hands while showing off clean, neat stitches that stand out thanks to the back loop only stitch used in the design. The best part for me is the drawstring, made with a simple chain and woven easily around the top, which gives the pouch a nice tidy closure.
If you’re wondering if you can make this, the answer is yes, and you don’t need much experience. Each step is broken down and introduces you slowly to the basics like slip knot, chaining, and single crochet. The pattern teaches how to work in the round, as well as increasing to form the base, and using the back loop stitch to give the pouch its lovely texture.
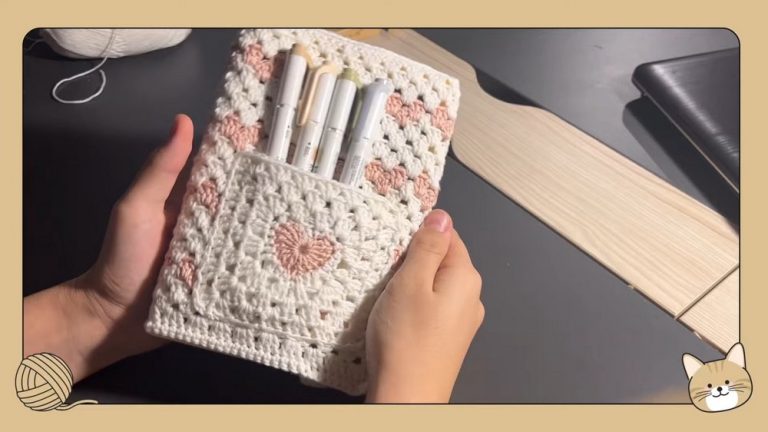
You actually get to see your progress quickly as the pouch takes shape, which is motivating for beginners. When you finish, you’ll have practice making bases and sides, which are helpful in other patterns too. With just these few stitches, you can go beyond making pouches—try your hand at making coin purses, gift bags, or organizing your desk with small baskets using this easy pattern. I found a lot of satisfaction in making something so useful and creative, and I think you will too.
Classic Crochet Drawstring Pouch Pattern
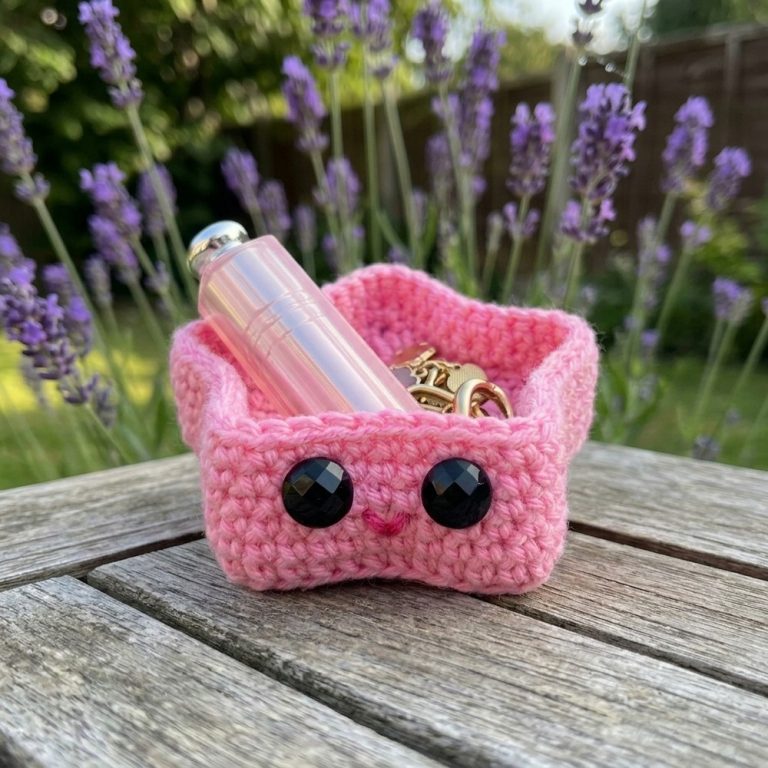
This elegant drawstring pouch is perfect for storing small treasures or gifting treats. The pattern uses simple construction with textured stitches for an aesthetically pleasing look. Designed for intermediate crocheters, it ensures a neat finish with back loop stitches, spiral rounds, and decorative upper edging. Written in US crochet terminology, the pattern offers a reliable structure and the opportunity for customization.
Skill Level
- Intermediate to Advanced
Requires working in spiral rounds, back loop only stitches, and combining single crochet and double crochet stitches.
Materials
- Yarn: 100% Cotton, Worsted weight (Sample: Drops Paris Unicolor)
- Hook: 3.5mm crochet hook
- Notions:
- Stitch markers
- Yarn needle
- Scissors
- Measuring tape (optional)
- Blocking pins (optional for shaping)
Key Abbreviations
- ch: chain
- sc: single crochet
- dc: double crochet
- hdc: half double crochet
- sl st: slip stitch
- st(s): stitch(es)
- rep: repeat
- blo: back loop only
Special Notes
- The pouch is crocheted in spiral rounds (no joined rounds) after the base, except for specific finishing rounds.
- Place a stitch marker at the first stitch of each round to aid in counting and tracking.
- All stitches are worked in the back loop only except the decorative round and the base.
- Adjust the height or width by increasing the number of chains or rounds.
Finished Size
- Height: ~4.5 inches (~11 cm)
- Width: ~3.25 inches (~8 cm)
- Can be adjusted as needed.
Pattern
1. The Base (Flat Oval)
- Make a slip knot.
- Chain 13 (ch 13).
- Row 1:
- Skip the first chain. Work in the second chain from hook.
- 2 sc in the second chain (put a stitch marker in the first sc).
- 1 sc in each chain across until the last chain (total 11 sc).
- In the last chain, work 4 sc (for rounding the edge).
- Turn your work—work into the opposite (unworked) side of the foundation chain.
- 1 sc in each chain across the other side (total 11 sc).
- In the last chain (where the first sc was made), work 2 sc to complete the round.
- You should have 28 sc in total.
You are working into the chains to form a flat oval for the base. Both sides of the chain receive single crochets, and additional stitches in the ends create rounded corners.
If you don’t read patterns:
Start with a chain of 13, work around both sides of the chain, increasing at both ends. This makes a flat, oval base for the pouch.
2. Foundation for the Body
- Join with a sl st to the first sc.
- Ch 1, then start working in spiral rounds.
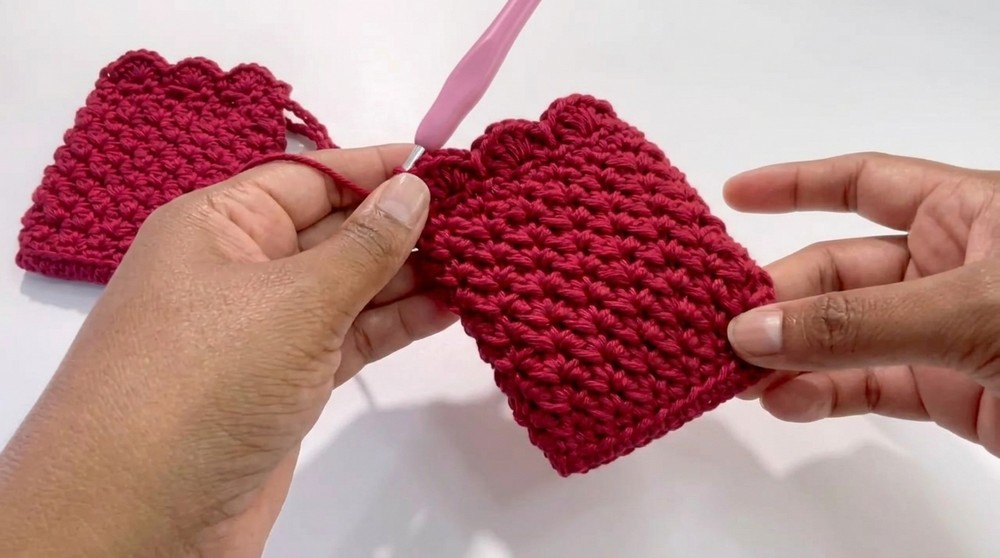
3. Body of Pouch
- Round 2:
- Working in the back loop only (blo) of each stitch around.
- 1 sc in blo of each st (28 sc).
- Place stitch marker in first stitch.
This round forms the vertical sides, giving the pouch its tubular shape.
For beginners:
Insert your hook only into the back loop of each stitch. It makes an attractive ridge and helps your pouch stand upright.
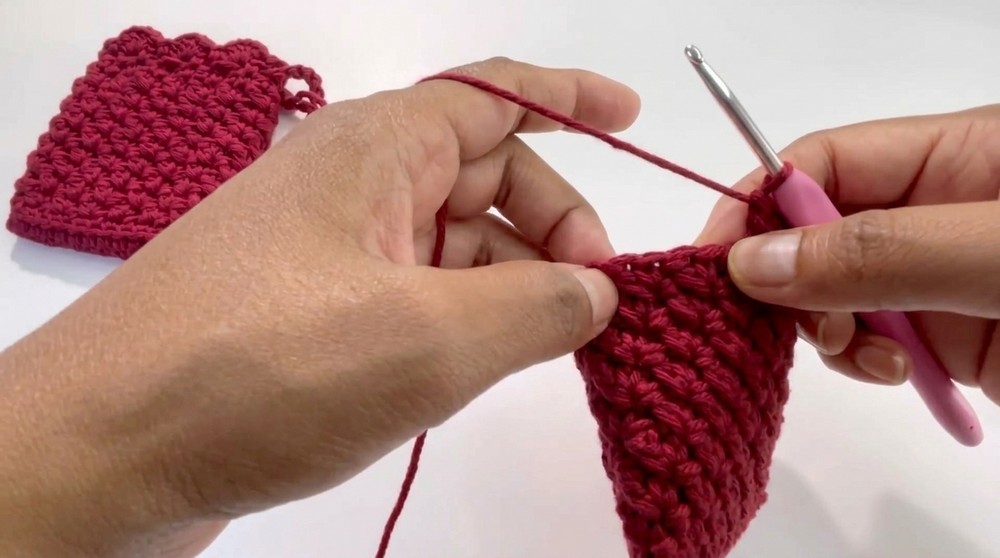
- Rounds 3–11 (Texture Pattern):
- Continue working in spiral rounds WITHOUT joining.
- (sk next st, 1 sc & 1 dc in next st); repeat all the way around.
- At the end of each round, you should have 28 stitches.
This sequence creates a textured pattern of alternating single and double crochet clusters.
To clarify:
Always skip one stitch, then work both a single crochet and a double crochet in the next stitch (all in back loop only). Continue around, marking your round’s first stitch each time.
4. Adjusting Height
If a deeper pouch is desired, continue the texture pattern for additional rounds. The sample is worked for 11 spiral rounds.
5. Evening Out and Finishing
- If ending off-center, work up to the pouch’s side with 4 extra texture clusters so you finish at the desired spot.
- Round 12:
- Switch to regular single crochets (no texture pattern), working in both loops.
- 1 sc in each st around (28 sc).
This round smooths the edge and prepares for decorative finishing.
If you aren’t comfortable with patterns:
Work one single crochet into each stitch around the top. This will create a clean edge on your pouch.
6. Decorative Upper Edging
- Round 13:
- Work as follows:
- (1 sc in next st, ch 1, skip next st); repeat around.
- Join with a sl st to the first sc.
This round creates chain spaces for threading the drawstring.
Tip:
Make sure your first stitch is marked and join with a slip stitch at the end to finish neatly.
- Round 14 (Shell Edging):
- Enter the first ch-1 space with a slip stitch.
- Ch 1, then work 5 hdc in same ch-1 space.
- (Sl st in next ch-1 space, 5 hdc in following ch-1 space); repeat to end.
- Join with a sl st to the base of the first hdc group.
This round creates a pretty shell edge along the pouch opening.
Explanation for beginners:
In each chain space, work five half double crochets to make a shell. Slip stitch in the next chain space to anchor, and repeat.
7. Fasten Off and Weave In Ends
- Cut yarn, pull through, and use yarn needle for a seamless invisible join in the shell edging. Weave in all ends discreetly inside the pouch.
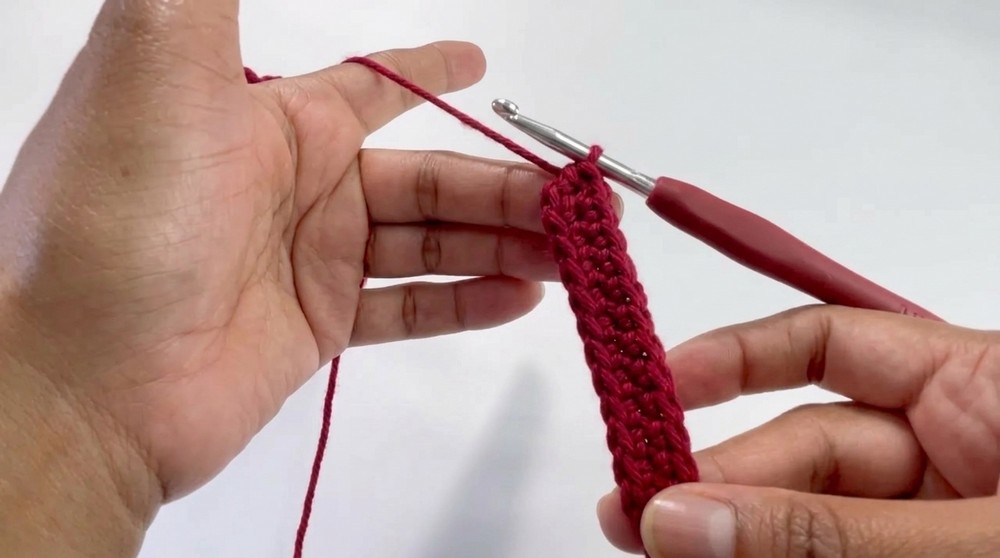
8. Drawstring Cord
- With yarn, make a slip knot and chain 50.
- Cut yarn, secure last st, thread yarn onto a needle.
- Weave drawstring through the ch-1 spaces of Round 13 (alternating one in, one out).
The drawstring will allow you to cinch closed the top and easily open your pouch.
If you don’t read the pattern:
Just make a long chain and thread it through the holes along the top edge of your pouch.
9. Finishing Touch
- Tie cord ends together securely. Weave in, or trim excess.
Conclusion
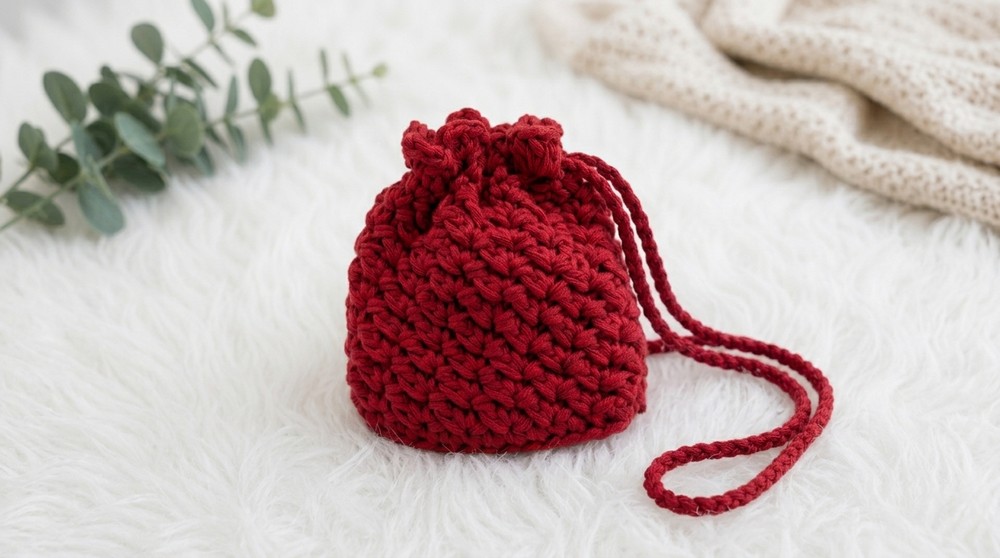
Your classic drawstring pouch is now complete—a sturdy, textured body with beautiful shell edging and a practical drawstring. This pattern’s steps provide structure while allowing you to personalize color, length, and edging.
Pattern Corrections & Tips
- If the pouch base curls, block gently or add more stitches in the end chains.
- If the shell edging is too loose, use a smaller hook for the final round.
- ALWAYS mark your round’s first stitch to ensure accurate spiral rounds.
In Summary
Even if you cannot read crochet jargon, you can follow each step: start with a chain, make a pouch base by working around, build the body with a skip/cluster pattern, add a top edge, finish with pretty shells, and thread a cord for closure.