Crochet Pineapple Place Mat Pattern – Free Tutorial for Beginners

Bring a fresh tropical touch to your dining space with this free crochet pineapple place mat pattern that lets you protect surfaces in style.
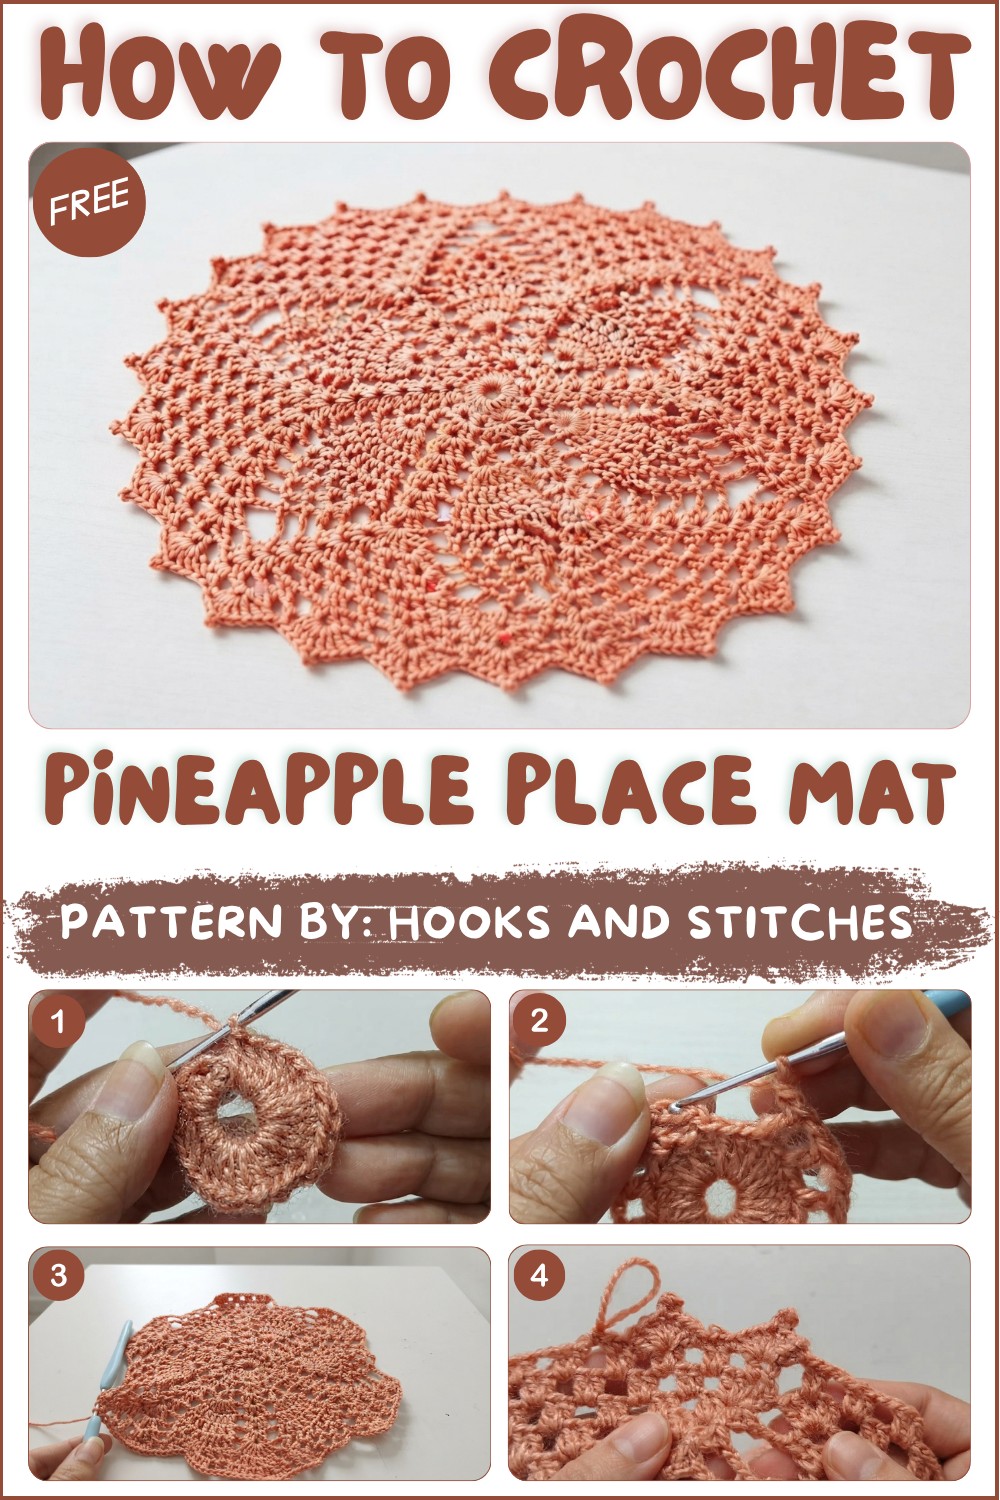
Making handmade home items is always rewarding and fun. One lovely project to try is the free crochet pineapple place mat pattern, shared by Hooks And Stitches. This pattern guides you to create a beautiful and practical placemat that brightens any dining table.
Free Crochet Pineapple Place Mat Pattern + Video Tutorial
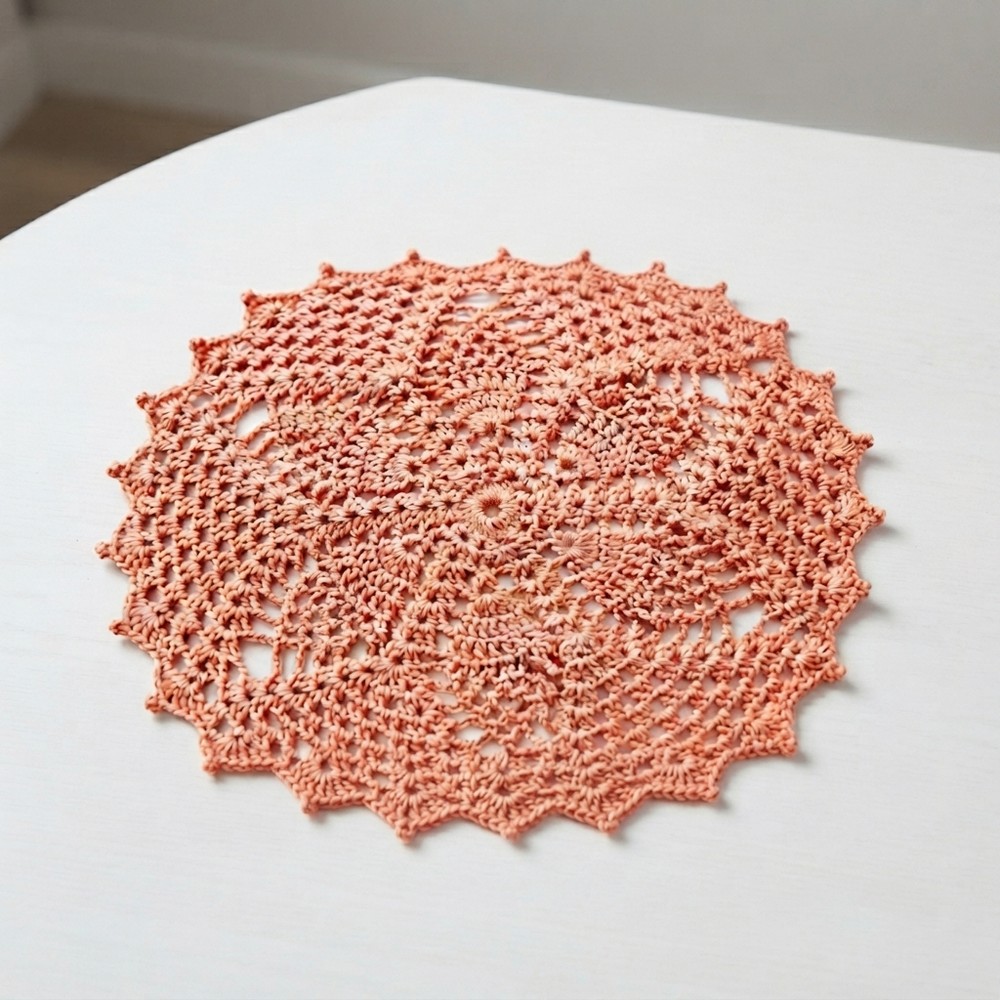
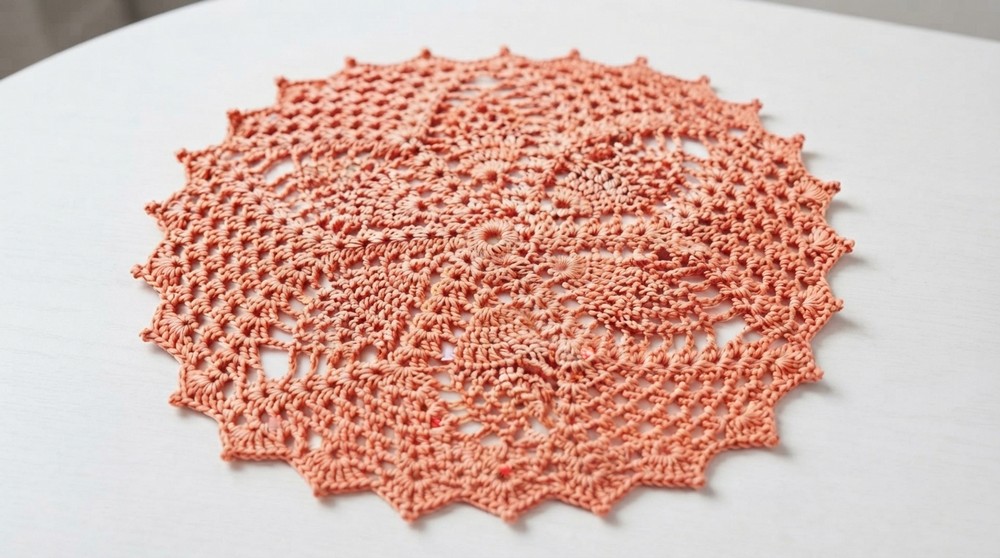
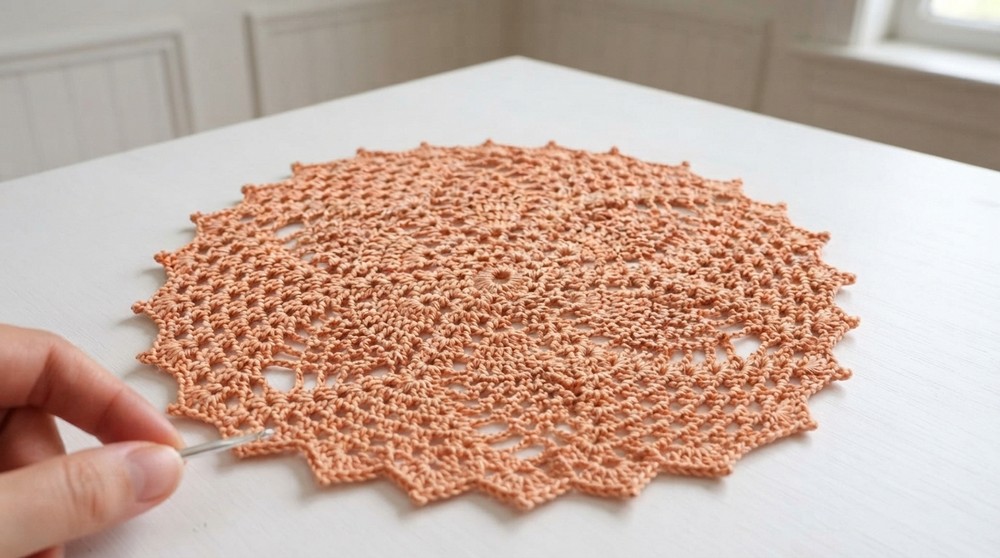
The pineapple place mat is not just useful but also full of charm. Its round shape with detailed pineapple motifs brings a fresh, tropical feel to your home. The texture is soft but firm, thanks to neat double crochet stitches and chain spaces that give it an open, lacy look. The vibrant yellow yarn adds warmth and cheer, making the mat stand out as both decoration and everyday item.
This placemat is great for protecting your table from heat or spills while adding a special touch to breakfasts or dinner parties. It also makes a thoughtful handmade gift for friends and family who enjoy a splash of sunshine in their kitchen. Its light, airy design is stylish yet simple enough to fit many home decor styles, from rustic to modern.
The step-by-step tutorial makes the project easy to follow, even for beginners ready to advance their crochet skills. As you progress, you’ll enjoy weaving the pineapple patterns and picot edging that give this mat its unique personality.
Overall, the free crochet pineapple placemat pattern is a wonderful way to blend creativity with usefulness. It brightens your home with its attractive design and offers a joyful experience in making something beautiful yourself.
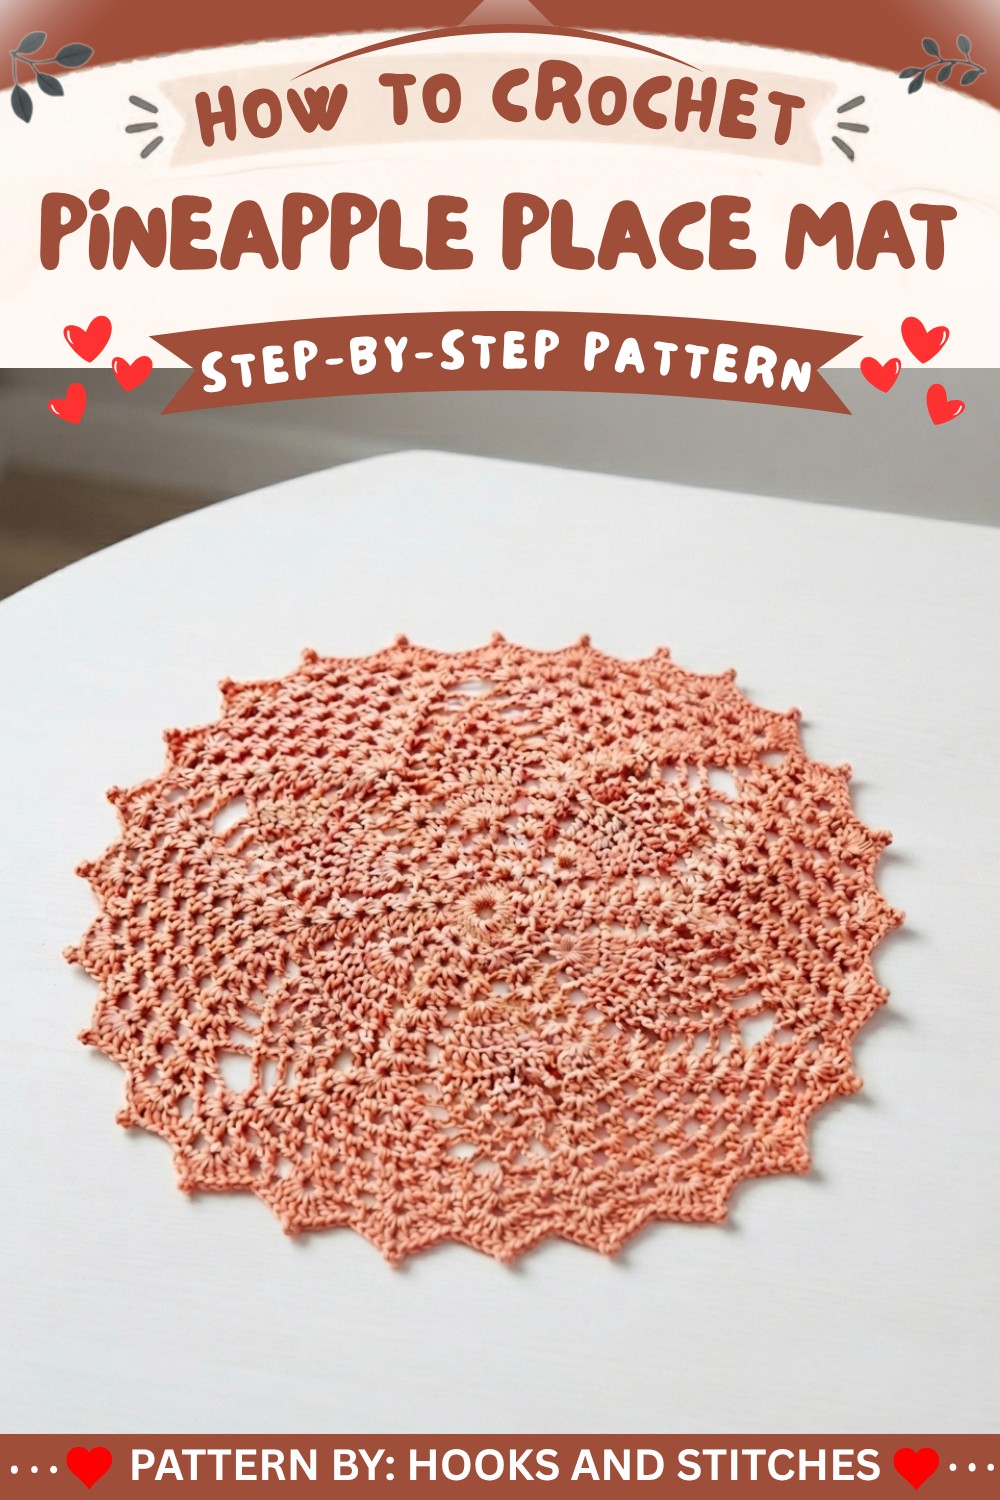
Pineapple Doily/Placemat Crochet Pattern
The pineapple motif is beloved for its sophisticated, lacy appearance which makes any dining table or living space shine with handmade charm. This pattern transforms basic crochet stitches into beautiful, radiating motifs and festive pineapples with an ornate and slightly vintage finish. Using a hook and yarn, you will create a delicately structured yet practical piece that can be used for a statement placemat or as a decorative doily.
Pattern Basic Points
Construction:
- Classic circular doily worked in the round, from center out.
- Multiple rounds with detailed increases and lacy chain-spaces.
- Pineapple motif built up with clusters and fan shapes.
- Ornamental picot-and-shell border.
Highlights:
- Minimal sewing—worked as one seamless piece.
- All rounds feature clear increases for a flat-laying mat.
- Easy to adjust in size by adding or subtracting rounds.
Special Notes
- Use stitch markers or scrap yarn to mark the first stitch of rounds, especially as the pattern gets larger.
- Keep stitches even and chain-spaces loose enough for the lace to drape but not sag.
- Pattern uses US crochet terminology.
- Block the finished doily for crispness and professional finish.
Skill Level
Intermediate. Some experience with working in rounds, increases, double crochet clusters, and interpreting lace patterns recommended.
Materials
- Yarn: Acrylic two-ply yarn or other fingering/sports-weight yarn, color of your choice.
- Hook: 2.5 mm crochet hook.
- Notions: Scissors, tapestry/yarn needle for weaving in ends.
- Optional: Stitch marker.
Measurements / Sizing
- Approximate finished diameter: 12–14 inches (30–36 cm) after blocking.
- Adjustable: Size will vary with yarn weight and number of rounds worked.
Gauge
- Gauge is not critical for this lace project, but tighter stitches yield a crisper doily.
- For reference: 24 dc worked in a ring measures ~2″ diameter.
Stitch Abbreviations
| Abbreviation | Meaning |
|---|---|
| ch | Chain |
| sl st | Slip stitch |
| sc | Single crochet |
| dc | Double crochet |
| sp | Space |
| st(s) | Stitch(es) |
| MR | Magic ring (you may substitute ch-8 closed with a sl st) |
Special Stitches
- Picot: Ch 4, sl st into top of previous stitch to make a small loop “point.”
- Fan: Multiple dc worked in the same stitch or space.
- Pineapple segment: Classic lace motif with repeated fan and chain space construction for an elongated, openwork effect.
Written Pattern
CENTER & SET-UP ROUNDS
Round 1:
-
- Make a slip knot, ch 8.
- Join to first ch with a sl st to form a circle.
- Ch 3 (counts as dc), work 23 dc into the ring (24 dc total, including beginning ch-3).
- Join with a sl st to the top of beginning ch-3.
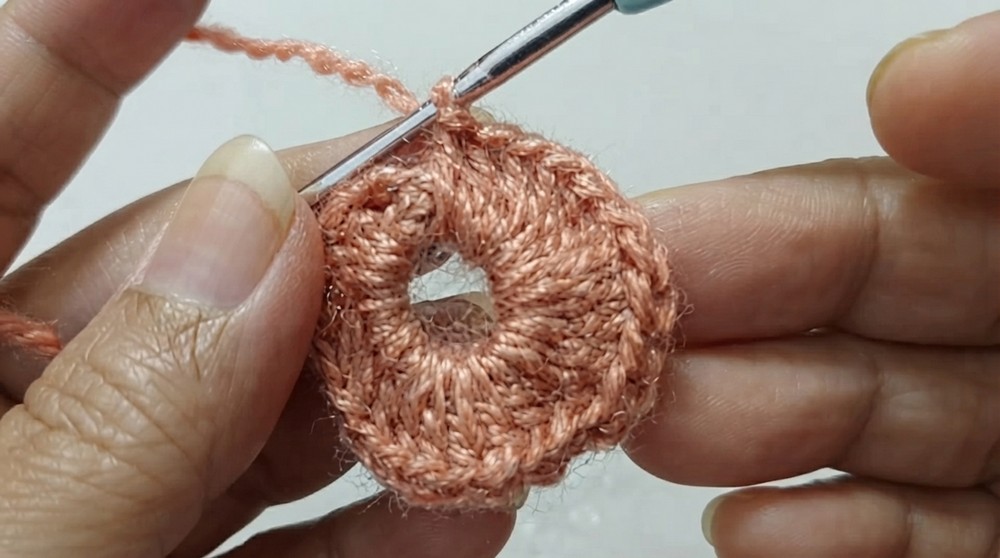
Round 2:
-
- Ch 3 (counts as dc), ch 1 (for space).
- Skip 1 st, dc in next st, ch 1. Repeat from * around.
- Join with sl st in third ch of beginning ch-3.
- You now have 24 dc and 24 ch-1 spaces.
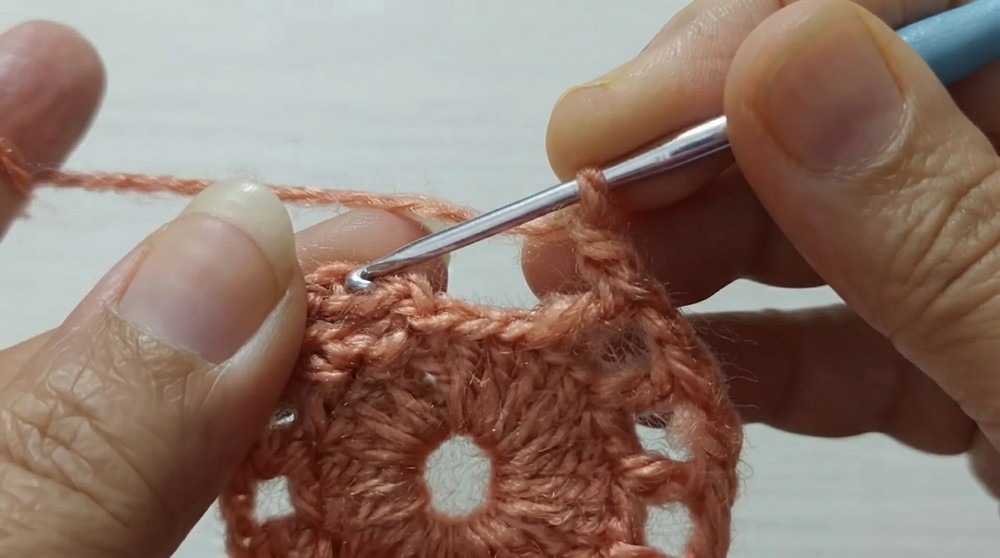
FOUNDATION FANS & SPACES
Round 3:
-
- Slip stitch into next ch-1 space.
- Ch 3 (counts as dc), dc in same sp, ch 2, 2 dc in same sp.
- Ch 1.
- In next ch-1 sp: 2 dc, ch 2, 2 dc, ch 1. Repeat from * around.
- Join with sl st.
Round 4:
-
- Slip stitch to next ch-2 space.
- Ch 3, 2 dc in ch-2 sp, ch 2, 2 dc in same sp.
- Ch 1, 2 dc in next ch-1 sp, ch 1, 2 dc, ch 2, 2 dc in next ch-2 sp, ch 1*. Repeat around.
- Join with sl st.
PINEAPPLE STARTS
Round 5:
-
- Slip stitch to next ch-2 space.
- Ch 3 (counts as dc), 2 dc in ch-2 sp, ch 2, 2 dc in same sp.
- Ch 2.
- In next ch-2 sp: 2 dc, ch 2, 2 dc, ch 2. In next ch-1 sp: 7 dc (fan/pineapple base), ch 2. Repeat around.
- Join with sl st.
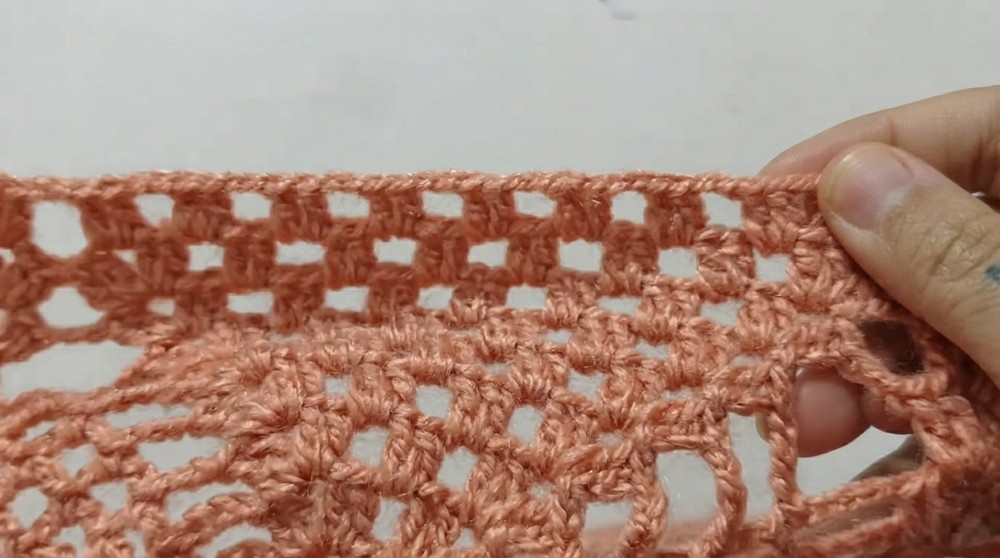
Round 6:
-
- Slip stitch to next ch-2 space.
- Ch 3, 2 dc in same sp, ch 2, 2 dc in same sp.
- Ch 2.
- Work 1 dc in each of next 7 dc (on pineapple cluster), ch 2, in next ch-2 sp: 2 dc, ch 2, 2 dc, ch 2. Repeat around.
- Join with sl st.
Round 7:
-
- Slip stitch to next ch-2 space.
- Ch 3, 2 dc in same sp, ch 2, 2 dc in same sp.
- Ch 1, dc in first of 7 dc group, ch 1, dc in second dc, ch 1, … across all 7 dc (ch 1 between each dc), ch 2.
- Repeat: shell in ch-2, (ch 1, dc, ch 1) across 7-dc pineapple. Complete round.
- Join with sl st.
Round 8:
-
- Slip stitch to next ch-2 sp.
- Ch 3, 2 dc in ch-2, ch 2, 2 dc in ch-2.
- Continue working ch 4, sc in next ch-1 space (in pineapple section) for each space—repeat 7 times across each pineapple section.
- For each shell separator: ch 2, shell in ch-2 space.
- Repeat pattern around; join with sl st.
Rounds 9–13:
-
- Continue as established:
- In every ch-2 space, work (2 dc, ch 2, 2 dc) clusters, with ch 2 between shell clusters.
- On each pineapple, continue “fan” clusters and ch-4, sc in next ch-4 space creating the openwork “mesh.” Each round adds a new “row” to the pineapple shape as the mesh grows.
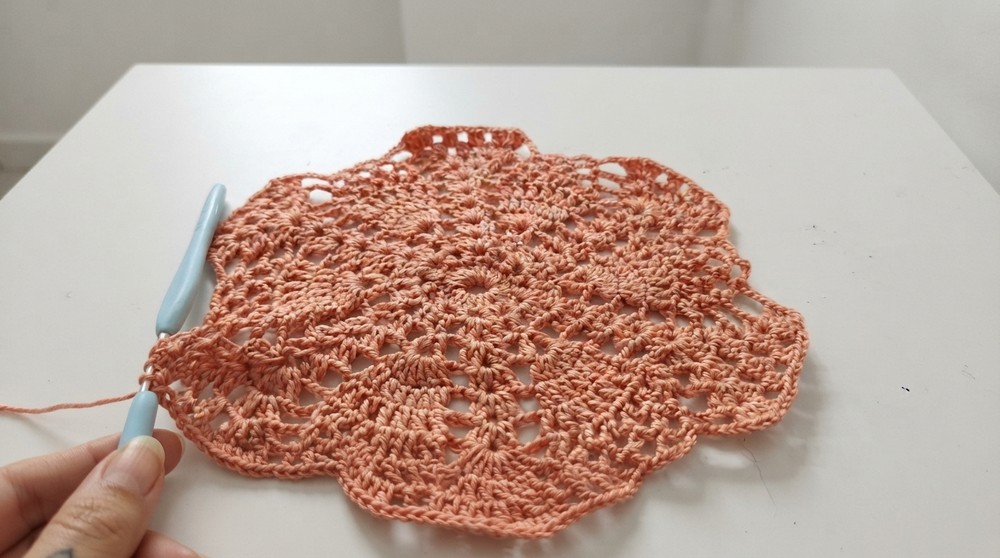
- Continue as established:
FINAL LACE FANS & EDGING
-
Subsequent rounds (continue to 19 as needed):
- The shell/cluster sections between pineapples are (2 dc, ch 2, 2 dc), with ch 2 between clusters, and more clusters added in each increase round.
- Pineapple sections: maintain mesh with sc, ch 4 in each mesh space as above.
- In every new round, increase cluster sets and mesh fans as the motif expands.
-
Final round (edging):
- After the last mesh and cluster round, finish with:
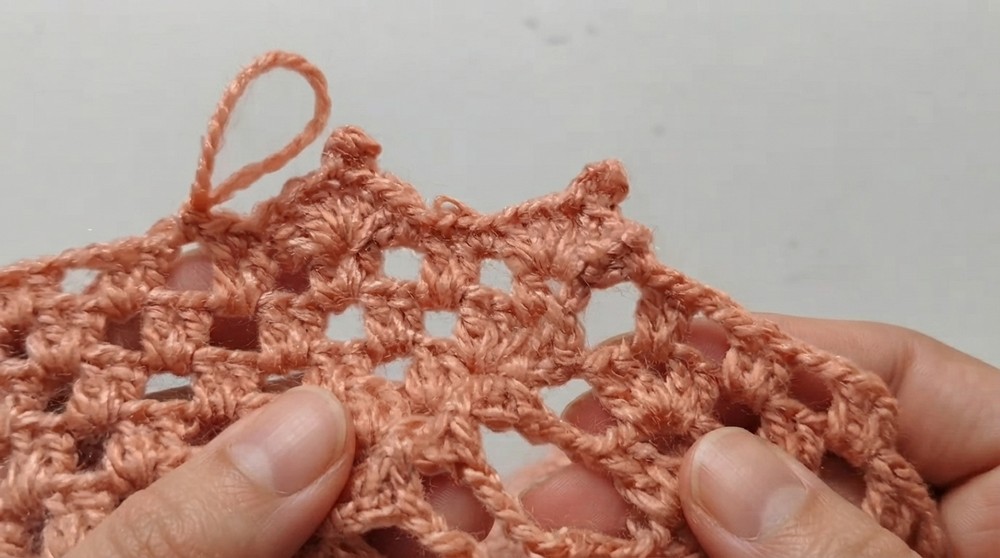
- Ch 3, flip work if needed, sl st to ch-2 sp, 3 dc, ch 4, sl st to previous st for picot, 3 dc in same sp. Sl st into next ch-2 sp.
- Continue: single crochet in next sc/mesh, repeat fans and picots to make a slightly scalloped, ornate edge all the way around.
- After the last mesh and cluster round, finish with:
Assembly & Finished Size
- No additional assembly required; weave in all ends with needle.
- Block your doily/placemat: moisten lightly, lay flat, and pin out all edges and points to dry. This is essential for shaping and showing off the pineapple lace.
Conclusion
This pattern blends accessible stitches with elegant construction for a finished piece brimming with detail. Use it for special occasions or everyday beauty; your handmade mat will always be a conversation piece. With practice, pineapple lace becomes a joy to crochet and adapt for doilies, table toppers, or stunning gifts.