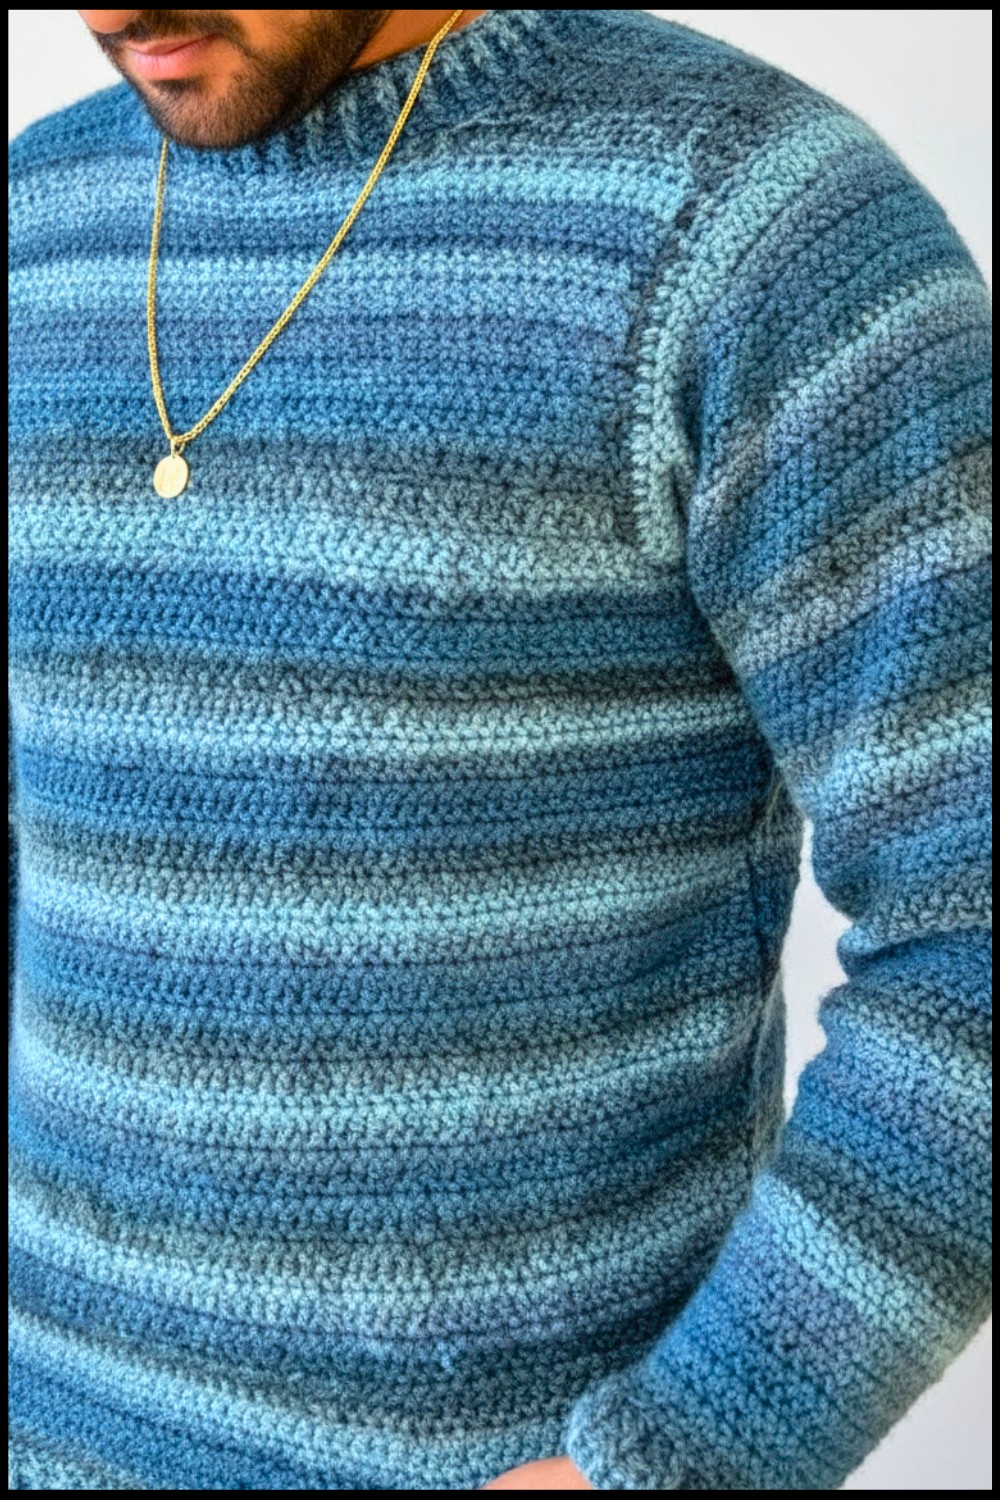
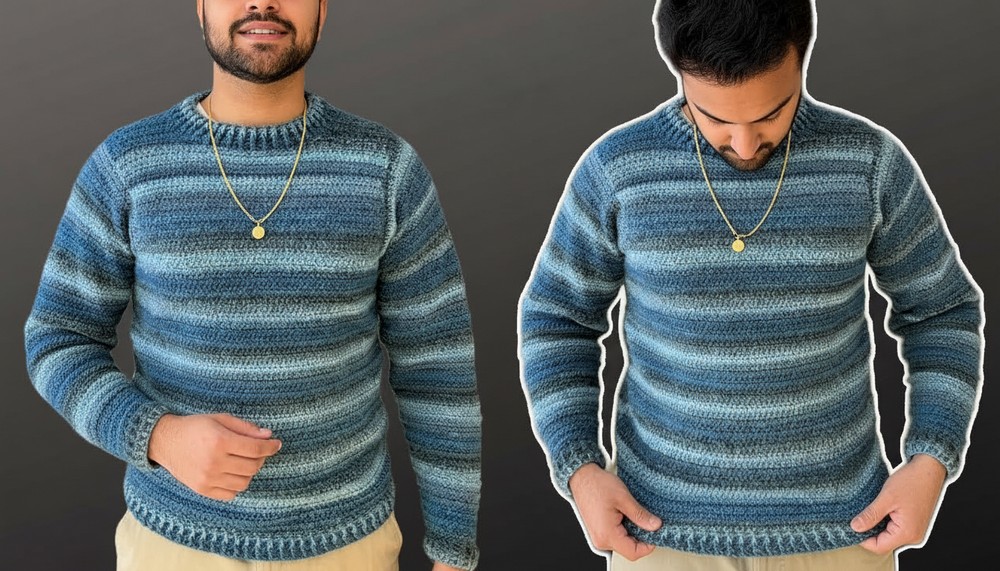
Versatile Crochet Men’s Sweater Free Pattern
Elevate your wardrobe with this free crochet men’s sweater pattern that provides cozy features, design and fits perfectly for smart wear.
A warm sweater feels like a big, gentle hug that keeps the cold away. Soft fabric makes it feel safe and snug on chilly days. With a crochet men’s sweater pattern, you can choose any color to match a favorite pair of pants or shirt. A big button and simple shape make the sweater easy to wear and fit just right. Someone can wear this sweater for work or a family trip because it is comfortable and looks nice.
Free Crochet Men’s Sweater Pattern Perfect Everyday Wear
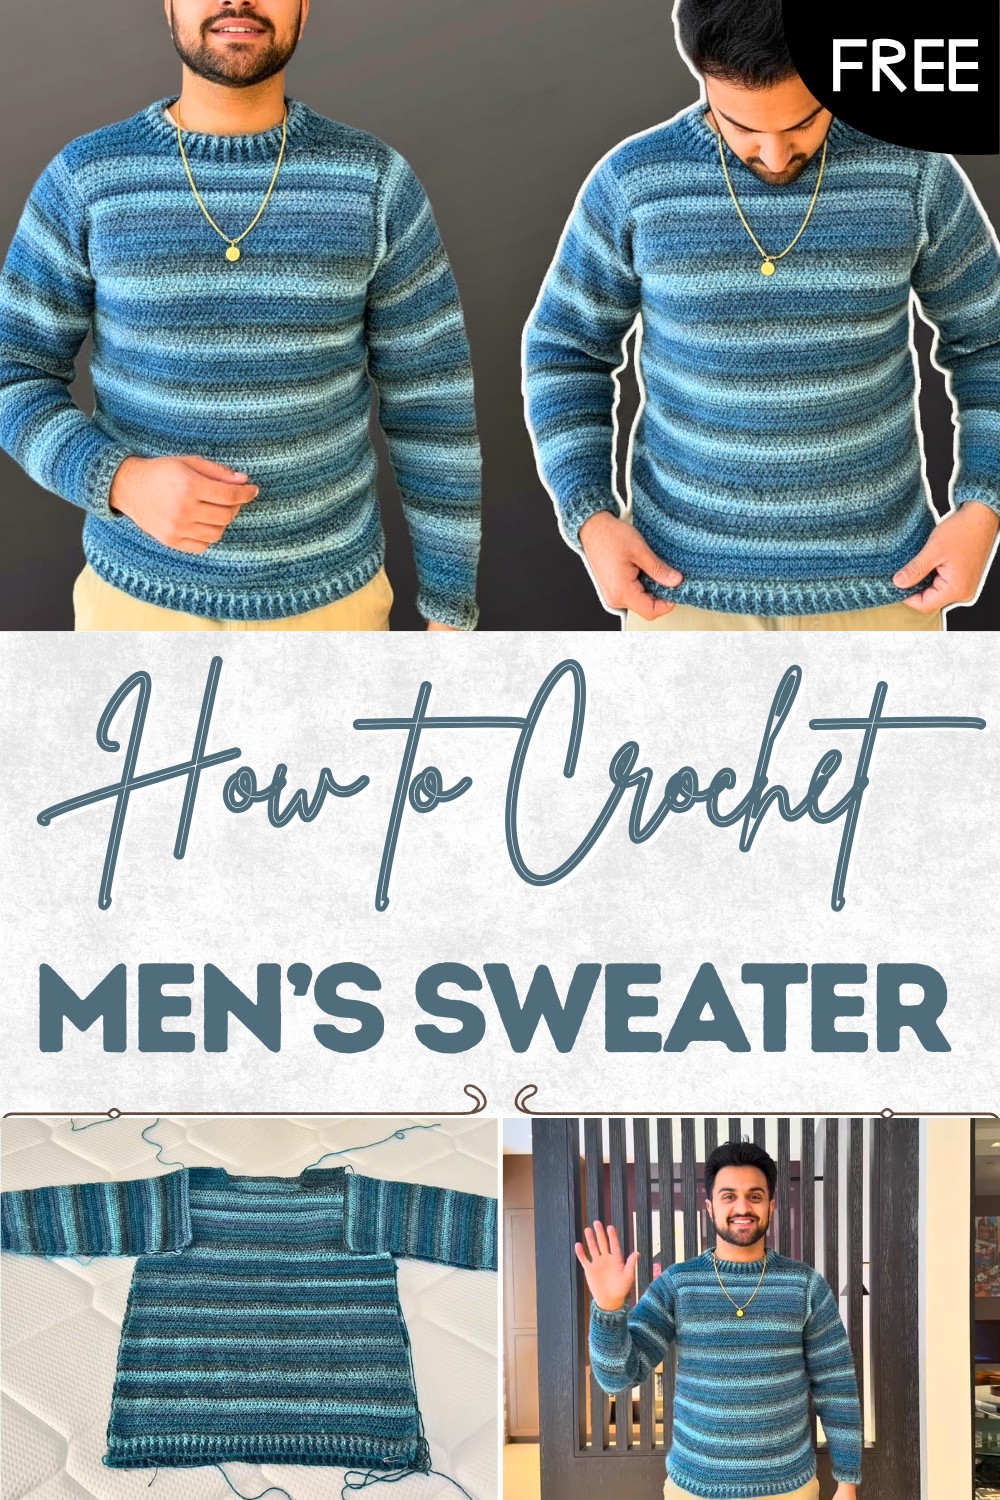
You can make one with long arms and a pocket, or keep it plain and simple. The pattern is easy to follow, so anyone can make a sweater without help. Even for a special event or relaxing at home, this sweater brings style and comfort. Crocheting one for someone shows how much you care. Every time it gets worn, it reminds someone of home, making days brighter and warmer. The softness and strength of this sweater make it good for every season.
Men’s Sweater – Crochet Pattern
Materials List
- Yarn: Under 500g of 100% acrylic, medium (worsted) #4 yarn, approx. 5½ skeins (color shown: “Full Moon”)
- Hooks: 5.5 mm and 6 mm crochet hooks
- Notions: Yarn needle, stitch markers or safety pins, scissors
Key Abbreviations (US Terms)
- ch – chain
- dc – double crochet
- hdc – half double crochet
- fpdc – front post double crochet
- bpdc – back post double crochet
- sl st – slip stitch
- st(s) – stitch(es)
- RS/WS – right side/wrong side
Special Notes
- Pattern is written for size medium, but can be modified as needed.
- Stitch count at end of row is 75 unless otherwise stated.
- Front post and back post dc create ribbing texture.
- Use 5.5 mm hook for ribbing, 6 mm hook for main body.
Pattern Instructions
BACK PANEL
Ribbing
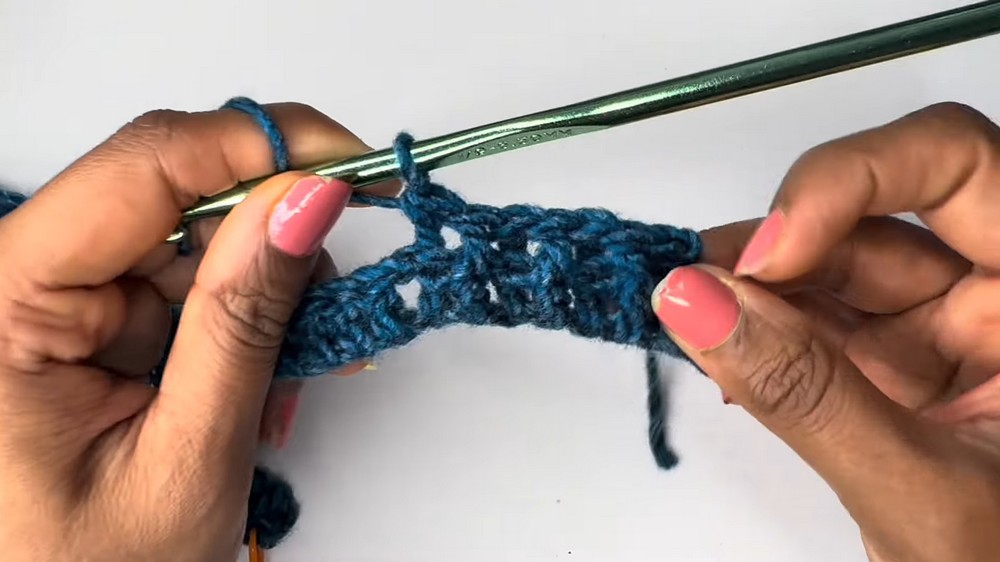
- With 5.5 mm hook, ch 77.
- Dc in the 4th ch from hook and each ch across (picking up both loops). (75 sts total)
- Mark the first st with a stitch marker for RS reference.
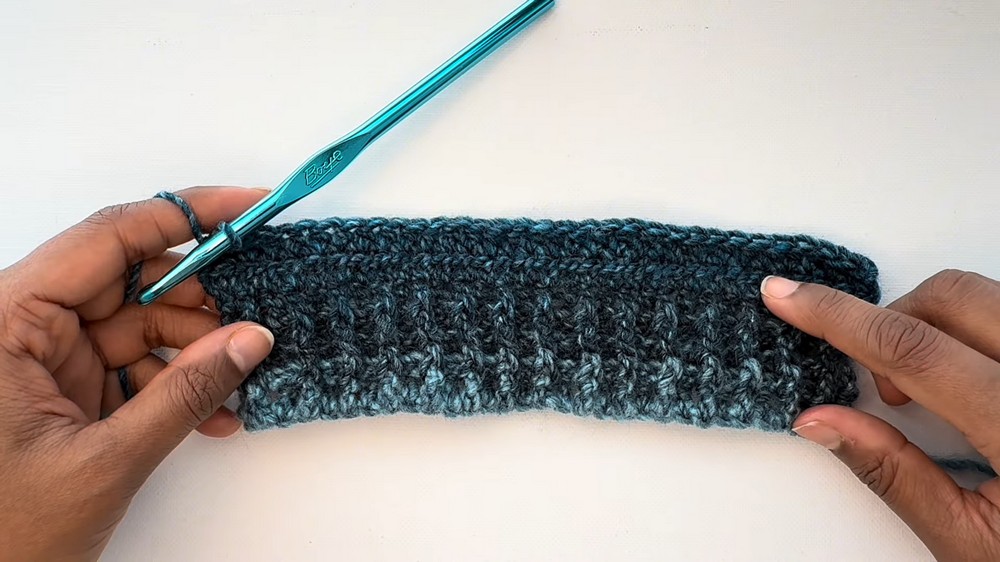
Ribbing Rows (Texture Bands)
- Row 2: Ch 1, turn. Hdc in first st. [Fpdc in next st, bpdc in next st]; repeat to last st. Hdc in last st. (75 sts)
- Row 3: Ch 1, turn. Hdc in first st. Work fpdc on previous fpdc, bpdc on previous bpdc; repeat to last st. Hdc in last st.
- Row 4: Repeat Row 3. Your rib should measure about 2″ and end with WS facing.
Switch to 6 mm hook.
Body
- Next row: Ch 1, turn. Hdc in each st across. (75 sts)
- Repeat previous row until the body (from bottom of ribbing) measures 16.5″, ending on WS. (Tip: Place marker for end of each repeat if desired)
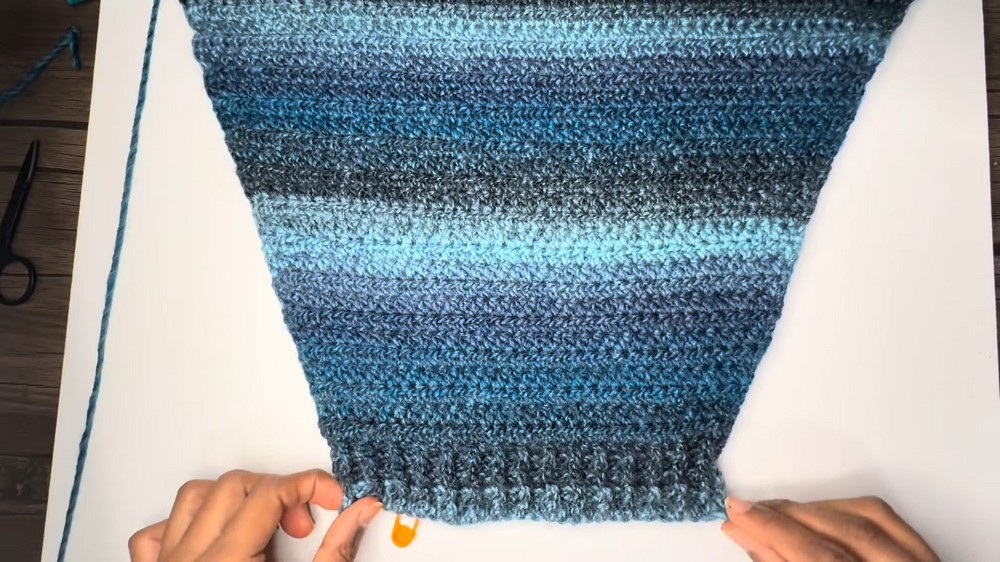
Shape Armholes
- Ch 1, turn. Sl st in first 13 sts.
- Ch 1. Hdc in same st and each across until 12 sts remain. (Verify count)
- Ch 1, turn. Hdc across. Repeat this row until the armhole section (from ribbing) is 26″ long (9.5″ more from start of body), ending on WS.
Shape Right Shoulder
- Ch 1, turn. Hdc in next 13 sts.
- Ch 1, turn. Hdc in first st, hdc2tog over next 2 sts, hdc in each remaining st.
- Fasten off, leaving a long tail for sewing.
Shape Left Shoulder
- Turn panel RS up.
- Attach yarn at 14th st from end. Ch 1. Hdc in each st to row’s end.
- Ch 1, turn. Hdc in first st, hdc in each until last 3 sts, hdc2tog over next 2 sts, hdc in last st.
- Fasten off, leaving a long tail for sewing.
FRONT PANEL
- Repeat BACK PANEL instructions up to armhole shaping, except stop body at 23.5″ from bottom (shorter than back), ending on WS.
Shape Left Front Shoulder
- Ch 1, turn. Hdc in next 17 sts.
- Turn (do not ch), sl st in first 3 sts, ch 1, hdc in same st and across. (16 sts)
- Ch 1, turn. Hdc in each st until last 2 sts (leave unworked).
- Ch 1, turn. Hdc in first st, hdc2tog, hdc in others to end. (13 sts)
- Continue: Ch 1, turn, hdc across for length to match back panel shoulders.
- Fasten off, leaving long tail.
Shape Right Front Shoulder
- With RS facing, attach yarn to 18th st from end.
- Ch 1, hdc in each to end. (18 sts)
- Ch 1, turn. Hdc in each until last 2 sts (leave unworked)
- Turn (do not ch). Sl st in first 3 sts, ch 1, hdc in same and across. (14 sts)
- Ch 1, turn. Hdc in each until 2 sts remain; hdc2tog.
- Continue ch 1, turn, hdc across to match shoulder length.
- Fasten off, leaving long tail.
SLEEVES
- With 5.5 mm hook, ch 33.
- Dc in 4th ch from hook, dc in each to end. (31 sts)
- Mark RS with a safety pin.
- Ch 1, turn. Hdc in first st, then fpdc, bpdc repeat to end; hdc in last st.
- Ch 1, turn. Hdc in first st, fpdc/bpdc as established, hdc in last st.
- Repeat last row once more for four total ribbing rows.
Switch to 6 mm hook.
- Ch 1, turn. Hdc in each st across.
- Repeat last row again (2 rows of hdc).
Widen the sleeve:
- Increase Row: Ch 1, turn. 2 hdc in first st, hdc across, 2 hdc in last st.
- Regular Row: Ch 1, turn. Hdc across.
- Repeat Increase Row and Regular Row 13 more times (use a checklist if needed; 14 increase pairs in total).
- When increases are complete, work 2 rows of hdc.
- Next, do an increase row: Ch 1, turn, 2 hdc in first st, hdc across, 2 hdc in last st.
- Work 3 rows of hdc.
- Repeat steps 13 & 14 once more (increase row followed by 3 hdc rows).
- Continue working even (no increase) hdc rows until sleeve is 23.5″ from ribbing edge.
- Fasten off, leaving a long tail.
- Make a second sleeve.
ASSEMBLY
- Lay panels flat with RS facing in.
- Use stitch markers/pins to secure.
- Sew shoulder seams (left and right) using whip stitch and yarn needle, making sure WS faces you.
- Attach sleeves: Pin sleeve panels to body, sew along the curves as needed.
- Fold sweater and sew: Use tails to sew from sleeve edge down side seams and underarm.
- Secure and weave in ends.
NECKLINE RIBBING
- With 5.5 mm hook, join yarn at shoulder seam.
- Ch 1, dc evenly around neckline, picking up 1-2 loops per st as needed.
- Join with sl st to first dc.
- Ch 1, fpdc in first post, bpdc in next post, repeat around for ribbing.
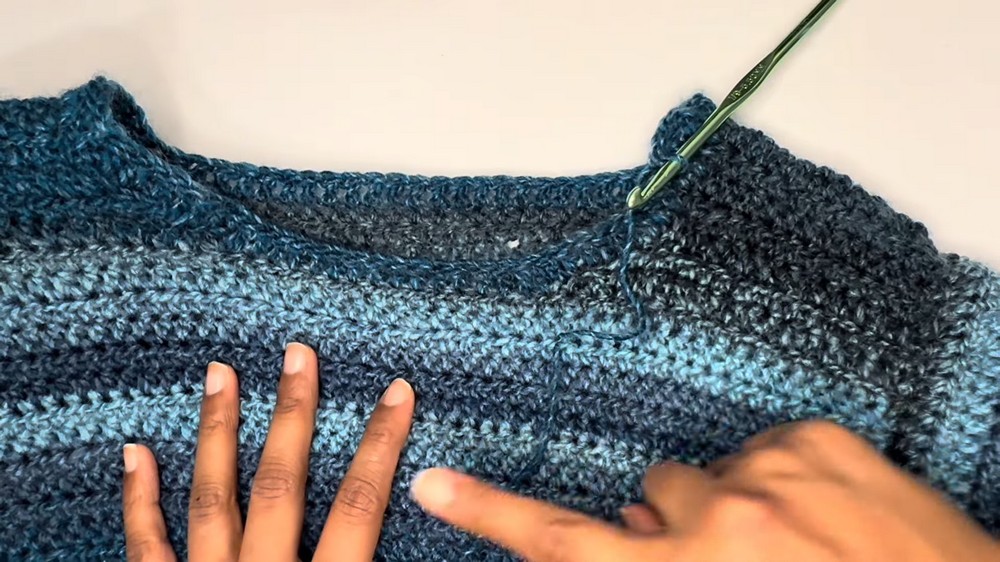
- Repeat previous row until ribbing measures desired width.
- Fasten off, weave in all ends.

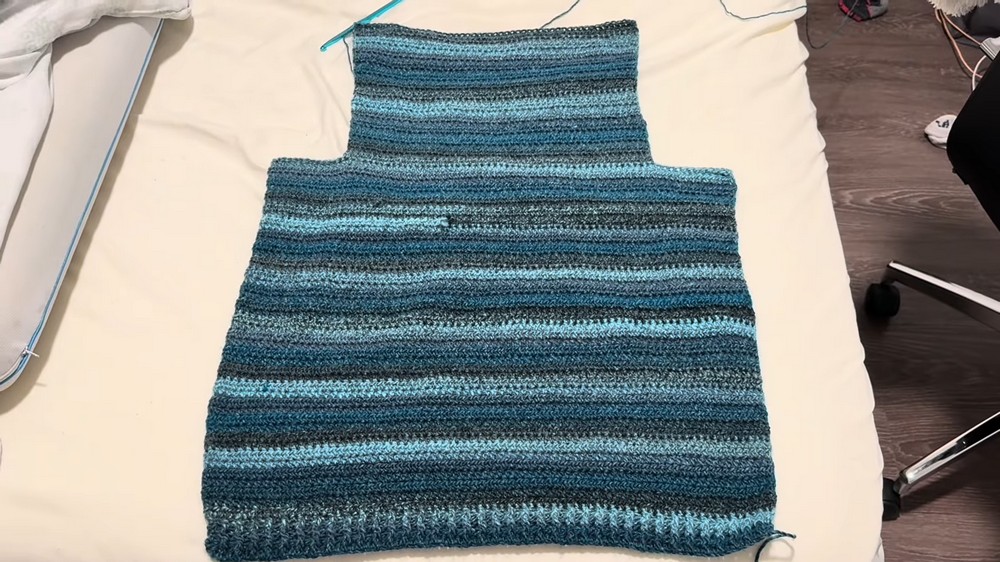
Conclusion
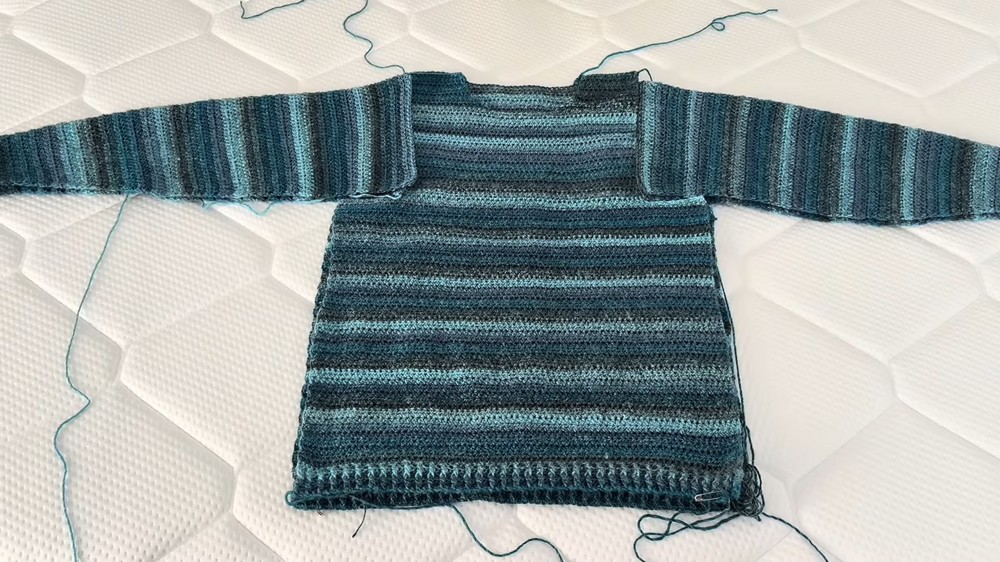
Congratulations! You have constructed a classic, medium-sized men’s sweater using panels and simple stitches. The textured ribbed cuff, hem, and neckline add professional polish. With a consistent stitch count and attention to shaping, your finished garment should fit comfortably and stylishly.
Pattern Correction & Tips
- Double check your stitch count at the end of each foundational row for accuracy.
- Mark the RS of each panel and sleeve so assembly is intuitive.
- For a taller or shorter sweater, adjust the body and/or sleeve length before assembly.
- If your sleeve panel doesn’t fit perfectly, gently stretch as you sew; the fit will even out when worn.
- Take care when picking up stitches evenly around the neckline for neat ribbing.
Tip: Use safety pins or stitch markers liberally throughout assembly to avoid mismatched seams.