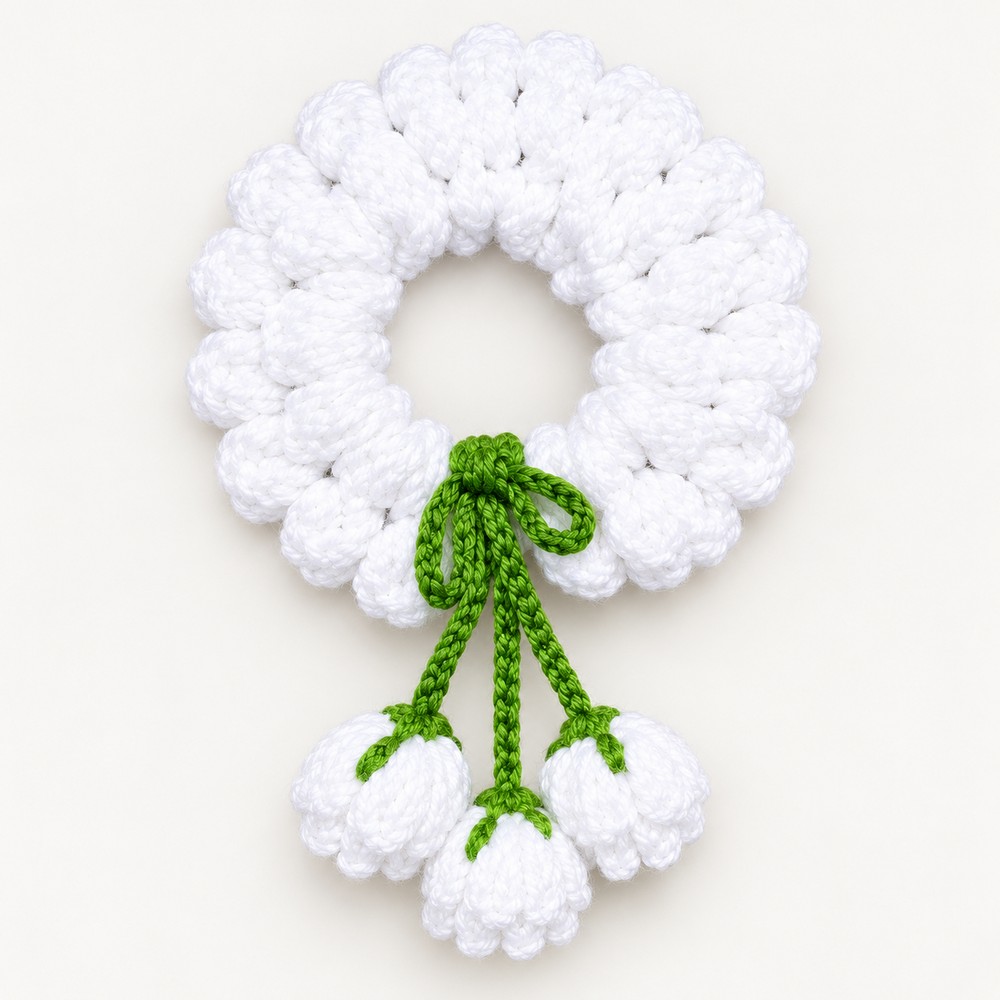
Tiny Handmade Crochet Floral Hair Tie Free Pattern + Tutoria

Wrap tiny crochet roses around your ponytail for a soft floral finish or turn the blooms to one side of a loose low bun so they peek out in your photos.
Ponytails pull your hair into one spot, which gives a small decoration somewhere to stand out. A crochet hair tie with tiny roses puts several little blooms at that point. Each rose has its own shape, so you can still see the curls in the flowers when they sit close together. Worn around a low bun, the cluster looks like a tiny group of flowers nestling in the folds of your hair.
Free Crochet Floral Hair Tie Free Pattern
Placement matters with this accessory because the tie can turn as you wrap it. Once your ponytail feels secure, ease the roses toward the side you want to show. Position them along the top for a high ponytail or turn them slightly to one side for a bun you plan to wear low. For thick hair, you can secure your style with a plain elastic first and wear the floral tie over it. That also gives you more control over where the flowers end up.
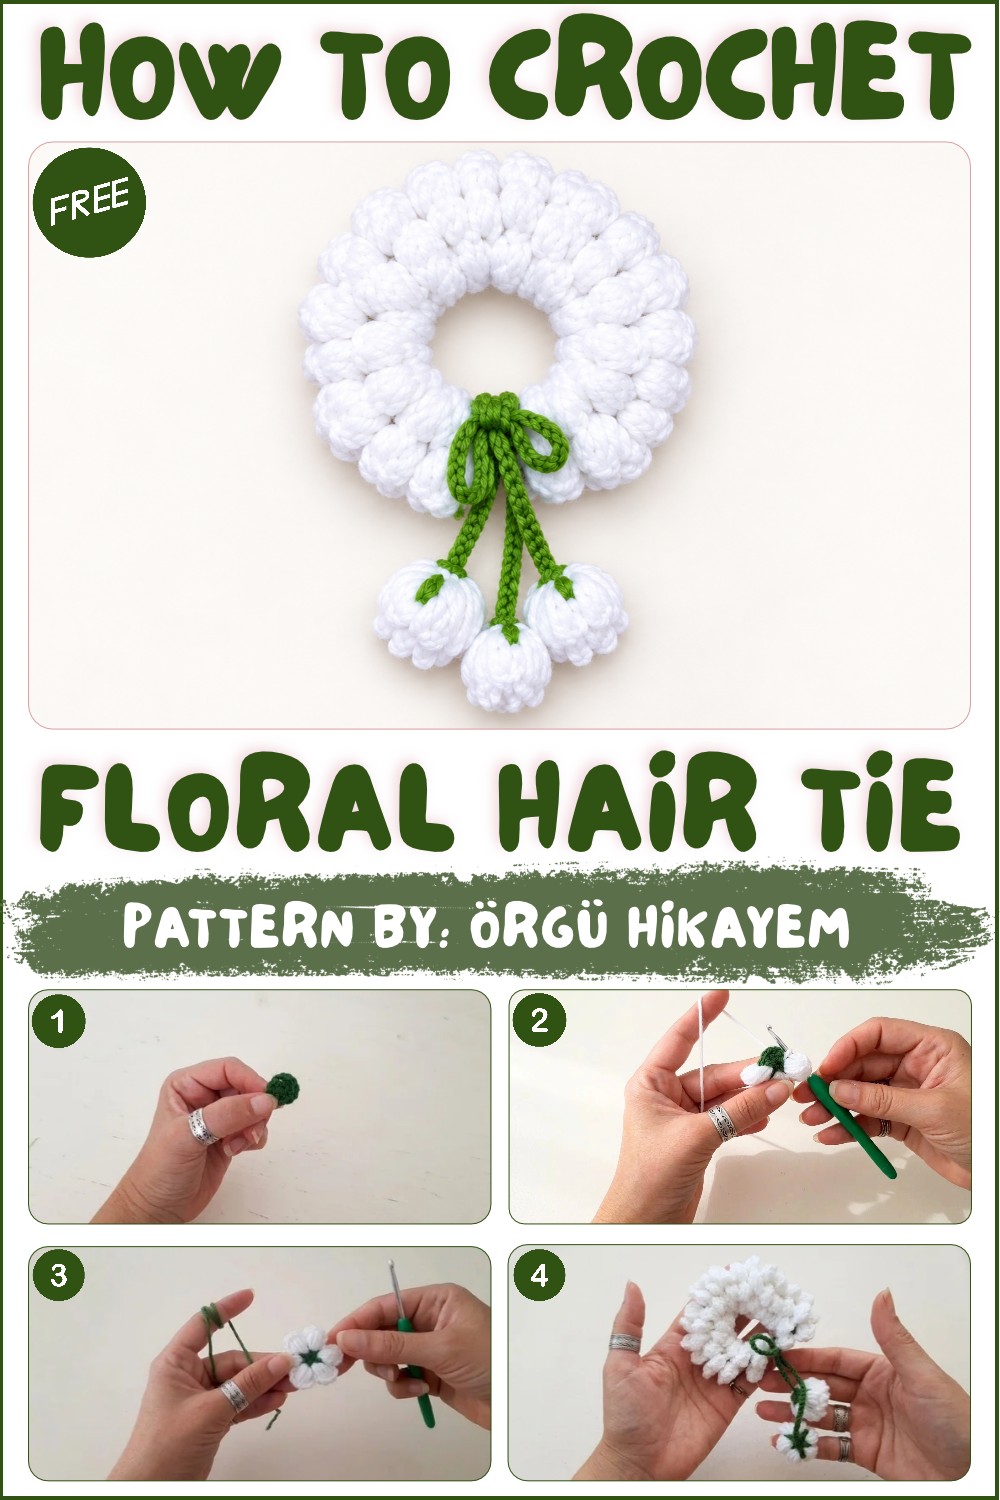
Behind the Floral Design
Hair accessories offer room to use familiar motifs in different ways. This project places miniature roses on a tie. Anyone who usually works on flat flowers can use it to see how curled blooms sit on an elastic. For other ways to wear roses, see the clips from Örgü Hikayem.
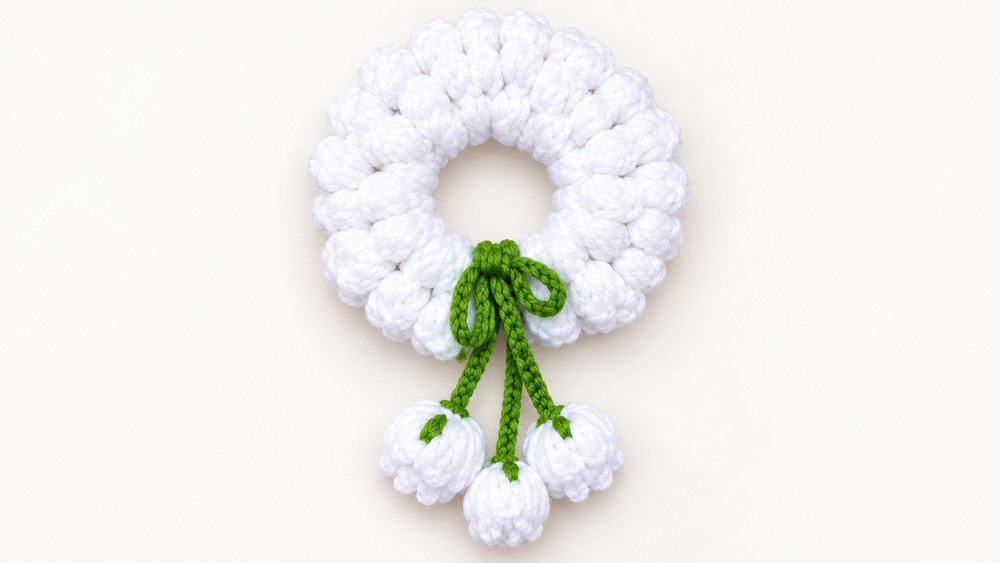
You can have fun picking shades for individual roses. Several tones from the same color family give the arrangement depth, especially in daylight. For a tie you’ll wear on busy mornings, take a look at the clothes you reach for most and pick one or two colors you already like wearing together.
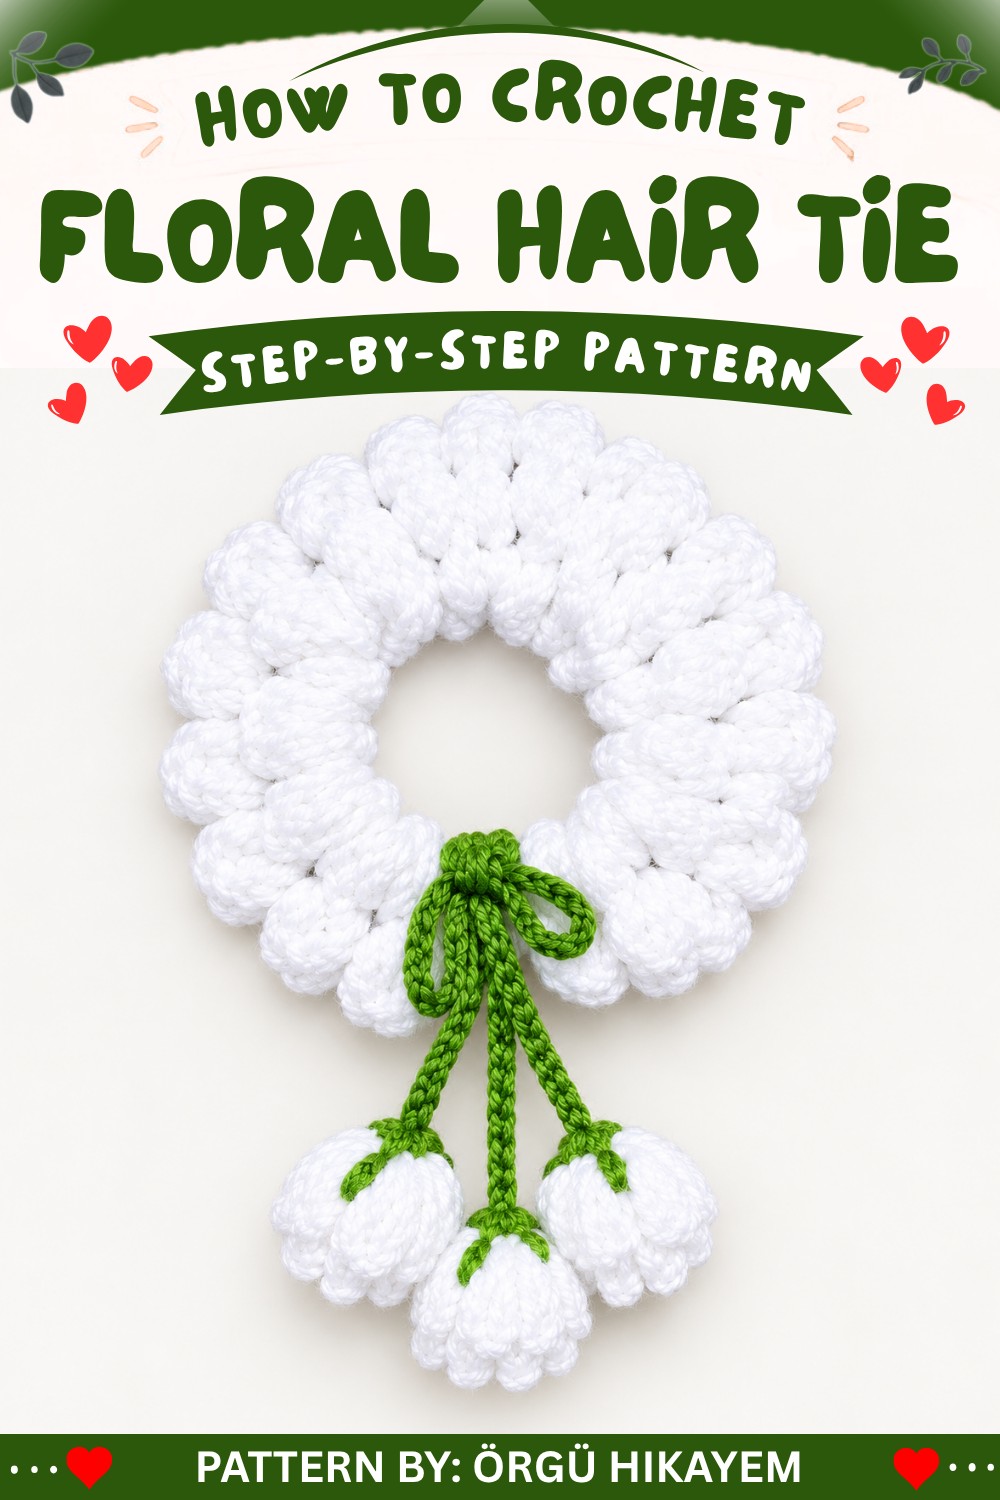
Crochet Flower Cluster Hair Accessory Pattern
This crochet hair accessory combines a delicate band with attached flower clusters and decorative buds for a charming and vibrant touch. Designed for durability and style, this accessory is customizable with various yarn colors, allowing you to create a unique look every time.
Skill Level
Intermediate
This pattern is suitable for those with a good understanding of fundamental crochet techniques, such as working with magic rings, popcorn stitches, and assembling parts. Familiarity with decorative crochet methods is recommended for creating the textured flowers and buds.
Materials
You will need the following materials to complete this project:
- Yarn: At least three colors:
- White (or any light color) for the flowers.
- Green for the stems and base band.
- A contrasting color like purple for decorative buds.
- Hook: 2.5 mm crochet hook (adjustable based on yarn weight).
- Accessories: Scissors for trimming yarn ends.
Stitch Abbreviations
- ch = chain.
- sl st = slip stitch.
- dc = double crochet.
- popcorn = popcorn stitch (typically 4 dc worked into the same stitch and joined).
Useful Tips
- Magic Ring: Before starting the flowers, practice perfecting the magic ring technique to ensure a tight and secure center. Make sure no gaps are visible.
- Popcorn Stitch: Work the stitches consistently to achieve uniformly shaped popcorn petals. Ensure even tension is applied throughout.
- Band Length: Adjust the length of the band (base) depending on its intended use. Longer chains can make a headband, while shorter chains can make a hair tie.
- Flower Arrangement: Space the flowers evenly along the band for a balanced and polished look. Secure them tightly to prevent any loose or unstable designs.
- Customization: Experiment with yarn colors and flower placement to make the accessory uniquely yours.
Pattern Instructions
This pattern consists of five main sections: creating the flower centers, adding popcorn petals, forming the base band, attaching flowers, and making decorative buds.
1. The Flower Center
Start the flowers by crocheting circular centers that serve as the base for the popcorn petals.
- Begin with a magic ring.
- Ch 3 (counts as the first dc and 1 chain space).
- Work 1 dc, ch 1 into the ring 5 more times for a total of 6 chain spaces.
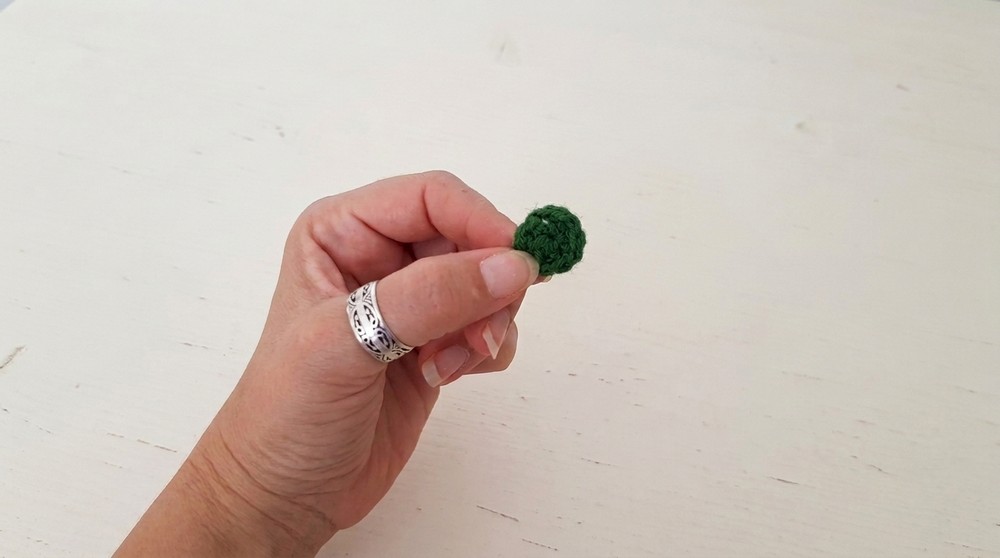
- Pull the magic ring tight to close the circle.
- Sl st into the second chain of the starting ch-3 to join.
2. The Popcorn Petals
Add texture and decoration to the flower centers using the popcorn stitch.
- Attach the white yarn into any ch-1 space from the previous round.
- Ch 3, then work a popcorn stitch (4 dc) into the same space.
- Ch 3 and sl st back into the same chain space to anchor the popcorn stitch securely.
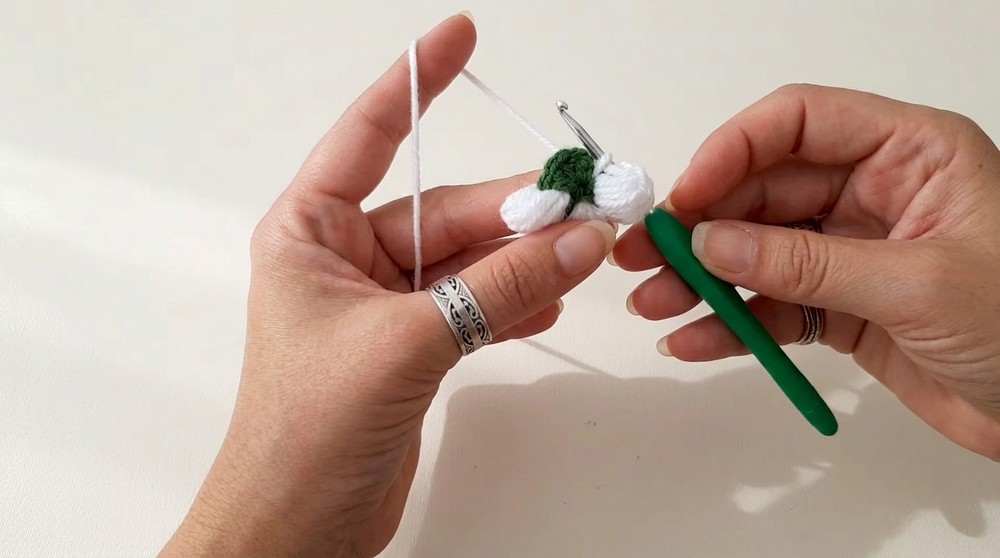
- Move to the next ch-1 space and repeat the process (ch 3, popcorn stitch, ch 3, sl st) until all six chain spaces are filled with popcorn petals.
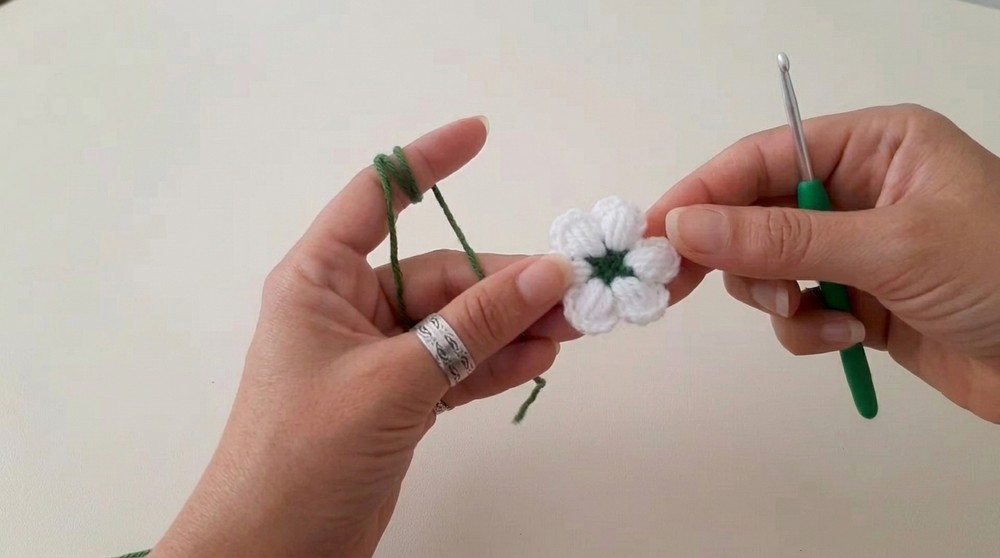
When completed, each flower will have six evenly spaced popcorn petals.
3. The Base Band
The band serves as the foundation for the hair accessory.
- Using green yarn, ch 120 to create the foundation chain. Adjust this number to create a longer or shorter band based on your preference.
- Fasten off and ensure the band lies flat before proceeding to the next step.
4. Attaching Flowers
Position and secure the flowers evenly along the band.
- Lay the crocheted flowers along the band, ensuring equal spacing. Place approximately 17 flowers for a full design (adjust based on the length of your band and preference).
- Use the green yarn to stitch each flower securely to the band. Insert the needle through the base of the band and the center of each flower to anchor them tightly.
- Make sure the flowers lie flat and don’t shift when the band is stretched or moved.
5. Decorative Buds
Add small bud elements at the ends of the band for a finished, textured look.
Creating Buds:
- Begin with the magic ring technique.
- Into the ring, work 5 dc with ch 1 between each dc.
- Close the ring by pulling tight and secure with a sl st.
Adding Popcorn Texture:
- Work a popcorn stitch (4 dc) into each ch-1 space.
- After completing each popcorn stitch:
- Ch 2 and sl st into the top of the popcorn stitch.
- Then move to the next ch-1 space and repeat the process.
- Continue around the ring until a textured, circular bud shape is formed.
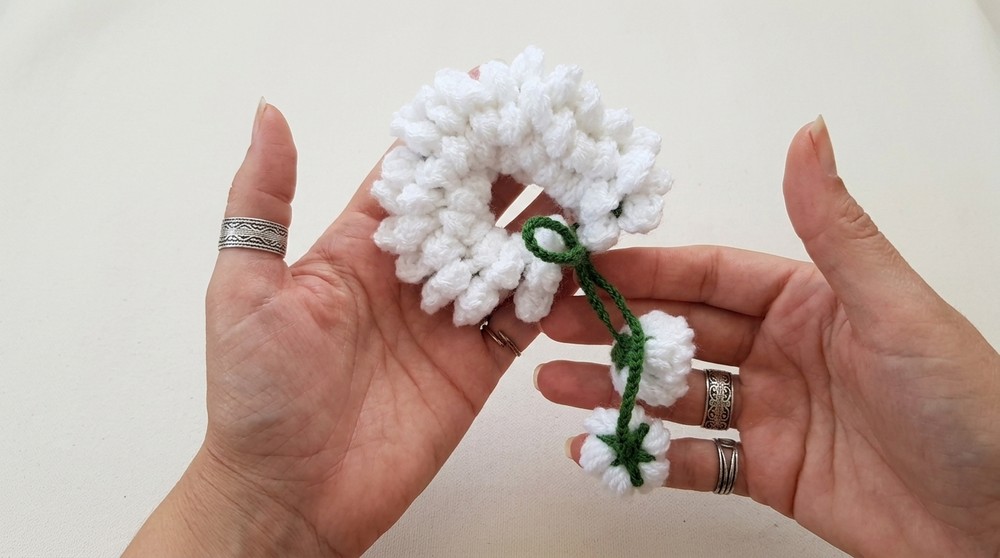
Attaching the Buds:
- Position the buds at each end of the band.
- Use green yarn to attach them securely to the band. Make tight knots or stitches to ensure durability.
Final Assembly
Ensure all elements are properly attached to the band. Trim any excess yarn and check the accessory for loose parts. Stretch the band gently to confirm the arrangements are stable and evenly spaced.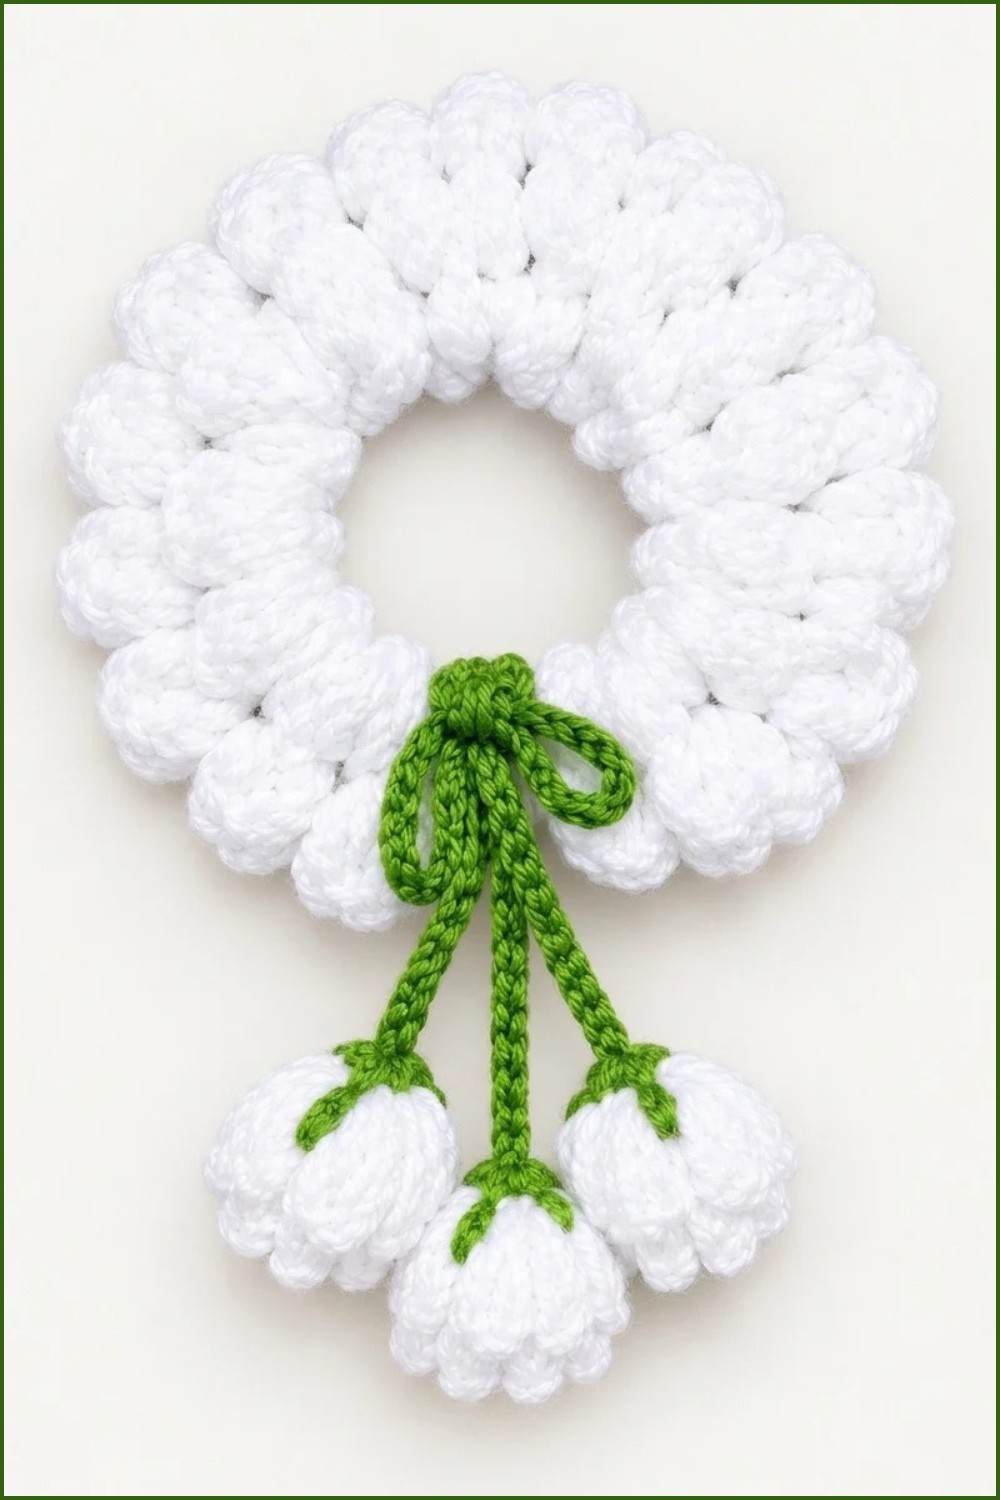
Conclusion
This crochet flower cluster hair accessory combines elegance and practicality to elevate any hairstyle. With its intricate sequences of flowers, buds, and a sturdy base, the final product offers endless possibilities for creative expression. Whether you’re crafting for yourself or as a gift, this project is an excellent way to showcase your crochet skills and personalized design flair.