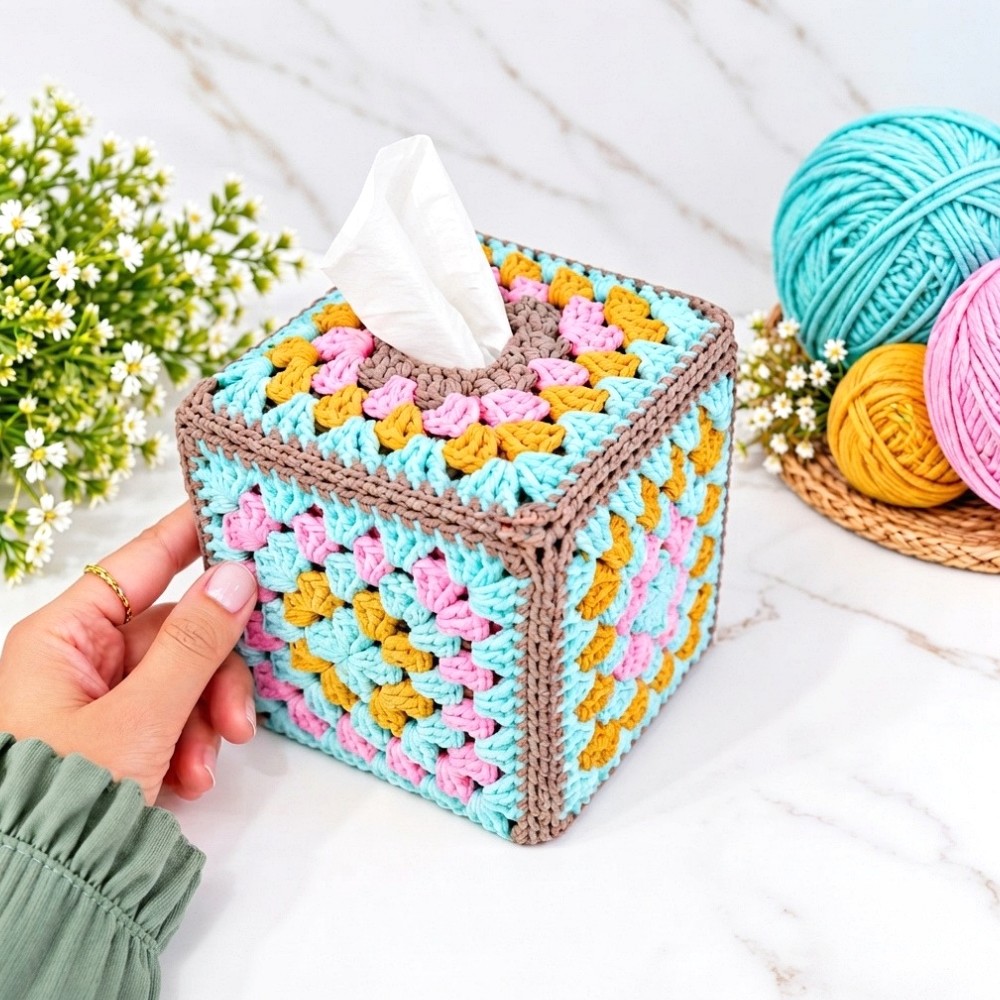
Patchwork Crochet Granny Square Tissue Box Cover for Side Tables

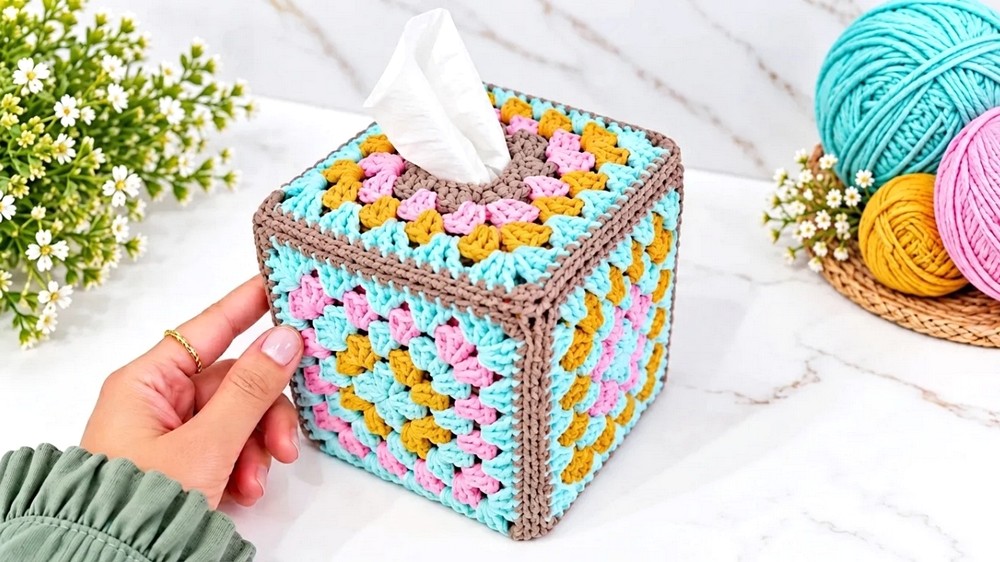
Dress up your nightstand with a Crochet Granny Square Tissue Box Cover that pairs colorful patchwork with a top opening so tissues stay within easy reach.
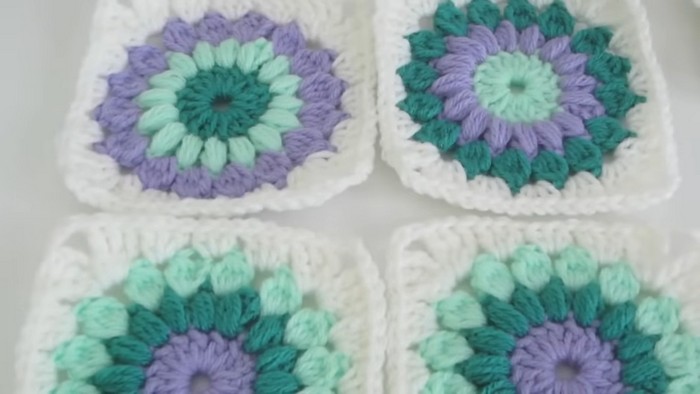
Printed cardboard can look busy on a tidy nightstand, especially when the box sits out every day. With a Granny Square Tissue Box Cover, the cardboard stays hidden and the tissues remain within reach. The square motifs give the sides a patchwork look, so even a small box can show several colors. One shade repeated around the edges helps the different centers look like they belong together.
Granny Square Tissue Box Cover in Your Favorite Colors
From Neda’s Channel
Home projects sit alongside smaller crochet pieces on yarnish_love, Neda’s channel. Her granny square tissue box project gives viewers a clear example of how individual motifs can become part of a useful object. The channel is also a source of ideas for people who like working with repeated square shapes. YouTube
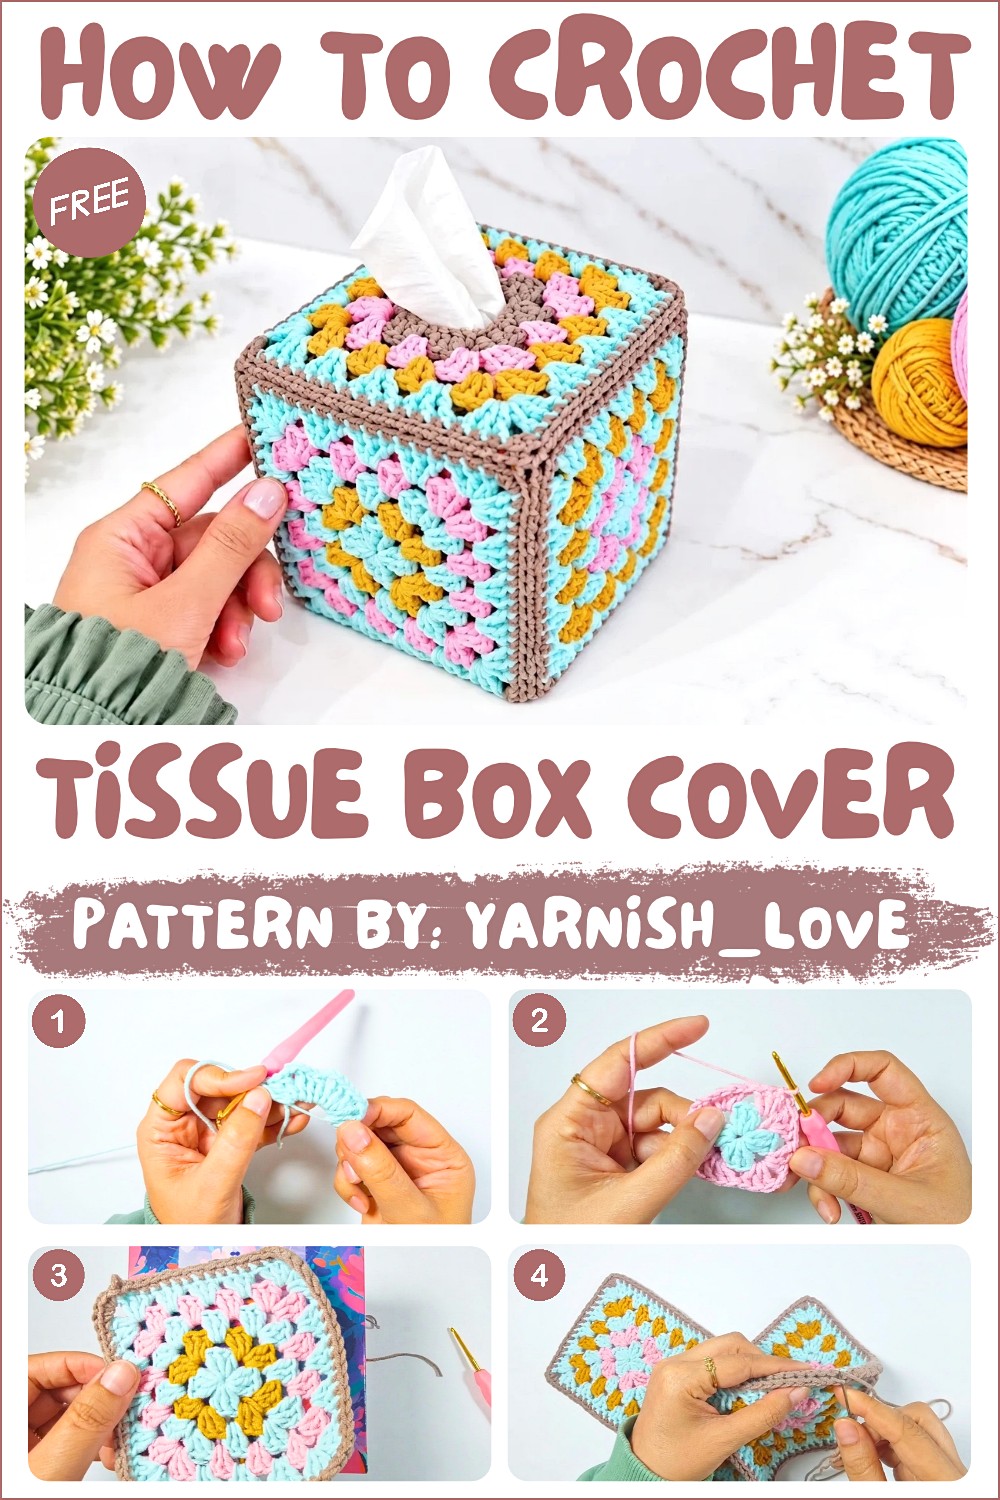
Measure the box you usually buy before settling on the size of the squares. Two boxes that look similar on a store shelf can differ in height or width. When you lay the motifs together, check how their edges meet at the corners and where the opening will fall. The slot should line up with the cardboard opening so a tissue can come out in one smooth pull.
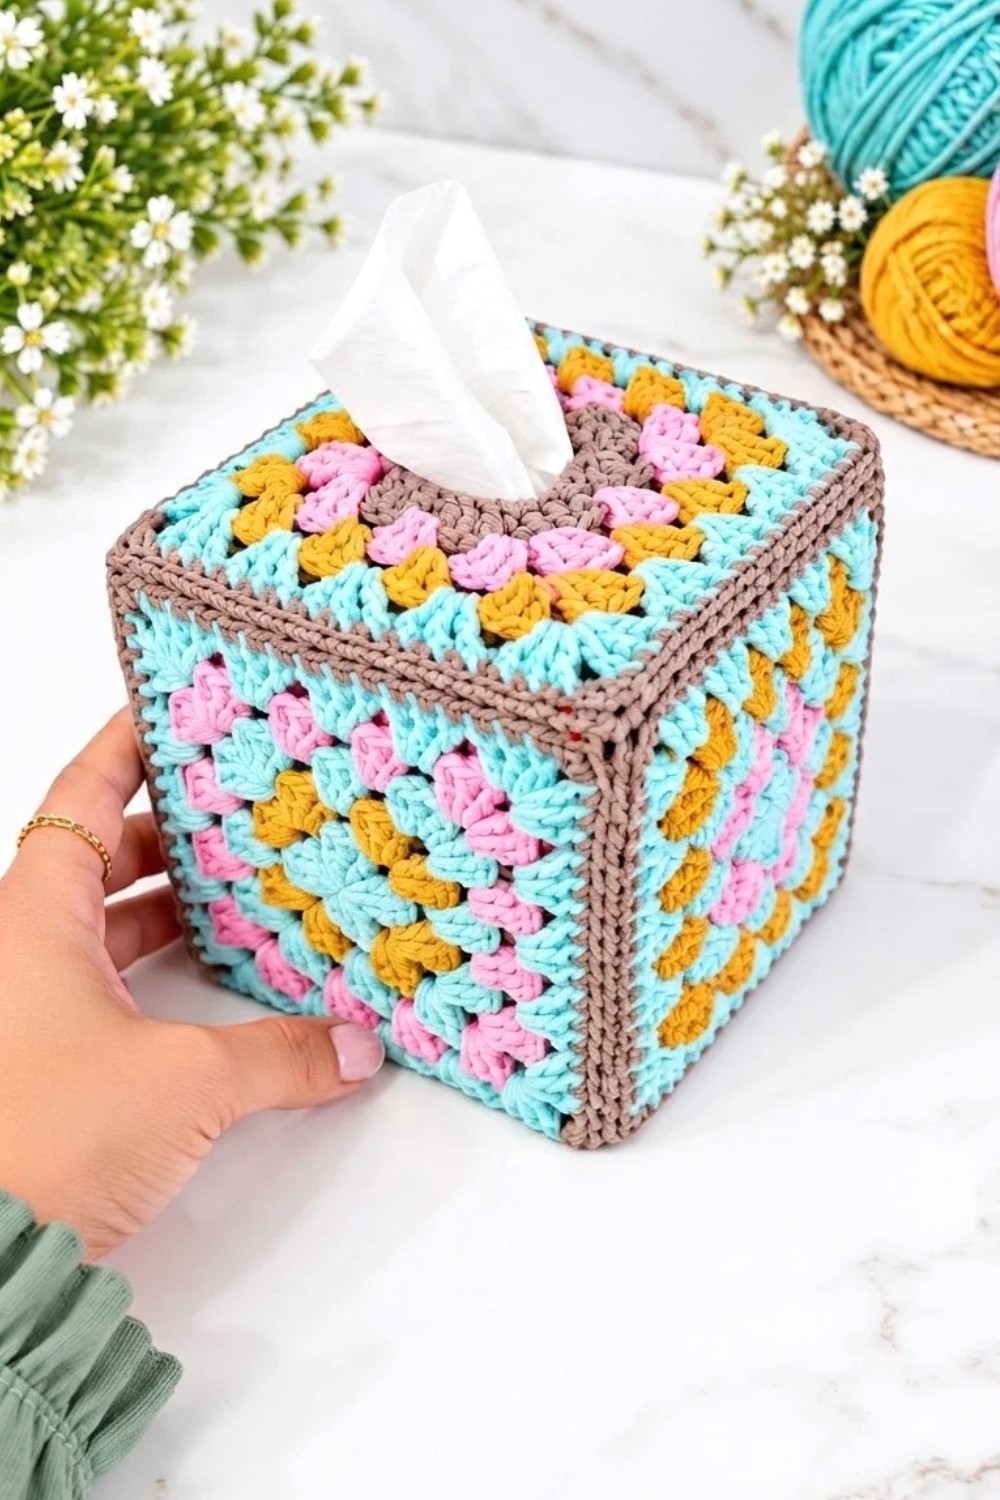
On a bedside table, soft shades can match the bedding or lamp. For a desk, consider using the same accent color as a pencil cup or tray.
You can also plan the square layout around the sides that people see most often. A box tucked against a wall gives the front panel most of the attention, while one on a shared table shows every side. Once the tissue box is empty, lift the crochet cover off and use it on a fresh box of the same size.
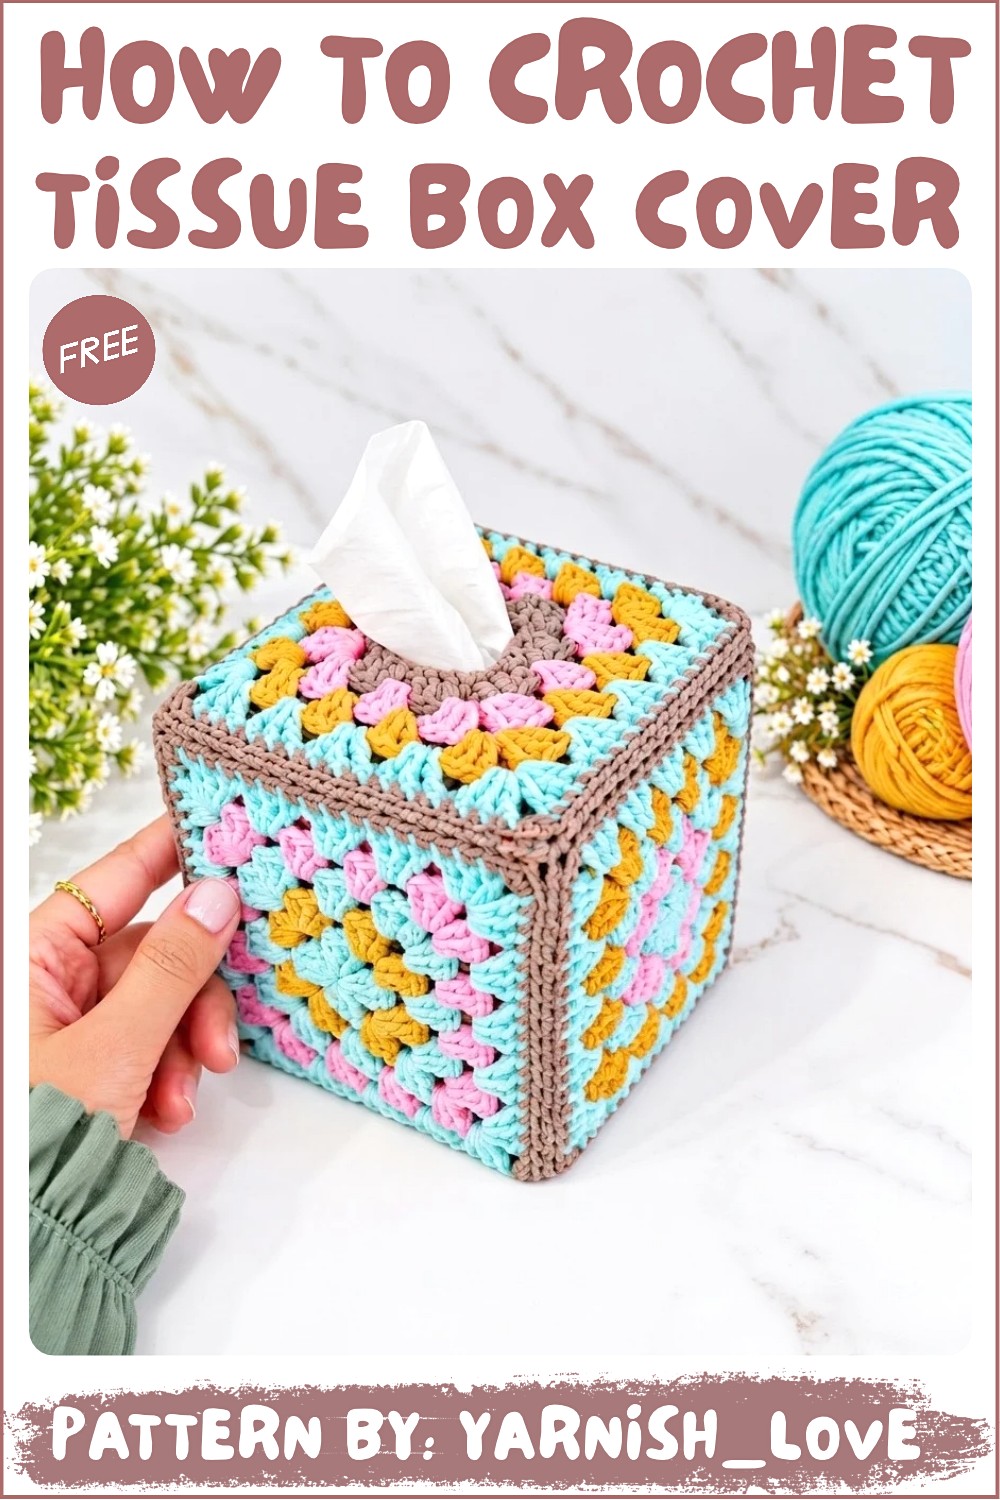
Crochet Tissue Box Cover Pattern
This crochet pattern provides instructions to create a functional and decorative tissue box cover featuring granny squares. The design is elegant and customizable, making it a beautiful handmade addition to your home. The pattern is based on simple stitches and assembly techniques, and the finished result will fit snugly over a standard tissue box.
Skill Level
Intermediate
The pattern utilizes simple granny square construction with rounds of double crochet, single crochet, and slip stitches. However, assembling the squares and creating an opening for tissues requires attention to detail and some familiarity with sewing crochet pieces.
Materials
- Yarn: Cotton yarn (medium-weight recommended).
- Hook Size: 2.5 mm crochet hook.
- Notions:
- Tapestry needle for sewing squares together.
- Foam blocking mat and pins for shaping squares.
- Scissors.
The finished dimensions will depend on your tissue box size. Adjust the number of rounds as needed to fit your specific box.
Stitch Abbreviations
- ch = chain
- sc = single crochet
- dc = double crochet
- sl st = slip stitch
Useful Tips
- Blocking: Before assembling, block each square to ensure uniform size and sharp corners. This step creates a clean and professional look.
- Adjustable Size: As tissue boxes vary in dimensions, adjust the size by adding or reducing the number of rounds in the granny squares.
- Clean Seams: When seaming, use the back loop stitches for a smooth, nearly invisible join.
- Weaving Ends: Securely weave in all tails for long-lasting durability and a polished finish.
Step-by-Step Pattern
1. Side Granny Squares
You will create four granny squares, one for each vertical side of the tissue box.
Round 1
- Begin with a magic ring.
- Ch 1, work 1 sc into the ring, then ch 1 (this counts as your first dc).
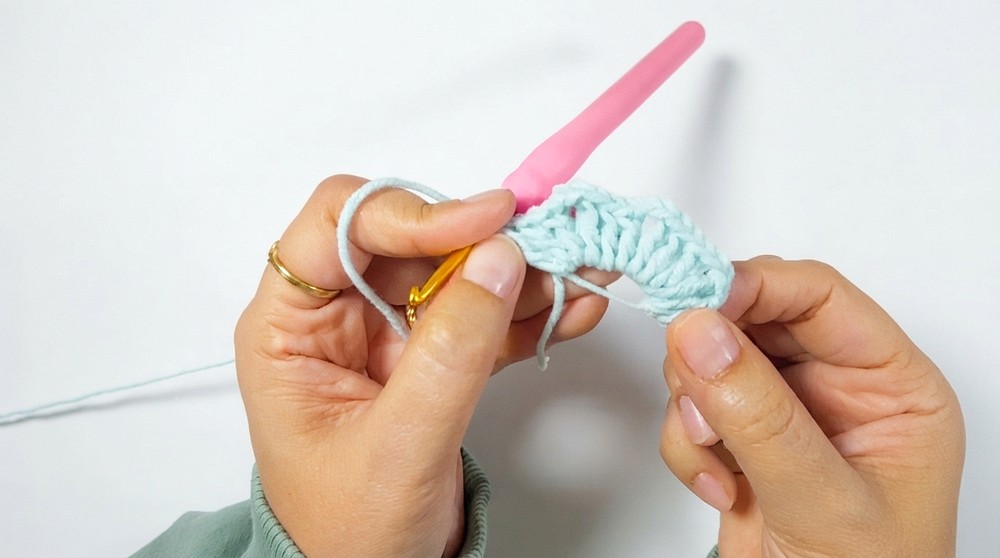
- Repeat the following into the magic ring:
- 2 dc, ch 2.
- Repeat [3 dc, ch 2] three more times to create 4 clusters.
- Pull the magic ring tight and sl st to join to the first dc.
At the end of Round 1, your square will have 4 corner chain spaces created by the chain-2 clusters.
Round 2
- Attach the yarn in any corner chain-2 space.
- For each corner:
- Ch 1, work 1 sc, ch 1, and 2 dc into the same corner.
- Ch 2, then 3 dc in the same space.
- Repeat [3 dc, ch 2, 3 dc] patterns in the other three corner spaces.
- End the round with a sl st to join.
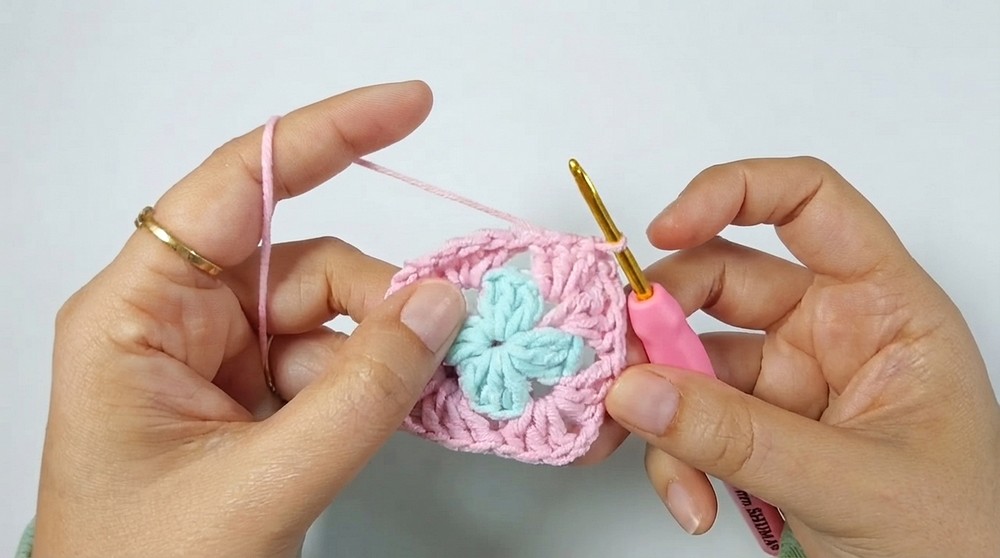
The square will now have corner clusters and increased surface area.
Round 3
- Attach the yarn in any chain space. Begin the process of filling the side spaces.
- For each space:
- Ch 1, work 1 sc, ch 1, 2 dc into the space.
- Continue placing 3 dc into side spaces and [3 dc, ch 2, 3 dc] in the corners.
- Slip stitch to finish the round.
Rounds 4–5
- Continue to expand the square by repeating the granny square pattern:
- Place 3 dc into each side space.
- Work [3 dc, ch 2, 3 dc] into each corner space.
- As the square increases in size, additional side clusters will form.
- End each round with a slip stitch and maintain a consistent tension throughout.
Round 6 (Finishing)
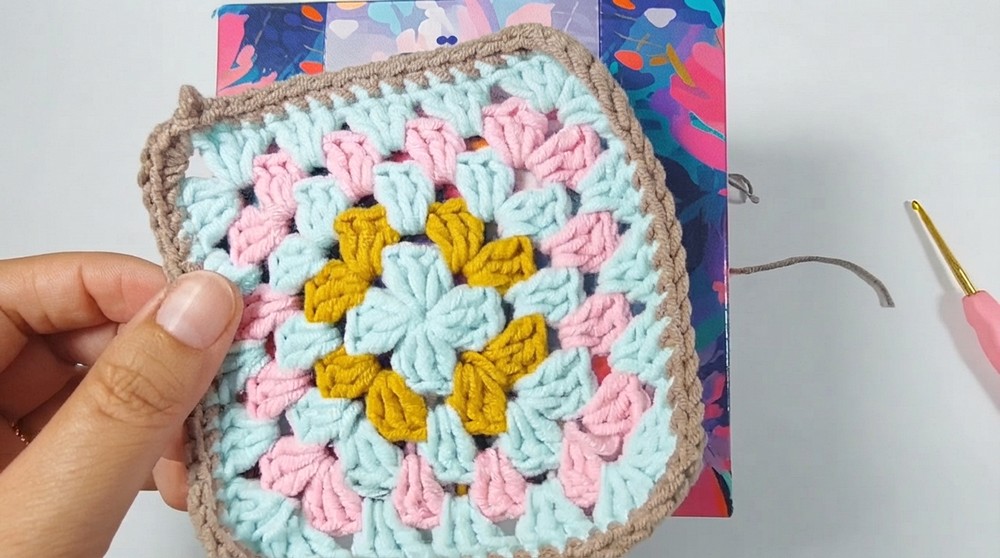
- To give the square a neat border, work sc stitches around the perimeter as follows:
- Work 3 sc into each corner space.
- Place 1 sc into every other stitch along the side edges.
- Fasten off and weave in all loose ends.
Repeat these steps to create a total of four side granny squares.
2. Top Granny Square
The top square has an opening for tissues to pass through.
Foundation Chain
- Begin with a slip knot, then ch 25.
- Skip the first chain and work into the second chain:
- 1 sc, ch 1.
- Work 1 dc in the next chain.
- Continue with 1 dc in the next chain, then ch 2.
Round 1
- Follow this stitch pattern to create the square opening:
- 6 dc, ch 2, 6 dc, ch 2, 6 dc, ch 2, and end with 3 dc in the final chains.
- This forms the foundation round for the granny square with an opening.
Rounds 2–6
- Continue working standard granny square rounds:
- Place 3 dc in each side chain space.
- Work [3 dc, ch 2, 3 dc] clusters in each corner space.
- Expand the square by adding more rounds until it measures the same size as the side squares.
- Finish with a border of sc along the perimeter, as described in Round 6 of the side squares.
3. Finishing Touches
Blocking
- Lay each square flat on a foam blocking mat.
- Stretch the squares to equal dimensions, pinning each corner.
- Lightly mist with water and allow to dry completely to set the shape.
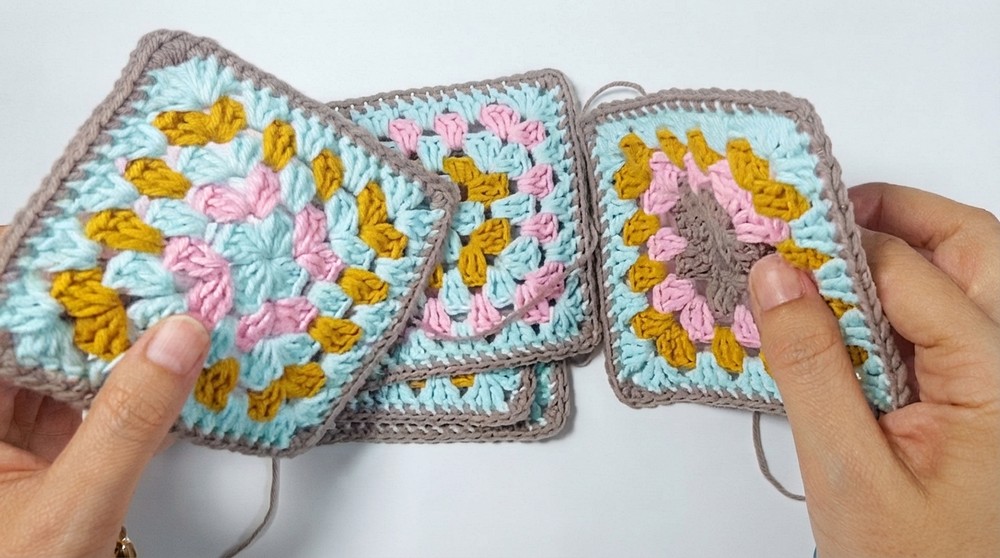
Joining
- Position the top square centrally, forming a cross with the four side squares.
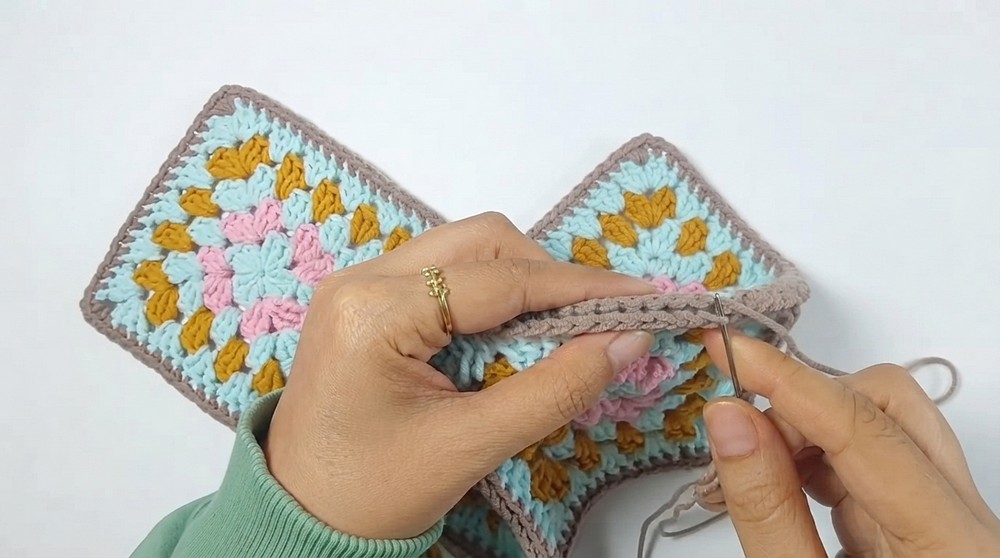
- Use a tapestry needle to sew adjacent edges together:
- Work through the back loops of each square’s edge stitches for a seamless join.
- Begin with the top square and sew it to each side square one at a time.
- Continue sewing the edges of the side squares together to fully enclose the tissue box.
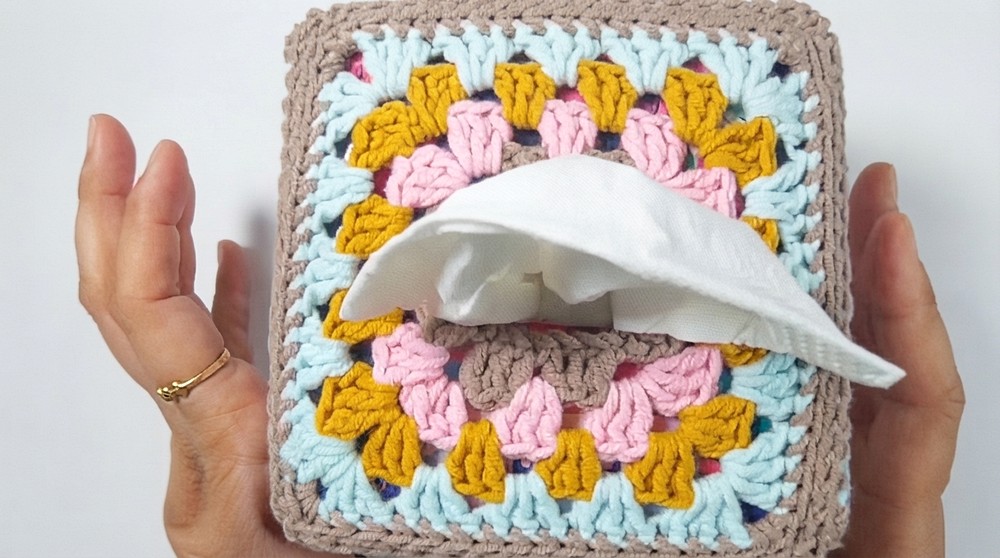
Conclusion
This crochet tissue box cover combines practicality with classic granny square design. Its flexibility allows you to customize the colors, size, and design to fit any home or office décor. The process of crafting this cover not only enhances your crochet skills but also results in a charming and functional handmade project.