How to Crochet an Elephant Applique | Easy & Simple Pattern

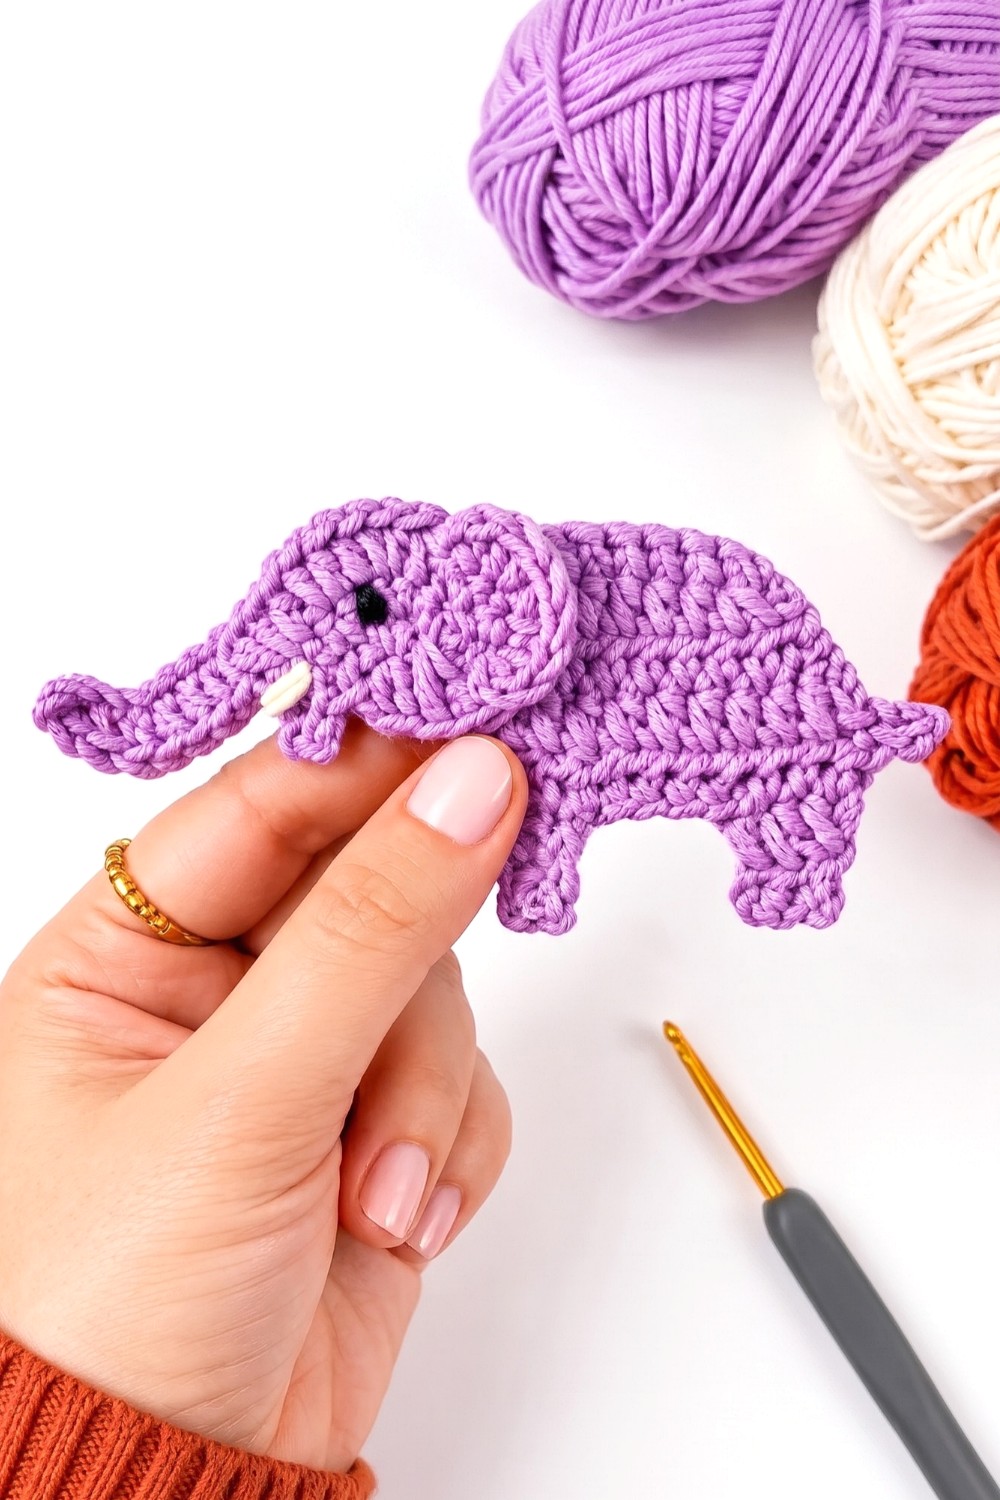
Stitch a Crochet Elephant Applique with a curved trunk and wide ears for a baby blanket, a nursery cushion, or a handmade gift with a sweet safari theme.
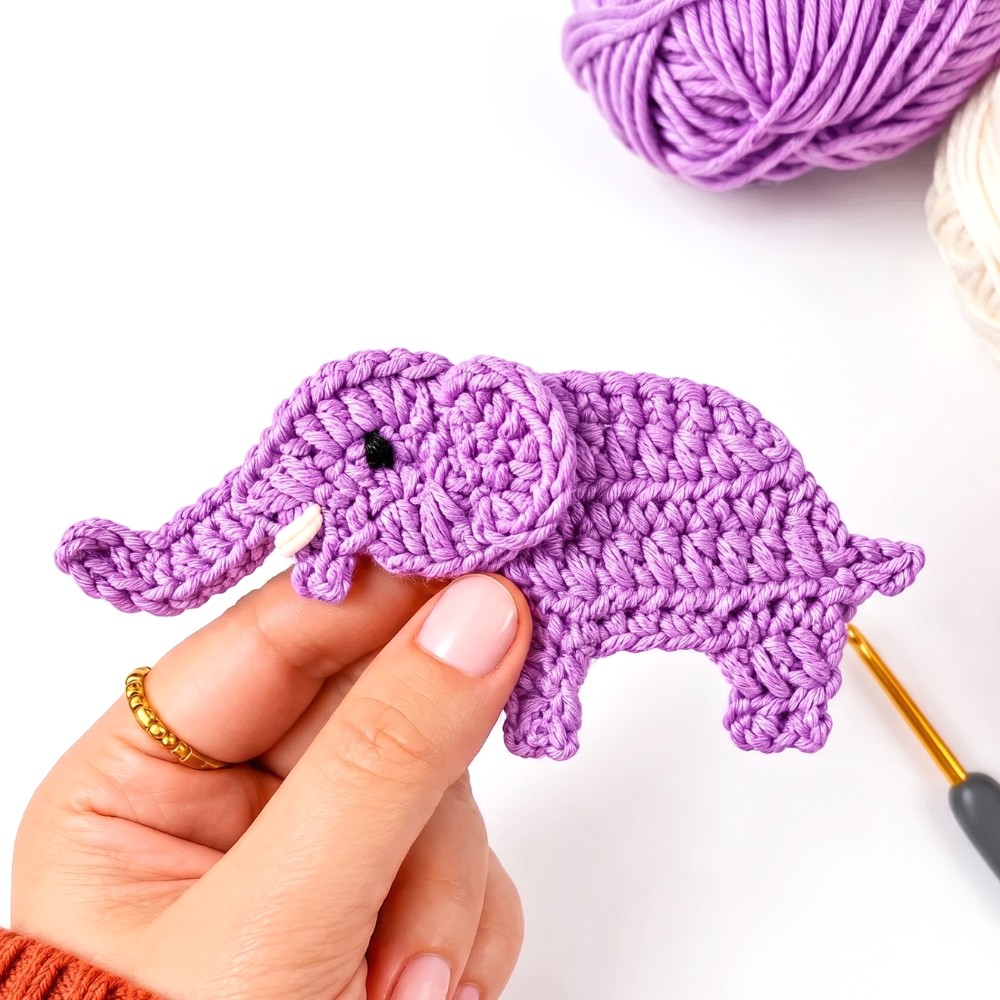
Plain baby blankets often have room for one playful detail in the corner. That’s where a Crochet Elephant Applique fits, with a gentle animal shape and an outline that is easy to recognize. Wide ears give the design its shape, while the trunk leads the eye down from the face. Those two features can do most of the work, so the elephant still reads clearly against a blanket with a busy stitch pattern.
Safari Crochet Elephant Applique for Nursery Decor
Start by thinking about the surface where it will sit. On cream fabric, a warm gray elephant has a soft look. Against a darker blue or green, a pale gray shade helps the ears and trunk stand out. A small difference in color between the face and ears is enough to show where one part ends and the next begins.
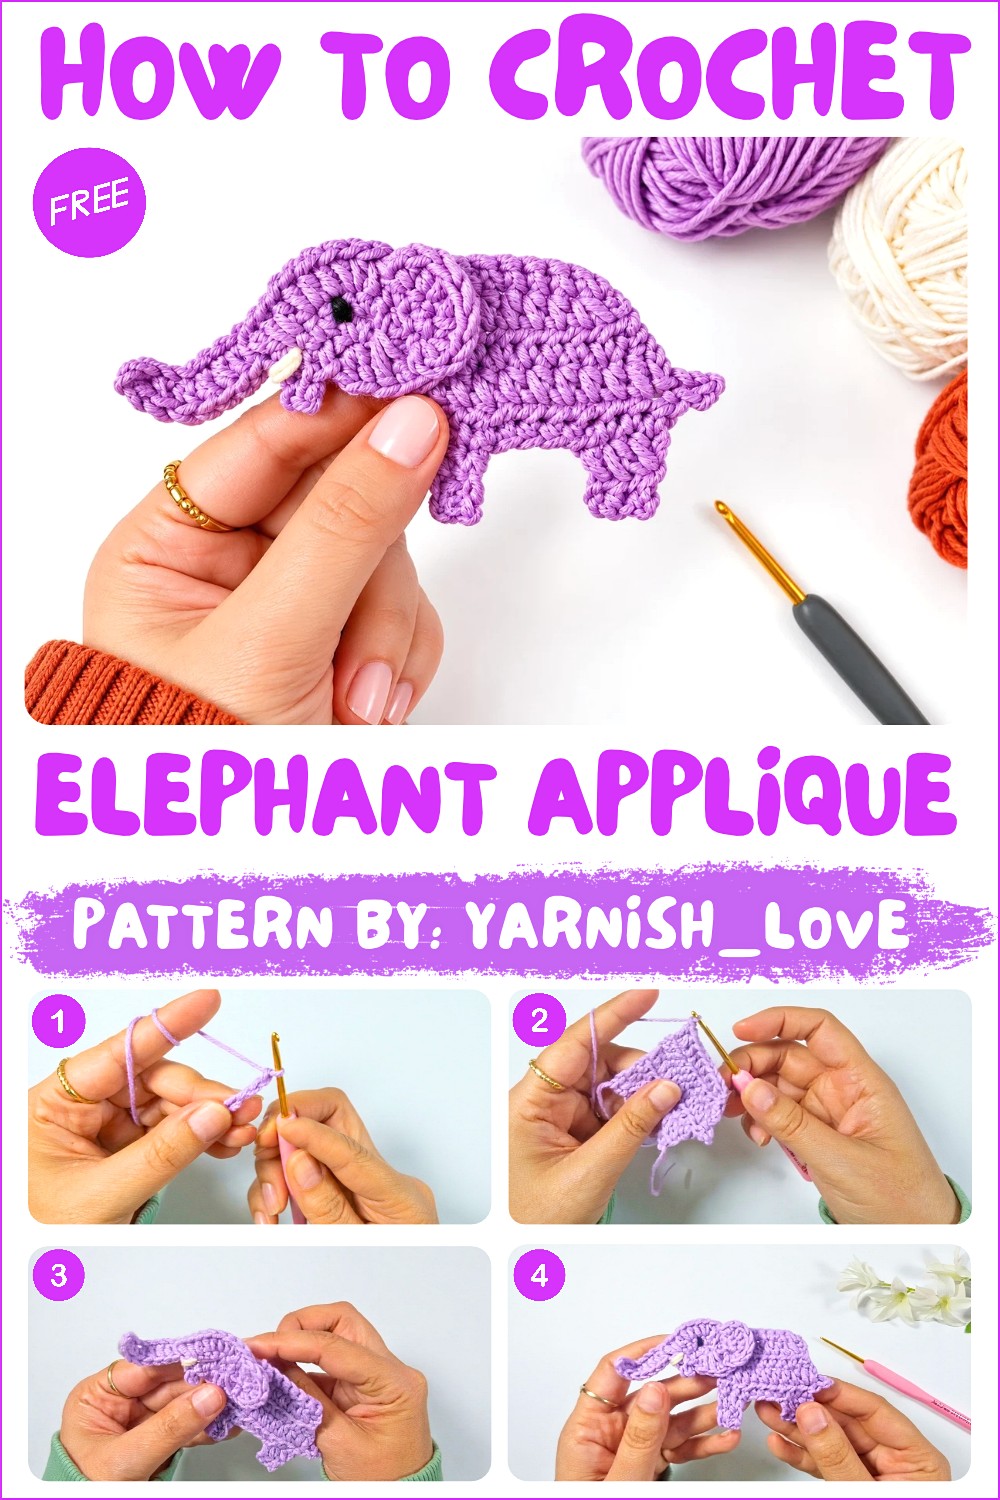
Placement can change the feel of the whole piece. Set one elephant near the lower corner of a blanket so it stays visible when the blanket is folded. On a plain nursery cushion, place it toward the middle and leave some open space around the trunk. Before sewing it down, lay the motif on the finished surface and check it from a few steps away. That quick check helps you see whether the elephant is large enough for the space and whether its outline is still clear.
About the Crochet Designer
Neda shares her interest in playful crochet through yarnish_love. Her channel introduces appliques as a way to work with familiar shapes on a small scale. The elephant suits that focus because its trunk and ears are easy to spot, even when the piece sits against a larger panel of stitches.
Crochet Elephant Applique Pattern
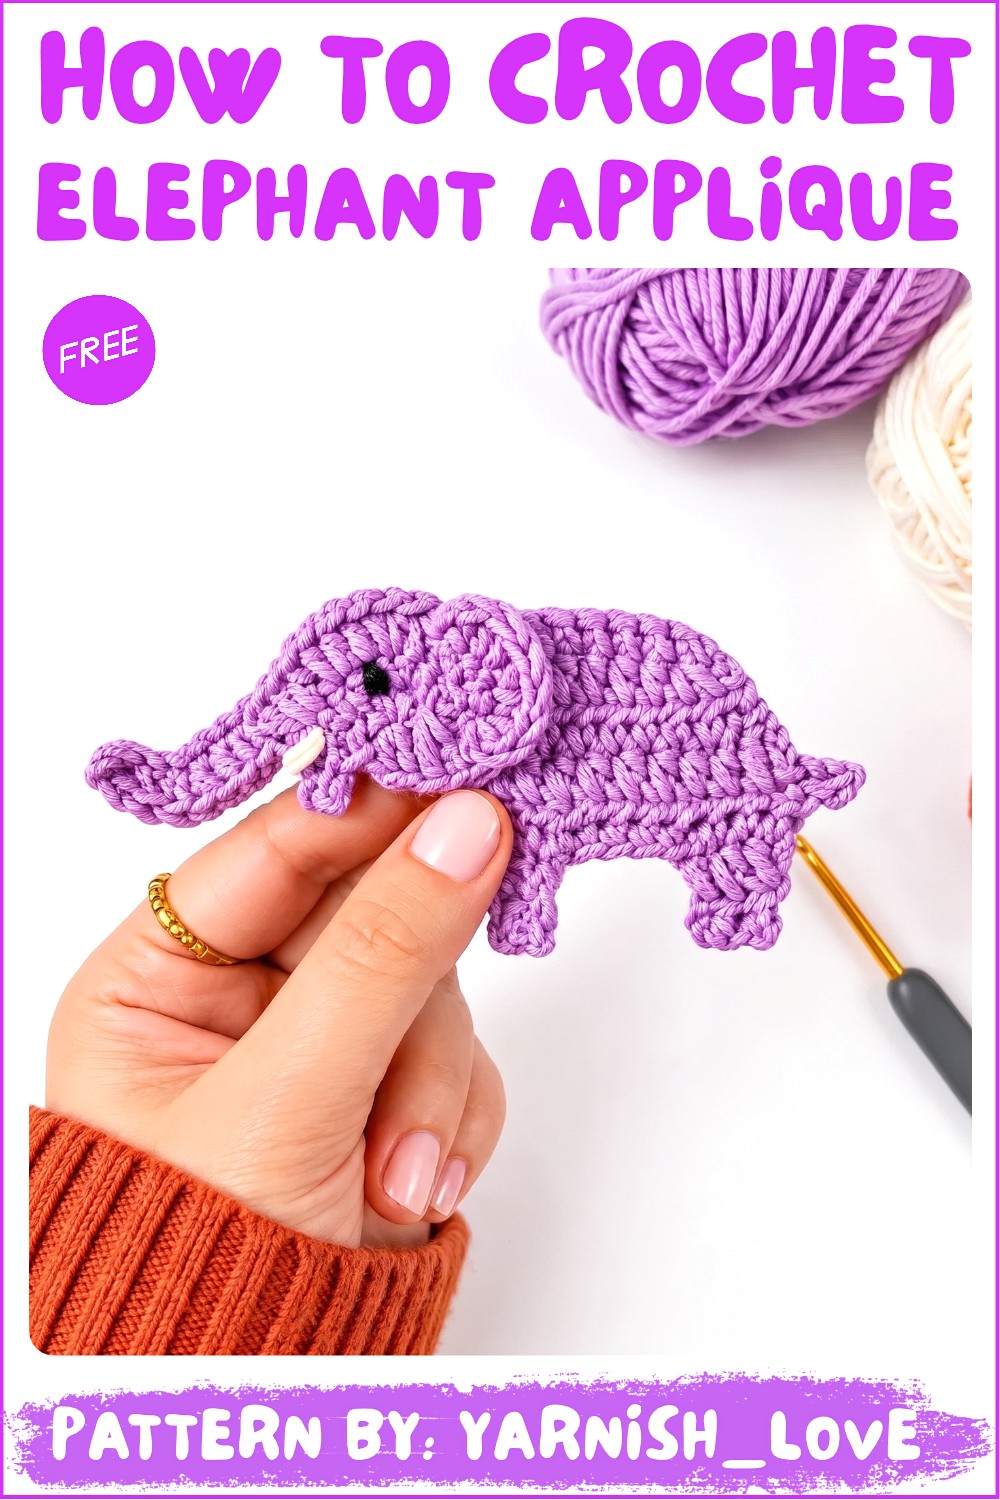
This crochet elephant applique pattern is a charming design that can be used to embellish baby blankets, clothing, or other projects. Made from separate pieces that are carefully sewn together, this pattern results in a cute and highly customizable elephant figure.
Skill Level
Intermediate
This pattern incorporates fundamental crochet stitches, but some experience in shaping and assembling small parts is required.
Materials
- Yarn: Alize Cotton Gold yarn or any similar DK-weight yarn in preferred elephant and detail colors.
- Hook Size: 2.5 mm crochet hook.
- Notions:
- Tapestry needle for sewing parts together.
- Scissors.
Stitch Abbreviations
- ch = chain
- sc = single crochet
- hdc = half double crochet
- sl st = slip stitch
Useful Tips
- Magic Ring Technique: Ensure the ring is tight to avoid gaps in the center of each section, especially for the head and ears.
- Consistent Tension: Maintain even tension, particularly for small parts, to ensure a neat and uniform appearance.
- Assembly Order: Pin all pieces together before sewing to ensure proper positioning and alignment during assembly.
- Customization: You can embellish the applique with details like embroidered eyes, a bow, or a flower for additional personality.
Step-by-Step Pattern
1. Elephant Legs and Body
Legs (Make 2)
- Begin with a slip knot, then ch 4.
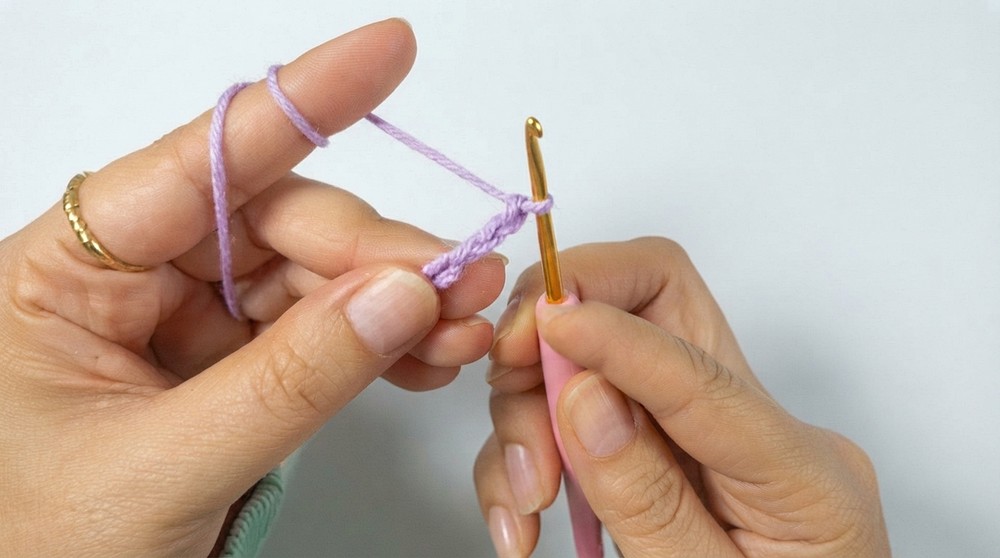
- Row 1:
- Skip the first 2 ch.
- Work 1 hdc in each of the next 2 ch.
- Fasten off and leave a long tail for sewing.
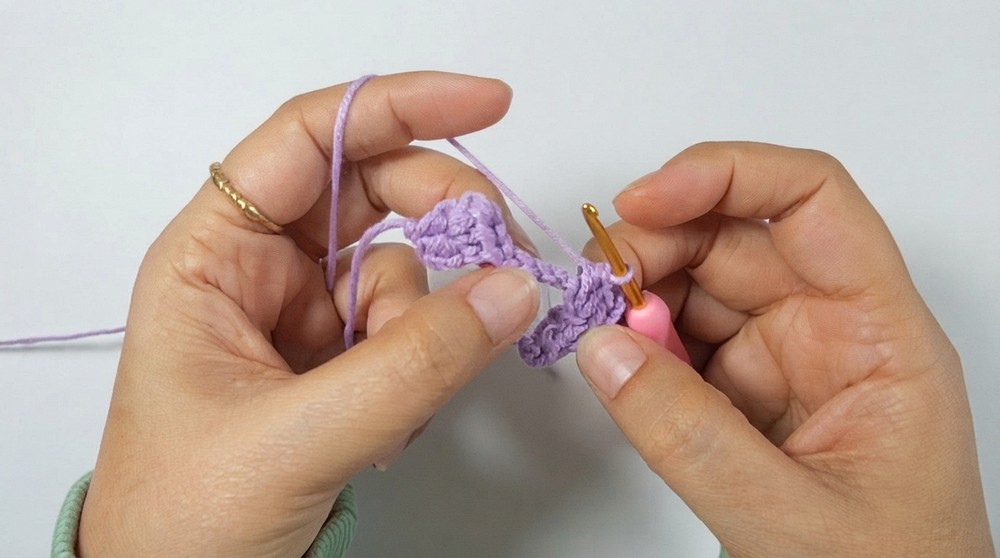
Body
- Joining the Legs:
- With a new slip knot, ch 4.
- Using the first leg: Work 3 hdc across the top edge of the first leg.
- Work 4 hdc across the 4 chains, then work 3 hdc across the second leg.
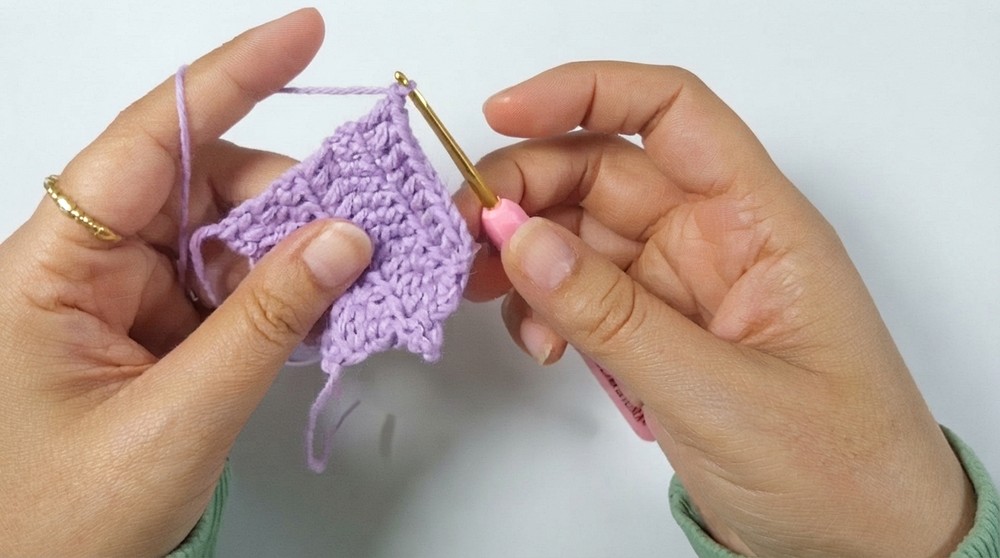
- Tail:
- Ch 4, then sl st into the first stitch of the chain.
- Ch 2, then continue across the row, working 10 hdc total.
- Shaping the Body:
- Work additional rows of hdc, ensuring to decrease stitches at the ends of each row to taper the body.
- Final row: Work sc across the row, finishing with a single decrease in the last stitches to shape the body.
2. Head and Trunk
Head
- Begin with a magic ring:
- Work 4 sc into the ring.
- Pull it tight and sl st to join.
- Round 1:
- Work 2 sc in each stitch around (total: 8 sc).
- Round 2:
- Work a round of hdc, increasing evenly to widen the head shape and maintain an oval form.
Trunk
- From the bottom of the head:
- Ch 8, then skip the first 2 ch.
- Work hdc across the rest of the chain, increasing slightly to create a tapered trunk shape.
- Attach Trunk:
- Sl st to the bottom of the head to secure the trunk in place.
Mouth and Details
- Ch 4, then sl st into the base of the trunk to form the small mouth.
- To fill in the head:
- Use a combination of hdc and dc to complete the desired head shape.
3. Ears
Ear (Make Two)
- Begin with a magic ring:
- Work 4 sc into the ring.
- Pull the ring tight and sl st to close.
- Round 1:
- Follow this sequence of stitches around:
- 1 sc, 1 hdc, 2 sc, 2 hdc, increasing occasionally to create a semi-circular ear shape.
- Follow this sequence of stitches around:
Second Ear
Repeat the same steps to create the second ear.
4. Assembly
- Attach the Ears:
- Sew the ears to the sides of the head at a slight angle, positioning them symmetrically.
- Attach the Head to the Body:
- Sew the head to the top of the body, aligning the trunk to hang naturally downward in front.
- Eye Details:
- Embroider or sew bead eyes in the upper part of the head.
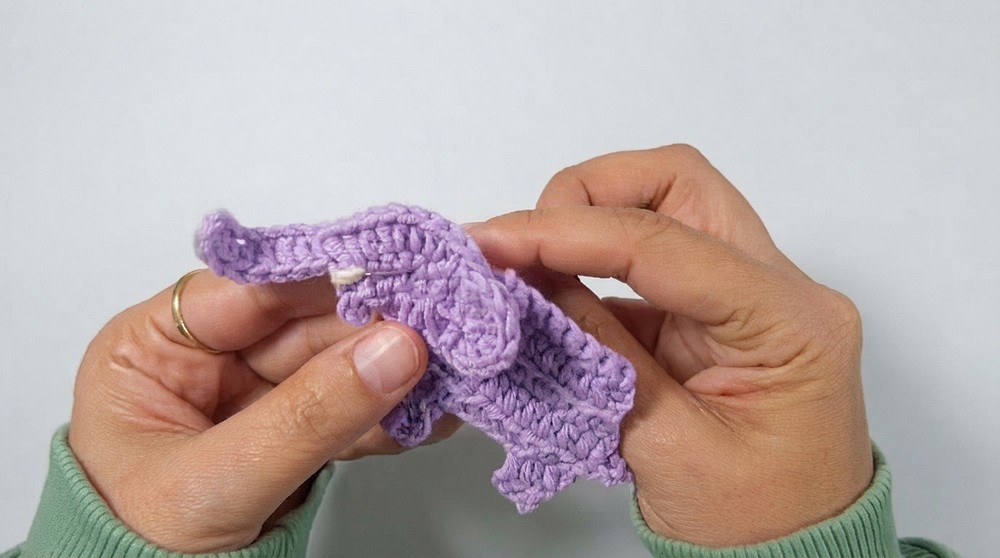
- Embroider or sew bead eyes in the upper part of the head.
- Final Adjustments:
- Check for any loose threads and weave in ends securely.
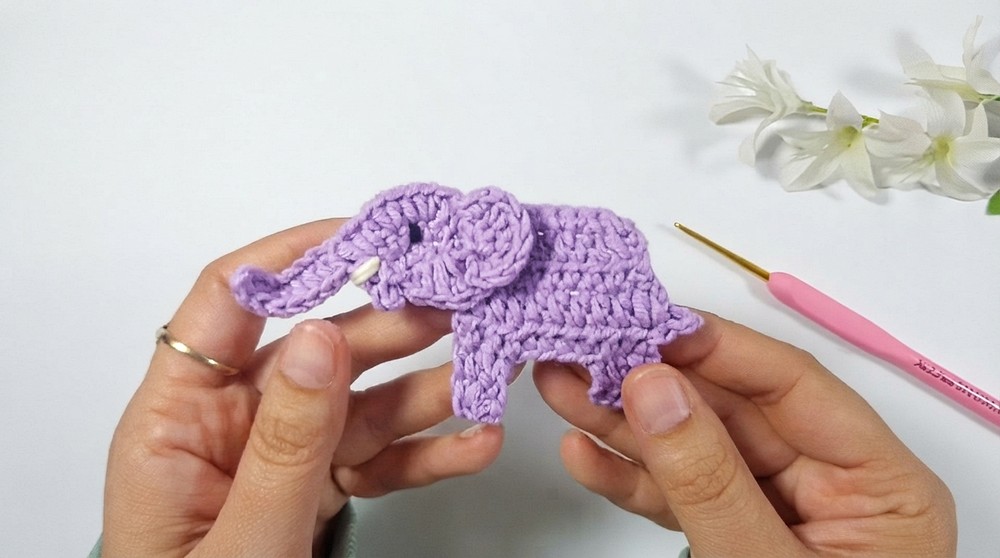
- Check for any loose threads and weave in ends securely.
Conclusion
This elephant applique pattern is a delightful project that brings character to any crochet creation. With its charming design, it is perfect for decorating everything from blankets to clothing and even framed art projects. Customize it with colors and accessories to match your personal style or theme of your project. This applique is a versatile and fun way to showcase your crochet skills!