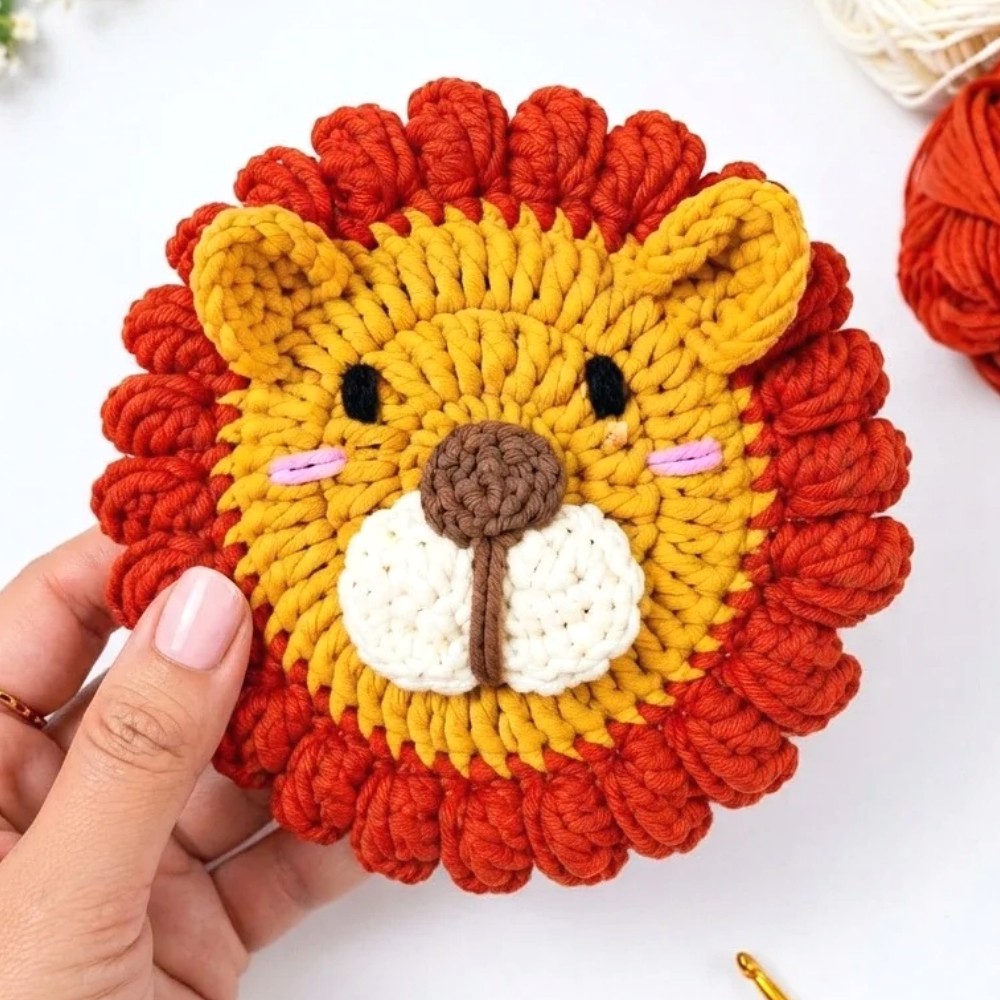
Crochet Lion Appliqué Easy Pattern & Step-by-Step Tutorial for Beginners

Sew a Crochet Lion Applique onto a denim pocket or a plain tote for a playful animal detail with a full mane and a face that kids can spot from across the room.
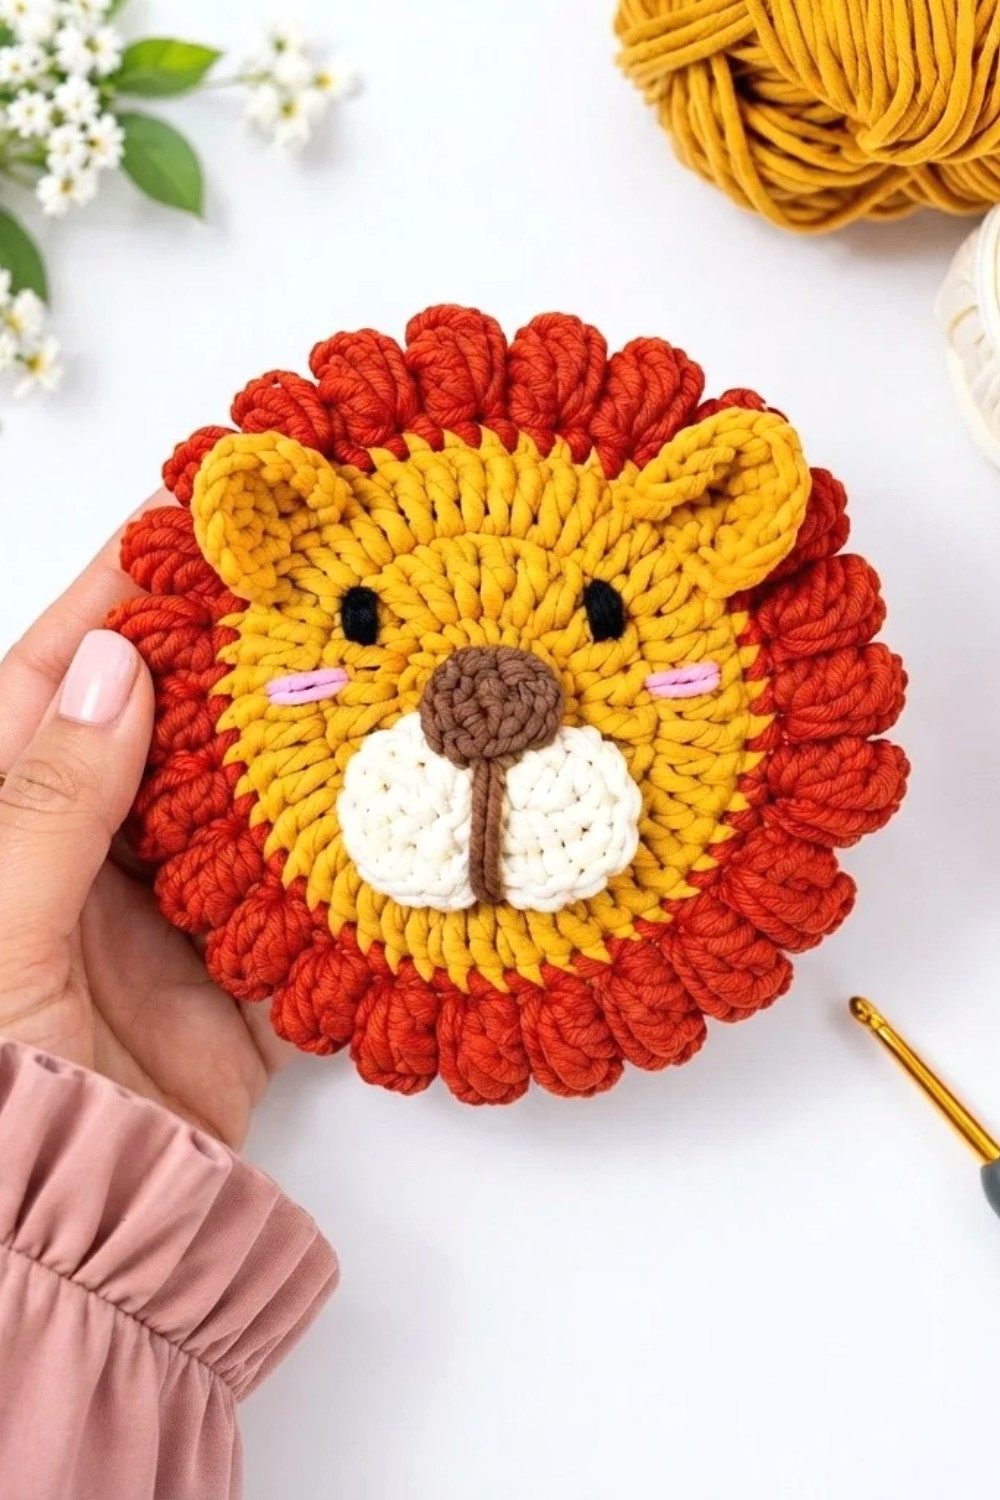
On a denim jacket, the pocket has just enough space for a playful detail. For that spot, a Crochet Lion Applique offers a mane that frames the face and gives it a clear outline. A few simple marks for the eyes, nose, and mouth can suggest a friendly expression inside that border.
Friendly Lion Applique to Crochet for a Denim Jacket
For a look inspired by real lions, pair a honey shade at the center with a deeper rust or brown around the edge. Think about the color of the fabric, too. A richer mane shows up well on pale denim, while a light shade is easier to see on a dark canvas tote. Dark facial stitches show clearly against a lighter face, especially when the applique will be seen from a distance.
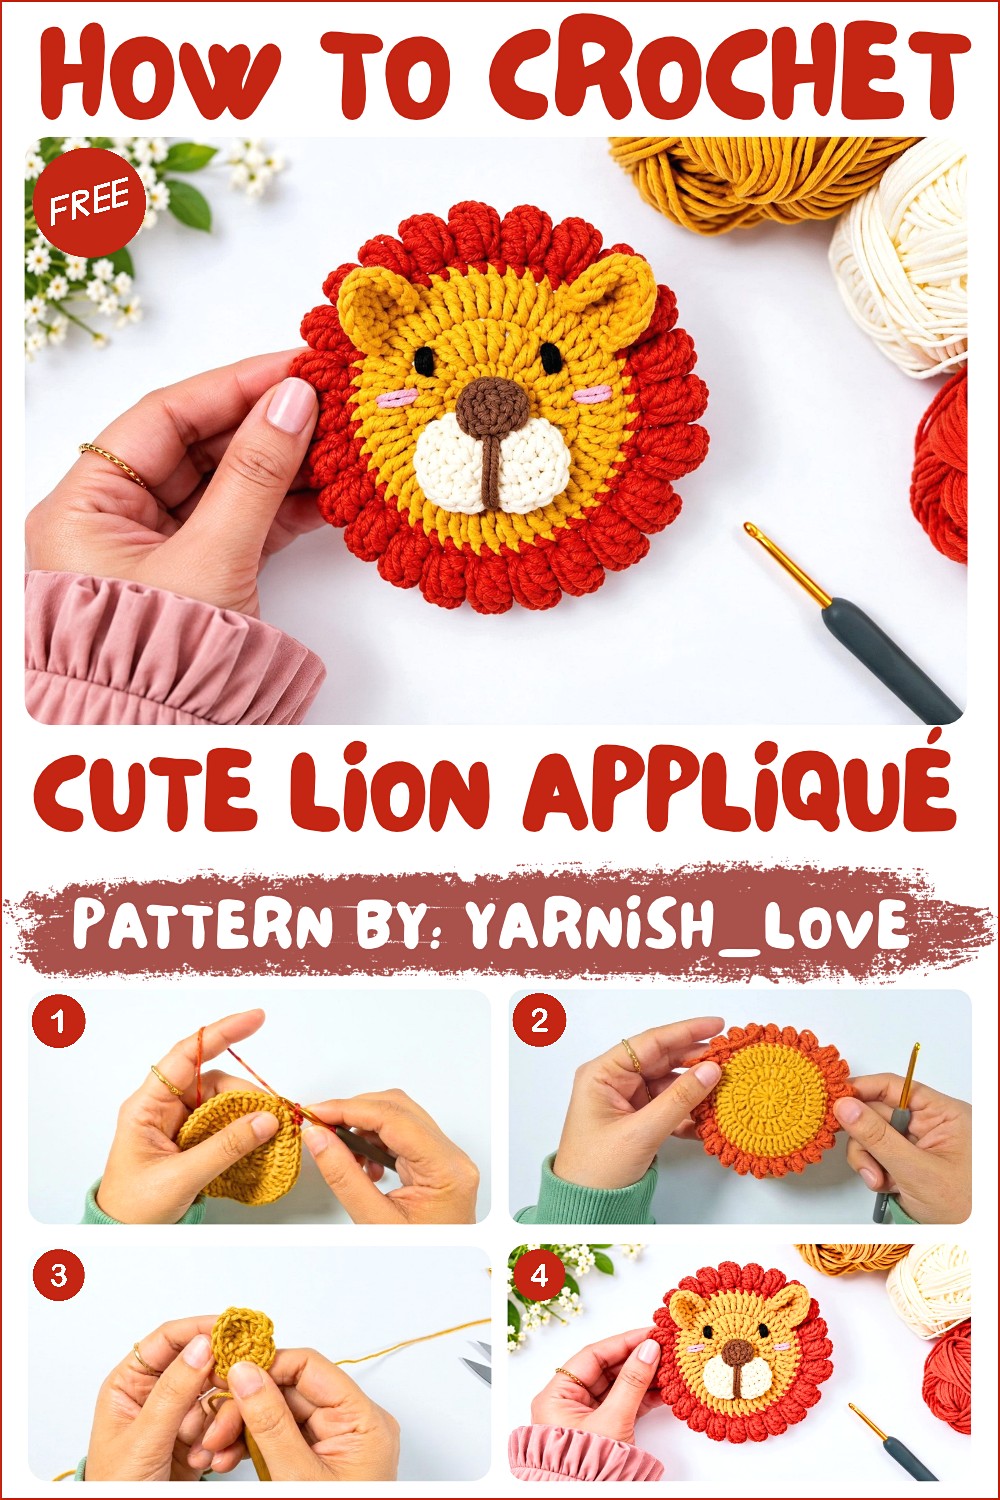
Try the lion on the pocket before attaching it. Leave enough space at the top to reach inside, and keep the mane clear of any button or flap. On a tote, it can sit near one bottom corner, where the handles and other details leave the face in view. Angle the face slightly toward the middle of the bag so it draws the eye inward. The lion also works on a plain pencil pouch, where the round shape stands out against the straight edge of the zipper.
The Maker Behind the Lion
Animal faces are a familiar subject at yarnish_love, where Neda shares crochet ideas for small decorative pieces. The lion puts the focus on the face and the shape around it. Anyone browsing the channel for animal appliques can see how an expression works on a small patch sewn onto fabric.
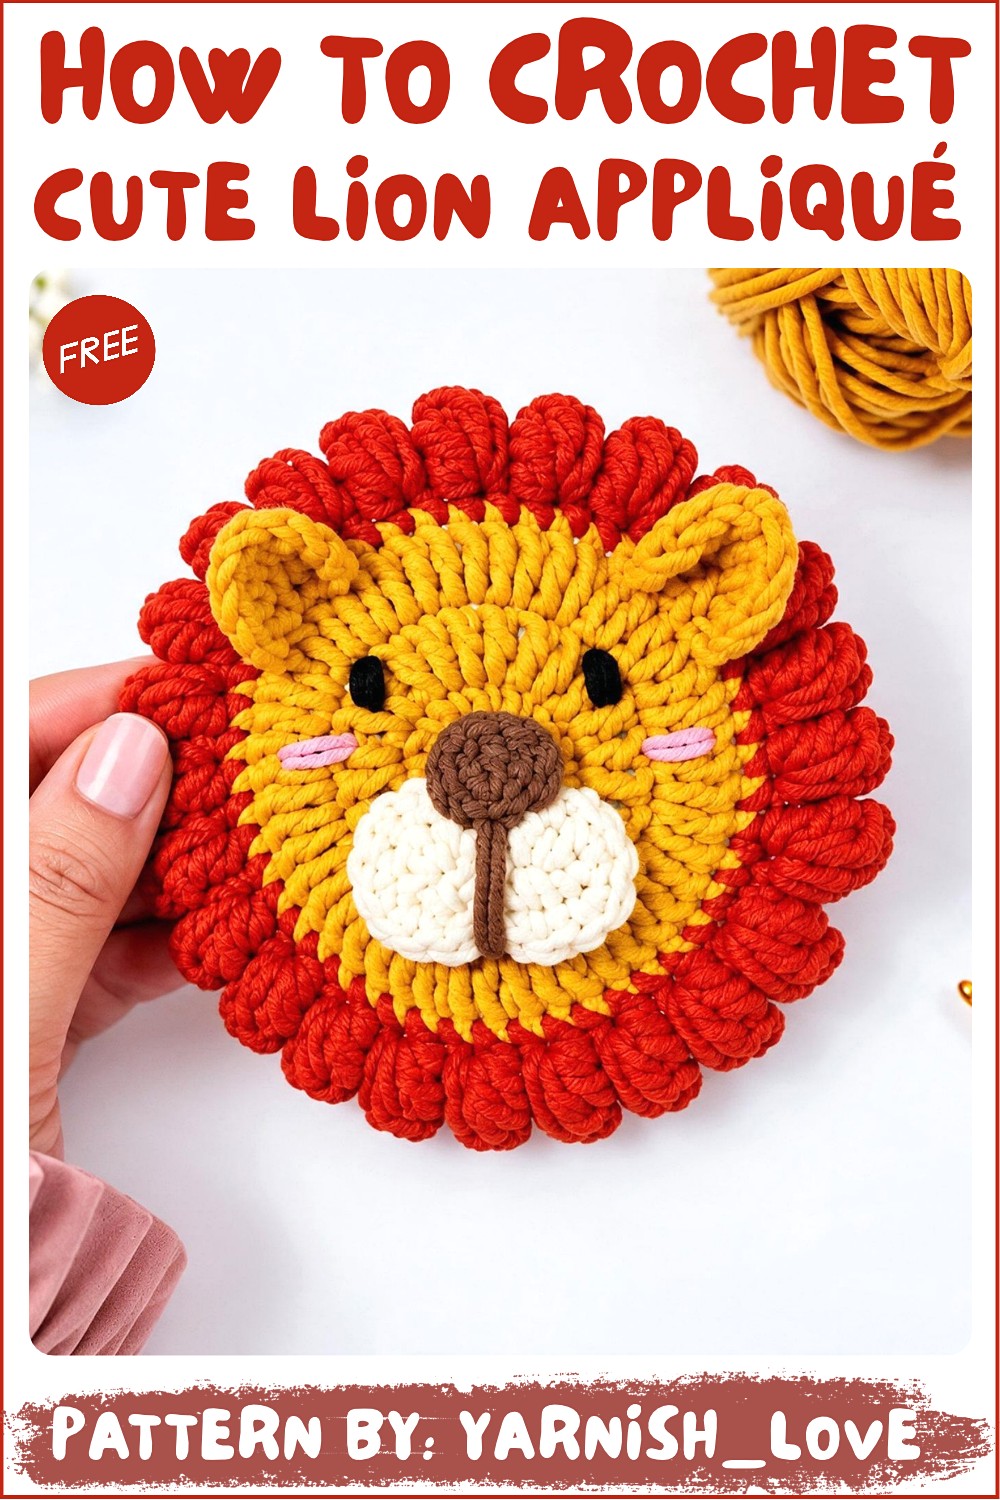
Crochet Lion Appliqué Pattern
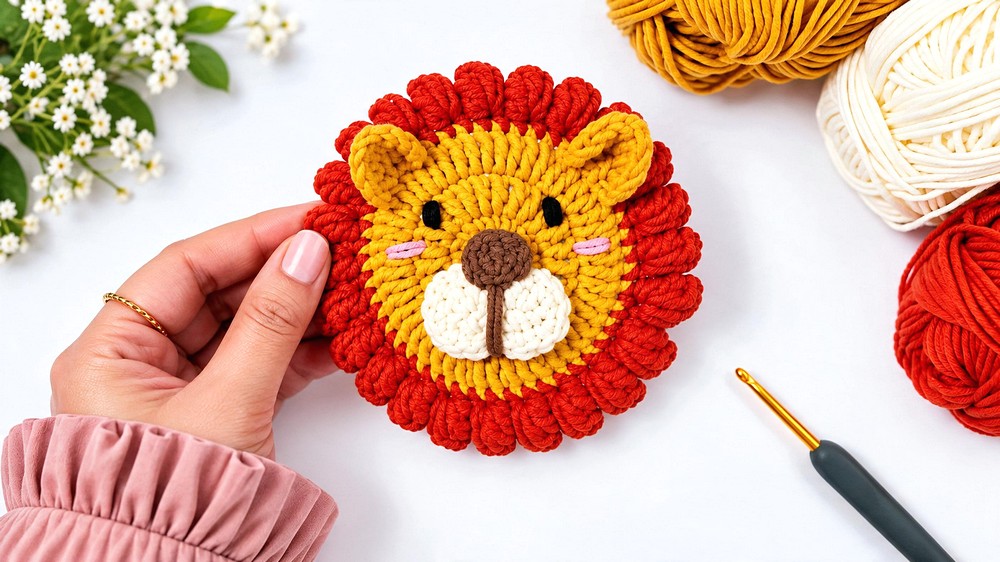
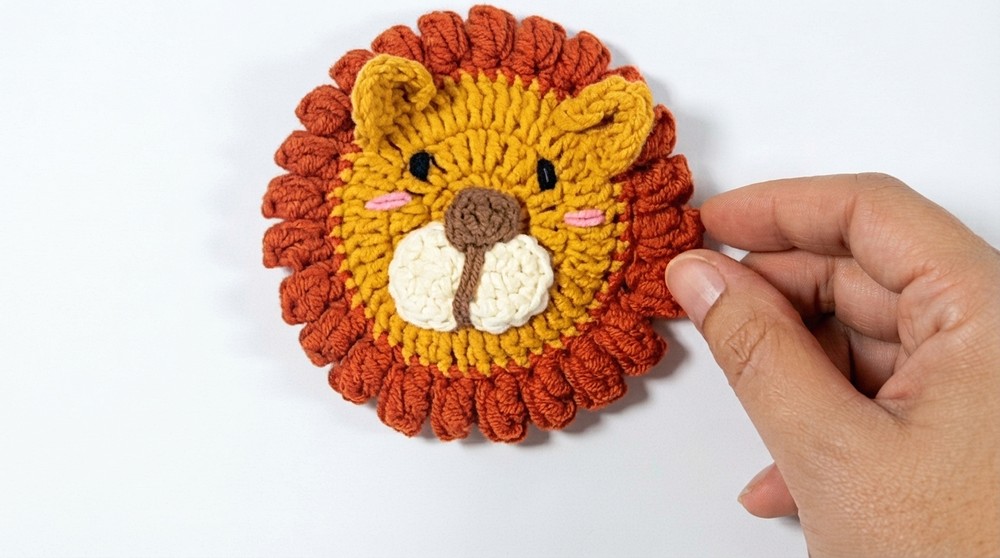
This crochet lion appliqué is an adorable and versatile design that can be used to embellish blankets, hats, bags, pillows, or other craft projects. The design features a detailed lion head with a textured mane and facial details, making it a charming addition to any handmade item.
Skill Level
Intermediate
This pattern uses basic crochet stitches such as single crochet, double crochet, half double crochet, and popcorn stitches to create the lion’s face. Some experience working with small pieces, magic rings, and sewing assemblies is recommended.
Materials
- Yarn: Alize Cotton Gold yarn or equivalent DK-weight cotton yarn in appropriate colors:
- Main color for the lion’s head (shade of yellow or brown)
- Contrasting color for the mane
- Black or dark color yarn for nasal and eye embroidery
- Hook Size: 3 mm crochet hook
- Notions:
- Tapestry needle for sewing
- Stitch marker (optional)
- Scissors
Stitch Abbreviations
- ch = chain
- sc = single crochet
- hdc = half double crochet
- dc = double crochet
- sl st = slip stitch
Useful Tips
- Magic Ring Creation: Use a small hook size for tighter control when making magic rings, and ensure they are closed securely to eliminate gaps.
- Popcorn Mane Clarity: Focus on creating firm and rounded popcorn stitches to give the lion’s mane its characteristic texture and fullness.
- Color Coordination: Choose harmonious yarn colors for the lion’s head, mane, and details to enhance the overall look.
- Finishing Touches: Block and sew the applique pieces carefully, ensuring proper alignment for the eyes, ears, muzzle, and mane.
Step-by-Step Pattern
Lion Head
Round 1: Creating the Base
- Begin with a magic ring.
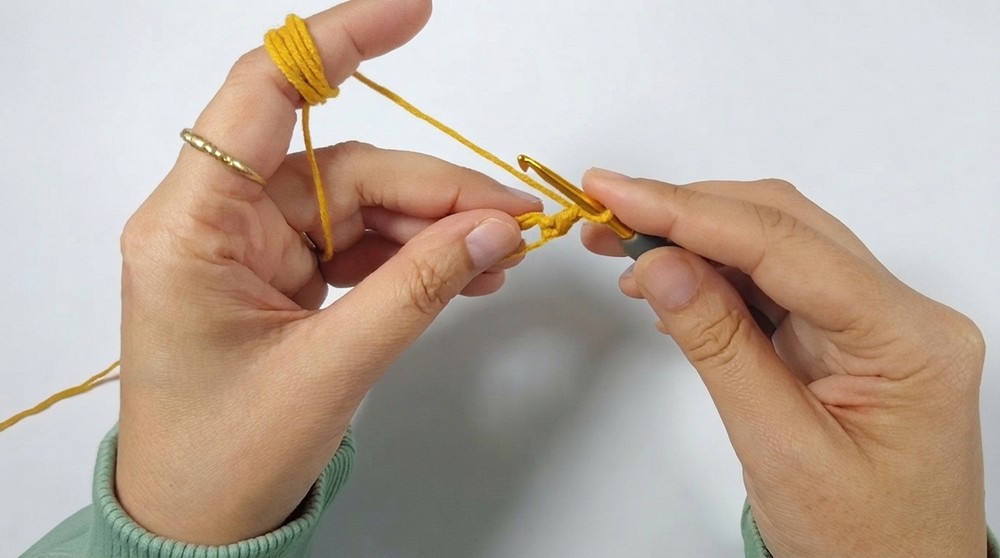
- Ch 1, then work 12 dc into the ring.
- Pull the ring tightly closed and sl st to join with the first dc.
Round 2: Increasing the Head
- Ch 1, work 1 sc into the first stitch, then ch 1.
- Into the same stitch, work 2 dc.
- Continue working 2 dc into each stitch around.
- Slip stitch to join to the first dc (24 dc total).
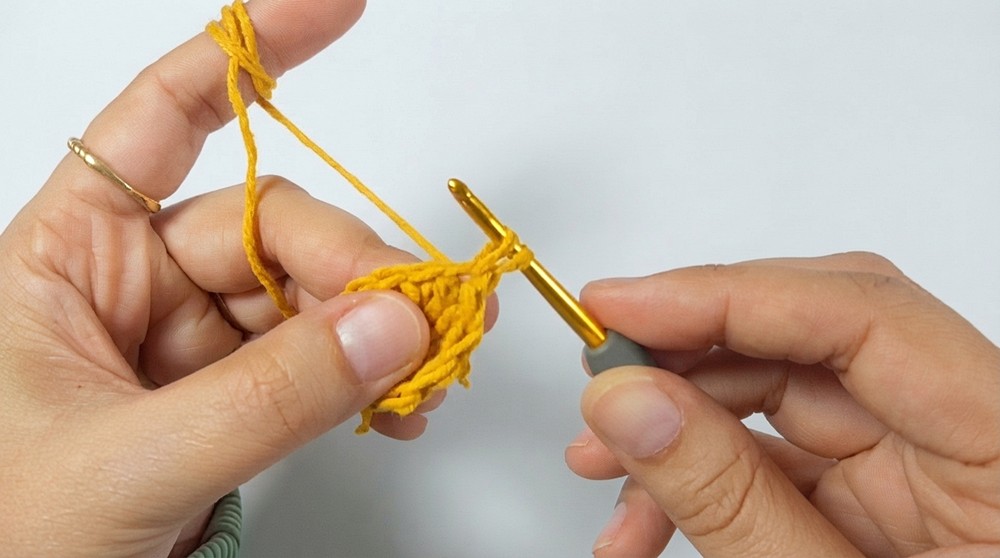
Round 3: Expanding the Shape
- Ch 1, work 1 sc, then ch 1, and 1 dc into the same stitch.
- Work 2 dc into each stitch around.
- Slip stitch to join at the first dc (48 dc total) and fasten off.
Round 4: Adding a Border
- Join the yarn into any stitch. Ch 1.
- Work 1 sc into every stitch around.
- Slip stitch to join (48 sc total).
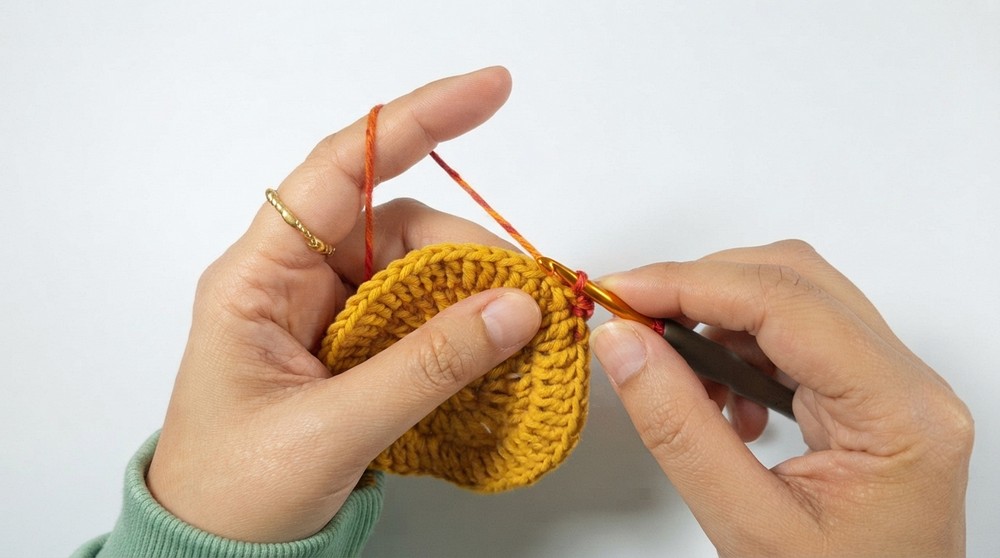
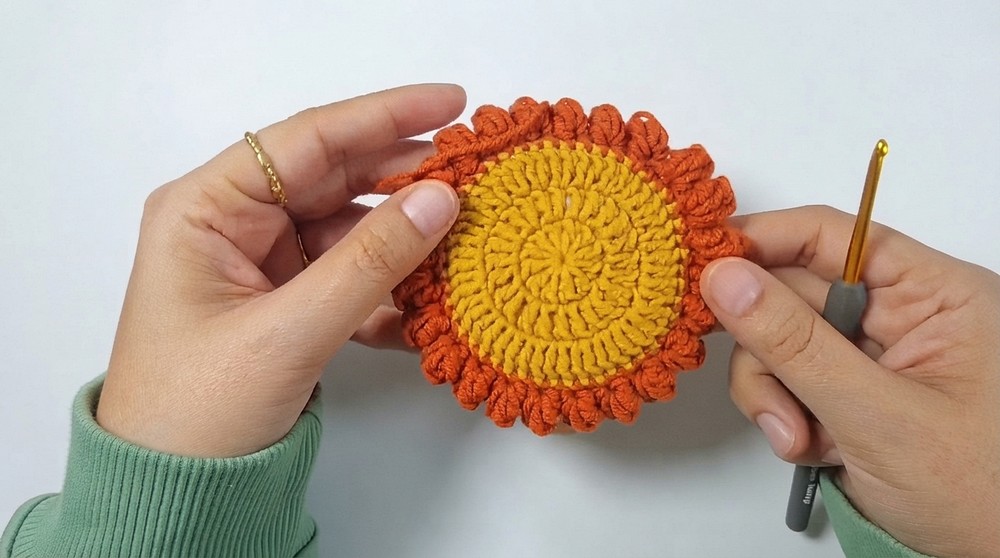
Round 5 (Mane): Adding Texture
- Working in front loops only:
- Ch 3, work 4 dc into the same stitch and complete a popcorn stitch.
- Ch 2, skip the next stitch, then work another popcorn stitch (5 dc total) into the following stitch.
- Continue working the [popcorn stitch, ch 2, skip next stitch] pattern around.
- Slip stitch to join (24 popcorn stitches total).
Lion Ears (Make Two)
Step 1
- Begin with a magic ring.
- Ch 1 and work 4 sc into the ring. Pull the ring closed tightly.
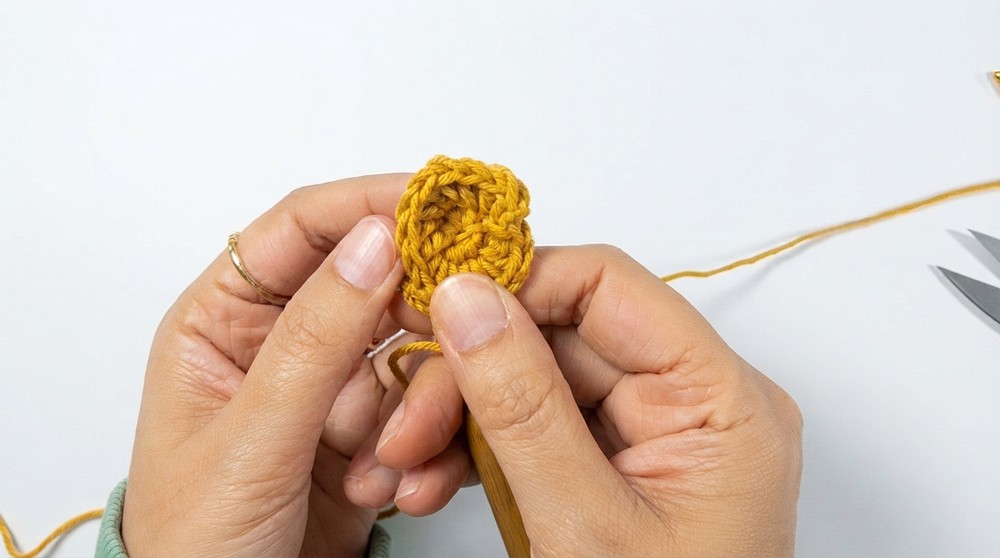
Step 2
- Ch 1, turn your work, and work 2 hdc into each stitch across.
- Fasten off with a long tail for sewing (8 hdc total).
Lion Muzzle
Round 1
- Ch 5, skip the first 2 ch, and work into the back bumps of the chain:
- Work 2 hdc into the third chain.
- Work 1 hdc into the next chain, and 3 hdc into the last chain.
- Turn to work along the opposite side of the foundation chain:
- Work 1 hdc into the next stitch, and 2 hdc into the last stitch.
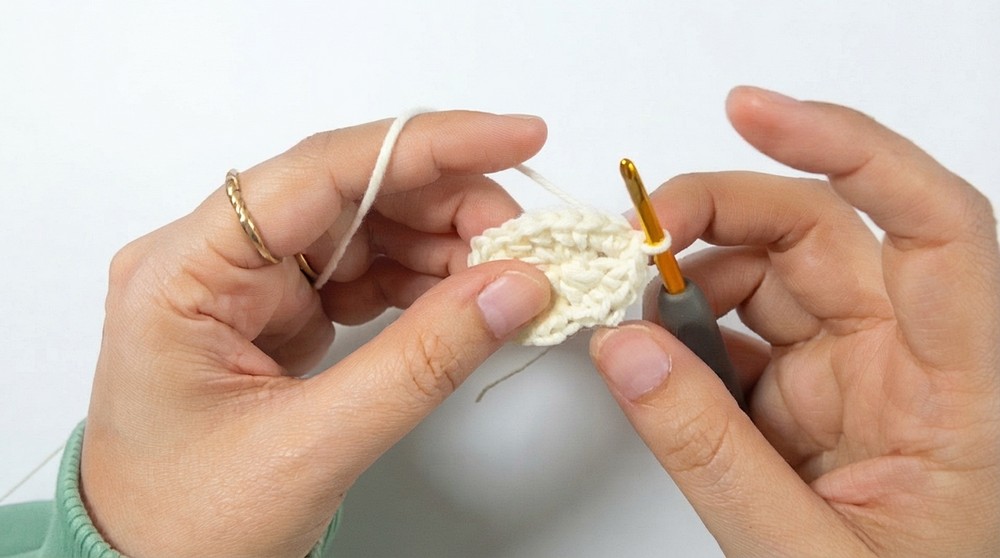
- Work 1 hdc into the next stitch, and 2 hdc into the last stitch.
- Slip stitch to the second chain to join the round.
Round 2
- Ch 1, work into the first stitch:
- Work 2 sc into the same stitch, and 2 sc into the next stitch.
- Work 1 sc into each of the next 2 stitches.
- Work 2 sc into the next 4 stitches, then 1 sl st.
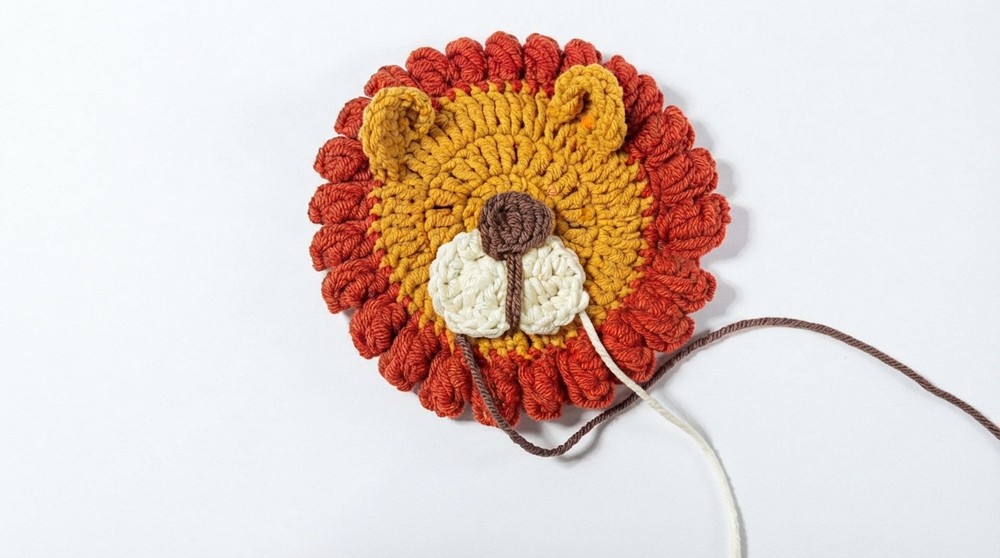
- Work 2 sc into the next stitch, and 2 sc into the final stitch.
- Slip stitch and fasten off.
Lion Nose
Step 1
- Create a magic ring. Ch 3.
Step 2
- Work 3 dc into the magic ring.
- Ch 3, then sl st into the ring.
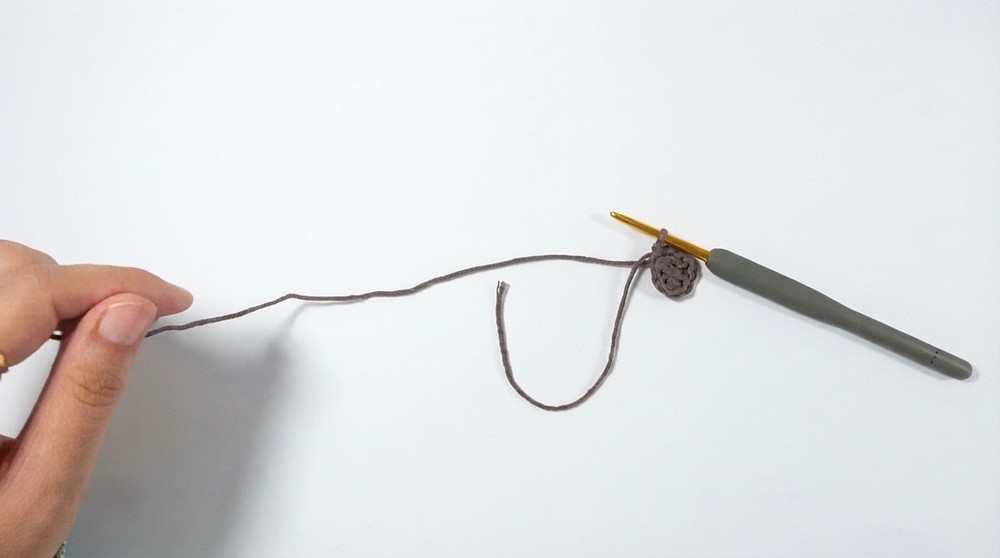
- Pull the ring tightly closed and fasten off.
Assembly
Step 1: Attach Ears
- Use the long tails to sew each ear symmetrically to the sides of the head. Adjust positioning for a rounded, cute effect.
Step 2: Attach Muzzle
- Place the muzzle at the lower center of the head.
- Sew it securely, ensuring the edges lie flat.
Step 3: Attach Nose
- Place the nose at the top-center of the muzzle. Sew firmly in place.
Step 4: Embroider Eyes
- Use black yarn or embroidery thread to create small stitched eyes above the muzzle for a lively expression.
Conclusion
This crochet lion appliqué is a wonderful project to add a touch of wild charm to your designs. The detailed mane and facial features make it distinct and playful while allowing room for creative personalization. Experiment with colors or additional details to create your unique version of this cheerful lion!